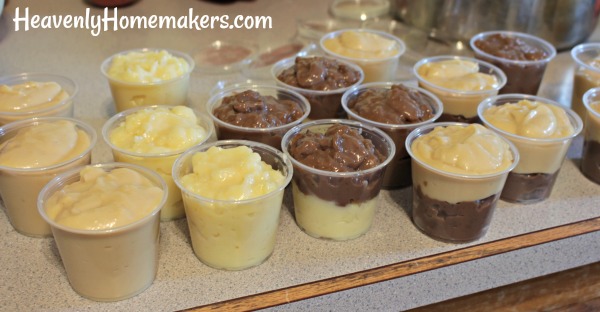
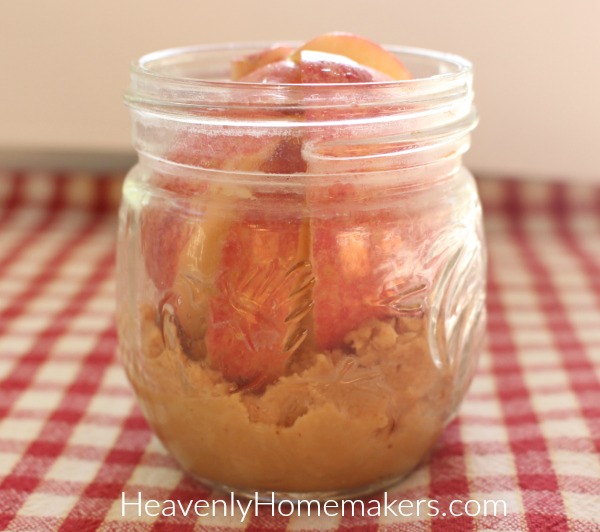
It only made sense to follow our Veggies with Dips in a Jar post with this Fruit with Dips in a Jar Post. The most basic idea along these lines: Apples & Peanut Butter.

Apples & Peanut Butter in a Jar
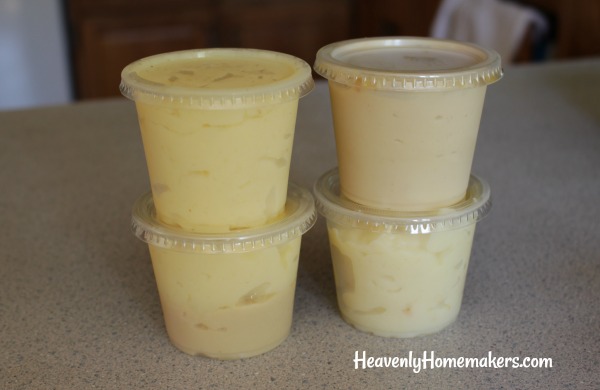
Just like the veggies, place your favorite fruit dip in the bottom of a small jar. Then put in your favorite fruit (apples work best for something like this!). Place the lid on the jar, pack, and take on the go. So, so simple!
—-> Did you see the fun list of supplies and jars I recommend for packing lunches? <—–
First up, if you’re going to pack Apples & Peanut Butter in a jar, you will need links to our favorite homemade peanut butters!
- Peanut Butter (just peanuts)
- Peanut Butter (super creamy – like Skippy or Jif)
Don’t be intimidated by the idea of making peanut butter. It truly is remarkably easy! And fresh, homemade peanut butter tastes incredible!
Not up for making peanut butter? No problem. Though I do recommend that you avoid purchasing the varieties that contain hydrogenated oils and corn syrup. Choose a natural brand with few, wholesome ingredients.
Next, let’s talk about fruit.
Apples and grapes transport the best and work best for dipping. Bananas might require an 8-ounce wide mouth jar like this so you can spread the peanut butter or other dip on top. Blueberries are a good possibility too. Fresh pineapple, cut into thin slices, is a great option.
And now for the dips!
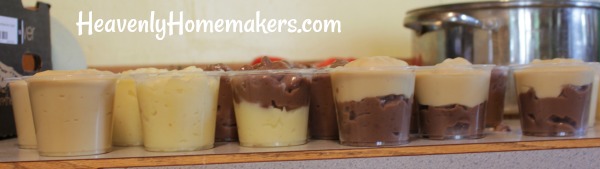
Fruit Dip Recipes to Pack in Jars
- Creamy Chocolate Fruit Dip
- Easy Cream Cheese Fruit Dip
- Strawberry Yogurt Fruit Dip
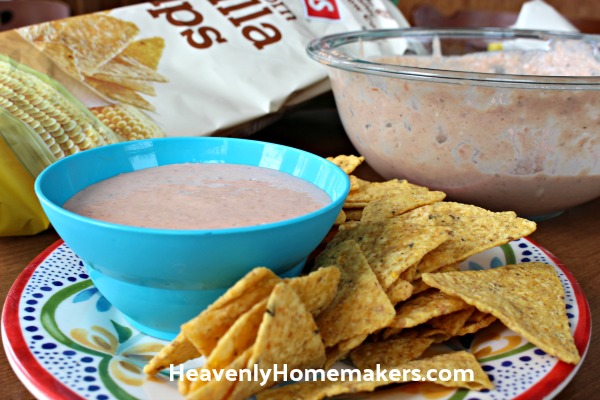
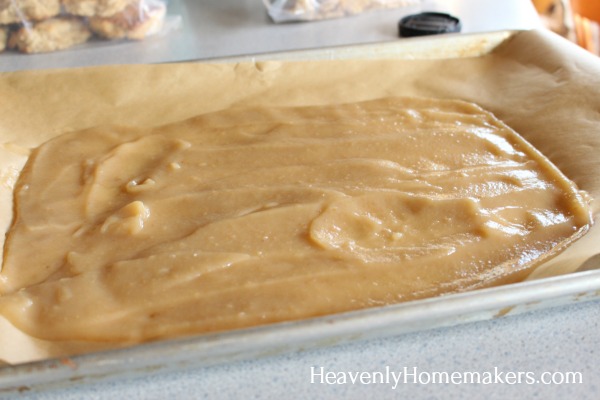
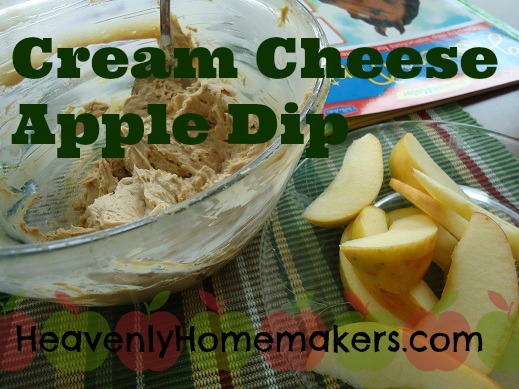
- Caramel Apple Dip
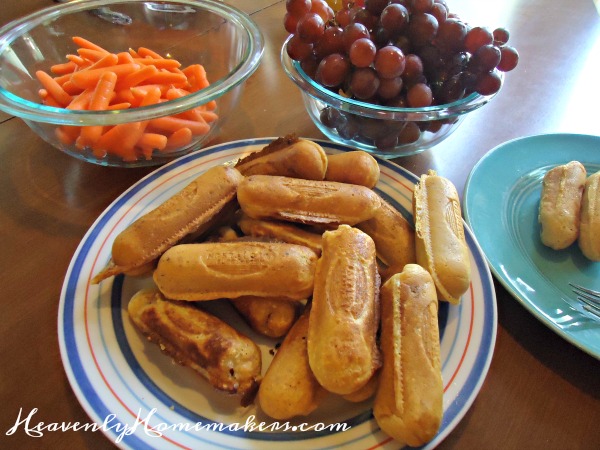
Great add-ins to your Fruit with Dip Lunch in a Jar
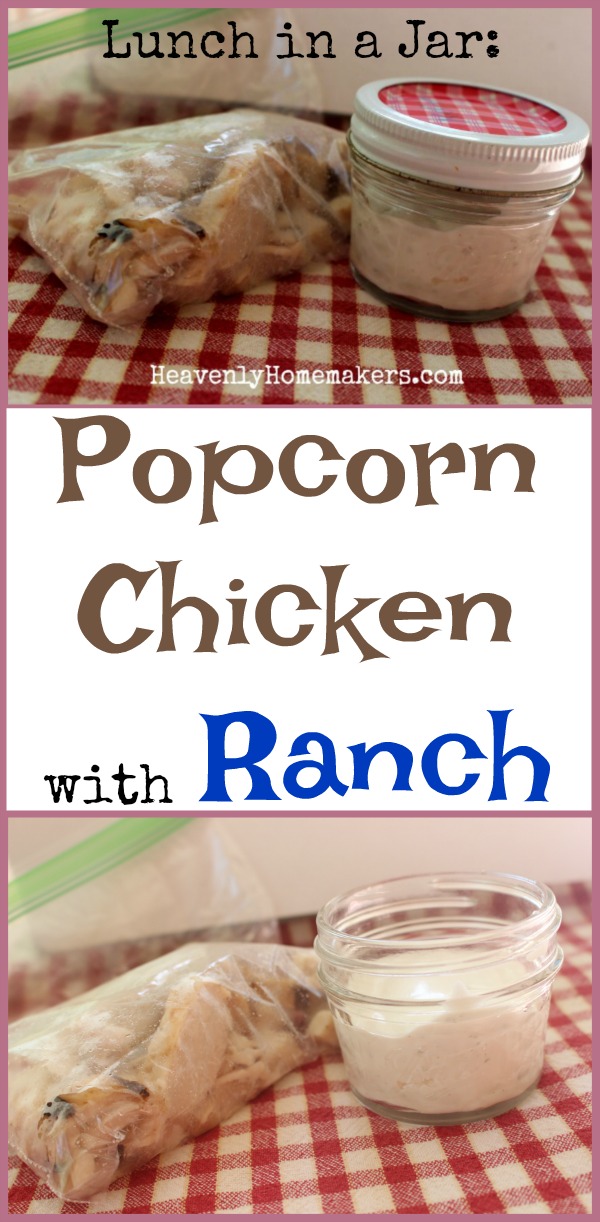
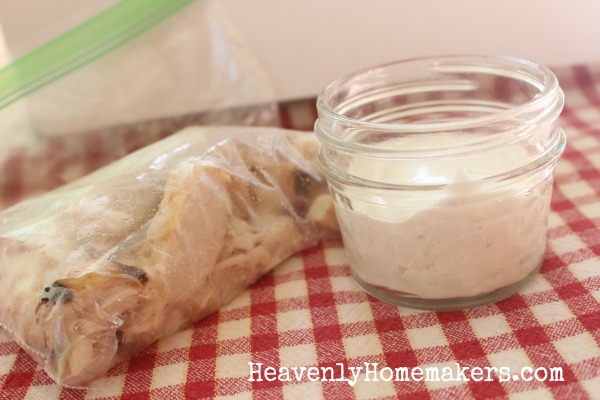
- Popcorn Chicken with Ranch
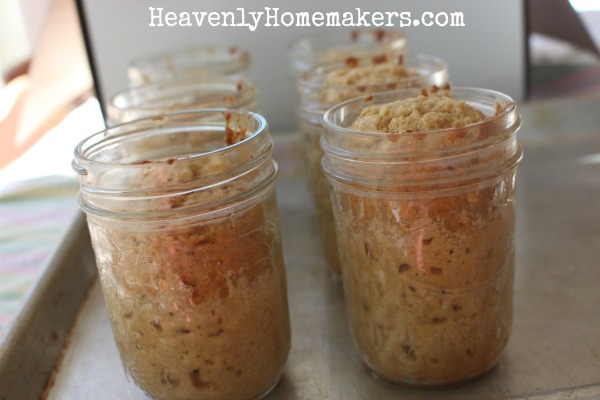
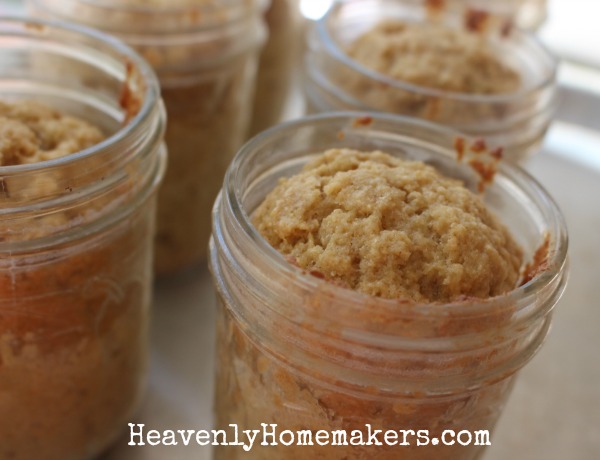
- Quick Bread in a Jar
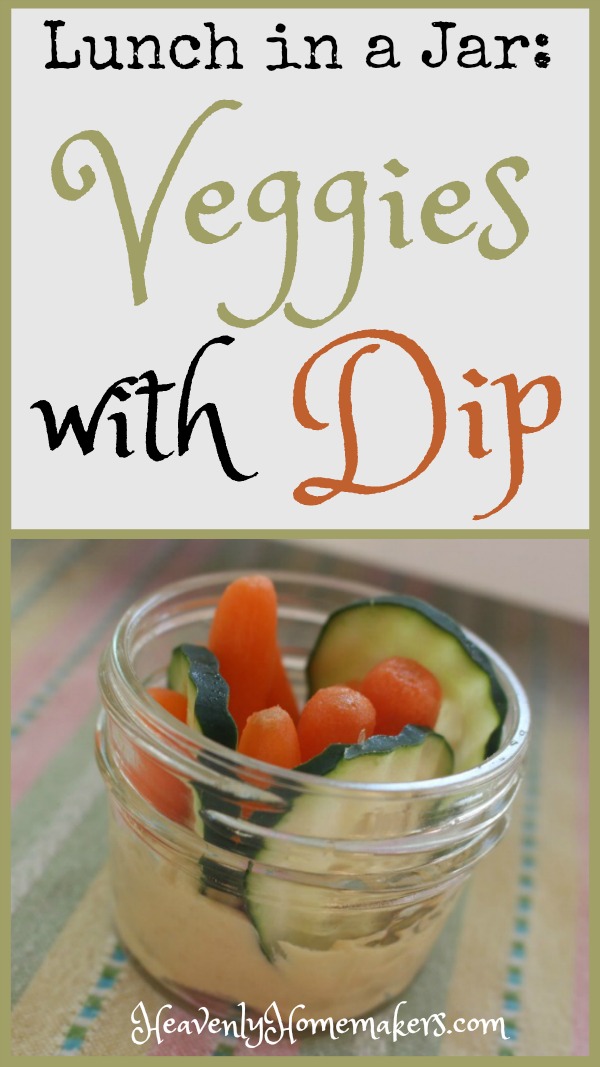
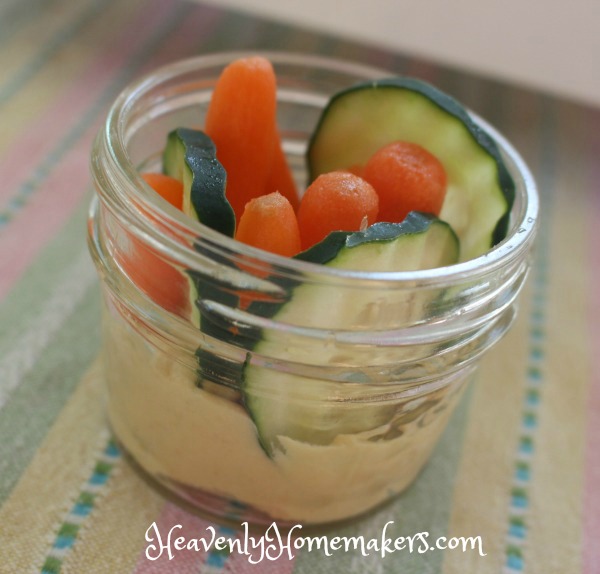
- Veggies With Dip in a Jar
- Cheese Cubes and Crackers
- Lunch Meat
Up next, more “main dish” Lunch in a Jar ideas!
We’ve got 10 super fun Lunch in a Jar ideas to share this month – perfect for your Back to School lunchbox! Subscribe here so you won’t miss a post!