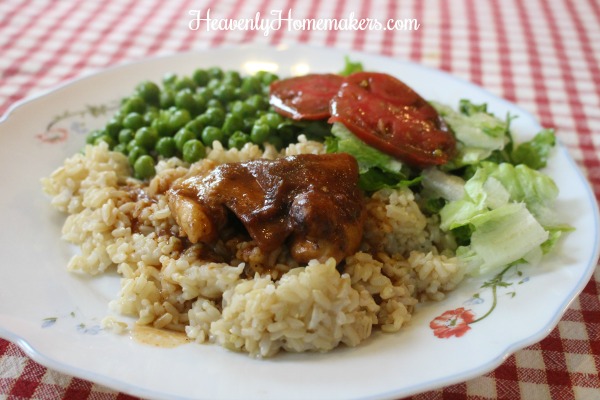
My favorite meals to make are the meals I can dump into the crock pot and forget about until dinner time. This Simple Crock Pot Applesauce BBQ Chicken is one of those meals. It turns out juicy, flavorful chicken with no effort!
While I like cooking my chicken in the crock pot, I’ve started always cooking my rice in my Instant Pot. What did I ever do without my Instant Pot!?
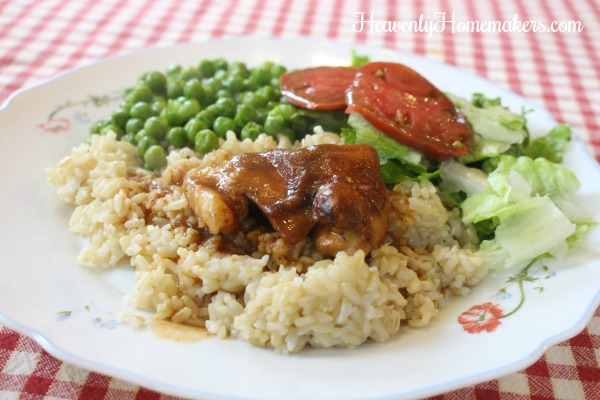
Grab out some greens, steam a veggie, and this meal is perfection on a plate with very little effort!
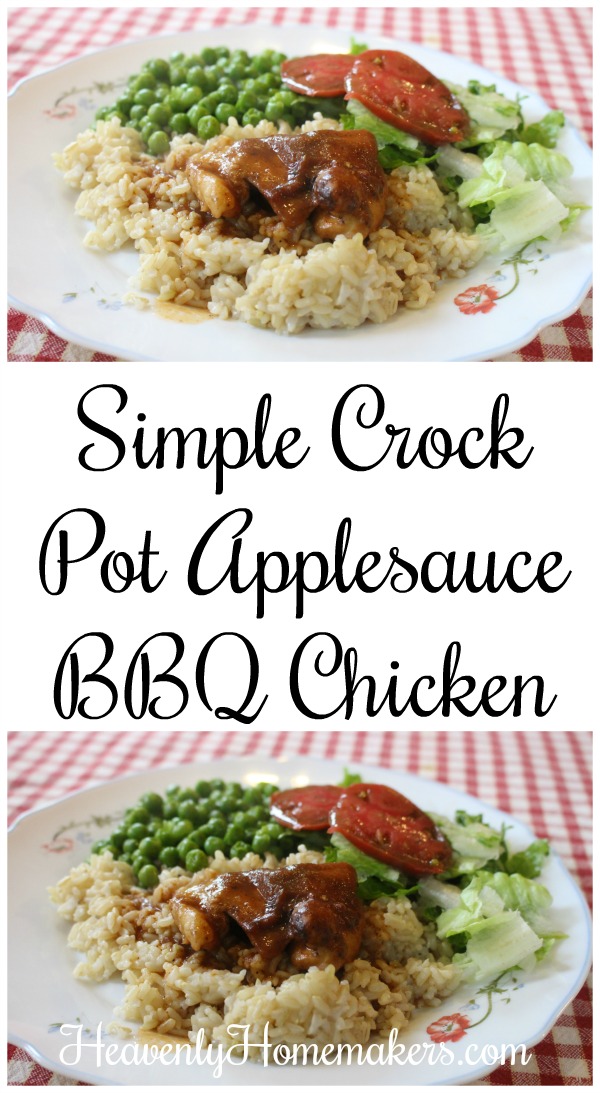
Simple Crock Pot Applesauce BBQ Chicken
- 2 pounds boneless chicken thighs or breasts
- ⅔ cup natural applesauce
- ⅔ cup BBQ sauce
- Sea salt to taste
- Chili powder to taste
- Place chicken pieces at the bottom of a crock pot.
- Sprinkle salt and chili powder over chicken.
- Drizzle on applesauce and bbq sauce.
- Cover and cook on low for 5 hours.
- Serve over rice or potatoes.
Catch the running list of Simple Meals on a Simple Budget here.
Want even more Simple Recipes?
- Simple Baked Salmon and Asparagus
- Simple Crock Pot Chicken Soup with a Kick
- Simple Skillet Taco Pasta
- Last-Minute Lentil Chili
- Simple Sweet and Sour Baked Chicken Legs
- 20-Minute Taco Soup
- Simple Cheesy Baked Chicken
- Simple Creamy Chicken Stew in the Crock Pot
- Simple Italian Beef and Broccoli Skillet
- Simple Bacon Ranch Chicken
- Simple Hawaiian Crock Pot Chicken
- Simple Taco Rice Dinner
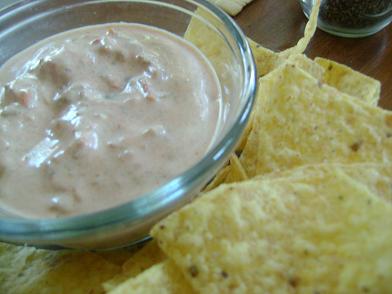
- Simple Last Minute Nacho Plate
- Simple Chicken Cheeseballs with a Kick
- Simple Beanie Weanies
- Simple Crock Pot BBQ Spareribs
- Simple Pizza Chicken Bake
- Simple Italian Chicken and Green Bean Bake
- Last Minute Creamy Bacon Spaghetti
- Simple Hamburger Soup
- Simple Parmesan Broiled Fish
- Simple Overnight Saucy Crock Pot Chicken
- Simple 15-Minute Meal
- Simple Overnight Melt-in-Your-Mouth Beef Roast
- Simple 3-Cheese Crock Pot Pasta
- Simple Oven Fried Chicken
- Simple Honey Mustard Chicken Legs
- The Easiest Mashed Potatoes in the World
- Simple Garlic Butter Shrimp
- Simple Crunchy Ranch Chicken Strips
- Simple Crock Pot Shredded Ranch Chicken (for salad or tacos)
- Simple Crock Pot Pizza Casserole
- Simple Barbecue Beef Roast
- Simple Spanish Rice Bowls
- Simple Roasted Rotiserie Chicken
- Simple Green Chile Chicken
- Simple Tex-Mex Creamy Chicken
- Simple Waffle Omelets
- Simple Crock Pot Taco Pasta
- Simple Grilled Chicken
- Simple Hawaiian Beef Roast
- Simple Crock Pot Creamy Stew Meat
- Simple Cheese Stuffed Burgers
- Simple Hashbrown Casserole (For Instant Pot, Crock Pot or Oven!)
- Simple Lasagna Casserole (For Instant Pot or Crock Pot)
- Simple Chili Mac
- Simple Bacon Cheeseburger Casserole
- From Burrito Bar to Casserole (a 5-Minute Meal!)
- Simple Bacon Cheeseburger Roll
- Simple Garlic Parmesan Chicken Legs
- Super Simple Lasagna
- The Simplest White Chicken Chili
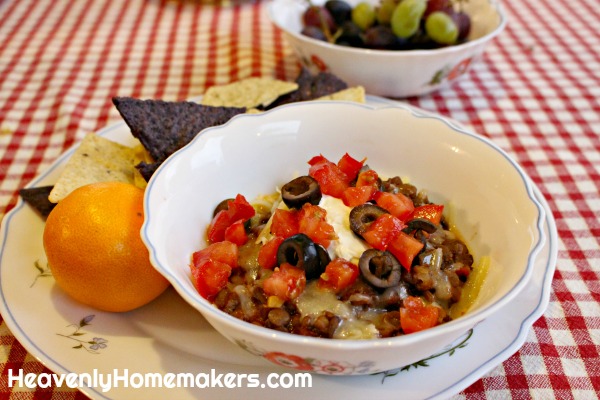
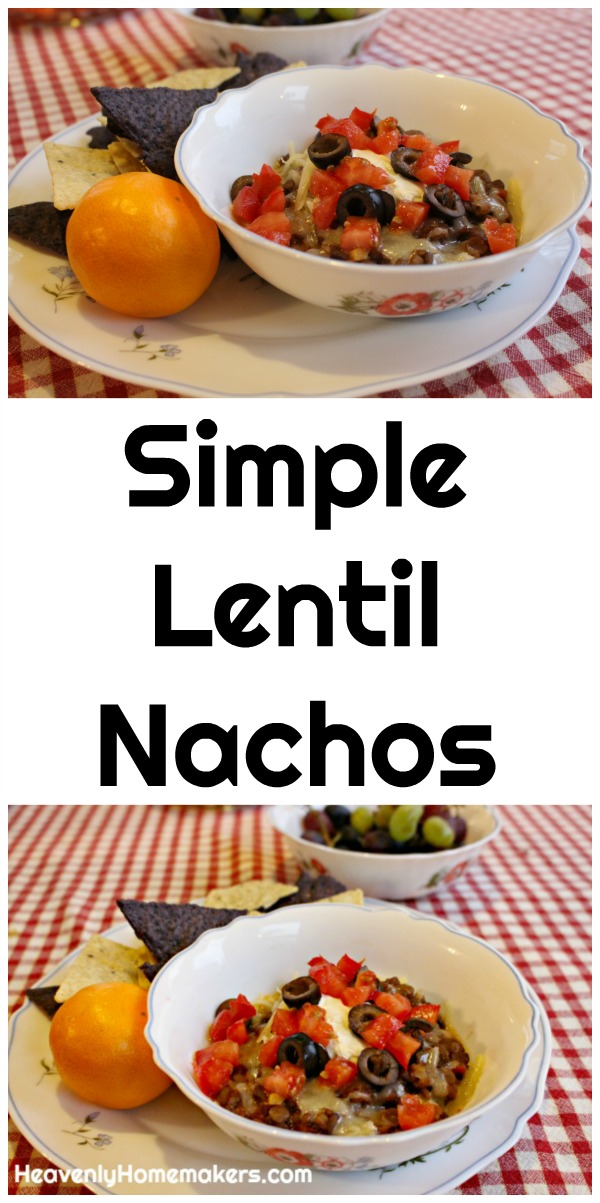
- Simple Lentil Nachos
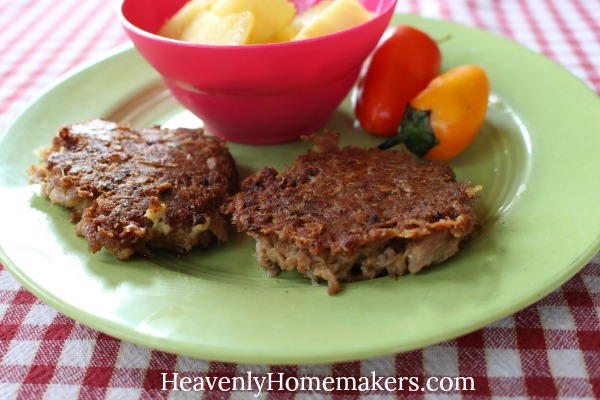
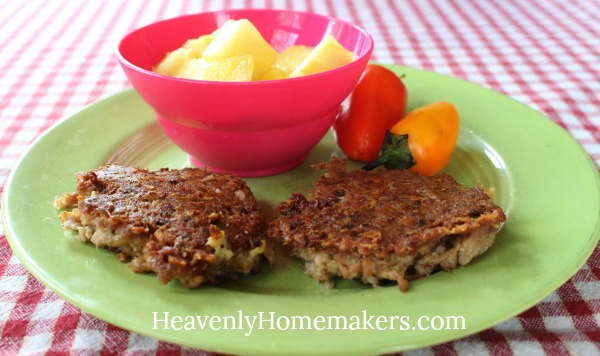
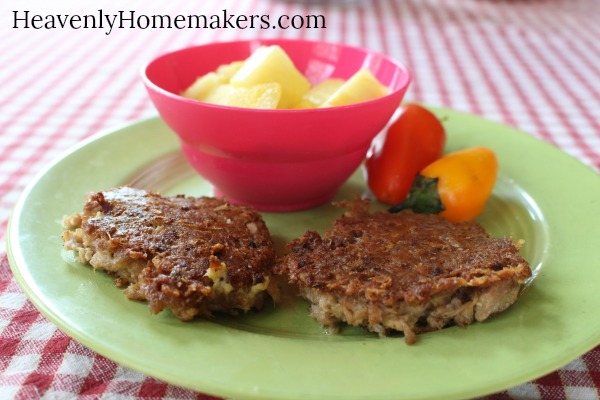
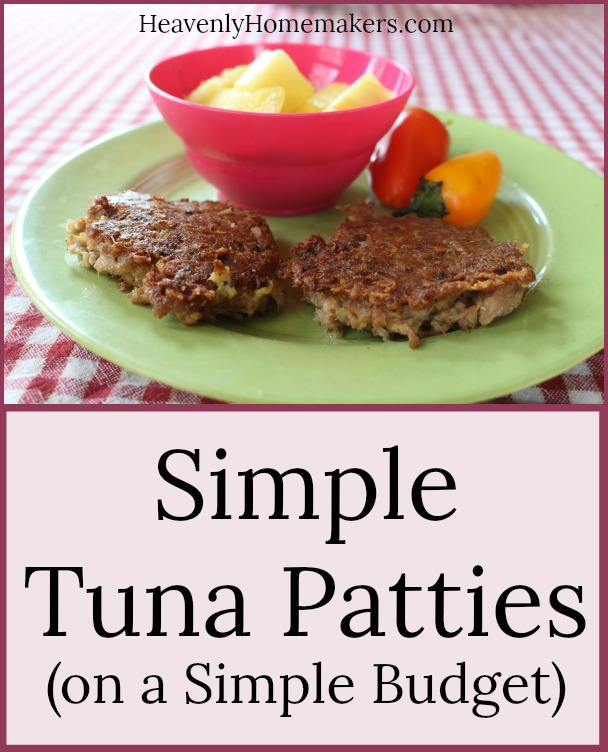
- Simple Tuna Patties
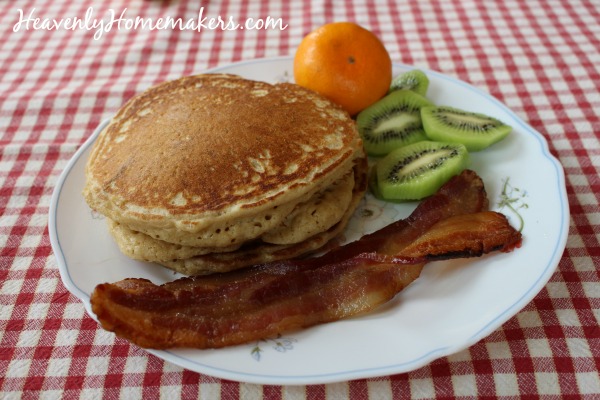
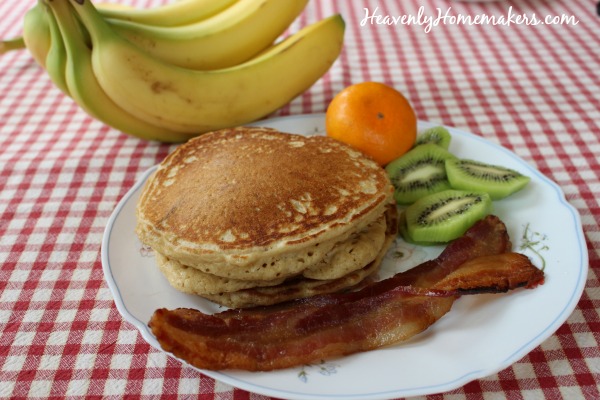
- Simple Banana Pancakes
Enjoy all these recipes without effort when you become a Simple Meals member! Every week we’ll send you a great menu plan full of Simple Recipes like this one. We’ll equip you with a grocery list. We’ll break everything down so that your meal prep is as simple as possible. We’ll give you bonus tips and recipes and freebies. And this is all for just $1 each week. You’ll love it!
[wp_eStore_subscribe_fancy id=19]