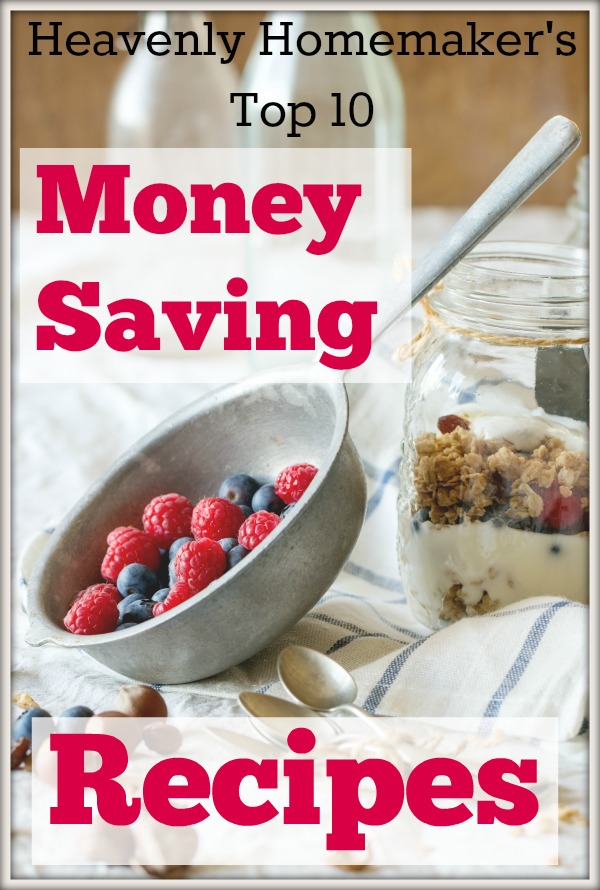
Many of you remember my God is Bigger Than a Free Range Chicken post, and fondly refer to it as one that was refreshing and life changing for you. It made the Best Of Heavenly Homemakers book as one of the top picks. Fun!
If I were to summarize that post, I would simply say: If you can’t afford free range chicken (or fill in the blank with any number of other great food options like grass fed beef or cage free eggs), you need not worry. God is bigger. He will provide. And at least serving your family a conventionally raised chicken is better than serving them highly processed boxed food filled with MSG.
So that’s that.
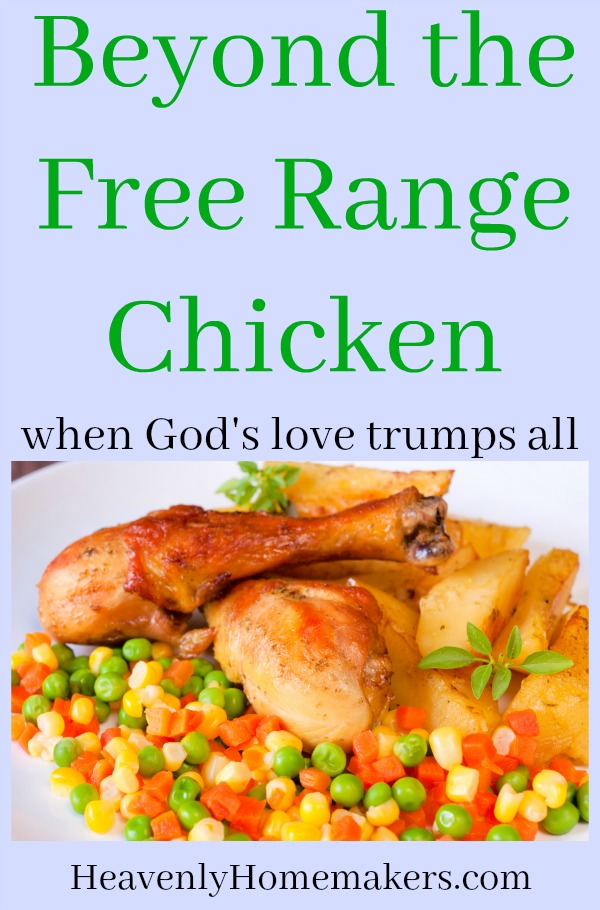
Beyond the Free Range Chicken
Today I’d like to share with you how far God has taken me in a different direction during the past few years in regard to the free range chicken.
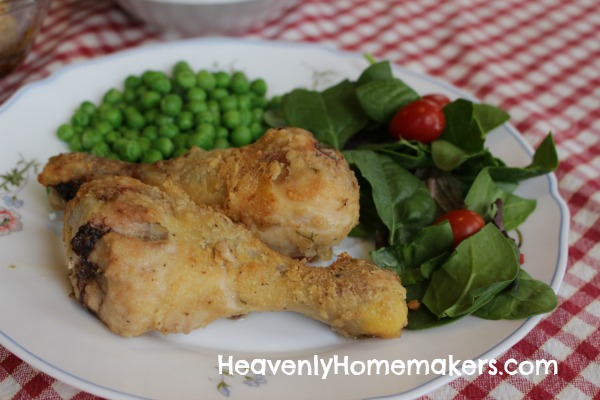
Yes, I still prefer to serve my family grass fed beef and free range poultry. Yes, I love my organic greens. Truly, I can tell the difference in cage free eggs compared to regular store bought.
But none of this – not any of it – matters when I look beyond all that is physical and earthly into what I believe God asks us to focus on for His Kingdom purposes.
Perhaps I could restate this by re-writing my own version of 1 Corinthians 13: If I have a perfectly raised, free range chicken, but have not love, I am nothing but a conscientious cook whose meat is free of antibiotics. If I have dozens of cage free eggs, a refrigerator full of organically grown produce, and a freezer filled with grass fed beef, but have not love, I am nothing.
But then, of course, I’d need to switch back to the actual words from this passage once we get to verse four: “Love is patient. Love is kind. Love does not envy, it does not boast, it is not proud…”
A couple years ago, Matt and I asked God to show us what it really means to “Love God and love our neighbor.” He has been faithful to teach us and in short, we’ve learned that true love looks a lot different than inviting people into a perfectly clean house so that we can serve them grass fed pot roast with a side of organic carrots.
God’s love looks like seeing people who are often overlooked. It looks like listening to people who are lonely. As of late, for Matt and me, love looks like spending time with new friends who just got out of prison and are determined to make a new life for themselves in Jesus. It looks like forming relationships with recovering addicts who are letting God be at the heart of their transformation and healing. It looks like hearing people’s stories, sharing our own stories, and being completely open to letting the Holy Spirit lead our days.
As God has been gently changing my heart focus, the quality of my chicken matters less and less to me.
I absolutely do still care about nourishment and believe that we should be caring for our bodies well so that we can love others well. But if you’ve noticed an extreme shift in my recipes and food encouragement that has taken us from spending hours in the kitchen to keeping our food as simple as possible, this is why.
God’s people matter more than free range chicken. Loving others in the name of Jesus trumps all.
What should this love and outreach look like from one home to another? Only God has the answer to this question. Ask and you shall receive. This is guaranteed by Jesus himself.
So where does this leave our beloved free range chicken? It all depends on what God provides for each day. His ways are perfect, His provision is flawless, and we can rest peacefully knowing that we can trust Him completely.