Heavenly Homemakers

Encouraging women in homemaking, healthy eating and parenting

  • Home
    • About
    • FAQs
  • Recipes
    • Bread and Breakfast
    • Condiments
    • Dairy
    • Main Dishes
    • Side Dishes and Snacks
    • Desserts
    • Gluten Free
    • Instant Pot
    • Crock Pot
    • Heavenly Homemaker’s Weekly Menus
  • Homemaking
    • Real Food Sources
  • Store
  • Contact
    • Advertise
    • Disclosure
    • Privacy Policy
  • Simple Meals
  • Club Members!

Easy No-Bake Chocolate Peanut Butter Oatmeal Bars (Low Sugar!)

August 28, 2018 by Laura 2 Comments

This post may contain affiliate links. For more information, please see our disclosure policy.

I originally created these Easy No-Bake Chocolate Peanut Butter Oatmeal Bars as a fun option for all of us to include in a lunch box. How was I to know they would also be great to eat for breakfast?
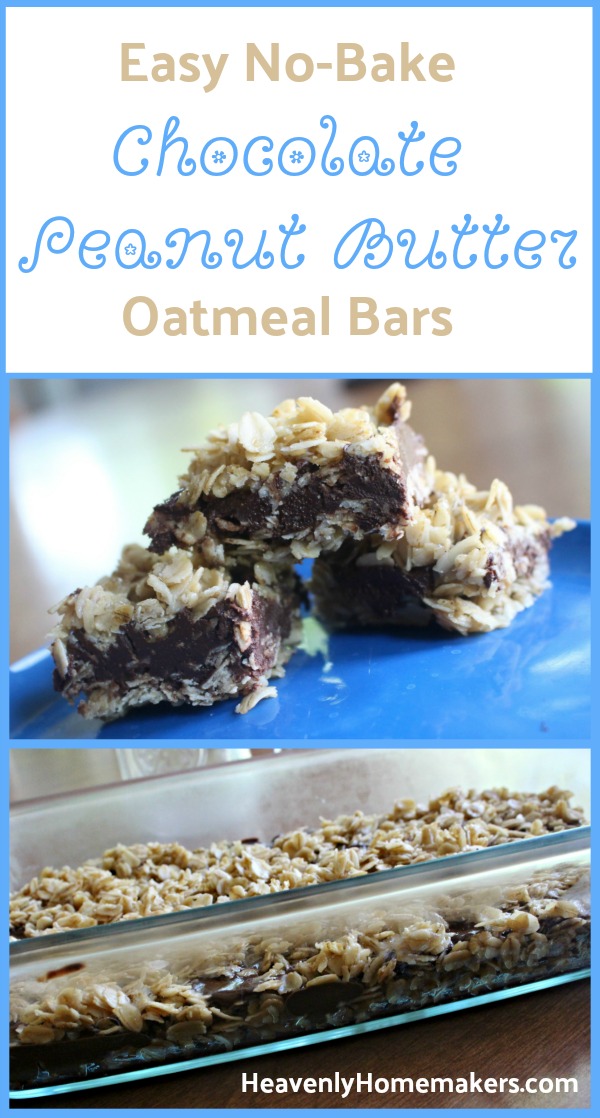
Some things simply can’t be helped. Before I knew what was happening, I had my morning coffee in one hand and a plate with one of these bars in the other. I was in my recliner before I realized, “How did I get here? Who gave this to me? What am I supposed to do with this thing? Eat it? For breakfast?”

There was nothing I could do.

I had made them the night before and slid them into the fridge. I spotted them when I reached in for the half-n-half to embellish my coffee to perfection. I saw the bars. Oats, peanut butter, uh…chocolate. Yes, it did sound a lot like breakfast.

When in need, a person can justify just about anything, am I right?
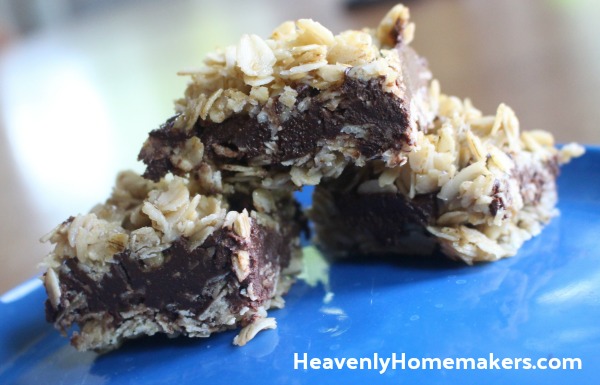
Well, you look at those and tell me you could resist choosing to eat one with your morning coffee. Especially when trying to make such an important decision BEFORE drinking the said coffee. No one can make good decisions before drinking the coffee.

Though I decided rather quickly that eating these with my morning coffee was actually a brilliant idea. So apparently I can make good decisions before coffee when there is chocolate involved.

I have now made the decision for you. Go ahead. Eat these for breakfast with your coffee. It’s a perfect way to start the day.
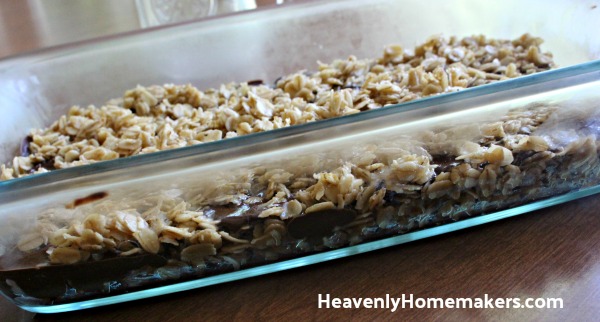
Easy No-Bake Chocolate Peanut Butter Oatmeal Bars

5.0 from 1 reviews
Easy No-Bake Chocolate Peanut Butter Oatmeal Bars (Low Sugar!)
 
Save Print
Author: Laura
Serves: 18
Ingredients
  • ½ cup butter (1 stick)
  • 2 Tablespoons brown sugar, sucanat, or honey
  • 3 cups whole rolled oats
  • 1 cup dark chocolate chips (semi sweet or milk chocolate is fine too, but will add to the sugar content)
  • ½ cup natural peanut butter
Instructions
  1. In a saucepan, melt butter and brown sugar together until smooth.
  2. Add rolled oats and stir over medium heat for about 30 seconds until oats are toasted in the butter/sugar mixture.
  3. Press half of the oat mixture into a 8x8 inch or 2-quart oblong baking dish.
  4. Set the remaining mixture aside.
  5. In another saucepan, stir the chocolate chips and peanut butter together over medium heat until melted and smooth.
  6. Spread chocolate mixture over the oat mixture in the pan.
  7. Sprinkle remaining oat mixture over the chocolate.
  8. Refrigerate for 2 or more hours.
  9. Cut into bars and serve.
3.5.3229

After you eat these for breakfast, consider also packing one for lunch. That is, after all, the original reason I created these. Details, details.

More great additions to your lunch box:

  • Quick Bread in a Jar
  • Veggies With Dip in a Jar
  • Flourless Brownie Muffin
  • Mini Crustless Quiche in a Jar
  • Chips with Guacamole
  • Burrito Bowl in a Jar
  • Tuna Salad with Crackers
  • Salad in a Jar
  • Popcorn Chicken with Ranch
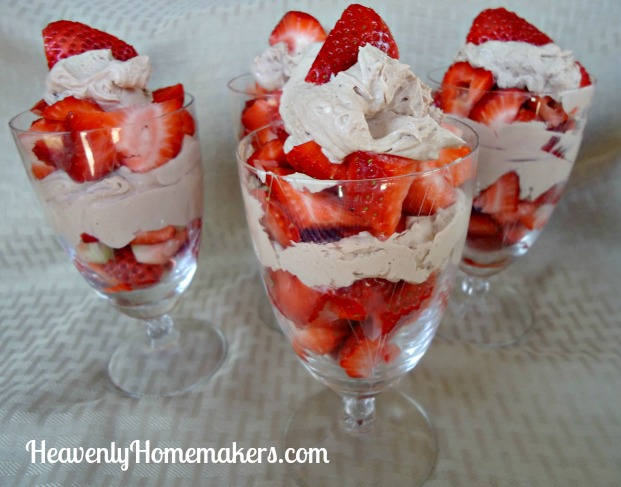
  • Fruit Cheesecake Parfait

Pssst! Want more recipes like this one that include only five or fewer ingredients? This is for you!

[wp_eStore_fancy1 id=32]

Heavenly Homemaker's Club Members: Access your homepage and all your fantastic resources here! Not a member yet? Please join us!

Lunch in a Jar: Fruit Cheesecake Parfaits

August 26, 2018 by Laura Leave a Comment

This post may contain affiliate links. For more information, please see our disclosure policy.

If starting up a new school year is a bit of a bummer to you, these Fruit Cheesecake Parfaits will make it all better. After all, if you know you’ve packed this for your lunch box, you have so much to look forward to!

Sometimes I exaggerate (i.e. My house is always clean!!). But when it comes to these Fruit Cheesecake Parfaits, it is no exaggeration when I say that this is my all-time favorite food and I cannot get enough. And by the way, is there such thing as a clean house when there are people living within its walls? I don’t think so. No matter. We have Fruit Cheesecake Parfaits. Life is good and crumbs on the floor represent happiness.

You’ve heard me talk about these Strawberry Cheesecake Parfaits. You already know how much I love them. When strawberries aren’t in season, I cry a little bit.

The fact that these can be packed and taken in a lunch is a huge perk. Another perk is the fact that you can sweeten these with either stevia or regular sugar – whatever you and your family prefer. (I make batches of both as my children aren’t stevia fans.)

Add to these perks that you can make a Chocolate Cheesecake Parfait version and now we’re all completely overjoyed.

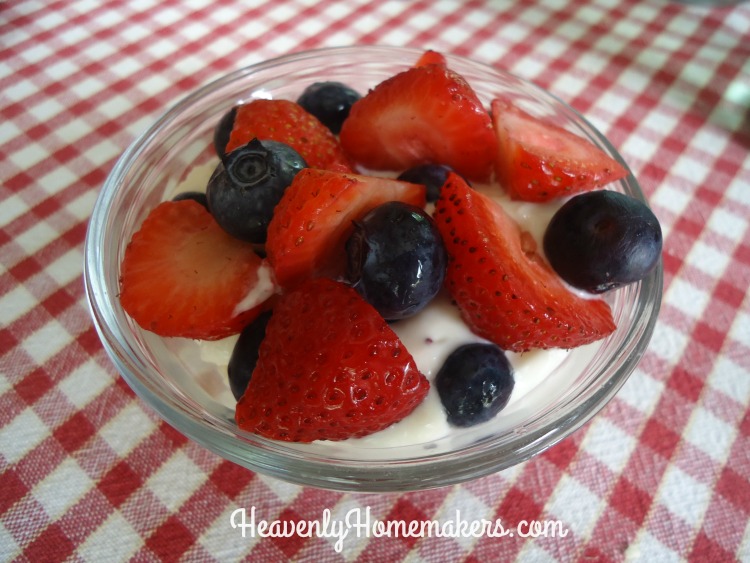
These parfaits can be made with any variety of your favorite fruit that is in season: strawberries, blueberries, raspberries, blackberries, bananas, or peaches. Make them in 8-ounce jars to take on the go as needed. Perfection!

—-> Did you see the fun list of supplies and jars I recommend for packing lunches? <—–

I’ll post this recipe again here for your convenience. Enjoy how fabulous this makes your lunch box!

Fruit Cheesecake Parfaits

Lunch in a Jar: Fruit Cheesecake Parfaits
 
Save Print
Author: Laura
Serves: 4
Ingredients
  • 2½ cups heavy whipping cream
  • 8 ounces softened cream cheese
  • 1 teaspoon vanilla extract
  • 1 Tablespoon real maple syrup
  • Liquid stevia to taste (I use about 20 drops) (Use a few Tablespoons of sugar if you prefer.)
  • 1 -2 pounds fresh, sliced strawberries, blueberries, raspberries, blackberries, bananas, or peaches
  • *Add 3 Tablespoons unsweetened cocoa powder if you would like a chocolate version of this cheesecake parfait!
Instructions
  1. Place all ingredients (minus the fruit) into a blender.
  2. Whip until smooth and creamy.
  3. Spoon mixture into jars, bowls, or cups - layering them with sliced fruit.
3.5.3229

Great additions to your Fruit Cheesecake Parfait Lunch in a Jar Idea

  • Quick Bread in a Jar
  • Veggies With Dip in a Jar
  • Flourless Brownie Muffin
  • Mini Crustless Quiche in a Jar
  • Chips with Guacamole
  • Burrito Bowl in a Jar
  • Tuna Salad with Crackers
  • Salad in a Jar
  • Popcorn Chicken with Ranch

Have you tried this Fruit Cheesecake Parfait recipe yet? What’s your favorite fruit to use with it?

Heavenly Homemaker's Club Members: Access your homepage and all your fantastic resources here! Not a member yet? Please join us!

Lunch in a Jar: Mini Crustless Quiche

August 23, 2018 by Laura 3 Comments

This post may contain affiliate links. For more information, please see our disclosure policy.

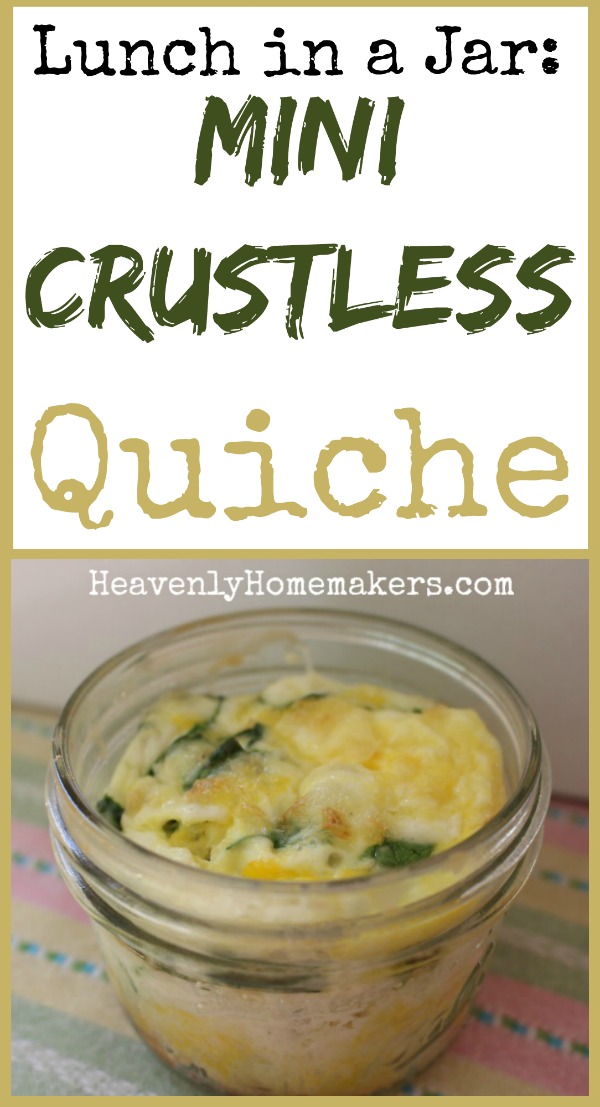
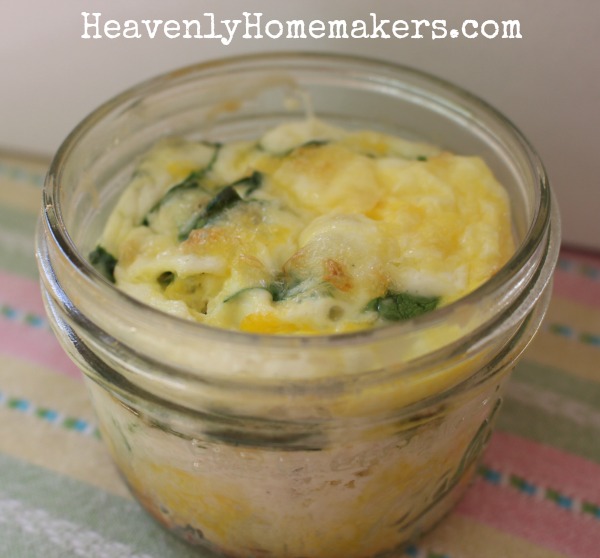
If we can bake Quick Bread in a Jar we can certainly bake Mini Crustless Quiche in jars. Check this out!

Surely your first question is: “If I bake quiches in jars, then pack them in a lunch, won’t they taste weird since they are cold?”

You would think so. But these quiches actually taste good cold. Or, if you have the ability to rewarm them, that’s great too. <— Laura states the obvious.

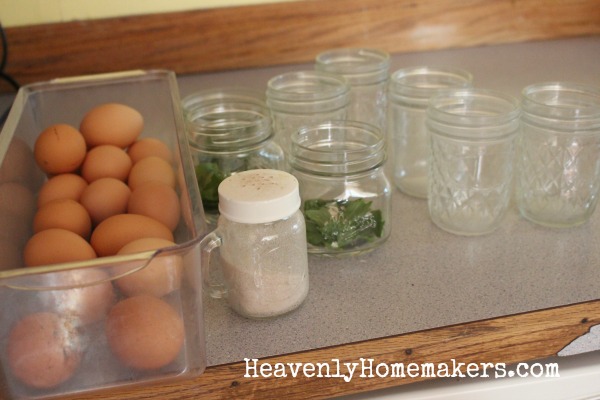
Just like so many Lunch in a Jar ideas we are sharing this month, these Mini Crustless Quiches can be made to order. Add or exclude whatever your family likes. It’s super easy to line up several jars and fill them using an “assembly line” method.

If you have cooked meat, put some in each jar per people’s preferences. If the kids won’t scream too loud about it, add some fresh spinach. Crack in 1-2 eggs per 8-ounce jar (1 if you have a lot of add-ins, 2 if you are more focused on eggs than meat/veggies/cheese). Add in any goodies you like: onions, sweet peppers, shredded cheese, cooked sausage, cooked bacon, chopped ham, leftover chicken – the options are only limited to your preferences and what you have on hand!

I recommend 8-ounce wide mouth jars for each Mini Crustless Quiche as they are easier to clean afterward. But truly, any 8-ounce jar will work!

—-> Did you see the fun list of supplies and jars I recommend for packing lunches? <—–

Lunch in a Jar: Mini Crustless Quiche

Lunch in a Jar: Mini Crustless Quiche
 
Save Print
Author: Laura
Ingredients
  • 1-2 eggs per 8-ounce jar
  • 1 Tablespoon heavy whipping cream or milk per jar (optional)
  • Sea salt and pepper to taste
  • Add in options:
  • Cooked Sausage Crumbles
  • Cooked Bacon Bits
  • Chopped Ham
  • Shredded Cheese
  • Chopped Onion
  • Chopped Sweet Pepper
  • Torn Spinach Leaves
  • Leftover Cooked Chicken
  • Your choice!
Instructions
  1. Crack 1-2 eggs into each 8 ounce jar.
  2. Add cream or milk, salt and pepper, plus any add-ins you like.
  3. Use a fork to scramble the contents together in the jar.
  4. Place jars on a cookie sheet.
  5. Bake for 30-40 minutes in a 350 oven until contents in each jar have puffed up and cooked until the middles no longer "jiggle."
3.5.3229


Even my pickiest kid loves these – even with the spinach!! Score!

What are your additional suggestions for Add-Ins for these Mini Crustless Quiches?

Great additions to your Mini Crustless Quiche Lunch in a Jar Idea

Consider adding any of the following to your lunch box along with your Mini Crustless Quiche

  • Quick Bread in a Jar
  • Veggies With Dip in a Jar
  • Apples & Peanut Butter in a Jar (or other fruit and dips)
  • Flourless Brownie Muffin
  • Fresh cantaloupe, watermelon, berries, or pineapple
  • A jar of your favorite smoothie
  • A Cheesecake Muffin

We’ve got 10 super fun Lunch in a Jar ideas to share this month – perfect for your Back to School lunchbox! Subscribe here so you won’t miss a post!

Heavenly Homemaker's Club Members: Access your homepage and all your fantastic resources here! Not a member yet? Please join us!

Lunch in a Jar: Chips and Guac

August 21, 2018 by Laura Leave a Comment

This post may contain affiliate links. For more information, please see our disclosure policy.

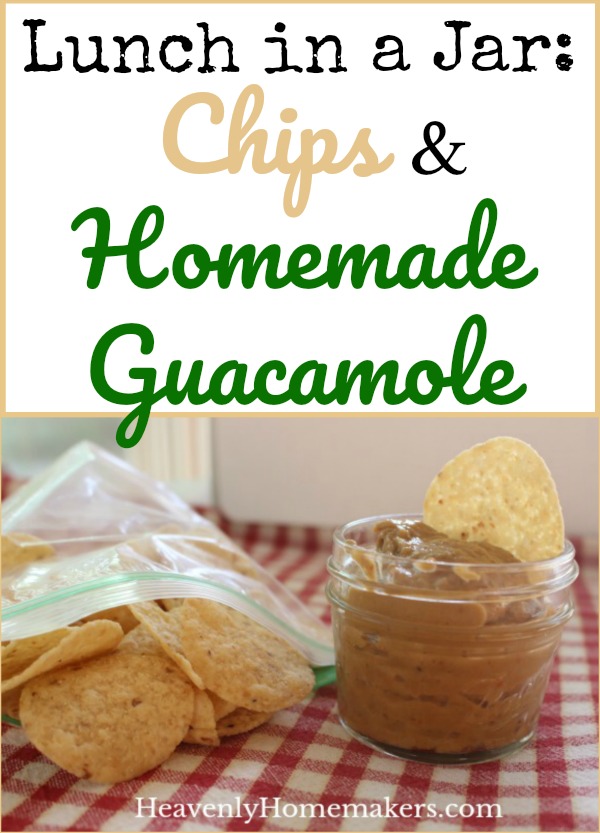
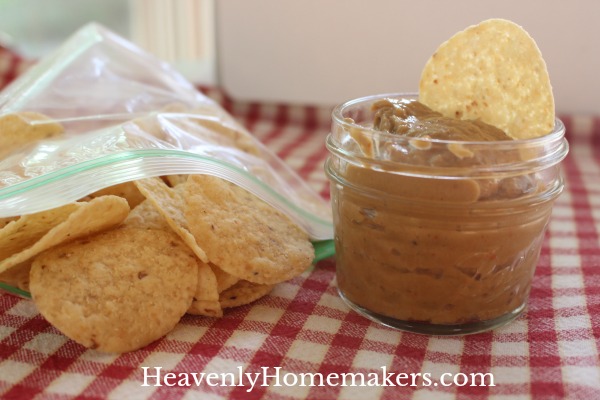
Chips and guac is a surprisingly perfect lunch to pack in a jar and take on the road, to work, or to school!

Now, let’s not talk about the color of the guacamole. Bless its heart. It is delicious and it can’t help the way it looks. Green (avocados) and red (salsa) make…the color of baby poop. We offer huge apologies for this, yet there’s nothing we can do to change it.

Trust me, we’ve tried.

But we like to do things the simple way around here, so it is what it is. The fact that we can scoop avocados into a blender, dump in salsa and lime juice, then blend it to perfection – all in five minutes? Well, so what if the mixture turns out not-so-pretty? We just made a super nutritious and delicious snack or meal in record time!

I shared our favorite Guacamole Recipe here. But I’ll share it again today as a perfect “Lunch in a Jar” idea. Truly, this is substantial enough to make a meal. The guac packs perfectly in a small jar. Add a baggie of tortilla chips and any other sides and your lunch box will be the envy of all around you.

Especially because of the color of your guac. Who wouldn’t be jealous of that?

Lunch in a Jar: Chips and Guac

Lunch in a Jar: Chips and Guac
 
Save Print
Author: Laura
Serves: 4-6
Ingredients
  • 4 ripe avocados
  • 16-ounce jar of your favorite salsa
  • 3-4 Tablespoons of lime juice
Instructions
  1. Cut open the avocados, pull out the pit, and scoop the "meat" into a blender.
  2. Dump salsa and lime juice into the blender.
  3. Blend until smooth.
3.5.3229

I recommend these tiny 4-ounce jars for packing guacamole. These 8-ounce wide mouth jars are also awesome for those with a bigger appetite.

—-> Did you see the fun list of supplies and jars I recommend for packing lunches? <—–

Great add-ins to your Chips and Guac Lunch in a Jar Idea

  • Quick Bread in a Jar
  • Veggies With Dip in a Jar
  • Apples & Peanut Butter in a Jar (or other fruit and dips)
  • Flourless Brownie Muffin
  • Or this would be a great side dish to go with your Burrito Bowl in a Jar
  • Tuna Salad with Crackers
  • Salad in a Jar

We’ve got 10 super fun Lunch in a Jar ideas to share this month – perfect for your Back to School lunchbox! Subscribe here so you won’t miss a post!

Heavenly Homemaker's Club Members: Access your homepage and all your fantastic resources here! Not a member yet? Please join us!

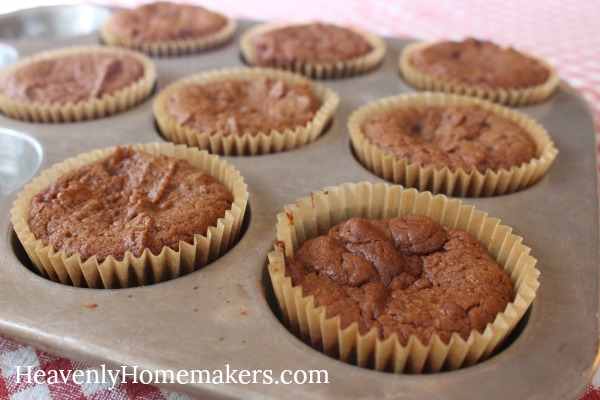
Super Moist Flourless Brownie Muffins – Perfect for a Lunch Box!

August 12, 2018 by Laura 7 Comments

This post may contain affiliate links. For more information, please see our disclosure policy.

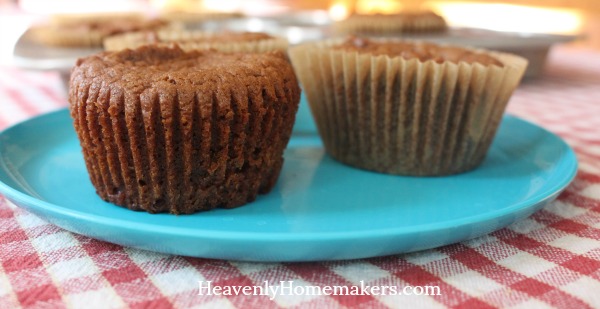
Would someone please stop me from eating all of these Flourless Brownie Muffins?

Just kidding. I’d actually like to keep eating them.

And also, I can let the kids eat all the Flourless Brownie Muffins they want because there is no reason to hold back on these. Want a brownie for breakfast? Sure! Want three more brownies? Okeedokee. Ran out and need to bake more brownies? Shucks, don’t mind if I do.


It’s been so interesting to me since I posted these Super Moist Flourless Brownie and Super Moist Flourless Peanut Butter Brownie recipes. SO MANY people have had trouble with them turning out dry and crumbly. (This is the opposite of moist – what in the world?! I am baffled.)

I’ve been trying to trouble shoot and solve the mystery of this, because these recipes turn out great for me every single time! Is it my oven? It can’t possibly be that my oven works in these recipes and all other ovens don’t. Is it the temp? The time?

I do believe it’s the time. I shortened the baking time in the instructions, hoping that will make a big difference. I believe the trick to turning out perfect Super Moist Flourless Brownies is to pull them out of the oven when they are slightly underdone. If they bake too long, they will become dry and taste like burned nut butter. Meh.

So during my time of tweaking and trouble shooting, it occurred to me that I should try baking this recipe in muffin cups. Perhaps that would turn out Super Moist Flourless Brownie Muffins, I thought. Maybe if this recipe was baked in muffin cups, we could bake them for less time and avoid drying out our brownies.

Well, as it turned out, once again these Super Moist Flourless Brownie Muffins turned out perfect for me! So perfect, in fact, I had a difficult time staying out of them. “I just want one more. I can quit any time…”

As for baking time on these Super Moist Flourless Brownie Muffins, I’m going to recommend 12-15 minutes. They may look slightly underdone when you pull them out. But this is what will keep them gooey and delicious!

Super Moist Flourless Brownie Muffins

5.0 from 2 reviews
Super Moist Flourless Brownie Muffins - Perfect for a Lunch Box!
 
Save Print
Author: Laura
Serves: 12
Ingredients
  • 1½ cups (12-ounces) Peanut Butter or Almond Butter
  • ½ cup honey
  • ½ cup unsweetened cocoa powder
  • 2 eggs
  • ½ teaspoon baking soda
Instructions
  1. Stir all ingredients together until well combined.
  2. Scoop batter into 12 paper-lined muffins cups.
  3. Bake in a 350 degree oven for 12-15 minutes. (Remove them from the oven when they are just slightly underdone so they come out moist!)
3.5.3229

I felt this recipe was worth sharing in the middle of my Lunch in a Jar series simply because these Super Moist Flourless Brownie Muffins are perfect for your Back to School Lunchbox! They are filling, nourishing, and fun!

Other Lunch Box ideas shared so far in this series:

Great add-ins to your Fruit with Dip Lunch in a Jar

  • Popcorn Chicken with Ranch
  • Quick Bread in a Jar
  • Veggies With Dip in a Jar
  • Apples & Peanut Butter in a Jar (or other fruit and dips)

We’ve got 10 super fun Lunch in a Jar ideas to share this month – perfect for your Back to School lunchbox! Subscribe here so you won’t miss a post!

Heavenly Homemaker's Club Members: Access your homepage and all your fantastic resources here! Not a member yet? Please join us!

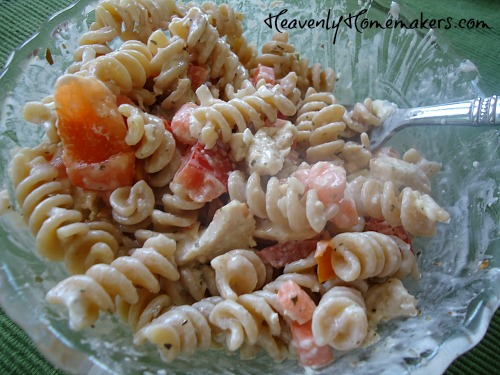
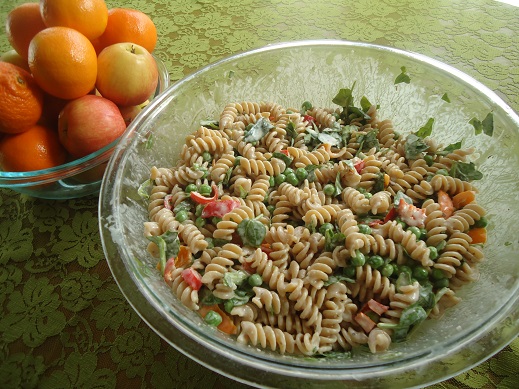
Simple Summer Supper: Perfect Pasta Salad

July 29, 2018 by Laura 1 Comment

This post may contain affiliate links. For more information, please see our disclosure policy.

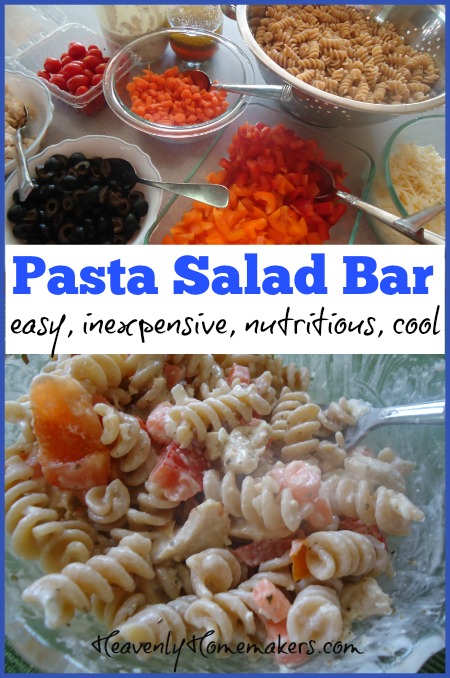
What makes this Perfect Pasta Salad perfect? You do, of course! You build it the way you like it, making it the perfect salad for you!

Perfect Pasta Salad Tips:

  • Save leftover Grilled Chicken or Grilled Salmon to stir into your Pasta Salad.
  • Pull other fun leftover tidbits from your fridge to use up in your Pasta Salad (peas, beans, chopped veggies, etc.).
  • Set out a variety of options and let everyone build their own Perfect Pasta Salad. This is, of course, is what makes it perfect for everyone!

Except for the people who refuse to add any veggies to their pasta salad. I have kids at my house who try this. This makes the Pasta Salad not so perfect. Pasta and meat – what else do they need? VEGGIES. They need veggies. This is not difficult.

Perfect Pasta Salad Options:

  • Cooked and cooled whole wheat or brown rice pasta – any shape
  • Chopped sweet peppers
  • Chopped carrots
  • Chopped tomatoes
  • Cooked chicken, tuna, steak, roast beef, salmon or other meat that sounds good
  • Chickpeas or other cooked beans
  • Corn
  • Olives
  • Shredded cheese
  • Favorite salad dressings – we prefer homemade Italian Salad Dressing and Ranch Salad Dressing
  • Other delicious add-ins of your choosing!

Set out any options you know your family or guests would enjoy. Set out bowls and forks. Slice a watermelon. Now you’ve got yourself a Simple Summer Supper in the form of a Perfect Pasta Salad!

Have you seen our other Simple Summer Suppers? Here’s a running list:

  • Simple BLT Wraps
  • Simple Bacon Broccoli Salad
  • Simple Sloppy Joes
  • Simple Sloppy Grilled Cheese Sandwiches
  • Simple Taco Salad
  • Simple Grilled Tortilla Pizza
  • 16 Simple Summer Dips
  • Simple Tuna Salad Wraps
  • The Perfect Grilled Chicken
  • Farmer’s Market Finds
  • BLT Chopped Salad
  • Simple Grilled Salmon

Don’t miss any of our new ideas we’ve got coming! Subscribe for free so all the latest can come directly to your inbox!

Have you become a Simple Meals member yet? You will LOVE how simple all the recipes are, and better yet, you’ll love that we do all the planning for you!

Heavenly Homemaker's Club Members: Access your homepage and all your fantastic resources here! Not a member yet? Please join us!

Simple Summer Supper: Grilled Salmon

July 26, 2018 by Laura 2 Comments

This post may contain affiliate links. For more information, please see our disclosure policy.

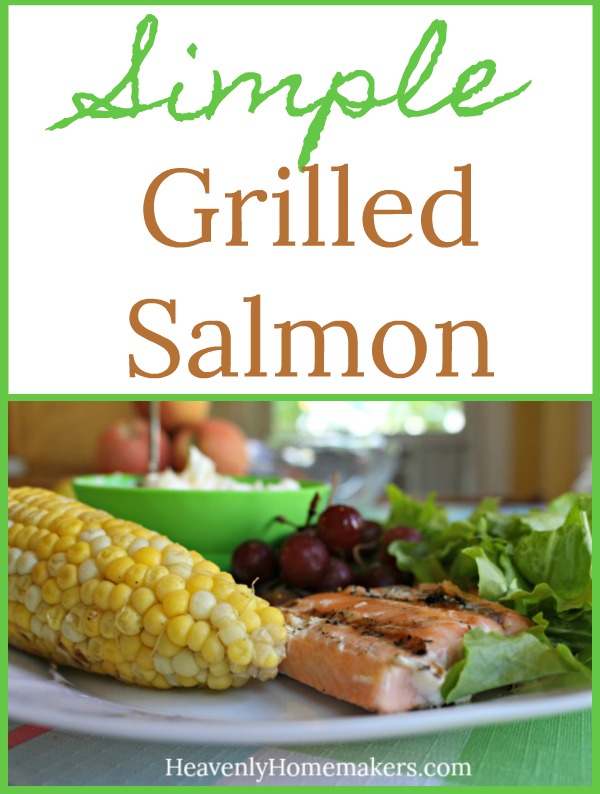
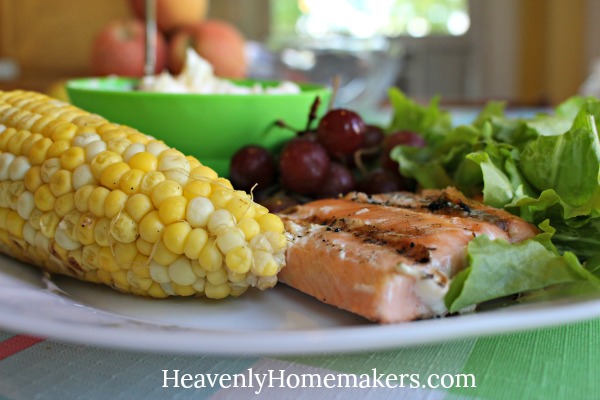
There’s nothing fancy about this Simple Grilled Salmon. But who needs “fancy” when “delicious” fills the plate?

I know there are more flavor-packed ways to grill salmon. The recipes for such are all over the internet and they look amazing.

But do you know what is also delicious? Salmon thrown on the grill with no preparation or prior thought. I hesitated to try this because I’d heard salmon didn’t grill well straight on the grates.

Lazy cook that I am (and by lazy, of course I mean clever), I decided one night to try grilling our salmon as-is. No prep. No seasoning. No cedar plank that had been soaked in newborn baby kisses (or whatever delightful options we read about that promise to present us with perfectly grilled salmon).

Would it be good? Would my family eat it? Would it be a waste of good salmon?

Or would it be yet another simple meal idea we could keep in our back pocket?

You guys! Why must we make real food cooking difficult? Just go get you some salmon fillets and throw them on the grill. My family devoured this deliciously simple grilled salmon. My 13 year old ate three fillets before I could stop him. There were no leftovers and I will be making this all summer long.

Might you want to squeeze a lemon over your grilled salmon? Absolutely. Should you consider making homemade tartar sauce (recipe below) to accompany this deliciously grilled meat? Certainly. Do we need to slave over and baby our salmon before we grill it? Not unless we want to.

For the record, I don’t want to. Because I’m lazy. I mean clever.

Simple Grilled Salmon with Homemade Tartar Sauce

Simple Summer Supper: Grilled Salmon
 
Save Print
Author: Laura
Ingredients
  • Wild caught salmon fillets (1-2 per person)
  • Homemade Tartar Sauce:
  • 1 cup mayonnaise (I use Hain Safflower Mayo)
  • ¼ cup sweet pickle relish
Instructions
  1. Grill salmon on low heat for approximately 20 minutes, turning once or twice as needed.
  2. While the meat is grilling, mix mayo and pickle relish to serve with the salmon.
  3. This is so easy it barely qualifies as a recipe.
3.5.3229


Serve this Simple Grilled Salmon with any fresh summer sides you have on hand: Fresh greens, corn on the cob, berries or other fruit, green beans or zucchini – what an amazing meal! Pineapple Fluff is a wonderful addition to this meal.

Have you seen our other Simple Summer Suppers? Here’s a running list:

  • Simple BLT Wraps
  • Simple Bacon Broccoli Salad
  • Simple Sloppy Joes
  • Simple Sloppy Grilled Cheese Sandwiches
  • Simple Taco Salad
  • Simple Grilled Tortilla Pizza
  • 16 Simple Summer Dips
  • Simple Tuna Salad Wraps
  • The Perfect Grilled Chicken
  • Farmer’s Market Finds
  • BLT Chopped Salad

Don’t miss any of our new ideas we’ve got coming! Subscribe for free so all the latest can come directly to your inbox!

Have you become a Simple Meals member yet? You will LOVE how simple all the recipes are, and better yet, you’ll love that we do all the planning for you!

Heavenly Homemaker's Club Members: Access your homepage and all your fantastic resources here! Not a member yet? Please join us!

Simple Summer Supper: BLT Chopped Salad

July 24, 2018 by Laura 1 Comment

This post may contain affiliate links. For more information, please see our disclosure policy.

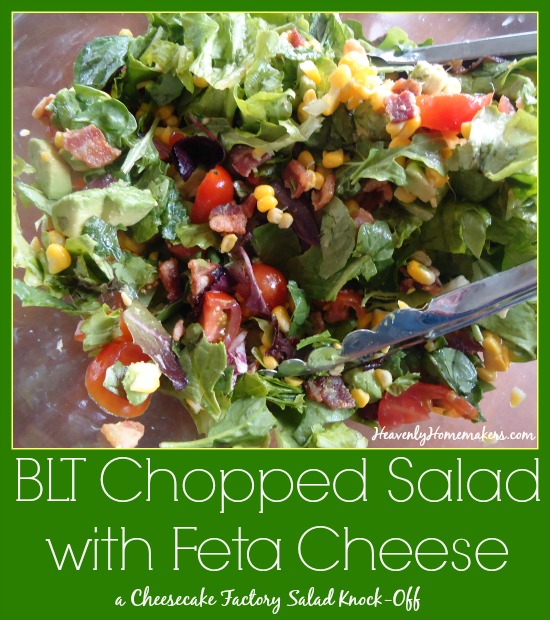
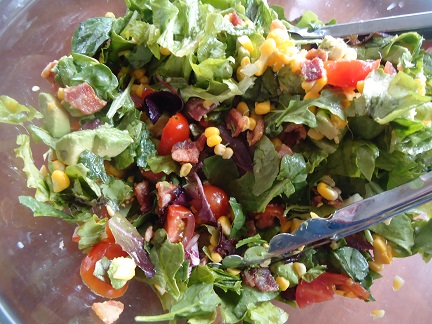
Of all the salads in the world, this BLT Chopped Salad is my very favorite.

I shared this back in 2015 after I fell in love with a variety of this salad from the Cheesecake Factory. Just when you thought people went there for the cheesecake, I give a shout out about a salad. But for the record, their cheesecake is also delicious. :)

What I love about this salad is that every single bite is packed with flavor. Between the savory-ness and salty-ness offered by the bacon and feta cheese, the sweetness provided by the tomatoes and corn, the tartness of the lime juice – this salad packs an incredible flavor punch!

It is also filling, which makes it a great Simple Summer Supper. Some salads leave my family hungry and asking for more food. Not this one!

BLT Chopped Salad

Simple Summer Supper: BLT Chopped Salad
 
Save Print
Author: Laura
Serves: 4-6
Ingredients
  • 6 cups chopped mixed greens, lettuce, or spinach (any combination you like)
  • 2 chopped tomatoes
  • ½ pound bacon, cut into bites, cooked, and drained
  • 1-2 cups sweet corn, cooked and cooled
  • 1-2 chopped avocado
  • 4 ounces feta cheese crumbles
  • Dressing:
  • 2 Tablespoons olive oil
  • Juice of one lime (about 2 Tablespoons)
  • salt and pepper to taste (I put in a few shakes of each)
Instructions
  1. Toss salad ingredients into a large bowl.
  2. In a small jar, shake together dressing ingredients.
  3. Pour over salad and toss.
  4. Serve right away!
3.5.3229


Have you seen our other Simple Summer Suppers? Here’s a running list:

  • Simple BLT Wraps
  • Simple Bacon Broccoli Salad
  • Simple Sloppy Joes
  • Simple Sloppy Grilled Cheese Sandwiches
  • Simple Taco Salad
  • Simple Grilled Tortilla Pizza
  • 16 Simple Summer Dips
  • Simple Tuna Salad Wraps
  • The Perfect Grilled Chicken
  • Farmer’s Market Finds

Don’t miss any of our new ideas we’ve got coming! Subscribe for free so all the latest can come directly to your inbox!

Have you become a Simple Meals member yet? You will LOVE how simple all the recipes are, and better yet, you’ll love that we do all the planning for you!

Heavenly Homemaker's Club Members: Access your homepage and all your fantastic resources here! Not a member yet? Please join us!

Simple Summer Suppers: Perfect Grilled Chicken

July 19, 2018 by Laura 2 Comments

This post may contain affiliate links. For more information, please see our disclosure policy.

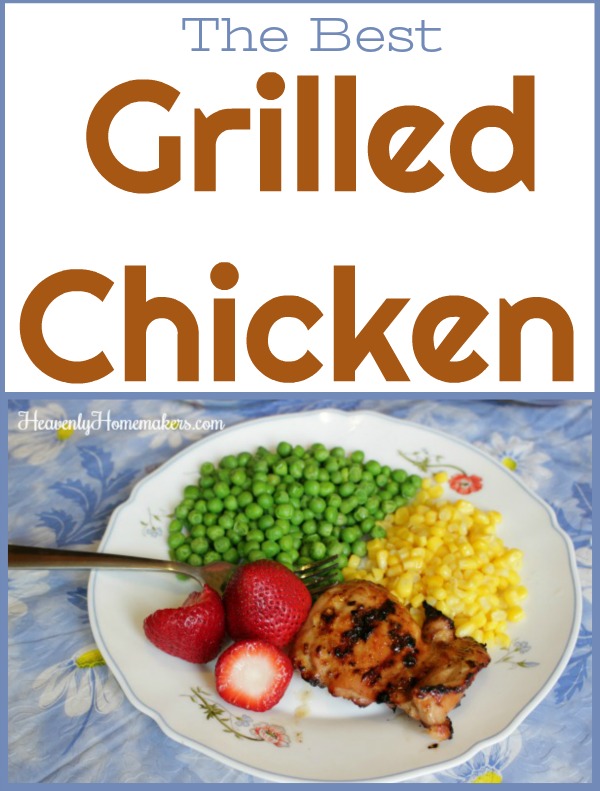
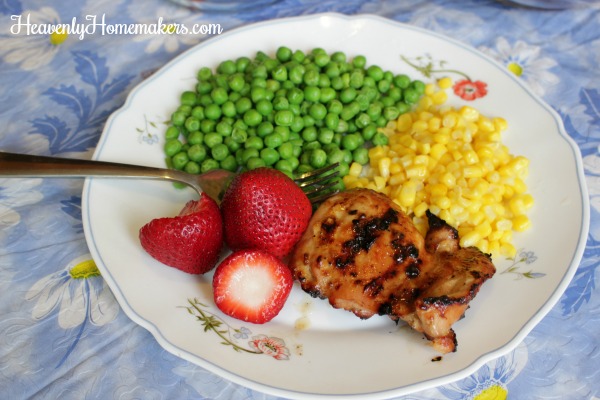
I have the secret to creating the Perfect Grilled Chicken. You can make this even if you own a pitiful grill like we do. :)

Someday we’ll invest in a grill that isn’t duct taped together. I kid. Our grill isn’t really duct taped together. It’s just on the cheap side and doesn’t always light the way it’s supposed to or heat evenly. Through the years we’ve considered putting some money into a better one, but you know what? Ours still works. So we’ll continue to make do until it dies.

In the meantime, our grill still turns out chicken that is incredible. We can’t get enough. It’s always juicy and perfect and you’ll be happy to know the prep time on said chicken is about thirty seconds.

What’s the secret? I’ve shared it before and I must share it again: We use boneless chicken thighs. Skip the dry, chewy chicken breasts. It’s thighs all the way. They have more fat in them, so they turn out a deliciously juicy grilled chicken.

How to make Perfect Grilled Chicken

Simple Summer Suppers: Perfect Grilled Chicken
 
Save Print
Author: Laura
Ingredients
  • 6-12 boneless chicken thighs
  • 1 cup sauce (bbq, teriyaki, sweet and sour, Italian dressing, any of your favorites!)
Instructions
  1. Place chicken and sauce in a ziploc bag or casserole dish to marinate in the fridge. (This takes 30 seconds, but you'll feel like a brilliant chef.)
  2. Marinate for 1-24 hours. (Because sometimes we plan ahead and sometimes we can't handle basic organizational skills for the day.)
  3. Grill on low heat for 25-40 minutes, turning a time or two until your chicken is perfect.
  4. Serve with salad and veggies.
3.5.3229

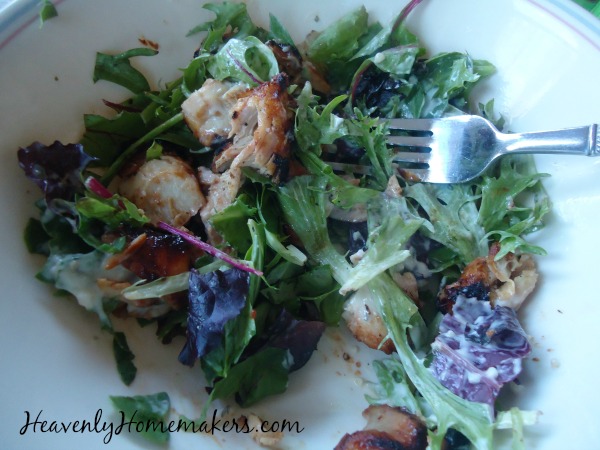
We love making extra chicken to chop into chef salads on another day. It’s kind of like killing two birds with one stone, or rather two chickens with one grill. This is a rather violent way to say “Here’s a great way to get ahead on meals for your family!”

Our favorite homemade marinades for Perfect Grilled Chicken

  • Barbecue Sauce
  • Italian Salad Dressing
  • Teriyaki Sauce

Have you seen our other Simple Summer Suppers? Here’s a running list:

  • Simple BLT Wraps
  • Simple Bacon Broccoli Salad
  • Simple Sloppy Joes
  • Simple Sloppy Grilled Cheese Sandwiches
  • Simple Taco Salad
  • Simple Grilled Tortilla Pizza
  • 16 Simple Summer Dips
  • Simple Tuna Salad Wraps

Don’t miss any of our new ideas we’ve got coming! Subscribe for free so all the latest can come directly to your inbox!

Have you become a Simple Meals member yet? You will LOVE how simple all the recipes are, and better yet, you’ll love that we do all the planning for you!

Heavenly Homemaker's Club Members: Access your homepage and all your fantastic resources here! Not a member yet? Please join us!

Simple Summer Suppers: Tuna Salad Wraps

July 17, 2018 by Laura Leave a Comment

This post may contain affiliate links. For more information, please see our disclosure policy.

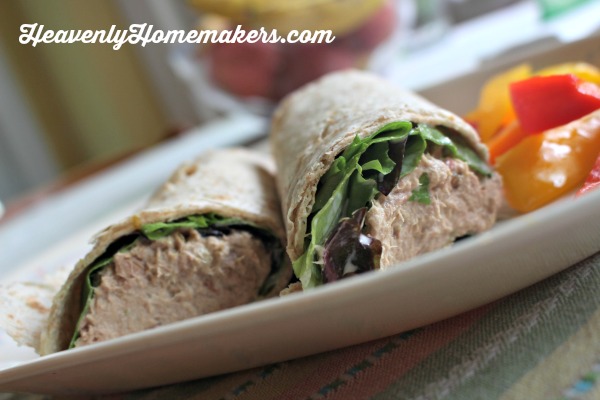
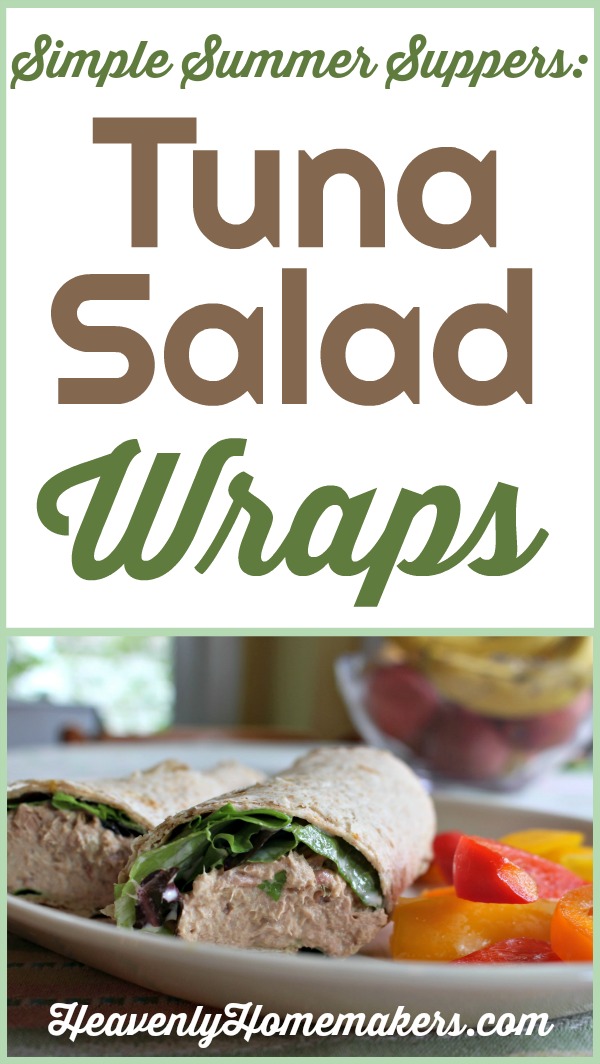
I find these Tuna Salad Wraps to be so refreshing on a hot summer day!

Tuna is a food I consider to be a life saver when I don’t feel like cooking, when I don’t have much time to throw a meal together, and when I’ve failed to thaw meat for dinner.

We eat tuna salad with crackers, in a sandwich, on a bed of lettuce, or in these Tuna Salad Wraps. We set out raw veggies and fresh fruit to eat alongside our tuna. So our meals is nourishing and full of variety!


I love asking my kids to mix up several cans of tuna because it’s something they can make easily. Then we keep it in the fridge to use for upcoming fast meals that don’t heat up the kitchen!

The recipe below is a typical ratio we use to make one can of tuna. Double, or triple, or octuple as necessary for your family!

Tuna Salad Wraps

Simple Summer Suppers: Tuna Salad Wraps
 
Save Print
Author: Laura
Serves: 2-3
Ingredients
  • 6-ounce can tuna in water, drained
  • 3 Tablespoons mayonnaise (I use Hain Safflower mayo)
  • 2 teaspoons sweet pickle relish
  • Dash of sea salt
  • Whole grain wraps
  • Lettuce and tomatoes
Instructions
  1. Mix tuna, mayo, pickle relish, and salt until well combined.
  2. Wrap tuna salad into whole grain wraps with lettuce and tomato.
3.5.3229

Our Favorites to use in Tuna Salad Wraps:

  • Natural Value Yellow Fin Tuna
  • Hain Safflower Mayo
  • Homemade Pickle Relish

Have you seen our other Simple Summer Suppers? Here’s a running list:

  • Simple BLT Wraps
  • Simple Bacon Broccoli Salad
  • Simple Sloppy Joes
  • Simple Sloppy Grilled Cheese Sandwiches
  • Simple Taco Salad
  • Simple Grilled Tortilla Pizza
  • 16 Simple Summer Dips

Don’t miss any of our new ideas we’ve got coming! Subscribe for free so all the latest can come directly to your inbox!

What’s your favorite way to eat tuna?

Some of these links are my affiliate links.

Heavenly Homemaker's Club Members: Access your homepage and all your fantastic resources here! Not a member yet? Please join us!
« Previous Page
Next Page »

Join Our Community!

 Facebook Twitter E-mail Instagram Pinterest

Popular Posts

~ Will All of the Real Moms Please Stand Up?
~ Easy! Stir-and-Pour Whole Wheat Bread
~ How to Make Gatorade
~ 31 Real Food Breakfast Ideas
~ Dear Teenage Girls...
~ When Mom Takes a Step Back
~ The Inexpensive Health Insurance We Love!
~ Let's Talk Real Food Grocery Budgets

Check out our latest posts!

  • Big Family Food and Fun: August 30-September 5, 2026
  • Big Family Food and Fun: August 23-29, 2026
  • Big Family Food and Fun: August 16-22, 2026
  • Big Family Food and Fun: August 9-15, 2026
  • Big Family Food and Fun: August 2-8, 2026
Home  ~  Simple Meals  ~  Club Membership  ~  Shop  ~  Privacy Policy  ~  Disclosure  ~ Contact

Copyright © 2026 · Beautiful Pro Theme on Genesis Framework · WordPress · Log in