Here’s a simple look at the kitchen tools I use often for our Big Family Meals.
These will give you a look at many of the items that help me be much more efficient in our kitchen.
Who are we feeding?
Seven kids every meal. Three to six adults almost every meal. And lots of family and company whenever we can make it happen!


Kitchen Tools I Use Often for Our Big Family Meals
People often ask “how I do it.” These are the tools that make my cooking less tedious and much more efficient.
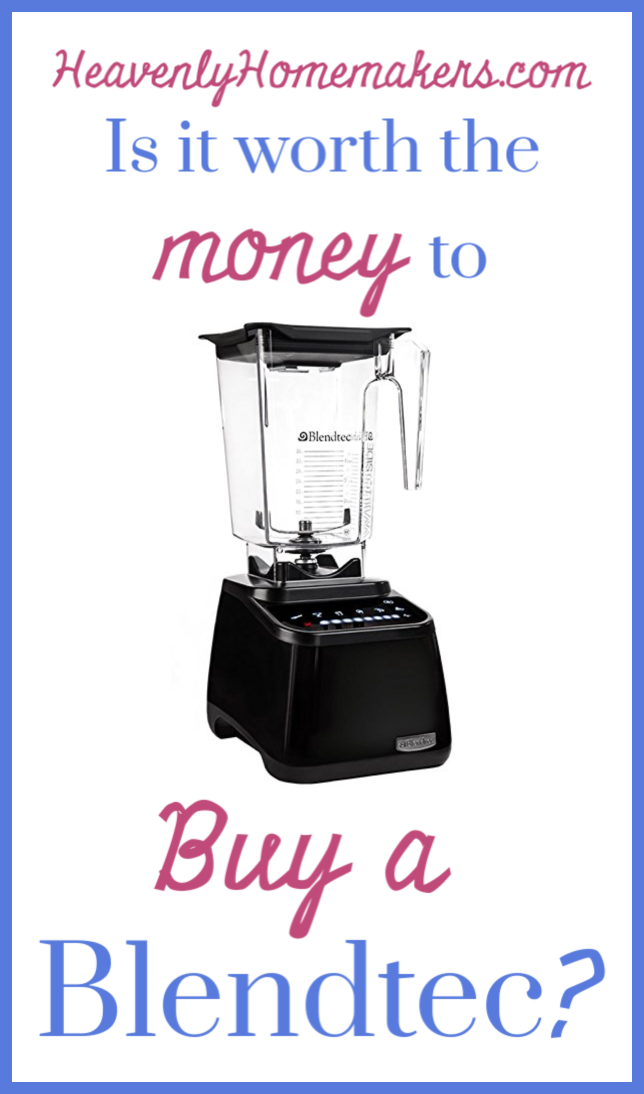
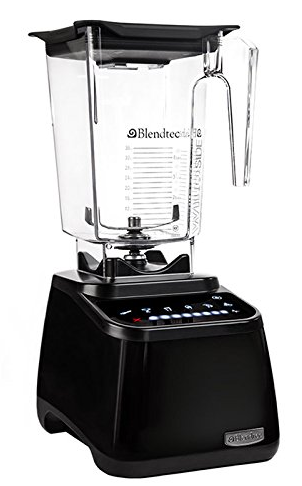
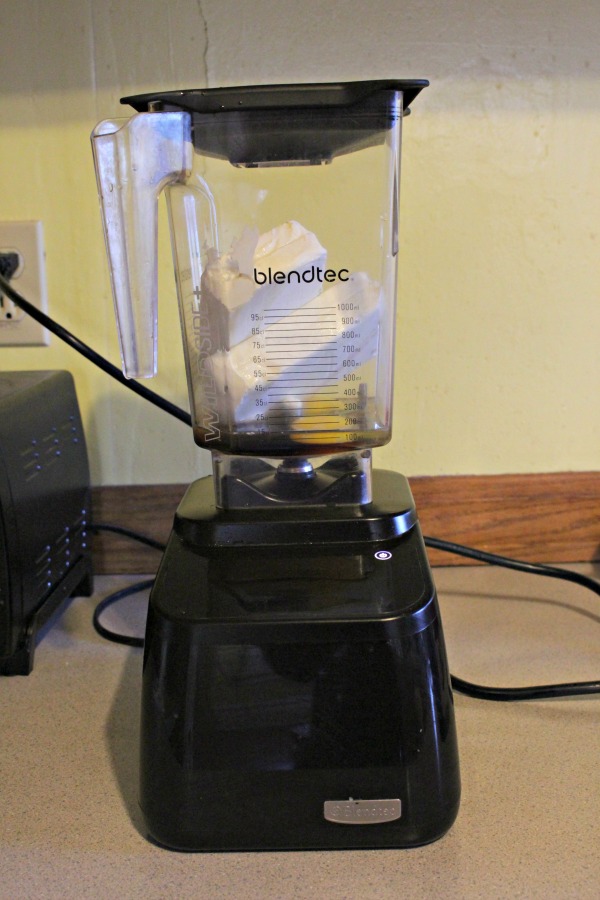
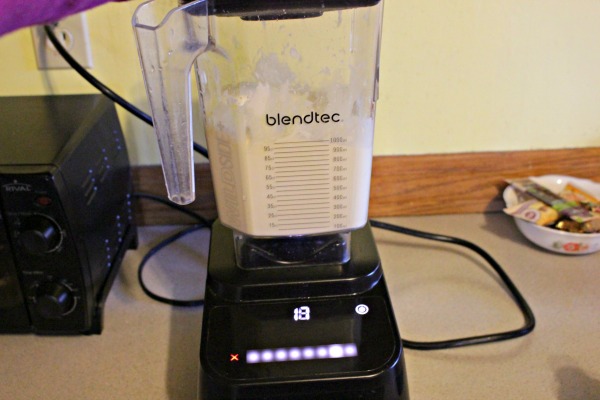
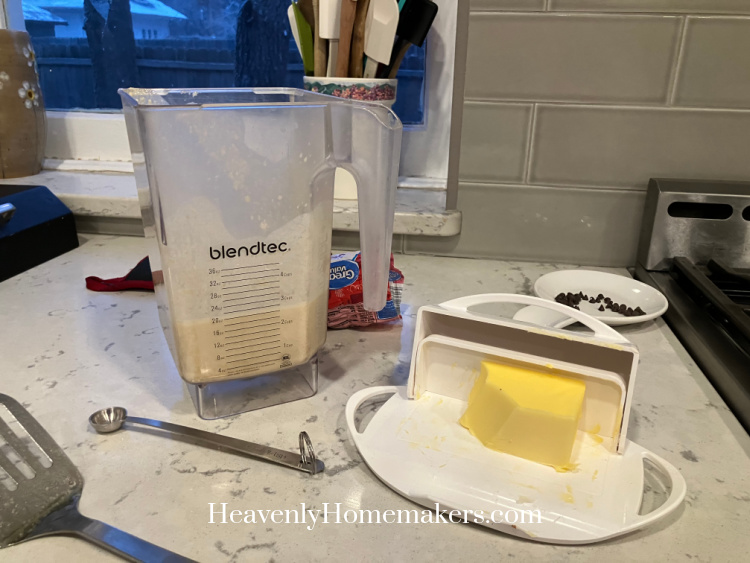
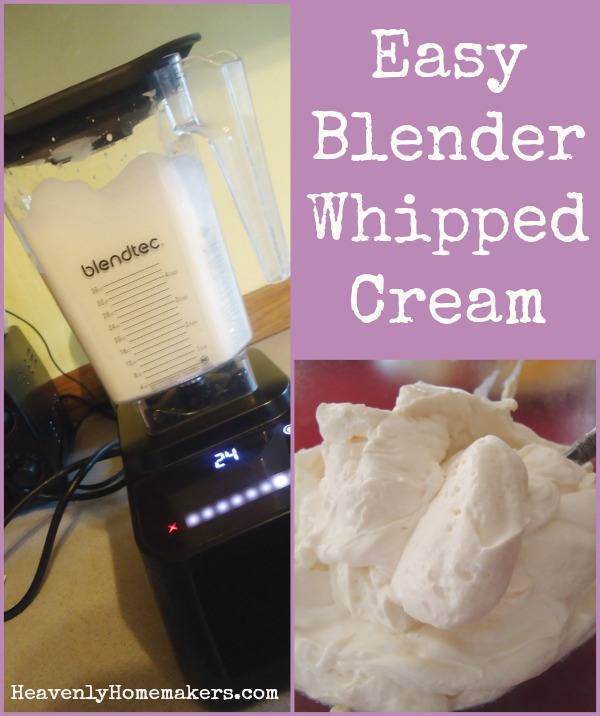
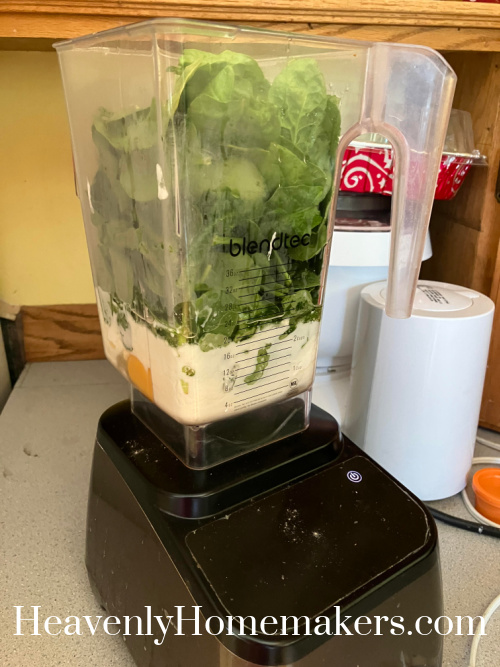
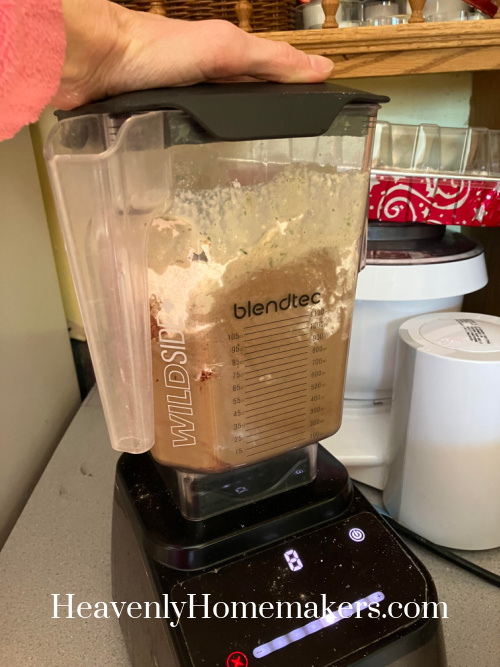
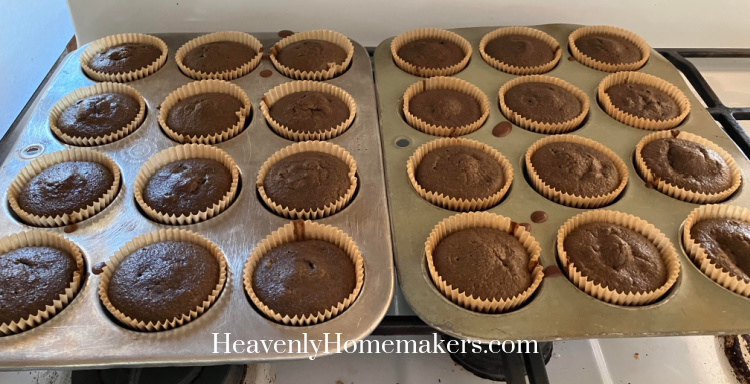
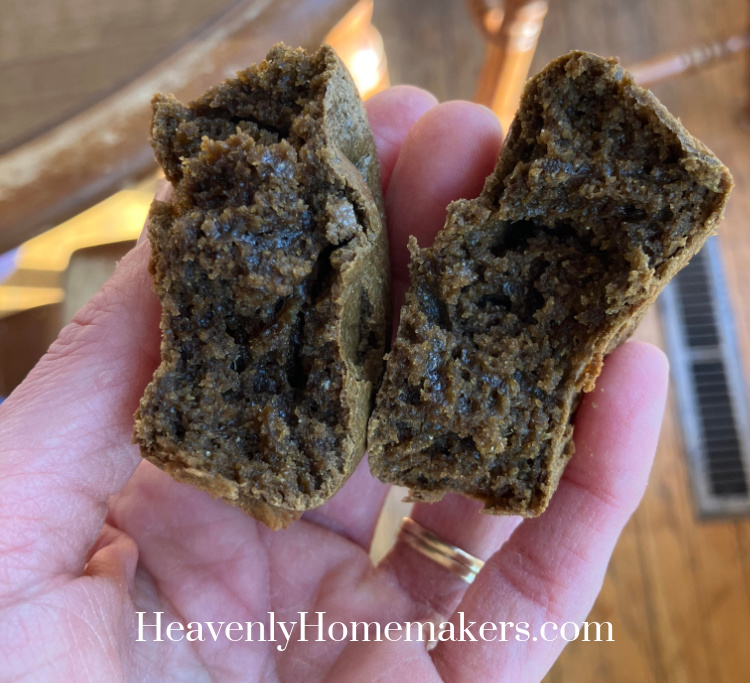
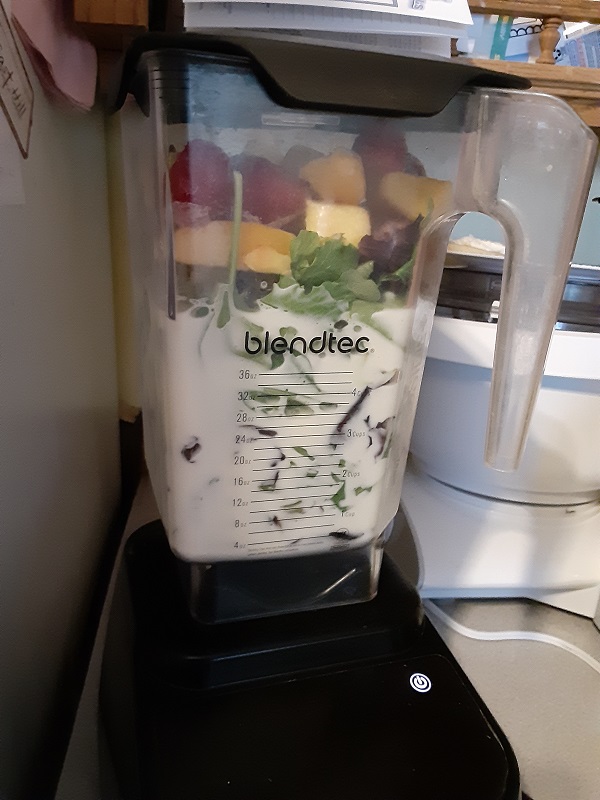
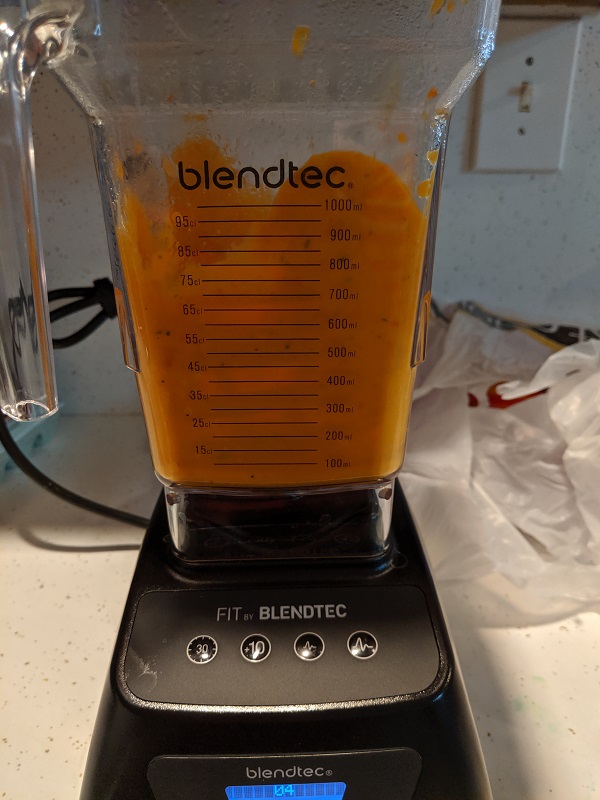
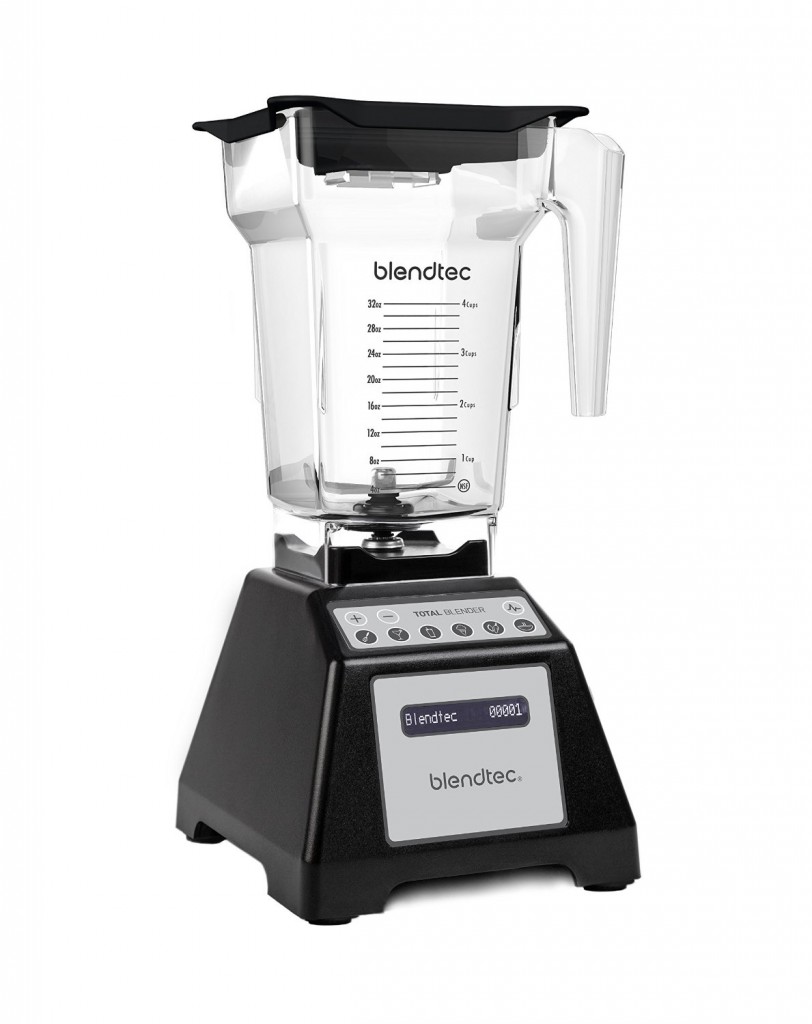
Blendtec
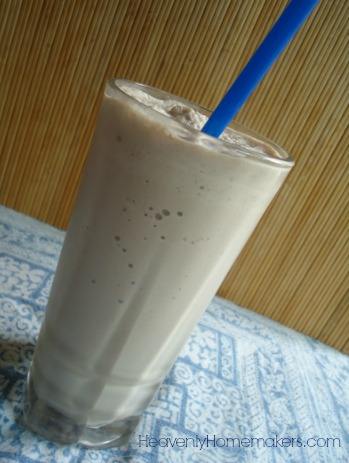
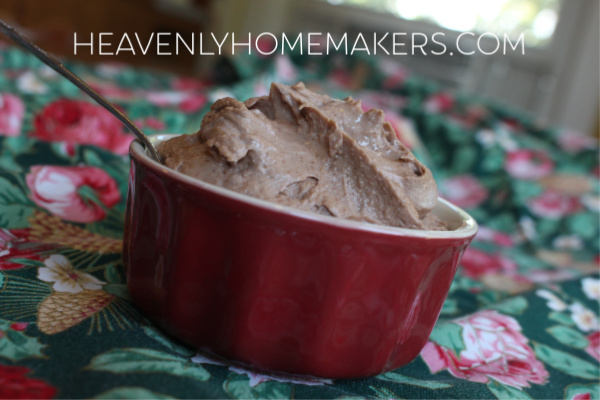
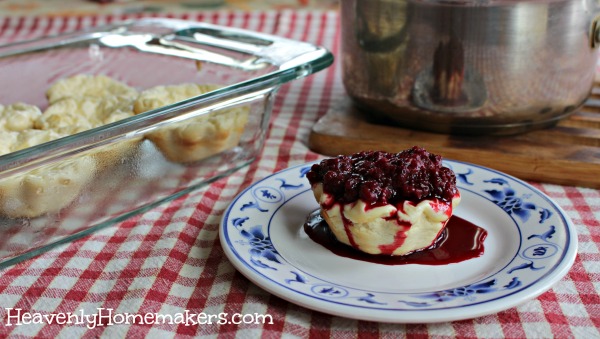
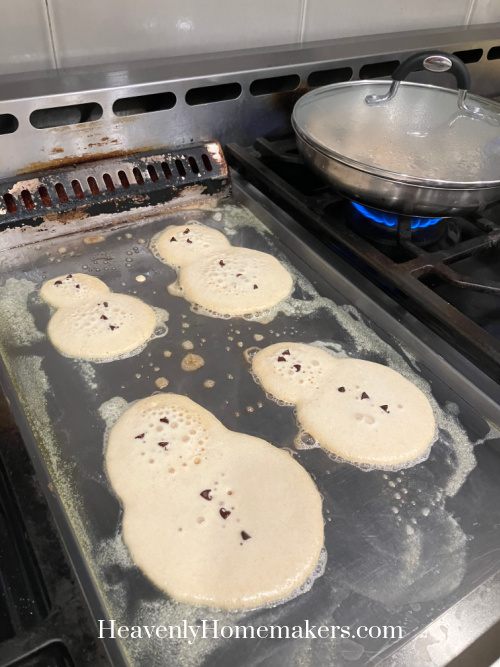
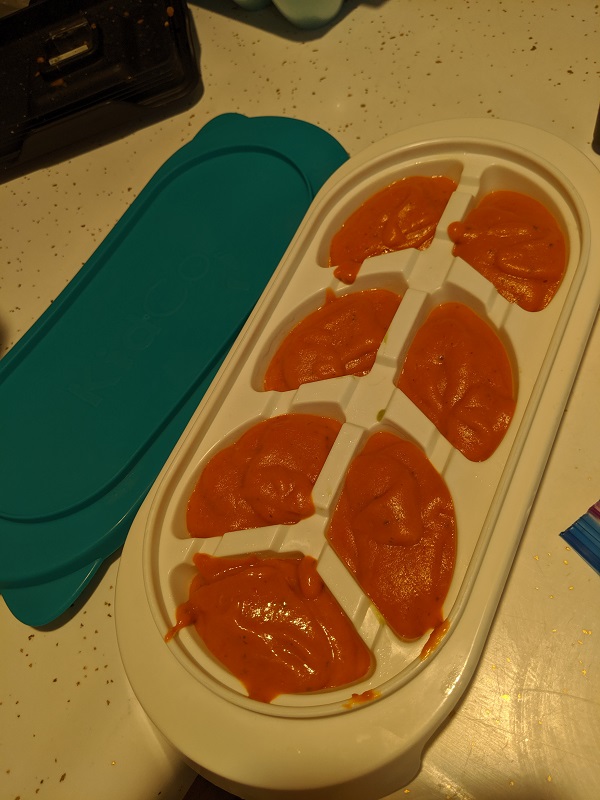
I use this multiple times every day – for smoothies, cupcakes, pancakes, muffins, cheesecake bites, and much more. I love my Blendtec.

Bosch Mixer
This frees my hands so that the kids can help measure and dump in the ingredients and the mixer stirs it together perfectly!

Double Basket Air Fryer
We make chicken nuggets, fries, and hashbrown in this. But even better – we warm up leftovers like pizza. Not only that, we use our Air Fryer as a toaster. It’s perfect for bagels, toast, and to crisp up a sandwich/melt cheese onto a sandwich. We use our Air Fryer multiple times every day!

5.5 Quart Ceramic Skillet
I’ve been needing a huge skillet and this was well worth the investment! I can easily make 18 eggs in the mornings for our breakfast and a huge batch of stir fry for our dinner.

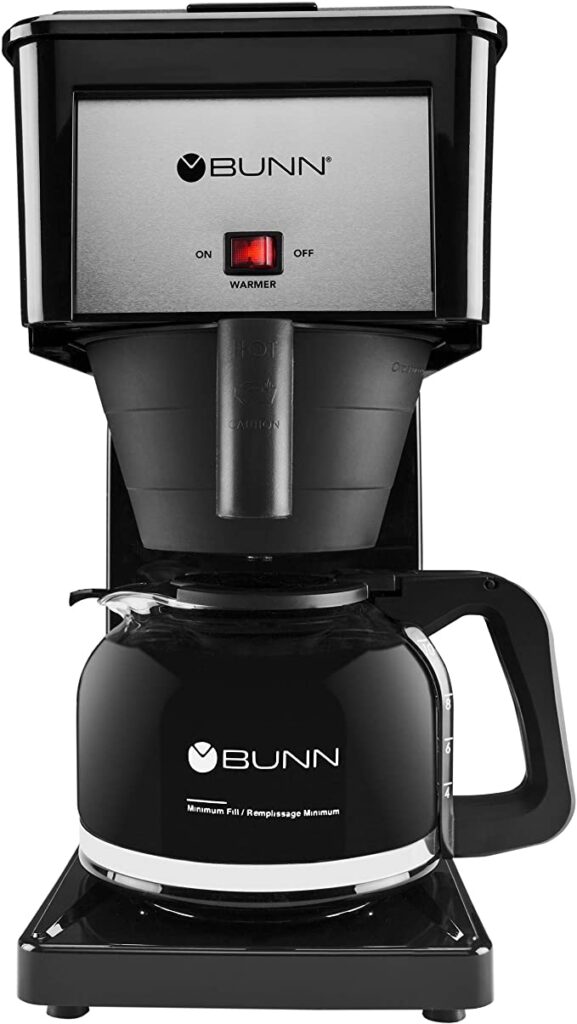
Bunn Coffee Maker
We make one pot every day, but when we have company we make two or three or four. This coffee maker is great because it can brew an amazing pot of coffee in about four minutes!

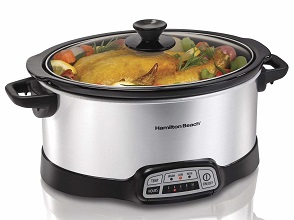
Hamilton Beach 7-Quart Programable Crock Pot
I actually have two 7-quart crock pots and use them both multiple times each week. They make meal prep easy. Or if I need to make food ahead, I put it into a crock pot to keep it warm until meal time.
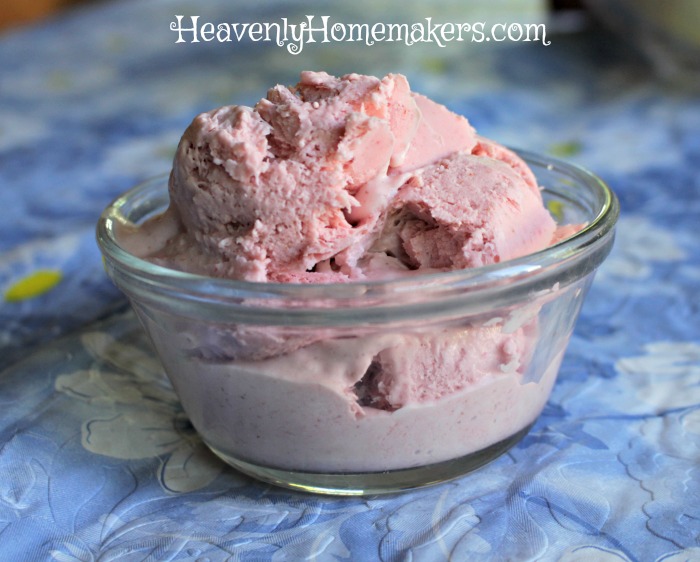
Cuisinart Ice Cream Maker
This gem makes amazing homemade ice cream in about 20 minutes with NO MESS. I love it so much and I’ll be sharing my recipes soon!

$0.50 Plastic Plates
Have you seen these at Walmart? They have all different sizes and varieties plus bowls too. I “invested” in a big stack so that our kids wouldn’t risk breaking our nice dishes. These are so wonderful because loading them and unloading them from the dishwasher is crazy fast. They are lightweight. They are fun (the kids like to choose their plate color for each meal and that helps me keep track of whose plate is whose). They are silly little fifty cent plates and they are really great to have!


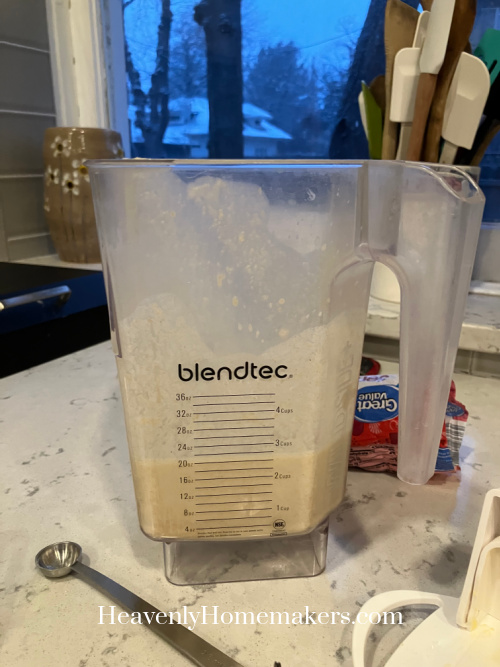


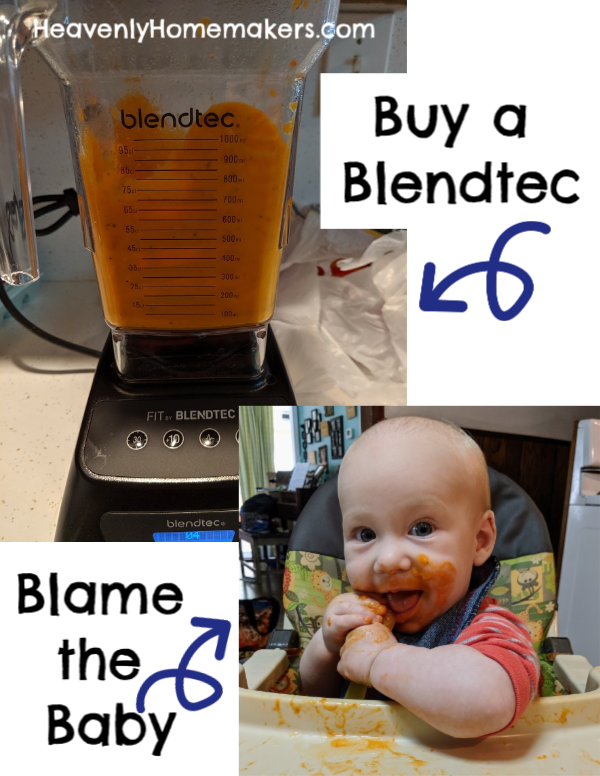


 Here’s Laura, nagging about the Blendtec.