Heavenly Homemakers

Encouraging women in homemaking, healthy eating and parenting

  • Home
    • About
    • FAQs
  • Recipes
    • Bread and Breakfast
    • Condiments
    • Dairy
    • Main Dishes
    • Side Dishes and Snacks
    • Desserts
    • Gluten Free
    • Instant Pot
    • Crock Pot
    • Heavenly Homemaker’s Weekly Menus
  • Homemaking
    • Real Food Sources
  • Store
  • Contact
    • Advertise
    • Disclosure
    • Privacy Policy
  • Simple Meals
  • Club Members!

Simple Skillet Taco Pasta

October 9, 2016 by Laura 22 Comments

This post may contain affiliate links. For more information, please see our disclosure policy.

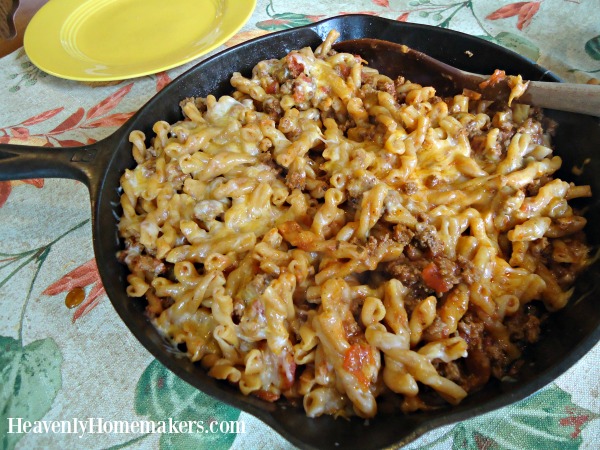
Today I have for you: comfort food in a cast iron skillet. It’s simple, it’s quick, it’s delicious. It’s Simple Skillet Taco Pasta.
skillet-taco-pasta

First, a word about Cast Iron Skillets. I highly recommend that we all have one (or two). Mine takes the place of what used to be Teflon in my kitchen. Cast iron is crazy healthier to cook with and when oiled or buttered well, it is delightfully non-stick. I use mine at least twice every day – for eggs, for meat, for dishes like this Skillet Taco Pasta. (This one is the Cast Iron Skillet I recommend.)

So back to this new, simple recipe. (More Simple Recipes here.)

How nice is it that this entire dish can be made in one big skillet? Obviously, you will get out salad makings and steam a vegetable to go with this. Obviously. But that will be easy and take a look at how easy this main dish recipe is:

Simple Skillet Taco PastaYum

4.5 from 2 reviews
Simple Skillet Taco Pasta
 
Save Print
Author: Laura
Serves: 4-6
Ingredients
  • 1 pound hamburger meat
  • Sea salt and pepper to taste
  • 1 teaspoon chili powder
  • ½ teaspoon garlic powder
  • 16-ounces salsa
  • 1½ cups water
  • 8-ounces whole grain pasta, any shape (gluten free works great too!)
  • 8-ounces shredded cheddar or Colby jack cheese
Instructions
  1. In a large skillet, brown hamburger meat until no longer pink.
  2. Drain excess grease if necessary.
  3. Season meat with salt, pepper, chili powder, and garlic powder.
  4. Stir in salsa, water, and pasta. Bring to a boil.
  5. Turn down heat to simmer, cover and cook for about 10 minutes or until pasta is tender.
  6. Turn off heat, sprinkle cheese over the mixture in the skillet, and put the lid on for 2 minutes to melt the cheese.
3.4.3177

simple-skillet-taco-pasta

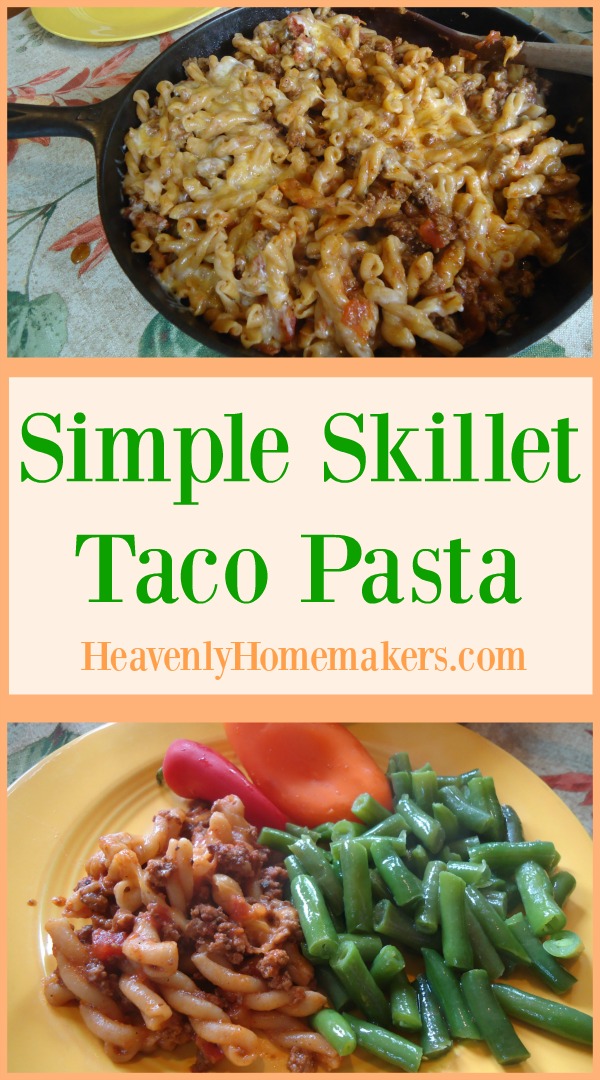
This recipe has been a huge hit with my family. Leftovers (if there are any) taste even better because of all the yummy flavors settling in to the pasta and meat.

This meal is practically effortless. Clean-up is a piece of cake (though not literally, bummer for that). And if you need this dish to be gluten free, simply use your favorite GF pasta.

Tell me how much you love cast iron. Do you use it often at your house? Need a Cast Iron Skillet?

This post contains affiliate links.

It’s here! Check out our amazing Simple Meals program!

728x90

Heavenly Homemaker's Club Members: Access your homepage and all your fantastic resources here! Not a member yet? Please join us!

Simple Crock Pot Chicken Soup with a Kick – 4 Ingredients!

October 6, 2016 by Laura 22 Comments

This post may contain affiliate links. For more information, please see our disclosure policy.

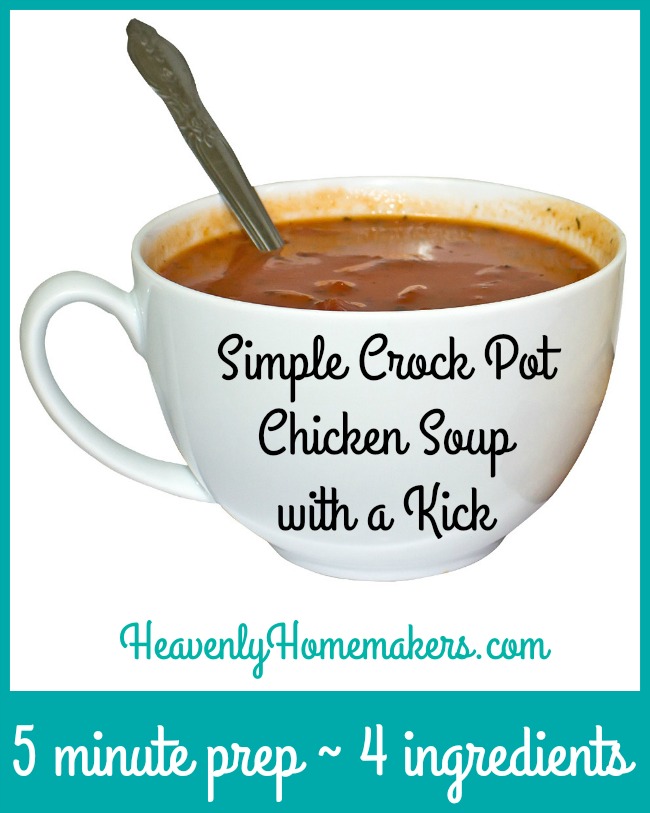
It’s as if this soup knew we needed it in our lives. As if somehow, in the mysterious ways only known to soup, it recognized that many days of the week are busy, and our time in the kitchen is limited, but we still want a hearty meal as the sun goes down. Therefore, on the day we needed it most, this soup arrived, begging us to make it on a morning we are still half-asleep and thinking about the other items on our agenda for the day.crock-pot-chicken-soup-with-a-kickThis soup! I don’t think I’ve ever made one that takes less effort or energy. I didn’t even thaw the chicken ahead of time. I had all four ingredients already in my home because I almost always have:

  • boneless chicken
  • salsa
  • chicken broth
  • cheese

I didn’t have to chop, stir, measure, or think. I put the ingredients into my crock pot, plugged it in (always recommended), turned it on, and walked away. Six hours later we sat down and ate soup.

If all of life was as easy as this soup, we would all turn into lazy, squishy people. Seeing as most days we are going-going-going, I don’t think we need to fear the squish. But this soup? It’s got our back at the end of a busy day, because it recognizes all we do and it’s here to say, “Dinner? No problem. I’m here for you. Sit down with your family. Eat. Enjoy.”

simple-crock-pot-chicken-soup-with-a-kick-the-best

Simple Crock Pot Chicken Soup with a KickYum

5.0 from 3 reviews
Simple Crock Pot Chicken Soup with a Kick - 4 Ingredients!
 
Save Print
Author: Laura
Ingredients
  • 2 pounds boneless chicken thighs or breasts
  • 16-ounces salsa (more or less is fine)
  • 32 ounces (1 quart) chicken broth
  • 8 ounces cheese (cheddar, Colby jack, Monterrey, Pepper jack - whichever you prefer)
Instructions
  1. Put all ingredients into a crock pot.
  2. Cook on hi for 3-4 hours or low for 6-8.
  3. Shred chicken and serve.
3.4.3177

What to serve with this Chicken Soup with a Kick:

  • Tossed salad
  • Fresh fruit

Consider adding to your bowl of Chicken Soup with a Kick:

  • Crushed tortilla chips
  • Sour Cream
  • Sliced Olives
  • Black Beans
  • Corn

This soup will work wonderfully to serve to guests. It is seriously delicious and need I remind you? You don’t have to thaw the chicken ahead of time. I mean, you can if you want. But why plan ahead when this soup doesn’t require it?

This recipe, for sure, will be one of my go-to recipes this fall and winter.

Hopefully you also saw the Simple Baked Salmon and Asparagus recipe I posted earlier this week. If you’re wondering if there’s some kind of theme going on – perhaps a conspiracy to force us put healthy meals on the table with very little effort – you are right on track. Meals that take just a few minutes to prepare. Healthy food ideas and guides that prevent us from spending hours in the kitchen. Plans to save our family time. Oh yes. This is definitely in the works.

It’s here! Check out our amazing Simple Meals program!

728x90

Check it out! Cooking Guy (my friend’s son) is at it again. He’s four. He made this soup. See? I TOLD you it was simple!

If you’re going to buy Simple Meals (and you really, really should), you should click through the video to YouTube and buy it through Cooking Guys link. He deserves a little referral money, don’t you think?

Heavenly Homemaker's Club Members: Access your homepage and all your fantastic resources here! Not a member yet? Please join us!

Simple Baked Salmon and Asparagus

October 4, 2016 by Laura 29 Comments

This post may contain affiliate links. For more information, please see our disclosure policy.

Some of you live in the land of fresh fish. Me? I live in Nebraska.

Now, Nebraska is wonderful and beautiful and I love it here (winters notwithstanding). We have beautiful farm land and vast fields and wonderful fruit trees and orchards, but we are missing one thing. We don’t have an ocean. Not even a little one.

So fresh fish? I see (and smell it) it sometimes at the store when I go to the city. But I know it didn’t come from our local oceans and I’m not sure how far it had to swim to get here.

All of this has caused me to shy away from buying fish very often.

Fish though. It’s a great healthy food option. So I’m trying. Even if I buy it frozen, at least I’m buying it. After all – what do I know? I have nothing to compare it with. Frozen fish tastes okay to me. (I mean. I do thaw it and cook it.)

Seeing as this Baked Salmon and Asparagus recipe tastes amazing – even with my pitiful frozen salmon (from shhhh…Wal-mart) – I can only imagine that those of you with a fresh fish source will cry happy tears of joy when you bite into this because your version will taste even better than what I experience.

Someday I’m going to visit my auntie on the east coast and eat some actual fish. Someday.

How Simple is This Meal?

  1. Put asparagus in a dish.
  2. Put salmon on top.
  3. Drizzle it with lemon juice and olive oil.
  4. Toss on some onion slices.
  5. Bake.

I sat in my chair working while I walked my 14-year old through the process of making this. It took him 5 minutes. You guys – it takes longer than that to make a sandwich! I am so sold on this recipe I think I’ll make it have my 14-year old make it every single week.

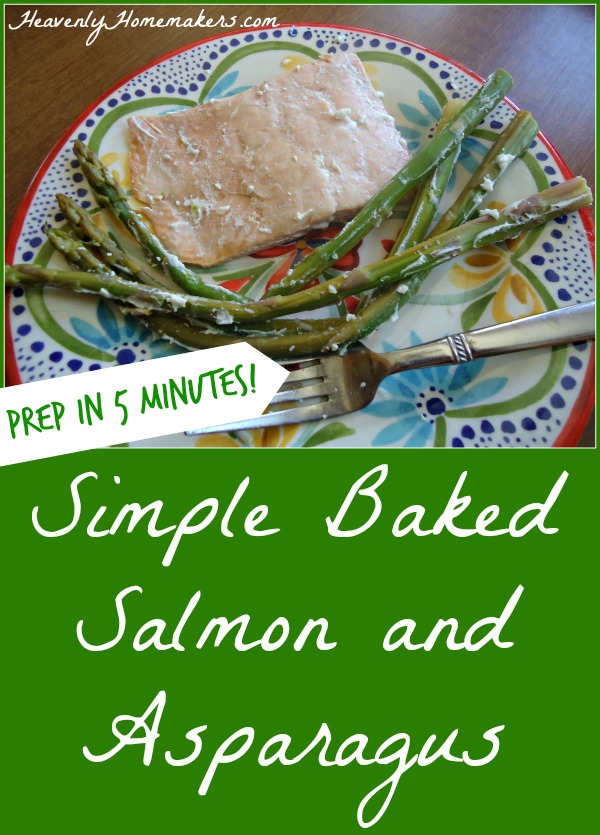
simple-baked-salmon-and-asparagus

Simple Baked Salmon and AsparagusYum

5.0 from 2 reviews
Simple Baked Salmon and Asparagus
 
Save Print
Author: Laura
Serves: 4-6
Ingredients
  • 4-5 salmon fillets
  • 1 pound (give or take) fresh asparagus
  • 2 Tablespoons olive oil
  • 2 Tablespoons lemon juice
  • Sea salt and pepper to taste
  • 1 medium onion
Instructions
  1. Lay asparagus along the bottom of a 9x13 inch baking dish.
  2. Place salmon fillets over the asparagus.
  3. Drizzle olive oil and lemon juice over salmon and asparagus, then sprinkle with salt and pepper.
  4. Slice onion, then lay the slices over the salmon.
  5. Cover and bake in a 400 degree oven for 20 minutes.
3.4.3177

Don’t like asparagus? (Why? Why don’t you like asparagus??!) You can use any veggie you do like. Or use a combination of veggies. Green beans, carrots, broccoli, cauliflower – anything should work deliciously.

Now tell me. Do you have a source for fresh fish? I promise not to get jealous if you say yes.

It’s here! Check out our amazing Simple Meals program!
728x90

Heavenly Homemaker's Club Members: Access your homepage and all your fantastic resources here! Not a member yet? Please join us!

16 Simple Recipes You Can Make in 5 Minutes

September 29, 2016 by Laura 1 Comment

This post may contain affiliate links. For more information, please see our disclosure policy.

Good things come to those who wait. But good things can come to those in a hurry too, so let’s hear it for a few great recipes we can make in about 5 minutes!

Now, making these is all dependent on the fact that you have these ingredients on hand. But the ingredients are all pretty basic, so I’ll bet you do have these ingredients in your kitchen most of the time. (Cream cheese is a staple food, right?)

Let’s say you have last minute company stop by and you need a quick snack to share. Or maybe you have only a few minutes of work time before you have to head to the next thing. Here are some recipes you can quickly throw together for your favorite people to enjoy.

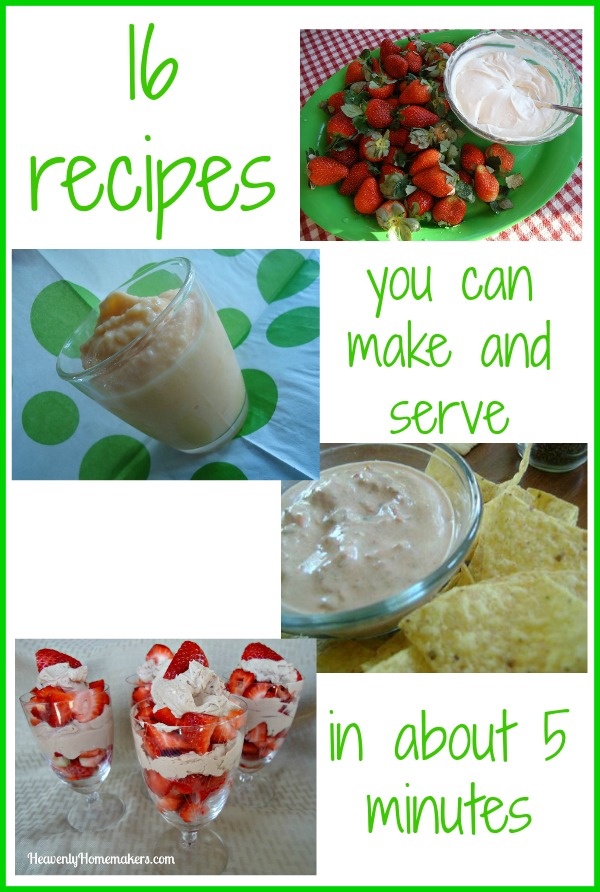
16-recipes-you-can-make-and-serve-in-about-5-minutes

Yum

First a quick list of recipes you can make in 5 minutes:

  • Homemade Nesquik
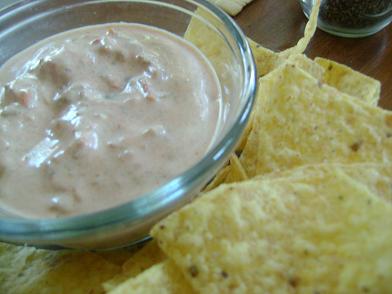
  • Cream Cheese Salsa Dip
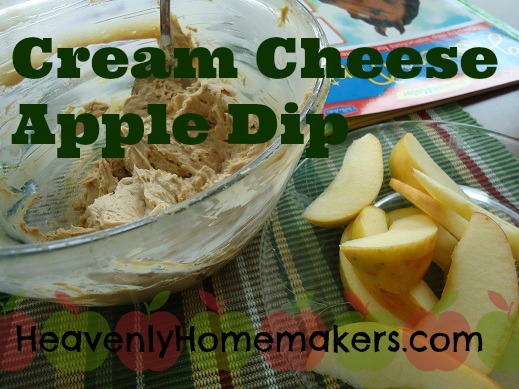
  • Caramel Apple Dip
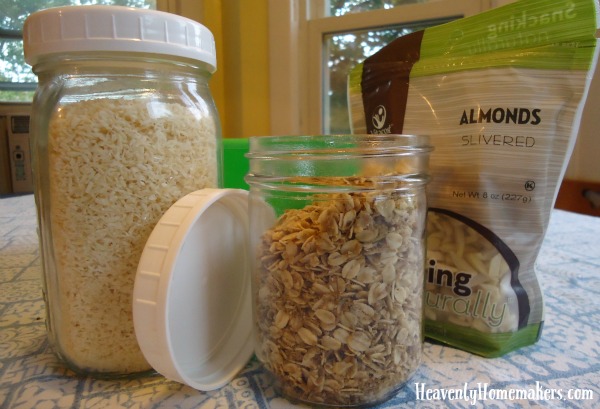
  • 5-Minute Stove-Top Granola
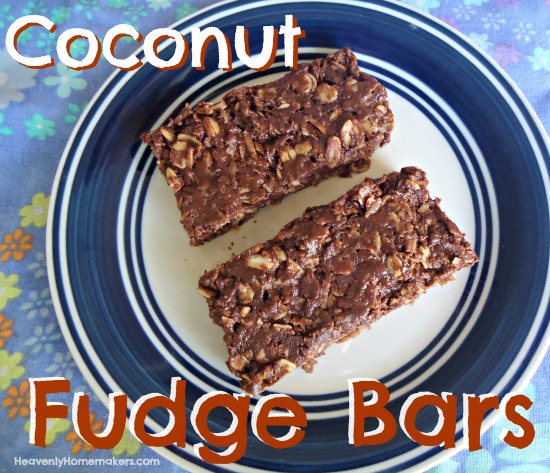
  • Coconut Fudge Bars
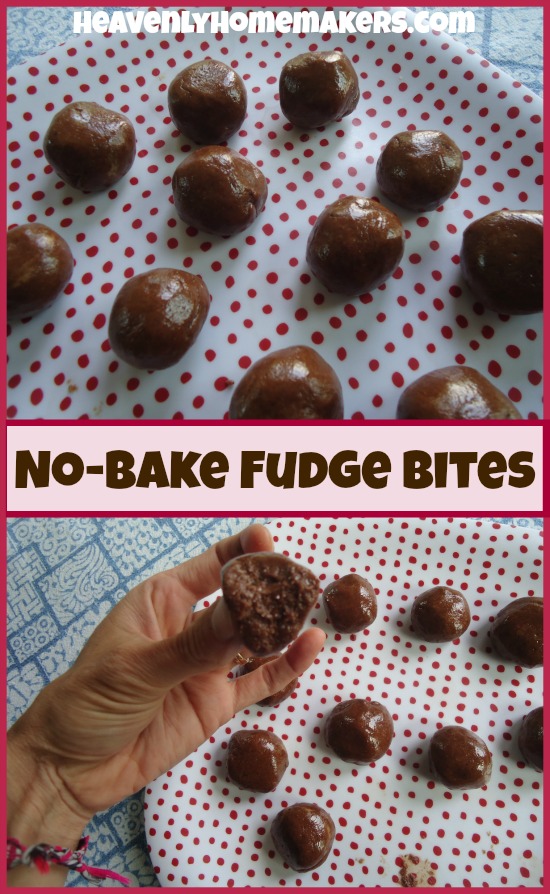
  • No-Bake Chocolate Fudge Bites
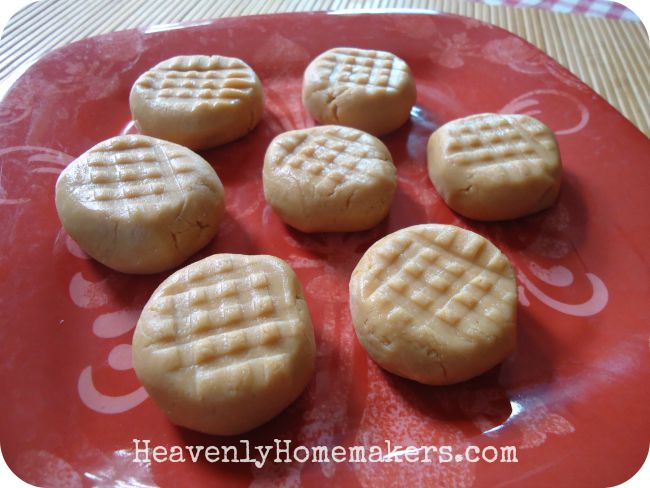
  • No-Bake Peanut Butter Cookie Bites
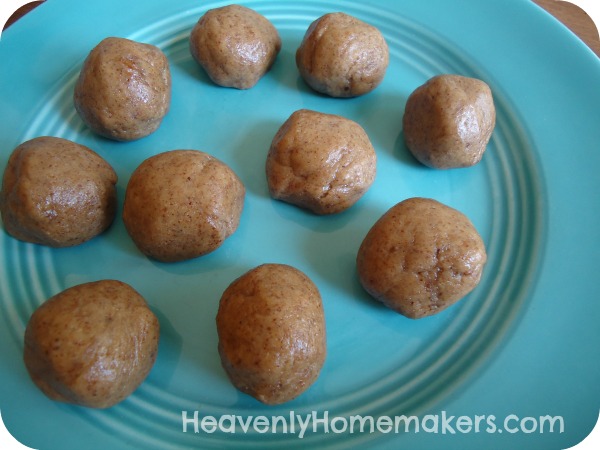
  • No-Bake Snickerdoodle Bites
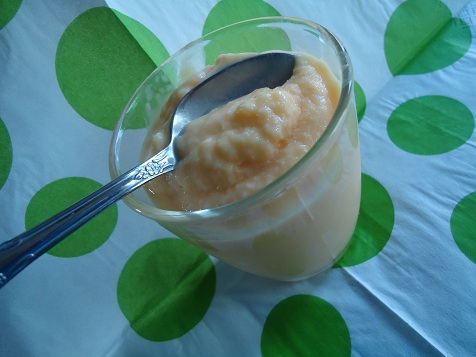
  • Pineapple Fluff Salad
  • Pineapple Mango Smoothies
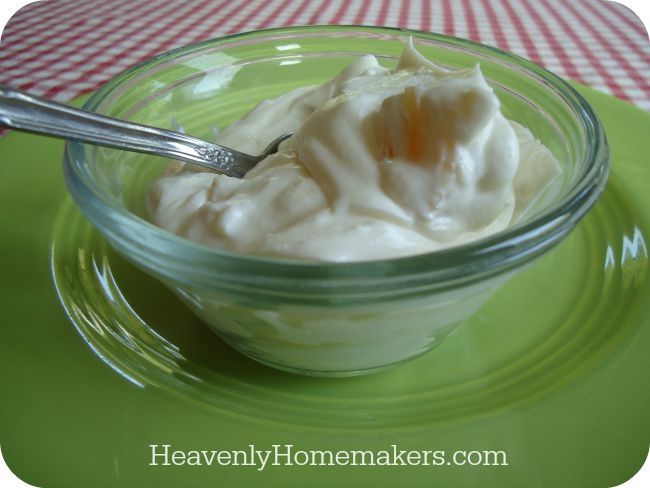
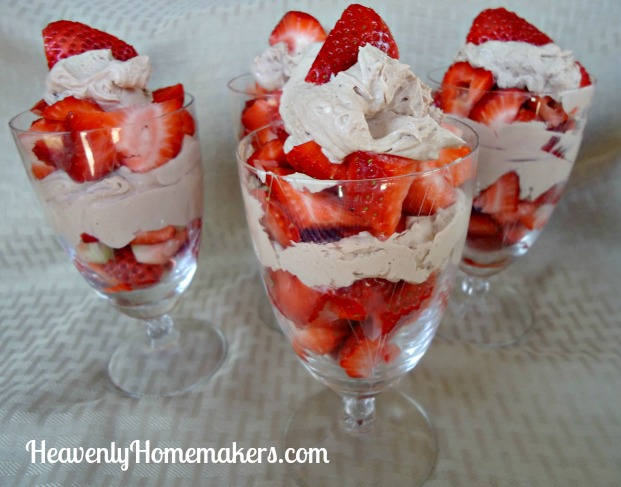
  • Chocolate Whipped Cream for Coffee or for a Bowl of Fruit
  • Strawberry Cheesecake Parfaits
  • Chocolate Cheesecake Parfaits
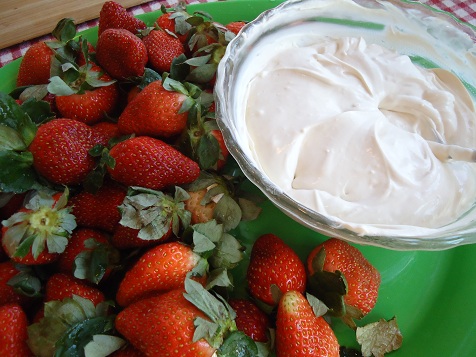
  • Easy Fruit Dip
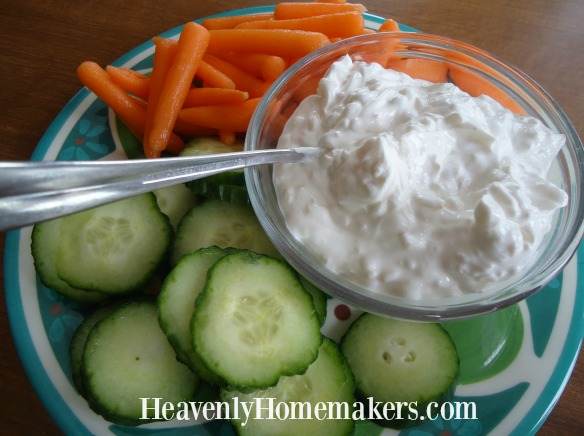
  • French Onion Dip

And now a list with all the tempting pictures that will make you want to lick your computer.

Homemade Nesquik

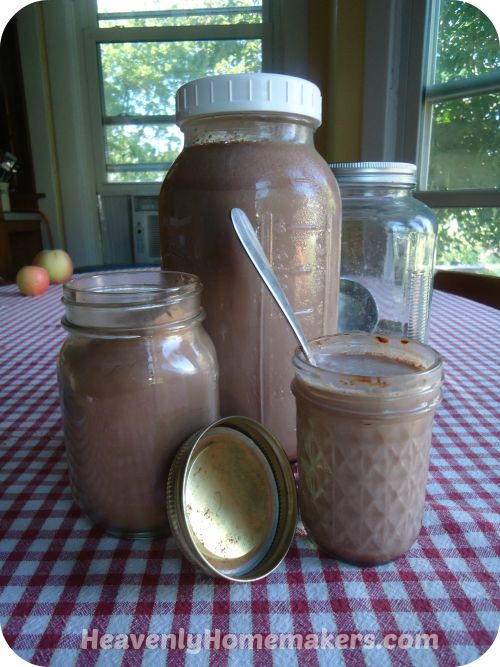
This is a great one because you can use it to make both chocolate milk or hot chocolate!

Homemade Nesquik

Cream Cheese Salsa Dip

supersimplechipdipsm

Caramel Apple Dip

Cream_Cheese_Apple_Dip

5-Minute Stove-Top Granola

Stove-Top Granola

Coconut Fudge Bars

Coconut Fudge Bars

No-Bake Chocolate Fudge Bites

No-Bake Fudge Bites

No-Bake Peanut Butter Cookie Bites

Peanut Butter Cookie Bites - No Bake!

No-Bake Snickerdoodle Bites

snickerdoodle bites2

Pineapple Fluff Salad

Pineapple Fluff

Pineapple Mango Smoothies

pineapple_mango_smoothie

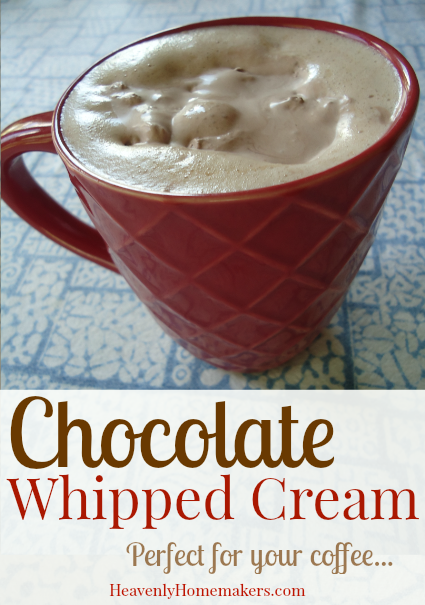
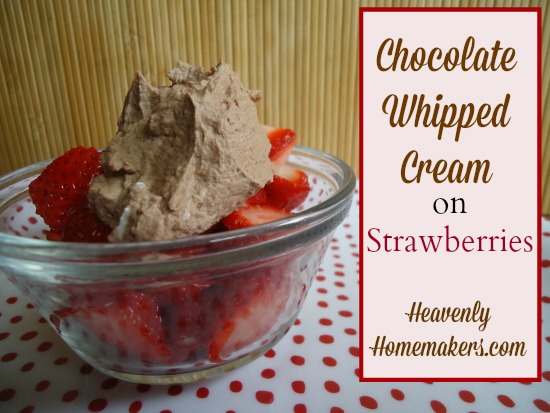
Chocolate Whipped Cream for Coffee or for a Bowl of Fruit

Chocolate Whipped Cream - Perfect For Your Coffee

Chocolate Whipped Cream on Strawberries 2

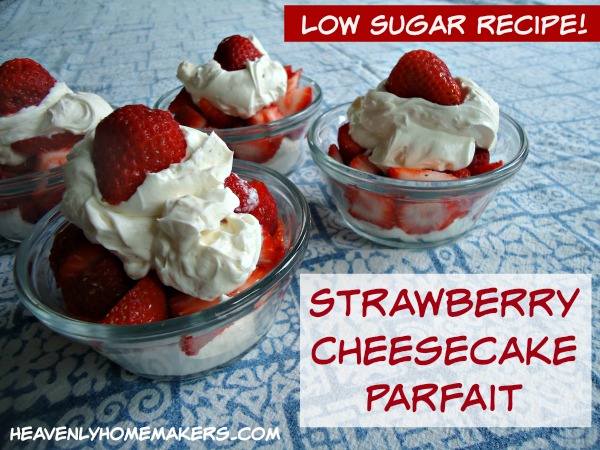
Strawberry Cheesecake Parfaits

Low Sugar Strawberry Cheesecake Parfait 1

Chocolate Cheesecake Parfaits

chocolate cheesecake parfait

Easy Fruit Dip

strawberry_dip
French Onion Dip

french onion dip

What are some of your go-to recipes to make when you only have a few minutes to throw something together?

Heavenly Homemaker's Club Members: Access your homepage and all your fantastic resources here! Not a member yet? Please join us!

The Best Homemade French Fries (That You Can Pre-Make for Your Freezer)

September 27, 2016 by Laura 10 Comments

This post may contain affiliate links. For more information, please see our disclosure policy.

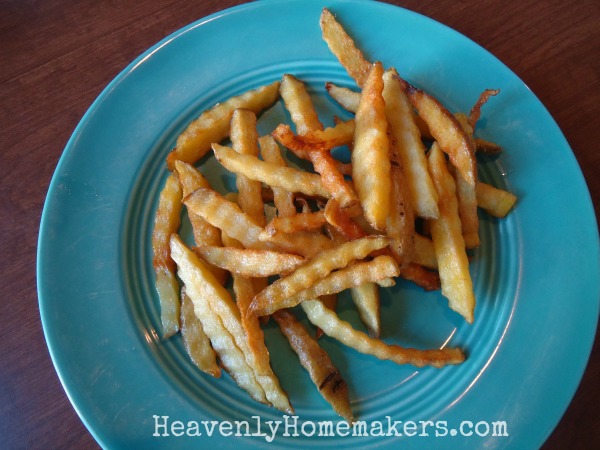
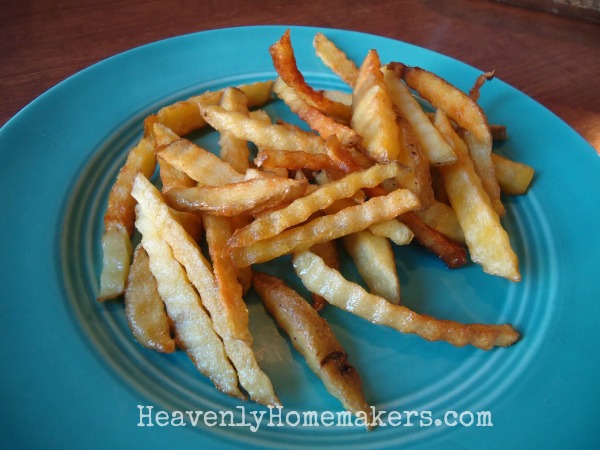
Homemade French Fries are about the most amazing food in the world, my family loves them, and they’re easy to make except for one little thing: They kind of take forever. (Translation: easy and delicious but time consuming. Super bummer.)

The most amazing homemade french fries

Yum

Granted, I have a big family of big eaters. Making French fries is a big deal because I know I’m going to have to commit, you know? Between scrubbing and cutting and frying and cutting and frying and cutting and frying – I’m making fries for at least an hour.

Worth it? Oh my. So much worth it. But not often. It takes too much time.

But guess what I just learned to do? I learned the lovely tricks it takes to make fries ahead of time for the freezer. All the cutting is done ahead so all we have to do at frying time is…fry. Beyond saving me time, I’ve discovered that this method of slightly pre-cooking them before frying is what crispy, perfect fries are made of.

Come closer and learn with me.

The BEST Homemade Fries

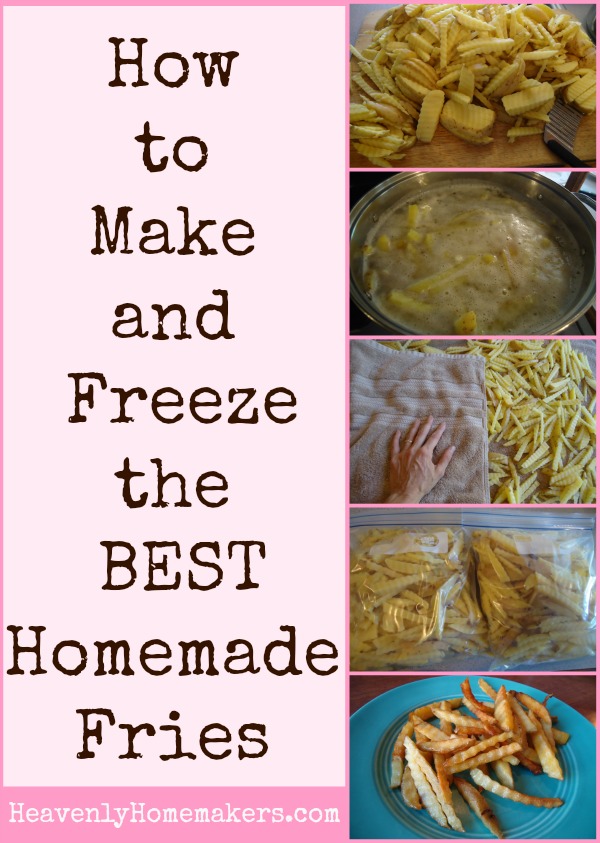
How to Make and Freeze the BEST Homemade French Fries

1. Scrub a bunch of potatoes (or if you’re me, you ask your kids to scrub a bunch of potatoes, which they are happy to do because French Fries).

2. Cut the potatoes into fries – your preference on how thick or thin.

3. Put the cut potatoes into a big pot of water. Bring to a boil.

4. Once water/potatoes comes to a boil, remove the potatoes from heat and strain, running the potatoes under cold water to cool and stop the cooking process.

5. Blot the potatoes dry on a towel.

6. Transfer prepped fries into freezer bags for future use (although you might consider frying some immediately and I bet no one will argue).

7. Freeze prepped French fries in freezer bags for up to two months.

8. At frying time, get the fries out of the freezer a few minutes before you want to cook them.

9. Fry until crispy perfection has been reached. (I have a fryer similar to this and I love it. I use Palm Shortening for healthy and safe frying.)

WARNING: Watch that the fries aren’t holding extra water as they will splatter when frying! Blot prepared fries with a towel before frying if necessary.

How to Make and Freeze the Best Homemade Fries

You’ll never go back to making fries any other way after experiencing these.

Other fun Make-Ahead Recipes I’ve shared recently:

  • Corndogs
  • Poptarts
  • Breakfast Cookies
  • Frozen Yogurt Cups
  • Chicken Patties for Sandwiches

That list looks like a bunch of junk food, but it’s not! How great that we can make all of our favorites with healthier ingredients!

I also recently shared these gems:

  • 49 Breakfast Freezer Foods
  • 24 Main Dish Freezer Foods

Did you find some of these recipes to be helpful? Slowly but surely we can get ahead in the kitchen!

Heavenly Homemaker's Club Members: Access your homepage and all your fantastic resources here! Not a member yet? Please join us!

Why You Should Eat Fat Bombs (and a Recipe!)

September 25, 2016 by Laura 43 Comments

This post may contain affiliate links. For more information, please see our disclosure policy.

A few weeks ago while researching how I could add more fat into my diet, I came across this recipe for Fat Bombs.

fat-bombs-easy-and-delicious

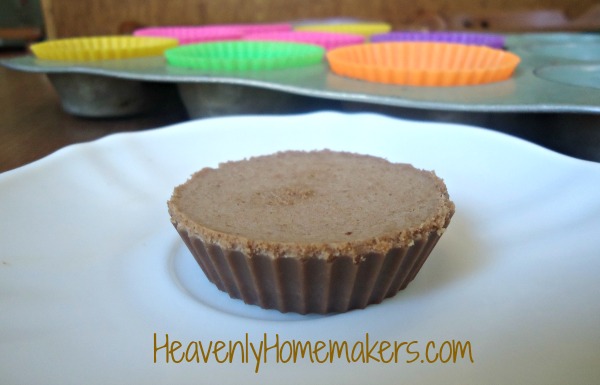
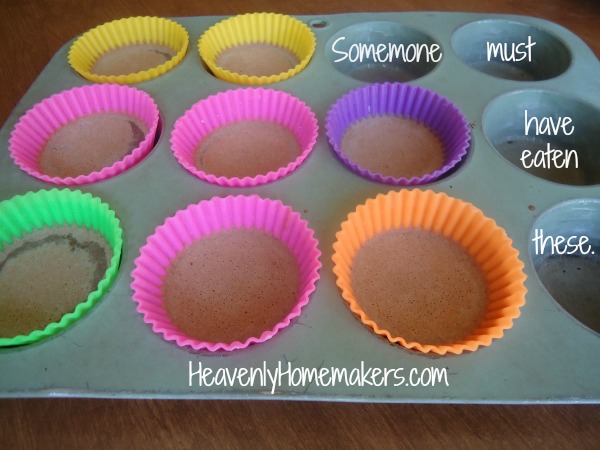
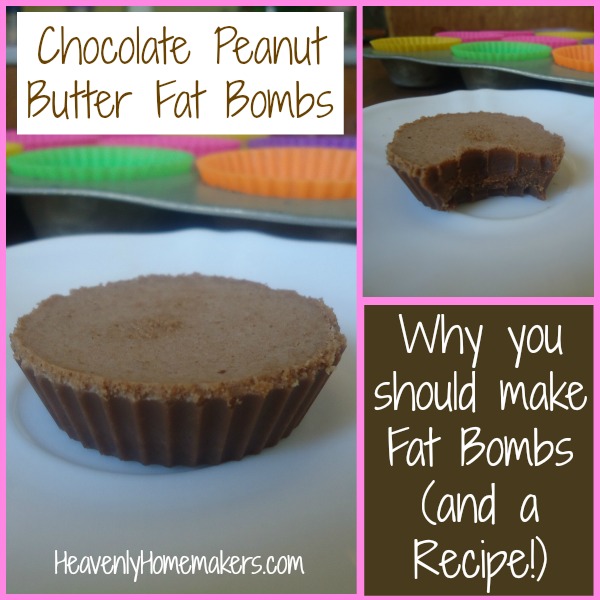
That, my friends, is a Fat Bomb. They look like something terribly naughty. But instead, they are full of so much good nourishment! Your day just took a turn for the better. You have no idea how happy I am to share these with you!

Have you ever even heard of Fat Bombs? I sure hadn’t. But the biggest question is: why would I try to see how I could add more fat to my diet?

Well, I’ve been reading and studying more about regulating my hormones and blood sugar and keeping my adrenals functioning well – you know. Just a little light reading. Everything keeps pointing me back to “eat a lot of protein” and “eat a lot of good fats.” Hey, you don’t have to tell me twice.

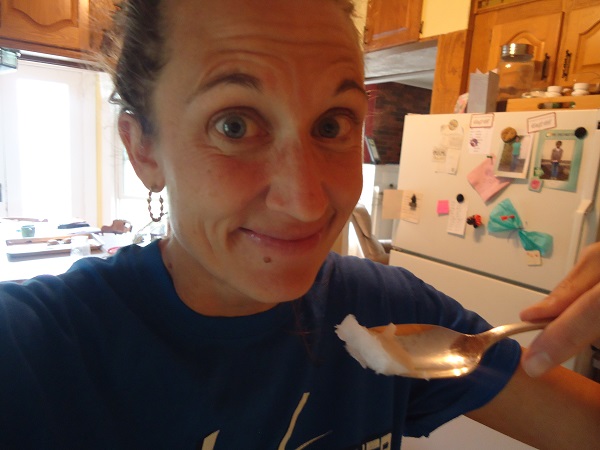
Now, protein is an easy one for me. I love and crave meat most of the time. But I have been realizing that getting plenty of fat is a little bit more difficult (beyond what is naturally in the meat I’m being forced to eat). I’ve tried eating spoonfuls of coconut oil, but it’s just weird and I don’t love it.

diary3

See here’s the funny thing: I find that I mostly use butter and coconut oil in baked goods. But I’m no longer eating many baked goods. I can stir some butter into my veggies, but that’s still not very much fat. Cream in my coffee? Sure, but I’m trying to cut back on caffeine too (prayers welcome).

I’d be mad at my hormones and blood sugar and adrenals about all of this, but my quest to find wellness for all of these led me to find out about these Fat Bombs. So ALL IS FORGIVEN.

fat-bombs-rock

Everyone else can have their sugary cakes and cookies and I don’t even care because I get to eat Fat Bombs. They are kind of a cross between a Peanut Butter Cup and a Huge Piece of Fudge. No one feels sorry for me now. Everyone is jealous. But not to worry. I am here to share the recipe so that you, too, can make Fat Bombs.

Now, first, a warning: If you are expecting these to taste super sweet like a piece of Christmas fudge or an actual peanut butter cup, you will be disappointed. But if you appreciate the need to cut back on sugar and you prepare yourself for a lightly sweetened peanut butter chocolate treat, you will bite in and be so happy that you get to eat many bites before it’s gone. Yes, you will be so, so happy.

You will offer them to your family, saying something like, “These are so amazing!!!! You won’t like them, though.”

This is how things normally work with my family now. My husband is totally digging my sugarless, stevia-sweetened or otherwise very low sugar treats. Our boys are more skeptical. I’ve cut down the sugar drastically in our household, and they’ve barely noticed and are just fine with muffins, cookies, and cakes with the sugar cut down. But the stevia-only treats? They are not fans.

But as for me, I’m loving the Fat Bombs. So far I’ve only made a Chocolate Peanut Butter variety but a little Pinterest searching told me there are other kinds that I should try. Okay then. If you’re going to twist my arm.

Chocolate Peanut Butter Fat BombsYum

5.0 from 3 reviews
Chocolate Peanut Butter Fat Bombs
 
Save Print
Author: Laura
Serves: 12
Ingredients
  • ½ cup coconut oil (I use expeller pressed so the coconut flavor didn't overpower.)
  • 1 heaping Tablespoon cocoa powder
  • 4 Tablespoons butter
  • ½ cup natural peanut butter
  • Liquid stevia to taste (I use 1½ droppers full of NuNaturals Brand.) or 2-3 Tablespoons honey
Instructions
  1. In a small saucepan, heat and stir together coconut oil, cocoa powder, butter, and peanut butter.
  2. Once melted and mixed, remove from heat and stir in stevia.
  3. Pour into 12 muffin lined muffin tins.
  4. Freeze for 20 minutes or refrigerate for 2 hours.
  5. Store in fridge and eat as needed.
3.4.3177

chocolate-peanut-butter-fat-bombs

Isn’t it happy irony that these also have protein in them? It’s like I’m getting a two for one on needed nutrients here.

Note: These do not taste as yummy when they are room temp. Keep them cold and eat them directly out of the fridge. Take it from me.
Fun Fat Fact: It’s hard to over-eat these. After two bites I always think that I will finish one and enjoy a second because I’m loving it so much. But by the time I finish the one, I am full and satisfied, ready to stop eating. Then I stay full for a couple of hours, which is great because I typically need to eat little bits all day long.
I love this about good fats. They satisfy. (As opposed to empty carbs or bad fats that tell your body that you need more in order to be satisfied, so we tend to over eat them.)

Why Good Fat is Good

  • It gives us energy. (So don’t eat fat if you prefer to be lethargic.)
  • It builds healthy cells.
  • It helps our bodies use Vitamins A, D, E, and K.
  • It helps us have healthy skin, as well as helps our other organs to be protected. (Skin is an organ. I always forget this, but I think it’s so cool.)

So there you go. We all need to be eating good fats. These Fat Bombs make eating good fats extremely fun and happy, and they only take a few minutes to stir together.

Oh how I hope you like the Fat Bombs as much as I do. Best treat ever. (So says the girl who hasn’t had a cookie for a very long time.)

~~~~~~~~~~~~~~~~~~~~~~~~~~~~~~~~~~~~~~~~~~~

Simple Meals is where it’s at, my friends! You will love this!!

728x90

Heavenly Homemaker's Club Members: Access your homepage and all your fantastic resources here! Not a member yet? Please join us!

How to Make Healthier Corndogs for the Freezer

September 18, 2016 by Laura 7 Comments

This post may contain affiliate links. For more information, please see our disclosure policy.

Of all the recipes I share, this one is not the healthiest. Just whatever though, because corndogs taste amazing. (With a salad. And fruit. And digestive enzymes.) I’m providing a homemade option so that at least we’ll know these are better than store-bought.

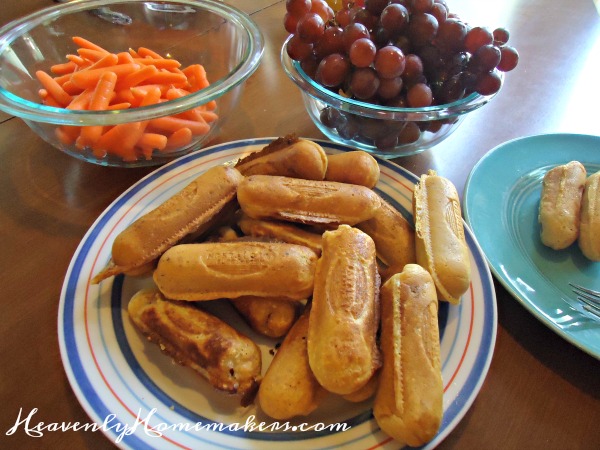
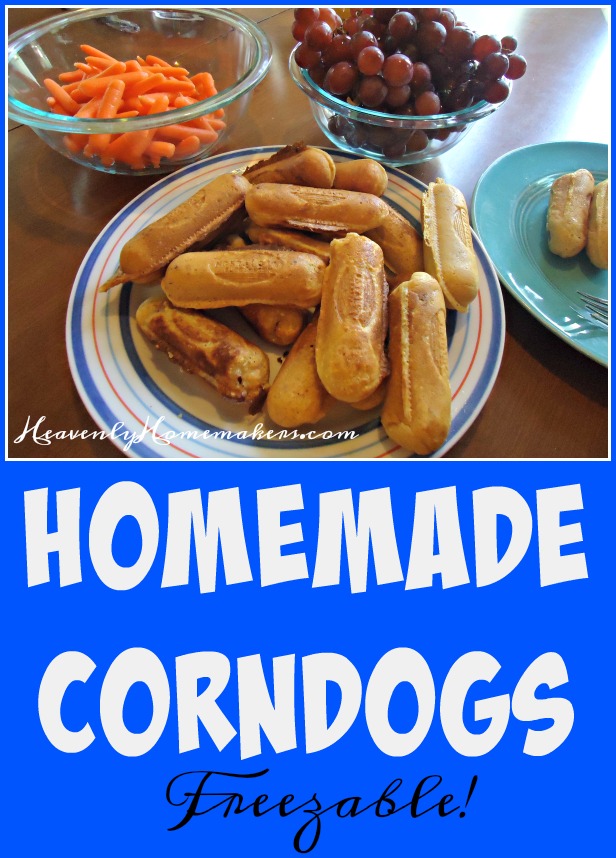
Homemade Corndogs

Yum

First – try to find hotdogs that are nitrite free. Also, beef. Always beef hotdogs. Fine, turkey is okay too. Just try to avoid the hotdogs that are only pretending to be meat. I can’t even believe I’m still trying to convince myself that any form of a hotdog is healthy. But for real, at least try to find some that aren’t terrible. Why I like hotdogs is beyond me.

Now that we’ve covered the sacred topic of the hotdogs, allow me to share another compromise I make. This. We bought this fun corndog maker for one of our sons a few years ago as a gift because he is the ultimate corndog lover. (I have no idea where he gets this.) I think having dozens of appliances that only do one task each is fairly ridiculous. But shucks if having a corndog maker isn’t a lot of fun, so there. We’ve used it for more than just corndogs (like muffins and cookies – who knew?!) so hallelujah for an appliance that is actually multi-functional.

I will tell you that this machine makes the effort of creating homemade corndogs so easy and mess free that a few days ago, I made 48 corndogs in less than an hour – while I was making tomato sauce, French toast, and frozen yogurt. The corndog maker allows me to multitask while making food for my freezer. And here you thought that appliance was pointless.

Anyway….

The long and short of making homemade corndogs is that you simply use your favorite cornbread recipe, add a bit of extra milk so the batter will coat the dogs, then you either fry them in oil or bake them in the above mentioned corndog maker.

What about sticks?

Life is too short to poke sticks into hotdogs. Do the stick poking if you must, but as for me and my house, we will skip the sticks and just eat the dogs.

How to Make Healthier Corndogs (in Bulk) for the Freezer

How to Make Healthier Corndogs for the Freezer
 
Save Print
Author: Laura
Serves: 24-48
Ingredients
  • 2⅔ cup Homemade Jiffy Cornbread Mix*
  • 2 eggs
  • 1½ cups milk
  • 4 Tablespoons melted butter
  • 24 hot dogs
Instructions
  1. In a mixing bowl, whisk together cornbread mix, eggs, milk, and butter.
  2. If using a corndog maker, cut hotdogs in half.
  3. Dip hotdogs in batter to coat thoroughly.
  4. Fry until golden brown, or cook in a Corndog Maker**
  5. Serve right away, or cool and freeze in freezer bags.
  6. Rewarm corndogs by placing them on a baking sheet in a 350 degree oven for 10-15 minutes or until heated through.
3.4.3177

*Homemade Jiffy Cornbread Mix recipe

I put these homemade cornbread mixes together and have them on hand for convenience. I highly recommend this!

** I cut my hotdogs in half, then cook my corndogs in this fun Corndog Maker. It saves a lot of time and mess!

Homemade Corndogs for the Freezer

If you make these to freeze, all you have to do at mealtime is pull them out and warm them up while you’re getting out all the actual nutritious parts of the meal (fruits, veggies, and more veggies with a side of another vegetable).

‘Fess up. Do ya like hotdogs?

Heavenly Homemaker's Club Members: Access your homepage and all your fantastic resources here! Not a member yet? Please join us!

Easy Homemade Poptarts for the Freezer

September 16, 2016 by Laura 11 Comments

This post may contain affiliate links. For more information, please see our disclosure policy.

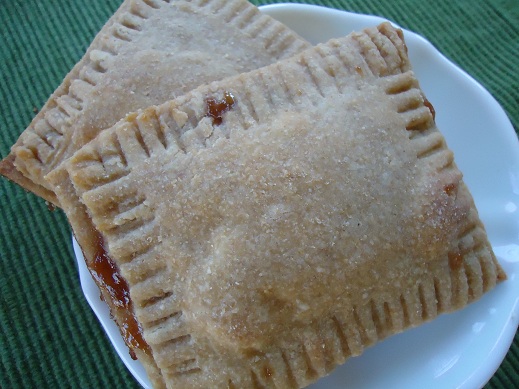
Just like our Giant Breakfast Cookies, it would seem that a fresh, hot homemade poptart beats a pre-baked, room temp poptart any day.

poptarts_5

Let’s not even talk about the kind that come out of a box. For all of the reasons, let’s just not talk about it.

Now regarding Homemade Poptarts (that are very easy to make, by the way): My family could eat the entire batch in one meal. I prefer to make them stretch though, and I prefer us to eat more balanced instead of filling up on carbs in the morning.

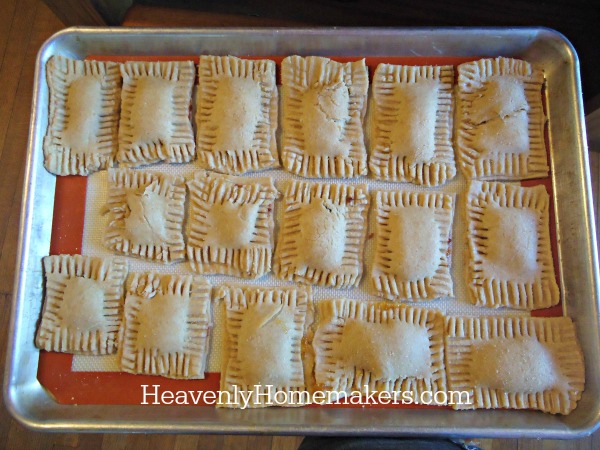
That’s why, just like the Giant Breakfast Cookies, I’ve been making these poptarts and freezing them before I bake them. On a day I declare to be a Poptart Morning, I pull a few out and bake enough for each person to have a couple with our eggs and fruit. They taste amazingly better this way and help my poptart making efforts stretch into several meals.

Frozen Poptarts

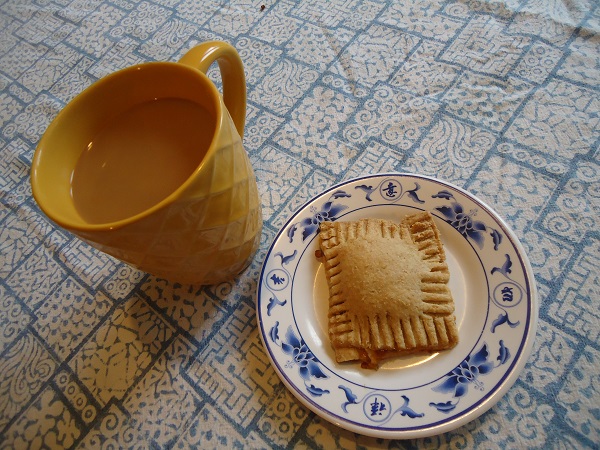
Can I tell you how delicious a warm, fresh poptart tastes with a cup of coffee? It’s one of my favorite treats (and it’s naturally very low in sugar!).

diary1

I encourage you to double this recipe so you can make a couple bags full of frozen, unbaked poptarts for quick breakfasts and snacks!

Easy Homemade Poptarts for the FreezerYum

Easy Homemade Poptarts for the Freezer
 
Save Print
Author: Laura
Serves: 15-20
Ingredients
  • 3½ cups whole wheat flour
  • 1 teaspoon sea salt
  • 1 cup melted butter
  • 1 cup plain yogurt
  • About 5 ounces of 100% fruit jelly or jam - any flavor you like!
Instructions
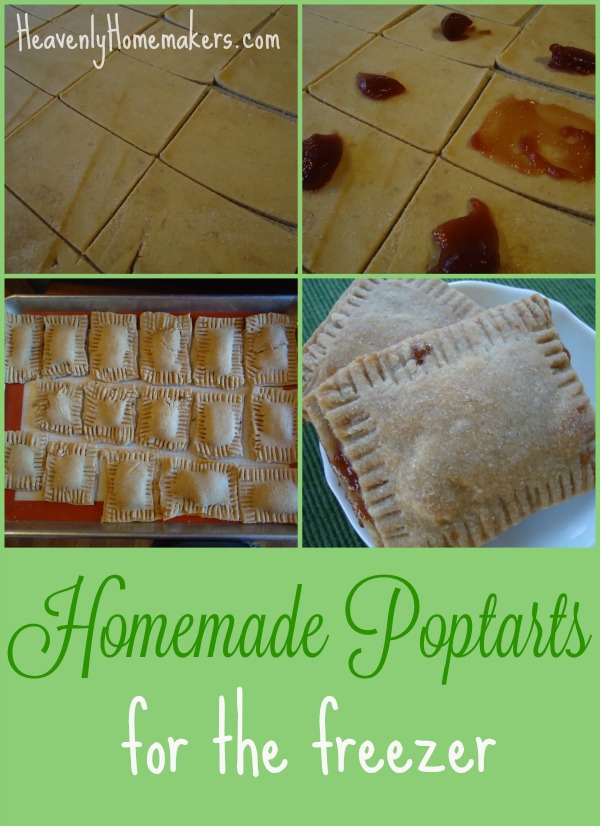
  1. Begin by mixing the flour, salt, butter, and yogurt.
  2. Knead the dough just a little bit to make it nice and workable.
  3. Roll out the dough on a large, well floured surface.
  4. Use a knife to cut the dough into the desired poptart size you would like.
  5. Place about a ½ teaspoon of jelly on ½ of the dough rectangles (squares?).
  6. Spread the jelly around, leaving the edges free.
  7. Find a second square or rectangle or thingamajigger that matches closely with each jellied one.
  8. Place it on top and use a fork to seal the edges.
  9. Lay each poptart in a single layer on a baking sheet.
  10. Bake in a 350° oven for about 25 minutes or until the crust is lightly browned.
  11. TO FREEZE UNBAKED:
  12. Create poptarts as directed, but instead of baking right away, freeze them on a baking sheet for about two hours. Once frozen, transfer them to a freezer bag.
  13. At baking time, pull desired number of frozen, unbaked poptarts out of freezer and bake as directed, allowing for a few additional minutes of baking time.
3.4.3177

homemade-poptarts-for-the-freezer

Here’s to one of the most delicious breakfast treats ever!

Heavenly Homemaker's Club Members: Access your homepage and all your fantastic resources here! Not a member yet? Please join us!

Giant Breakfast Cookies For the Freezer

September 13, 2016 by Laura 27 Comments

This post may contain affiliate links. For more information, please see our disclosure policy.

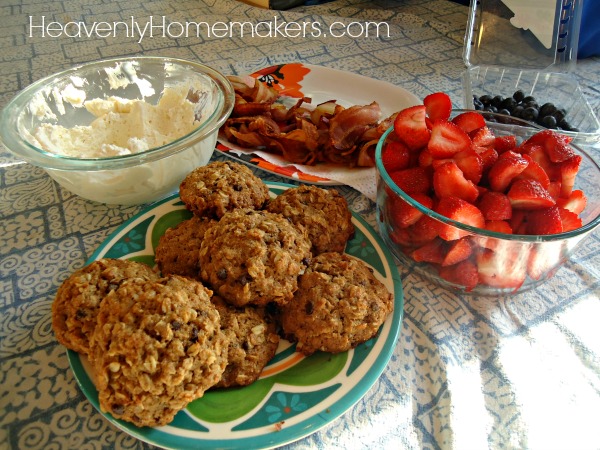
It’s likely that many of you have been making my Giant Breakfast Cookies for years. It was one of my very first recipes I shared here. (Aww, sweet memories.)

Freezer Breakfast Cookies5

Yum

I used to always bake big batches of these cookies (or even a double batch) and freeze them to pull out as needed. This is great! But I like this new idea better.

See, with this idea we can have hot, fresh breakfast cookies whenever we want them. I think we can all agree that a hot, fresh breakfast cookie with a glass of milk or a cup of coffee is much, much better than a room temperature cookie with a glass of milk or a cup of coffee.

So this is what I do now:

Make Giant Breakfast Cookie Dough Balls for the Freezer

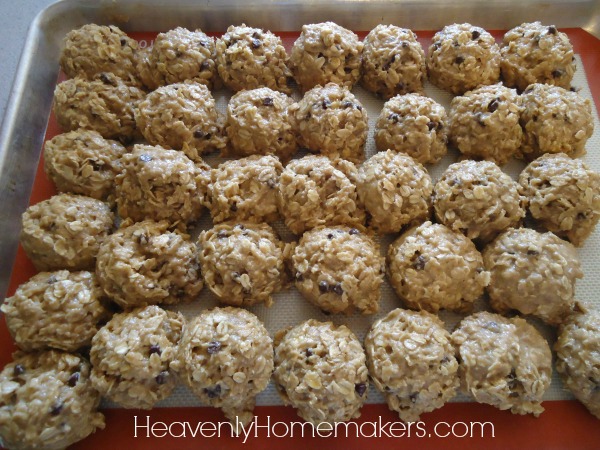
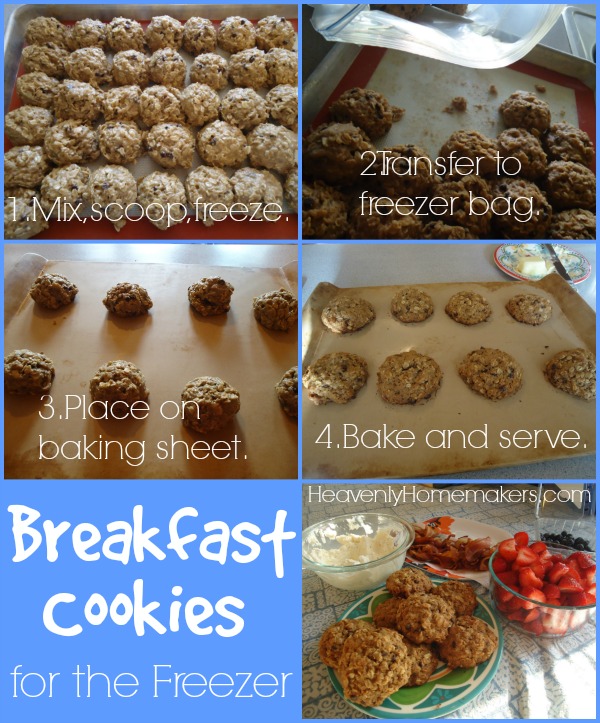
I mix up the Giant Breakfast Cookie recipe as normal. I scoop out cookie dough and freeze it on a cookie sheet like this:

Freezer Breakfast Cookies1

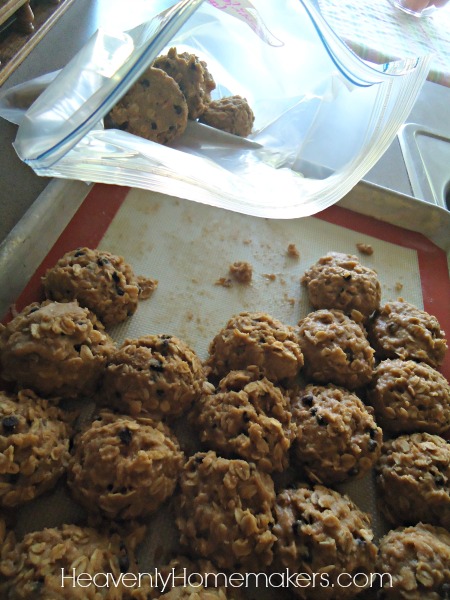
Once frozen, I transfer the cookie dough balls to a freezer bag.

Freezer Breakfast Cookies2

In the morning, I get out a few cookie dough balls to bake fresh.

Freezer Breakfast Cookies3

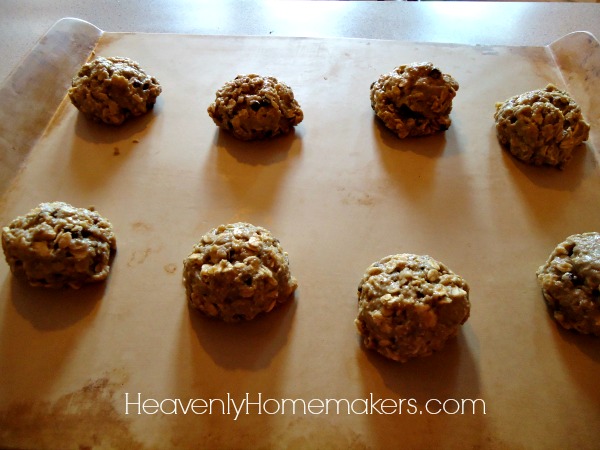
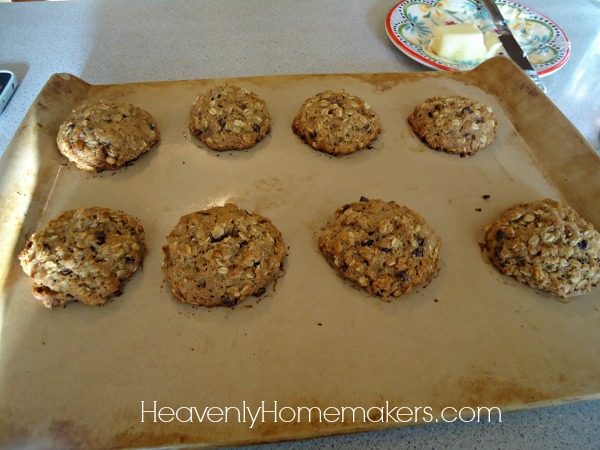
I put them into the oven (yep, from their frozen state) and bake them while the coffee brews.

Freezer Breakfast Cookies4

When the family wakes up, there are hot, fresh breakfast cookies ready to go with the rest of our breakfast!

These cookies are always the star of breakfast, but I usually only make enough for two per person so the fruit and protein can get the attention they need. :)

Here’s the recipe and freezing instructions:

Giant Breakfast Cookies (with frozen cookie dough ball instructions)

Giant Breakfast Cookies For the Freezer
 
Save Print
Author: Laura
Serves: 20-24
Ingredients
  • 1 cup melted butter
  • ½ cup honey
  • 2 eggs
  • 1 teaspoon sea salt
  • 1 teaspoon ground cinnamon
  • 1 teaspoon baking soda
  • 1 teaspoon vanilla extract
  • ½ cup buttermilk (the recipe will not be effected if you choose to leave this out)
  • 2 cups whole wheat flour
  • 2 cups rolled oats
  • ½ cup raisins or chocolate chips
Instructions
  1. Mix butter, honey, eggs, salt, cinnamon, baking soda, vanilla, and buttermilk.
  2. Stir in flour and oats.
  3. Fold in raisins or chocolate chips.
  4. Scoop heaping tablespoons of dough onto a cookie sheet.
  5. Bake at 350 degrees for 15-20 minutes.
  6. TO FREEZE:
  7. Mix dough and scoop side-by-side onto a cookie sheet.
  8. Freeze dough balls, then transfer them to a freezer bag.
  9. Place desired amount of frozen cookie balls onto a baking sheet while oven pre-heats.
  10. Bake at 350 degrees for 15-20 minutes.
3.4.3177

Breakfast Cookies for the Freezer

Ever tried freezing cookie dough balls before? I’ve been doing this with regular cookies for years. Why it took me this long to do this with Breakfast Cookies is just sorta silly.

More freezer recipes and ideas coming soon!

TO MAKE COOKIE BARS:

If you’d like to skip the scoop, simply spread the cookie dough into a 9×13 inch baking dish. Bake at 350 degrees for 18-22 minutes or until cookie bars are lightly browned and cooked through to the center. I like to take them out of the oven when they are barely brown so that they are gooey and moist!

Heavenly Homemaker's Club Members: Access your homepage and all your fantastic resources here! Not a member yet? Please join us!

49 Favorite Breakfast Freezer Foods

September 11, 2016 by Laura Leave a Comment

This post may contain affiliate links. For more information, please see our disclosure policy.

Bunches and bunches of our favorite breakfast freezer foods…coming up!

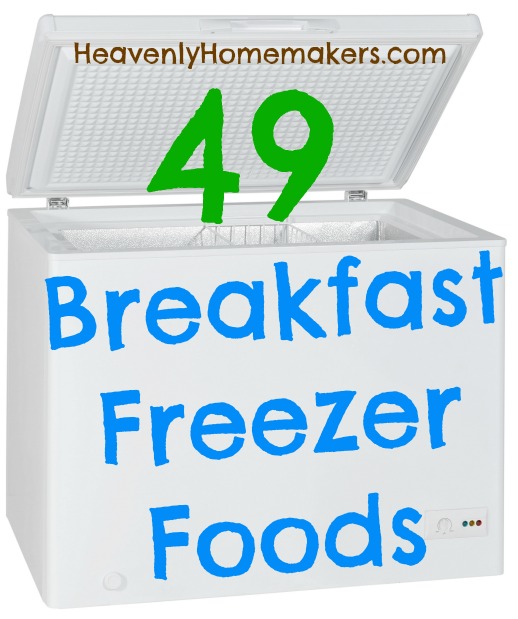
49 Breakfast Freezer Foods

First, some of my favorite breakfast tips (that my family supports 100%):

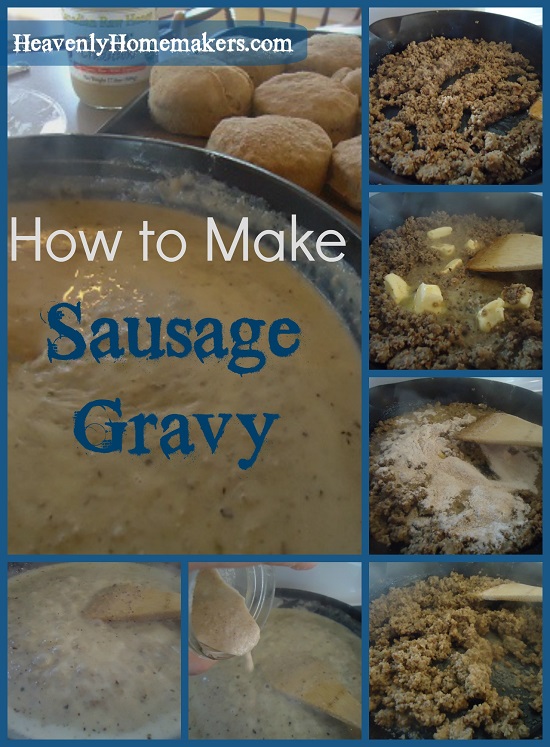
Biscuits and Gravy Made EasyYum

You know how Biscuits and Gravy is one of those breakfasts you save for special occasions because it takes quite a bit of effort to prepare? What if you could follow these Freezer Biscuit instructions and have Turkey Sausage made ahead of time so you can quickly put together Sausage Gravy while your effortless biscuits are in the oven? Then you can have Biscuits and Gravy on the table within just a few minutes without breaking a sweat. My family loves it when I do this! (More details here.)

Biscuits and Gravy

Breakfast Casserole Made Easy

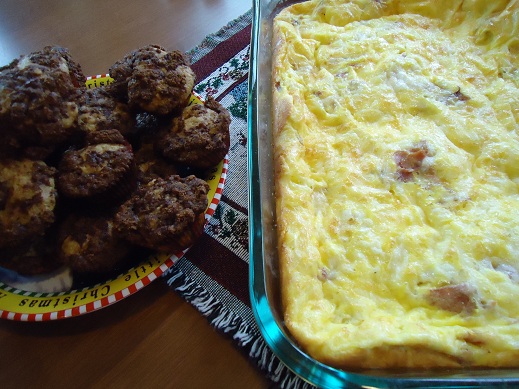
And Breakfast Casserole. That sounds intense right? Except that it’s not intense when you use this recipe and make it ahead of time.

cinnamon_muffins_with_casserole

Cinnamon Rolls Made Easy

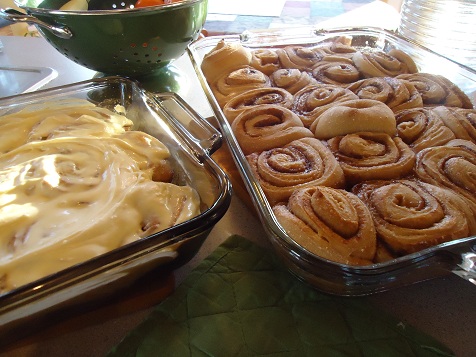
How about Cinnamon Rolls? Well now those are for special occasions. Yes, because of the sugar. But not because of the work. Try these No-Knead Cinnamon Rolls that you can make ahead of time and freeze!

cinnamon_rolls

Muffins Made Easy

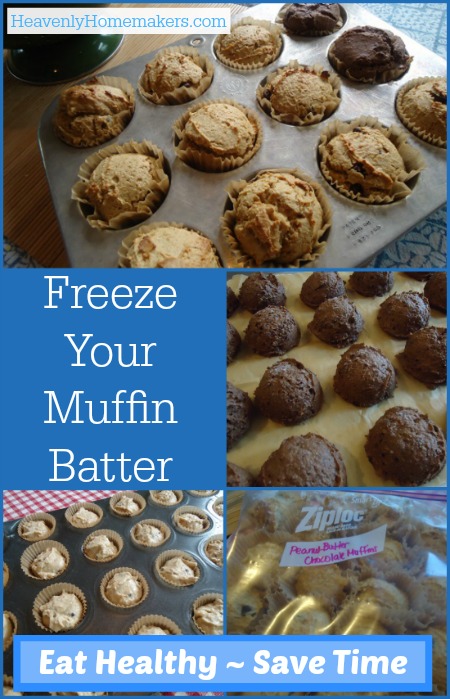
We’re all in love with the fact that we can mix up muffin batter and freeze it in muffin cups for easy fresh muffin baking! If you haven’t tried this yet, get all the details here. You will LOVE IT!

Freeze Your Muffin Batter 3

And now, from oatmeal cups to muffins to burritos, here are 49 great, real food recipes that can be made ahead of time and frozen.

49 Favorite Breakfast Freezer Foods

  • Applesauce Bread
  • Bacon Cheese Muffins
  • Baked Oatmeal Cups
  • Banana Bread and Muffins
  • Blueberry Streusel Muffins
  • Breakfast Burritos
  • Breakfast Cake Muffins
  • Chocolate Chocolate Chip Muffins
  • Chocolate Swirl Bread
  • Chocolate Swirl Muffins
  • Chocolate Zucchini Muffins
  • Cinnamon Swirl Bread
  • Cracklin’ Oat Bran Cereal (Not as much a freezer food as a food that can be made ahead of time for ease. But you can freeze this if you like!)
  • Cranberry White Chocolate Chip Breakfast Cookies
  • Crustless Breakfast Quiches
  • Easy Breakfast Casserole (I usually put this together and freeze it un-baked.)
  • Eggnog Muffins
  • Giant Breakfast Cookies
  • Ham and Egg Breakfast Bowls
  • Hashbrowns
  • Honey Cinnamon Muffins
  • Honey Whole Wheat Bagels
  • Lemon Bread
  • Mini Apple Pies
  • Mini Breakfast Pizza
  • Multi-Grain Pumpkin Waffles and Pancakes
  • Oatmeal Breakfast Bars
  • Orange Muffins
  • Pancake Muffins
  • Pancake and Sausage Muffins
  • Peanut Butter Chocolate Chip Muffins
  • Peanut Butter Pancakes
  • Poptarts
  • Pumpkin Breakfast Cake
  • Pumpkin Chocolate Chip Bread
  • Pumpkin Chocolate Chip Muffins
  • Simple Whole Wheat Pancakes
  • Snickerdoodle Muffins
  • Strawberry Bread
  • Strawberry Cream Muffins
  • Sweet Potato Streusel Muffins
  • Turkey Sausage (I like to make 10-12 pounds at once and freeze it in 1 pound packages.)
  • Vanilla Muffins with Cinnamon Crumb Topping
  • Whole Wheat and Honey Zucchini Bread and Muffins
  • Whole Wheat Cinnamon Rolls
  • Whole Wheat Waffles
  • Zucchini Carrot Bread

Time Saving Tip: These Ham and Egg Breakfast Bowls are tasty and wonderful, but they only save time if you make a bunch ahead and freeze them to warm up later. If you haven’t made them ahead and want ham and eggs for breakfast, I’d skip the cute bowl making step and just quickly scramble ham, eggs, and cheese together. :)

Easy Ham and Egg Breakfast Bowls

Did you see the 24 Favorite Main Dish Freezer Meals I shared last week?

Coming up during the next few days, I’ve got some great new freezer breakfast food tips!

Heavenly Homemaker's Club Members: Access your homepage and all your fantastic resources here! Not a member yet? Please join us!
« Previous Page
Next Page »

Join Our Community!

 Facebook Twitter E-mail Instagram Pinterest

Popular Posts

~ Will All of the Real Moms Please Stand Up?
~ Easy! Stir-and-Pour Whole Wheat Bread
~ How to Make Gatorade
~ 31 Real Food Breakfast Ideas
~ Dear Teenage Girls...
~ When Mom Takes a Step Back
~ The Inexpensive Health Insurance We Love!
~ Let's Talk Real Food Grocery Budgets

Check out our latest posts!

  • Big Family Food and Fun: September 6-12, 2026
  • Big Family Food and Fun: August 30-September 5, 2026
  • Big Family Food and Fun: August 23-29, 2026
  • Big Family Food and Fun: August 16-22, 2026
  • Big Family Food and Fun: August 9-15, 2026
Home  ~  Simple Meals  ~  Club Membership  ~  Shop  ~  Privacy Policy  ~  Disclosure  ~ Contact

Copyright © 2026 · Beautiful Pro Theme on Genesis Framework · WordPress · Log in