Through the month of July, we’re going to share Simple Summer Supper recipes. First up: BLT Wraps!

Like this recipe for BLT Wraps, some of the ideas we’ll share have been on our site for quite a while. We figured this was the perfect time to refresh your memory and pull out some oldies but goodies. These BLT Wraps are a big favorite at our house for sure! (Pssst! We’ve got some new ideas to share too!)
Are you like me in the summer? I love the sunshine and the heat, but figuring out our evening meal often leaves me stumped! I don’t want to turn on the oven. I don’t have a lot of motivation to stand over a stove. I like our food to be simple…
Oh wait. I like our food to be simple every day of the year; not just in the summertime. :)
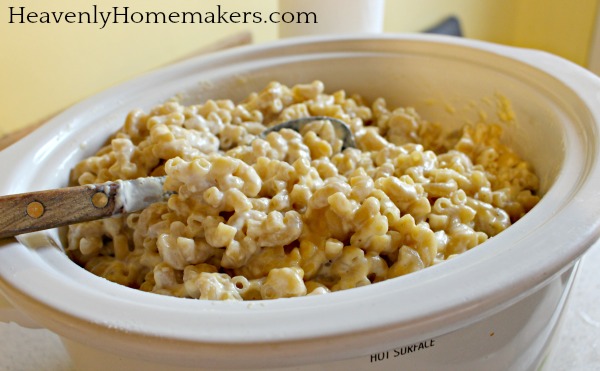
So here we are, avoiding soups and casseroles but still needing to eat. I highly recommend making bacon bits like this, then taking a few minutes to make these fabulous BLT Wraps!
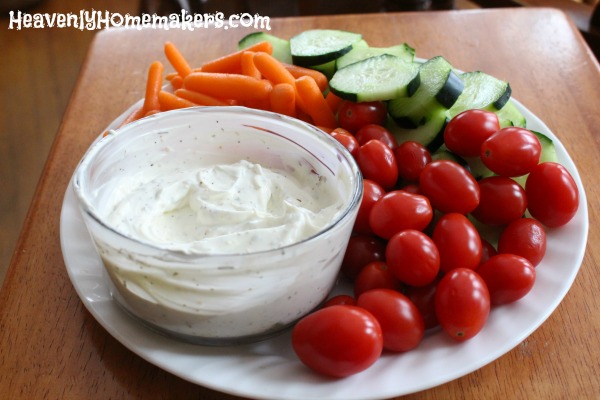
Simple Summer Suppers: BLT Wraps
- 4 ounces softened cream cheese
- ½ cup mayonnaise
- 8 slices cooked and crumbled bacon
- ½ cup chopped tomatoes
- ½ cup shredded spinach, romaine, or green leaf lettuce
- 3 eight-inch whole wheat tortillas
- Mix cream cheese and mayonnaise until smooth.
- Stir in bacon crumbles and chopped tomatoes.
- Spread mixture onto tortillas.
- Sprinkle shredded lettuce on top evenly.
- Roll tortillas up tightly.
- Cut each into 5 diagonal slices.
- Chill until ready to serve.

Helpful Hint: When cooking your bacon for these wraps, I recommend cutting your bacon with kitchen shears. I also recommend cooking several pounds at a time so you can get ahead and pull out bacon bits for easy recipes like this one!
What are your favorite Simple Summer Suppers?
You can look forward to getting more ideas like this during the entire month of July. Stay tuned! (Be sure to subscribe here for free so you don’t miss any of these ideas and posts!)
Have you become a Simple Meals member yet? You will LOVE how simple all the recipes are, and better yet, you’ll love that we do all the planning for you!