I’ve shared a version of this Easy Cheeseburger Casserole here. But this is an even easier variety I’ve started to make, and I encourage you to give this a try!
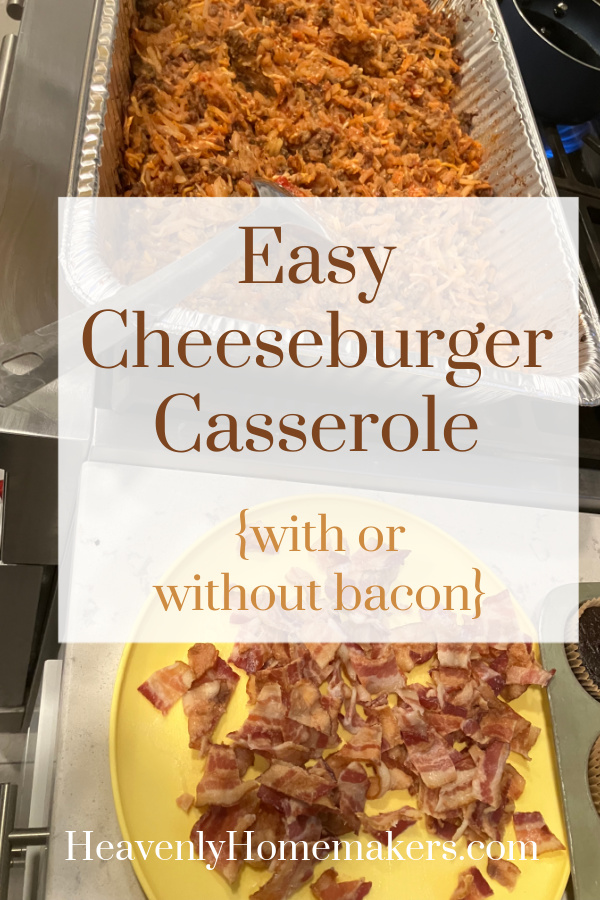
This casserole is as easy as browning meat, then stirring in the other ingredients. Make it the night before, then bake it at dinnertime when you need it.
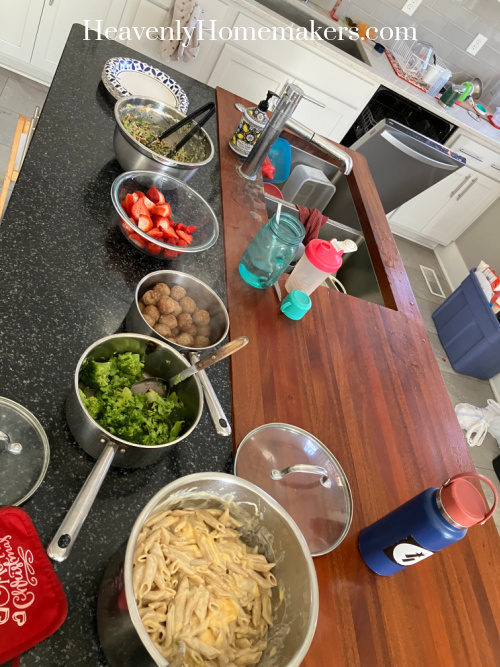
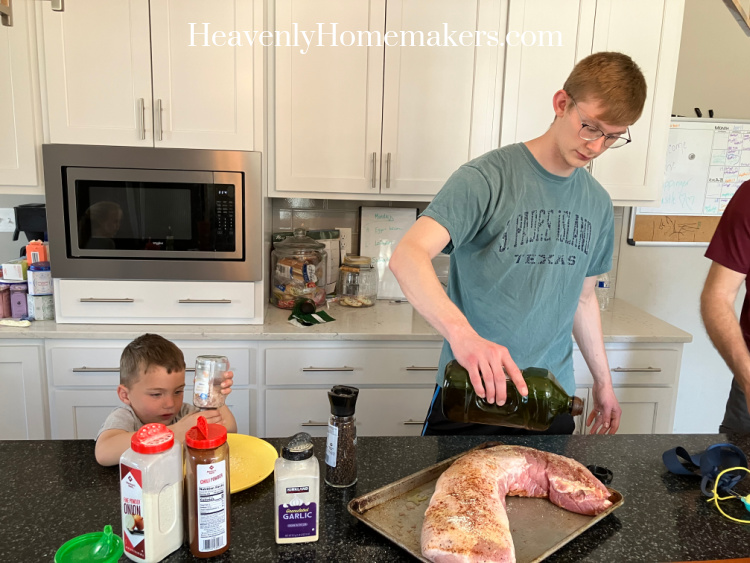
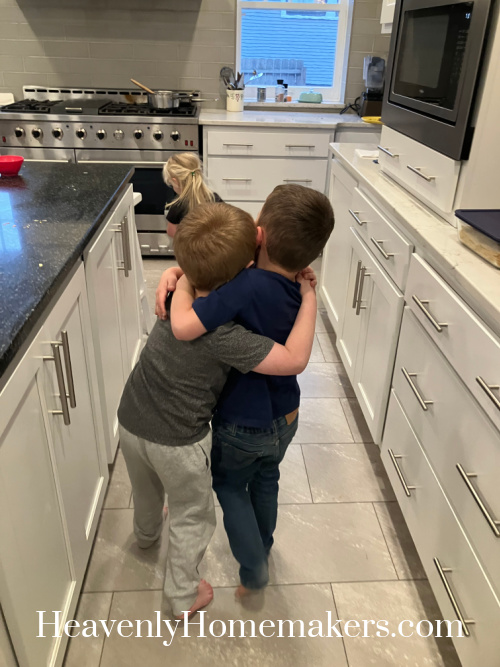
Two of my boys helped me make this recently, and took such pride in everyone loving their creation!

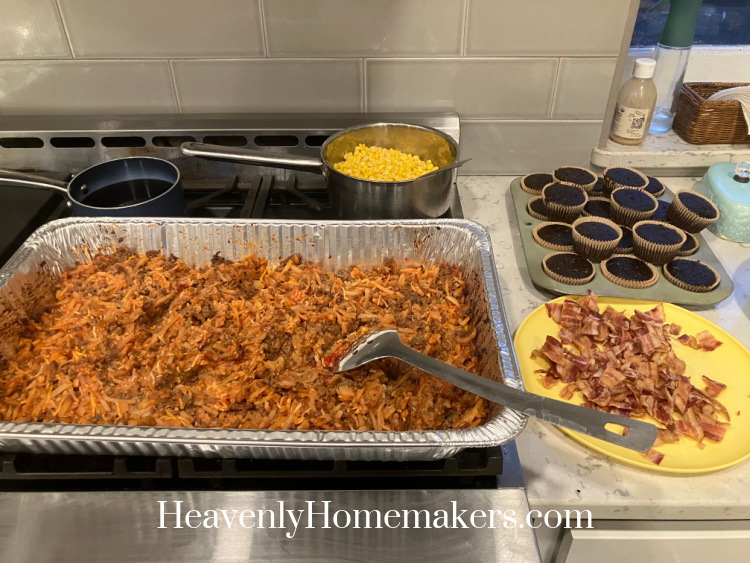
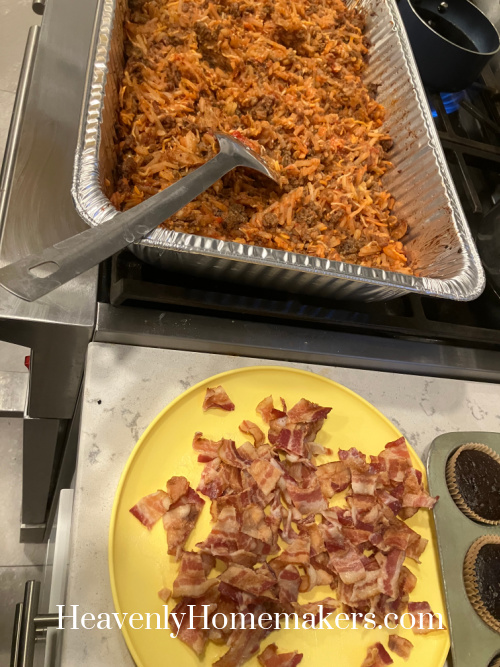
A little tip: Instead of topping my casseroles with cheese, I have learned to stir the shredded cheese right into the casserole with all the other ingredients. This makes the entire casserole cheesy, plus it prevents the cheese from sticking to the foil.
Easy Cheeseburger Casserole
- 2 pounds ground beef
- 6 cups frozen shredded hashbrown potatoes
- 2 cups ketchup
- 2 Tablespoons mustard
- 2 cups French fried onions
- 2 cups shredded cheese (I use Colby jack)
- Sea salt to taste
- Brown hamburger meat until no longer pink.
- Stir cooked meat and remaining ingredients together in a large casserole dish.
- Cover dish with foil.
- Bake in a 350 degree oven for one hour.
Another tip: I like to set out some Bacon Bits for people to stir in if they want to. Then it becomes Bacon Cheeseburger Casserole – even better!!
Tip number three: Aldi carries a variety of Organic French Fried Onions that are inexpensive and super tasty!
Do I double this recipe and make a giant sized Cheeseburger Casserole for our family? Of course I do. The leftovers (if there are any) are great!