I’m working my way out of a job. Don’t feel sorry for me. This is grand.
Here’s what’s going down:
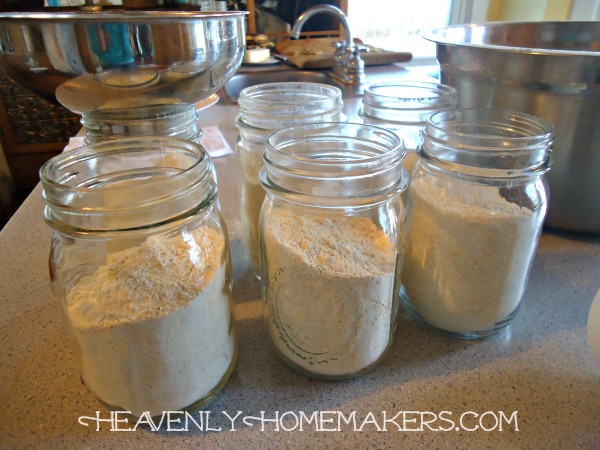
I used to spend so much time every day putting together big meals. I’d make big meat and potatoes meals, with veggies and some sort of homemade bread like cornbread. At the end of every meal, my sink would be piled with dirty dishes that would take quite a bit of effort to wash up. By the time that meal detail was behind us, it would be time to turn around and start over.

Three times every day.
Now, you know me. You know how much I love to cook and bake. But all the effort and all the dirty dishes was taking away the joy.
Can I tell you something? Unless it’s Thanksgiving, it should NOT take longer to cook and clean than it takes to actually enjoy eating the meal you’ve lovingly prepared. No way, thank you very much. It’s deflating to spend an hour (or more) cooking a meal, then to watch my family devour it in fifteen minutes, then have to get up and scrub down a crusty kitchen.
There is more to life than cooking and eating (says the girl who loves food).
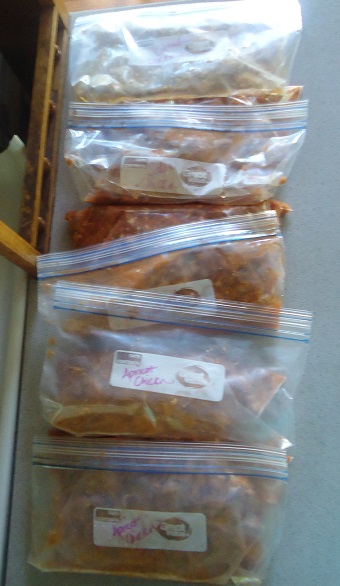
That’s why Simple Meals was born (this rockin’ service you need to check into). That’s why Simple Recipes keep popping up here on my blog. I’ve been on a mission to find and experiment with recipes that are incredibly simple to make and clean up after. They are nourishing and delicious, but painless to plan for and prepare. (Then I’ve gone even farther to put everything together in a super simple meal planning option so you don’t even have to think about what to cook. You’ll love this!)
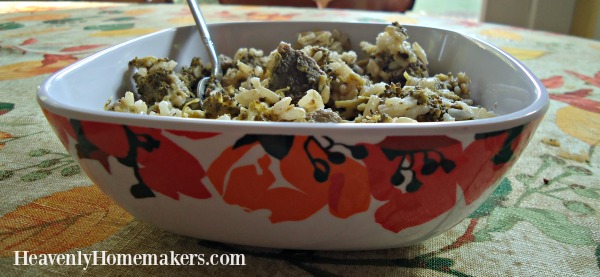
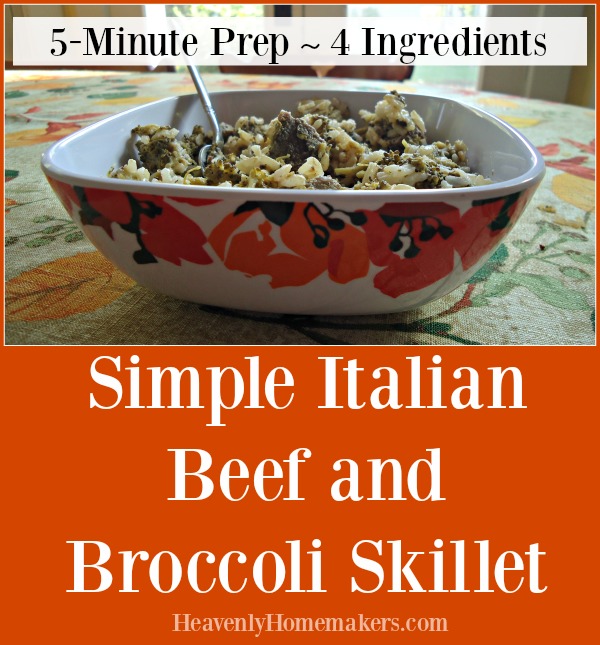
This Simple Italian Beef Skillet recipe I’m sharing today is the definition of simple. Make the entire meal in one skillet. (Actually, I did make rice in a separate pot to fill my men and help this dish go farther. I ate mine without rice though. I was in it for the meat and veggies.)
This recipe takes four ingredients. It takes five minutes of prep. You put it all in a skillet and let it cook itself while you do any number of other things you need or want to do.
Simple Italian Beef and Broccoli Skillet
- 1-2 pounds beef stew meat
- 3 Tablespoons dry Italian seasoning mix*
- 1 medium head fresh broccoli
- 2 Tablespoons olive oil
- Stir ingredients together in a skillet.
- Cover and let meat cook on low heat for about 45 minutes to 1 hour, stirring occasionally.
- Serve with rice if you like.
*Click here for our Italian Dressing Mix recipe.
Can I give another plug for this amazing Cast Iron Skillet? What would I do without mine? Want another easy skillet recipe? You’ll love Simple Skillet Taco Pasta.
Want some more Simple Recipes? Here are others I’ve shared recently:
- Simple Baked Salmon and Asparagus
- Simple Crock Pot Chicken Soup with a Kick
- Simple Skillet Taco Pasta (worth sharing twice in this post!)
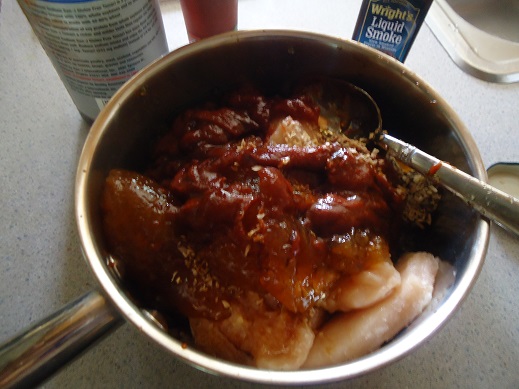
- Simple Sweet and Sour Baked Chicken Legs
- 20-Minute Taco Soup
- Simple Cheesy Baked Chicken
- Simple Creamy Chicken Stew in the Crock Pot
Let’s hear it for less time in the kitchen and more time enjoying family!!!
If you haven’t already, you really need to join our amazing Simple Meals program. Get all the details here!


