Oh yes. You can. You can make mashed potatoes ahead of time.
Now, there are some things you’ll need to avoid. Here are two mashed potato tricks that do not work:
1. Do not boil potatoes with the plan to mash and serve them later.
While this seems like such a good idea, this will turn them into a sticky, gooey mess.
2. Do not make mashed potatoes and freeze them as-is.
I’ve never had success with this. Plain mashed potatoes freeze fine but thaw weird. They are always watery and unappetizing. These are not the kind of potatoes I want to include on my holiday table. If you do freeze them as-is, you must cook the frozen/thawed potatoes in a pot to steam off excess water that has formed in the freezing process. More info to come.
Ways to prepare this side dish favorite ahead of time:
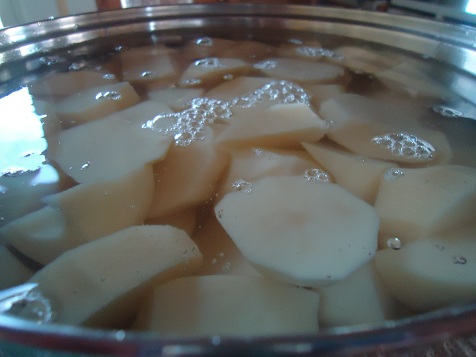
1. Scrub or peel the potatoes and put them into a pot of cold water.
Want to get the prep work out of the way on a busy day filled with meal preparations? Typically I pull my family into the kitchen the night before the holiday meal. Together, we scrub and chop potatoes. We put them into a large pot, cover them with cold water, put on a lid, and leave them until boiling and mashing time the next day.
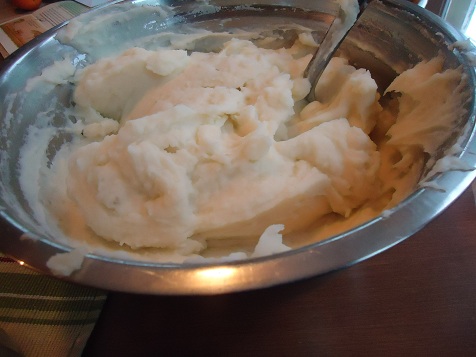
2. Make mashed potatoes, then use your crock pot to keep them warm.
What I find very helpful is to follow all the instructions detailed in #1 to prep the potatoes the night before. The next morning – hours before our meal – I cook, drain, and mash. I then put them into a crock pot (with butter, always) on the “keep warm” setting until serving time. In the meantime, I can wash and put away the potato pot, then focus on other meal prep that needs to be done.
3. Embellish the mashed potatoes before freezing them.
While mashed potatoes don’t freeze well as-is, they do freeze well if you add some goodies to them. Take a look at the recipe below for all the specifics! When made like that, they do freeze well. Or, at the very least, you can make them a few days before your holiday meal, refrigerate them, then bake them on serving day. This is the method I plan on using this holiday season.
Cheesy Mashed Potatoes are always a huge hit. You can’t go wrong with sour cream and cheese right?
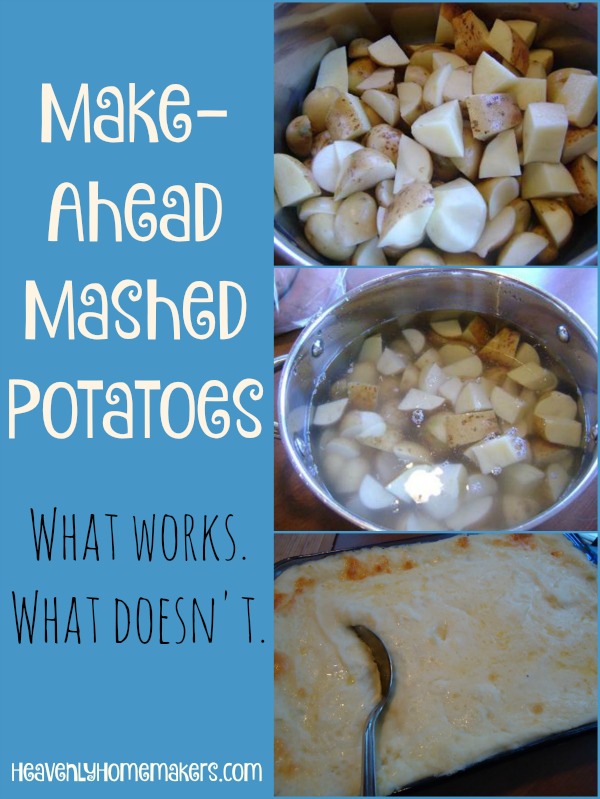
Make-Ahead Cheesy Mashed Potatoes
- 8 medium-sized potatoes
- 1 cup milk (more or less as needed)
- sea salt to taste
- 3 Tablespoons butter
- 1 cup sour cream
- 1 cup shredded cheese
- Scrub and cube potatoes.
- Boil them in water until tender.
- Drain water and mash potatoes with milk and salt until smooth.
- Stir together the mashed potatoes, butter, and sour cream.
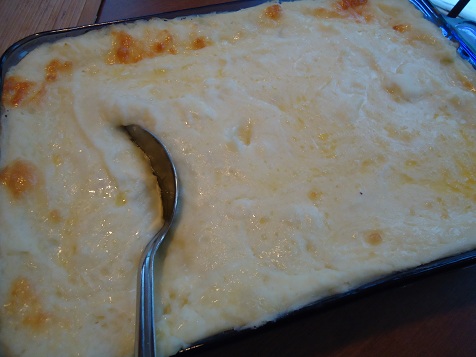
- Spread into a 3 quart casserole dish.
- Sprinkle cheese on top.
- Refrigerate until you are ready to bake this dish.
- Bake in a 350° oven for 45 minutes.
Freezing Instructions:
Make the potatoes as directed in the recipe above. All it to cool completely. Cover and freeze for up to three months.
To bake and serve, thaw potatoes in the refrigerator and bake as directed. OR, cover the frozen dish with foil. Place the frozen dish of potatoes into a cold oven*. Turn the oven on to 250° and bake for 2 hours. Turn the oven up to 350° to continue baking to heat through.
*Be sure your oven is cold when you put in the frozen dish! Otherwise, the pan will crack because of the extreme temperature change.
What has been your experience with making potatoes ahead of time?
Here are the quick links to all the recipes we covered in this series:
- Make-Ahead Turkey
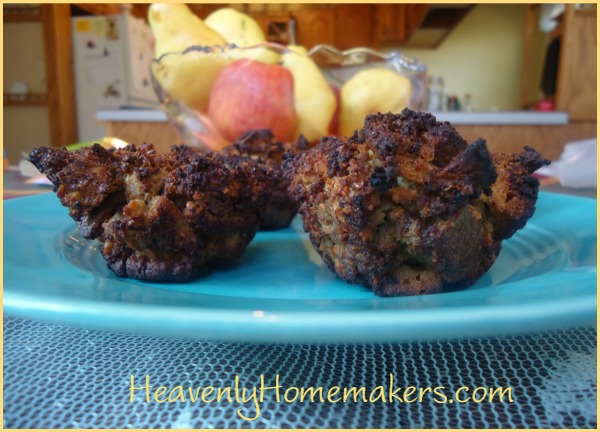
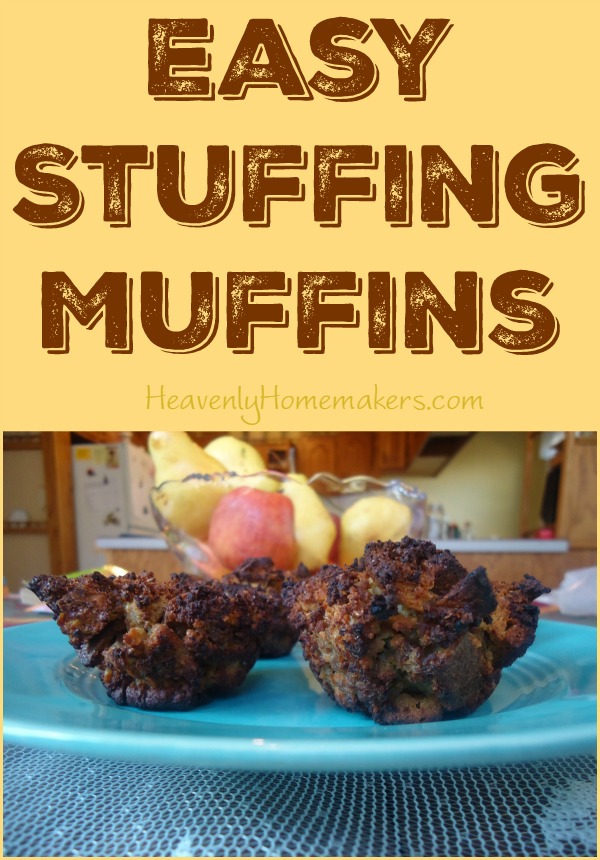
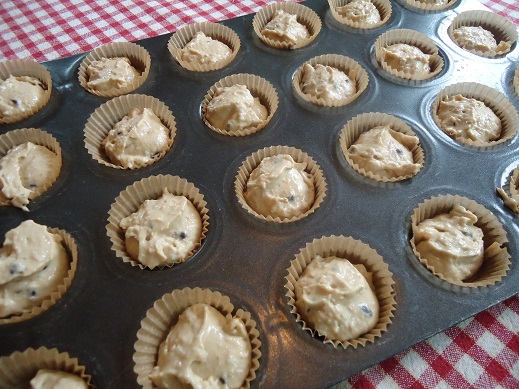
- Stuffing Muffins
- Cheesy Mashed Potatoes
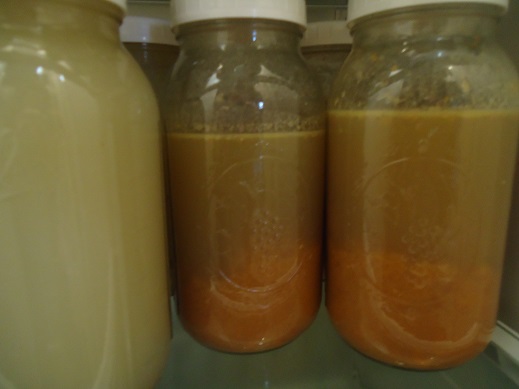
- Oh Good Gravy
- Green Bean Casserole
- How to Make Frozen Pies
- Simple Whipped Sweet Potatoes
- How to make Whipped Cream
- Whole Wheat Stir-and-Pour Dinner Rolls
~~~~~~~~~~~~~~~~~~~~~~~~~~~~~~~~~~~~~~~~~~~~~
Simple Meals is here! It’s saving my brain (and many of yours too!). If you haven’t joined yet, now’s the time. Get all the details here!