Heavenly Homemakers

Encouraging women in homemaking, healthy eating and parenting

  • Home
    • About
    • FAQs
  • Recipes
    • Bread and Breakfast
    • Condiments
    • Dairy
    • Main Dishes
    • Side Dishes and Snacks
    • Desserts
    • Gluten Free
    • Instant Pot
    • Crock Pot
    • Heavenly Homemaker’s Weekly Menus
  • Homemaking
    • Real Food Sources
  • Store
  • Contact
    • Advertise
    • Disclosure
    • Privacy Policy
  • Simple Meals
  • Club Members!

The Surprising Reason I Spent Money on a Bosch Mixer

September 16, 2020 by Laura Leave a Comment

This post may contain affiliate links. For more information, please see our disclosure policy.

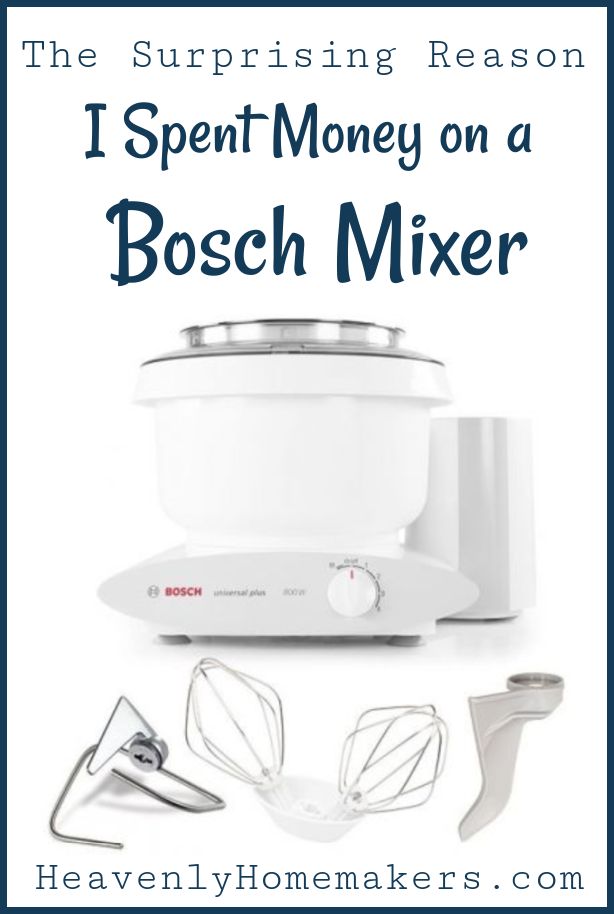
I’m not even sure if I’ve even told you that I bought a Bosch Mixer! So hey guess what?! I bought a Bosch Mixer. Here’s why…
Yum

First of all, I could spend a few words telling you why it took me so long to finally break down and spend the money on a Bosch Mixer. But it’s mostly because of this:

  • These beauties are pricey!
  • I’ve stirred my bread dough and cookie dough and brownie batter by arms for well over 40 years. Why did I need an expensive mixer seeing as I still have working arms and hands?
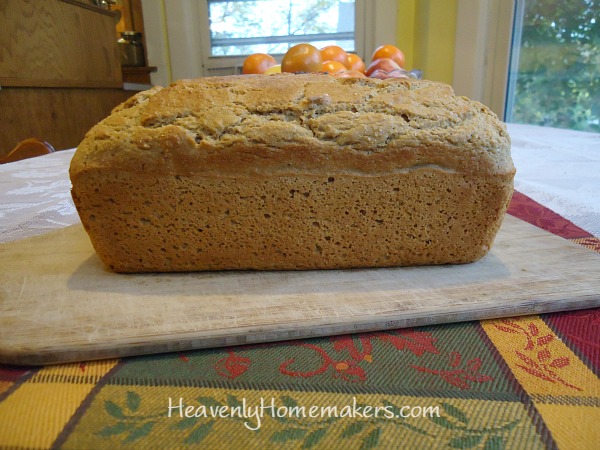
But all of you friends who have a Bosch or a Kitchen Aid have said to me, “With all the cooking and baking you do, how in the world do you actually survive without a mixer?” And I always went back to…

  • Expensive.
  • My arm works fine.

Yes, investing in a nice mixer has been in my mind for quite some time, and my desire for one went up a notch every time one of you told me how great they are.

So what finally pushed me over the edge to fork out the money for a Bosch Mixer?

It was a conversation with my friend Rhonda (and then it still took me several months to ruminate over it, but whatever).

Here’s what Rhonda said – and I will tell you that when Rhonda speaks, I listen. She knows things. She’s an awesome friend and has raised awesome kids and she says smart things.

Rhonda was sharing with me how she had recently become the recipient of a used but still wonderful Kitchen Aid Mixer. She was loving it and decided it was fantastic and then she said:

I wish I would have had this in my kitchen when my kids were still at home growing up.

She went on to talk about how much time it saved and about how nicely it mixed up batters and while I really liked hearing this part of her review, I just couldn’t let go of this thought:

Moms. We sacrifice. We skimp. We save. We make do. And God bless us for it!! I mean, after all, regarding the cooking and the baking and the batters and the doughs – I do have arms that work. My grandma used her arms. Why do I need to spend money on a mixer? I can make do.
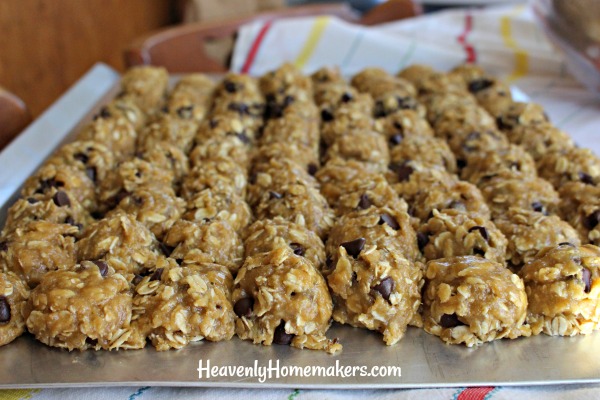
But there I stood with Rhonda in the church foyer, with my adult and teen kids hanging out with their friends in the background and my new set of littles playing at my feet. And I realized yet again: I AM STARTING OVER!!! Just when I thought I was almost done raising kids, God started us fresh with new fellas, and friends? That means I’m going to be working at this “feeding a family” thing for a very long time.

Add to that all the friends we feed regularly, plus the daughters-in-law and grandbabes I’d like to think are a part of our future and I’m pretty sure I will be cranking food and food and more food out of my kitchen for many more years!

Shucks, here I’m tearing up again at the beauty of this life we didn’t know God had planned for us.

Well anyway. I chewed on Rhonda’s statement for several months, watched in awe as my teens and littles shared meals, and I decided to run it by Matt. This wouldn’t be just a small purchase, and would it be worth it?
We decided yes. I should get a mixer because I was embracing Rhonda’s advice about “oh how nice it would have been to have when my kids were at home growing up.”

Little Boys #round2

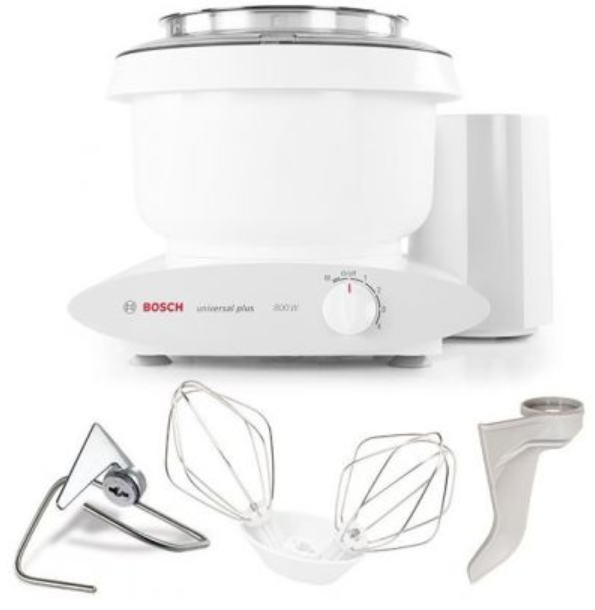
Before purchasing, I spend some time researching. One does not drop several hundred dollars on a kitchen tool without doing her homework. I landed on purchasing a Bosch Universal Plus. If I was going to spend big, I was going to get the best of the best. (Also, I purchased from Paula’s Bread because she’s a small business I trust and I wanted to support her with my big purchase!)

You guys. How did I ever get along with this? Well shucks, I used my arms I guess. :)
But Rhonda was right. This is a wonderful tool to have when you do a lot of cooking and baking,  for a family. My Bosch Mixer has already paid for itself in its efficiency and ease and time-saving gifts that it has given me as I work to take care of so many kids of different ages and while I feed many college kids and other guests too. I’m totally in love with it and am 100% grateful that we made this investment!

As for using my arms to stir and mix? Well, I’m going to focus on using my arms for more important endeavors. :)

Heavenly Homemaker's Club Members: Access your homepage and all your fantastic resources here! Not a member yet? Please join us!

Cream Cheese Pastries – the Healthier Way

September 13, 2020 by Laura Leave a Comment

This post may contain affiliate links. For more information, please see our disclosure policy.

Cream Cheese Pastries were one of my favorite treats when I was a kid. I finally got the idea to try and make them at home with freshly ground flour!

Have I ever told you how I like to keep recipes as simple as possible? Oh yes. I think I’ve mentioned that here a time or two. ;)

So that is why I decided to make these with my Stir-and-Pour Bread recipe. SO EASY! Mix the bread ingredients together. Walk away. Then you spoon the bread dough onto a pan, scoop on some cream cheese filling, and bake. Drizzle on the glaze. Enjoy your delicious treat!

I was thrilled with how these turned out, and I love that they are made with whole grain flour and less sugar than a typical pastry recipe. My pickiest eater ate three right in a row. :) Ready to give them a try?

Cream Cheese PastriesYum

Cream Cheese Pastries - the Healthier Way
 
Save Print
Author: Laura
Serves: 15
Ingredients
  • 4 cups whole grain flour (I use freshly ground hard white wheat)
  • 2 teaspoons active rise yeast
  • 2 Tablespoons sucanat or sugar or honey
  • 1 teaspoon sea salt
  • 1 egg (optional)
  • ¼ cup heavy cream (optional)
  • 2 cups warm water
  • CREAM CHEESE FILLING:
  • 8-ounces softened cream cheese
  • 3 Tablespoons lemon juice
  • ¼ cup sugar or maple syrup
  • 1 egg
  • GLAZE:
  • ¾ cup powdered sugar
  • 3 Tablespoons milk
Instructions
  1. Mix together the bread ingredients.
  2. Cover and allow the bread dough to rise for at least 30 minutes.
  3. Meanwhile, blend Cream Cheese Filling ingredients until smooth.
  4. Scoop small mounds of bread dough onto a buttered cookie sheet.
  5. Spoon the cream cheese filling onto each bread dough mound evenly.
  6. Bake in a 350 degree oven for about 20 minutes or until the bread is golden brown.
  7. Meanwhile mix up the glaze.
  8. Drizzle glaze over the baked pastries and serve.
3.5.3251

One more quick piece of info:

I finally invested in a Bosch Stand Mixer. I can’t even tell you how much I love it! I used it to mix the dough for these Cream Cheese Pastries so of course, that made this recipe even easier to make, if that’s even possible. More about my Bosch coming up soon!

Heavenly Homemaker's Club Members: Access your homepage and all your fantastic resources here! Not a member yet? Please join us!

Simple Homemade Pizza

September 9, 2020 by Laura 1 Comment

This post may contain affiliate links. For more information, please see our disclosure policy.

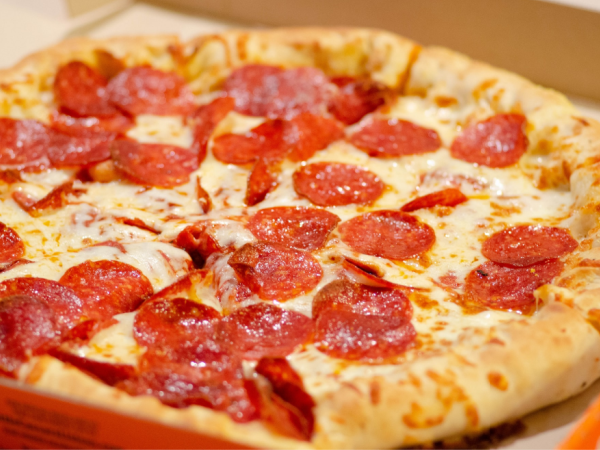
Pizza might be one of my favorite meals, so of course, we need to have Simple Homemade Pizza recipe options!

Confession: I order pizza more often than I used to now that we have little ones again. Ok, that’s not really a confession, it’s just truth, but I don’t actually feel that it needs to be confessed. As if ordering pizza is evil??

Sure, I don’t make every single thing from scratch anymore. Sure, not everything we eat is top-notch anymore. We still strive to eat nourishing foods so we can stay healthy. How else are we going to keep up with this tribe?! But God’s strength is bigger than ours, and that’s the real way we’re thriving through this journey.

So. I order pizza sometimes. Guilt-free. I praise God for this option on busy days I have to be at court hearings or team meetings while juggling littles and bigs.

Also, we eat it on paper plates. This is a beautiful thing.

Well anyway, pizza. The homemade kind. It truly tastes better, and we have fun building it to our liking. Here are my top three homemade pizza methods, from easiest to hardest. But the hardest way isn’t really hard, because do you even know me at all?

How to make simple homemade pizzaYum

  1. Buy pre-made crusts. Keep them in your freezer. Add toppings and bake. SO EASY. Plus cheaper and better tasting than ordering pizza.
  2. Make crust from Stir and Pour Bread recipe. Flour your hands and press it onto a pan. Add toppings and bake. VERY EASY.
  3. Make Whole Wheat Pizza Crust, because it is the most delicious. Make crusts ahead and freeze them if you’re as ambitious as I used to be and may be again sometime. Add toppings and bake. STILL EASY.

Here are the crust recipes for you!

Stir-and-Pour Pizza Crust

5.0 from 1 reviews
Simple Homemade Pizza
 
Save Print
Author: Laura
Serves: 2 large pizzas
Ingredients
  • 4 cups whole wheat flour (I use freshly ground hard white wheat)
  • 2 teaspoons active rise yeast
  • 2 Tablespoons sucanat or sugar or honey
  • 1 teaspoon sea salt
  • 2 cups warm water
Instructions
  1. Stir all ingredients together.
  2. Cover and allow it to sit for 30 minutes.
  3. Spread dough on two *well-buttered* large pizza pans (three if you want a thinner crust)
  4. Bake in a 375° oven for 10 minutes.
  5. Pull partially baked crust out of the oven and top it however you like.
  6. Bake for 10-15 minutes more or until cheese has melted and becomes bubbly.
3.5.3251

Whole Wheat Pizza Crust

5.0 from 1 reviews
Simple Homemade Pizza
 
Save Print
Author: Laura
Serves: 2 large pizzas
Ingredients
  • 5 cups whole wheat flour (I use freshly ground flour from hard white wheat)
  • 1 teaspoon sea salt
  • 4½ teaspoons active dry yeast (or 2 pouches)
  • 2 cups warm water (The water should feel warm, but not hot.)
Instructions
  1. Mix all ingredients together, knead for 3-4 minutes, then allow the dough to “rest” for about 10 minutes (give or take).
  2. This dough makes 2 large pizzas, or 18 mini pizzas.
  3. Shape dough into desired pizza sizes and place on baking sheets.
  4. Bake in a 375° oven for 5-7 minutes.
  5. Remove crusts from oven, allow them to cool, then freeze in freezer bags.
  6. Or, top hot pizza crusts with desired pizza toppings.
  7. When you're ready, bake the pizzas at 375° for 10 minutes or until cheese is bubbly and beginning to brown.
3.5.3251

What’s your favorite kind of pizza?

Heavenly Homemaker's Club Members: Access your homepage and all your fantastic resources here! Not a member yet? Please join us!

After School Snacks to Have on Hand

August 26, 2020 by Laura 2 Comments

This post may contain affiliate links. For more information, please see our disclosure policy.

Even though we homeschool, I still need to have after school snacks on hand. After all, we’re hungry after we’ve finished our school day too!

Here are the snacks we like to have on hand to make our afternoons run more smoothly – especially if we’re heading out to soccer games in the evening!

After School Snacks to Have on HandYum

First, here are some little-to-no prep snack ideas:

  • Summer Sausage
  • Lunch Meat
  • Leftover Ham
  • Variety of cheese
  • Carrot Sticks with Ranch or Hummus
  • Cucumbers
  • Celery and Peanut Butter
  • Sweet Peppers
  • Olives
  • Pickles
  • Apples
  • Grapes
  • Bananas
  • Oranges
  • Strawberries
  • Blueberries
  • Cantaloupe
  • Raspberries
  • Pineapple
  • Peanuts
  • Almonds
  • Cashews
  • Crackers
  • Bread and Butter
  • Peanut Butter Honey Toast
  • Chips
  • Guacamole
  • Salsa
  • Smoothies
  • Popcorn

And if you have time to make or bake a fun recipe, here are some of our favorites!

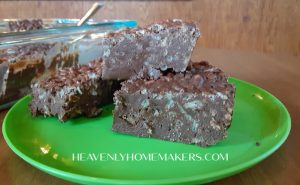
  1. 4-Ingredient Chocolate Crunch Bars
  2. No Bake Cookie Cups (5 minute prep!)
  3. Cream Cheese Salsa Dip (2 ingredients!)
  4. Pineapple Coconut Quick Bread (blends together fast!)
  5. Parmesan Crisps (so easy you won’t believe it!)
  6. Sweet and Salty Almonds or Pecans
  7. Chocolate Cheesecake Fudge
  8. Creamy Italian Veggie Dip
  9. No Bake Chocolate Chip Cookie Bars
  10. Honey Sweetened Flourless Peanut Butter Bars (3 ingredients!)
  11. Easy Cheesy Popcorn
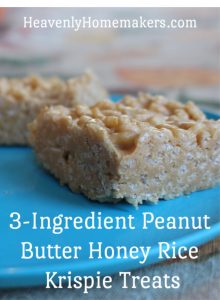
  12. 3-Ingredient Peanut Butter Honey Rice Krispie Treats
  13. Homemade Chewy Granola Bars

It’s fun to have something homemade to treat the family with after a full day of learning!

Bonus: Here are 40 fun snack recipes that include peanut butter.

Want more? Here’s our 227 Healthy Snack Ideas eBook!

I also like to keep snacks like this on hand to grab and go to soccer games:

  • Veggie Straws
  • Applesauce Squeezies
  • Freeze Dried Fruit
  • Cheese Sticks
  • Fruit Leather

What are your favorite snacks to enjoy as After School treats?

Heavenly Homemaker's Club Members: Access your homepage and all your fantastic resources here! Not a member yet? Please join us!

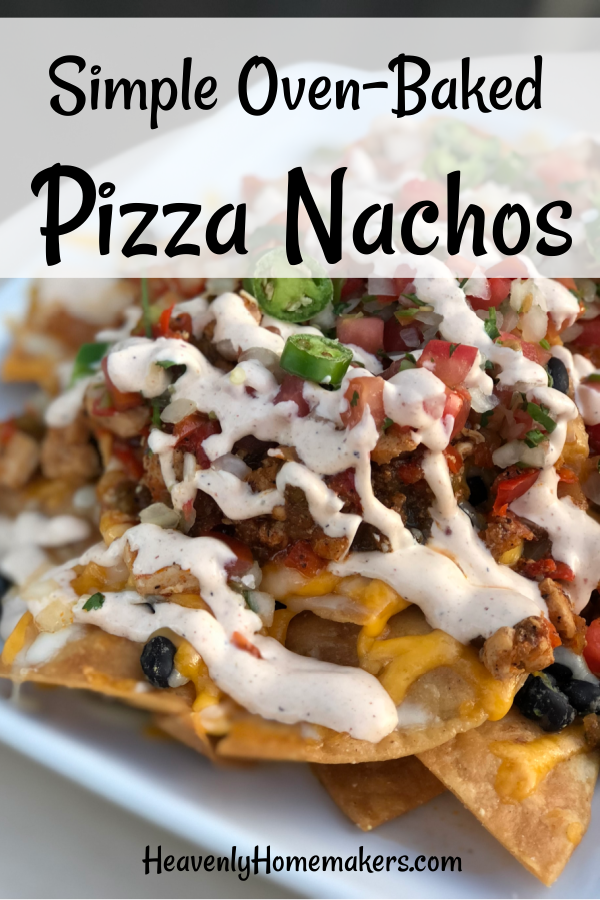
Simple Oven-Baked Pizza Nachos

August 23, 2020 by Tasha Hackett 4 Comments

This post may contain affiliate links. For more information, please see our disclosure policy.

Ready for a great recipe from Tasha? This is a pretty fantastic idea!

Yum

What happened when Pizza met Nachos? Pizza Nachos. 

by Tasha Hackett

You can probably go on your merry way and figure this one out: Oven-Baked Pizza Nachos. Got it? But wait! Come back! I have a secret tip that takes this to the next level. Dip in warmed pizza sauce!

If you asked my family, “What’s better than nachos for dinner?” They will tell you it’s Pizza. Coincidentally, “What’s better than pizza for dinner?” Nachos. But I bet you can’t guess the newest thing I’m in love with…? Okay, fine, you got me. Pizza Nachos!!

But how simple is simple? Like, do I have to wash a bowl? 

This simple and easy dinner has become one of my favorite go-to meals where I feel like I’m meeting all the food groups (*cough* VEGETABLES) while still pleasing even the picky eaters. I started making this a few years ago, but I limited myself to traditional pizza toppings such as pepperoni, olives, mushrooms, peppers, etc., and mozzarella cheese. But this summer I realized, “I can hide all sorts of vegetables in mozzarella cheese!” (Namely zucchini.) One day, when I happened to be out of everything fresh I pulled canned chicken from my emergency pantry. Because even though I’m pretty talented at life, Laura still is mentoring me on the whole meal-plan-ahead-thing. Thus began the weekly Pizza Nacho extravaganza because even though Stir-and-Pour Pizza Crust is amazing and simple and easy, even that is too much for me right now. (Let’s be real, stirring and pouring I can handle, it’s the waiting and baking and that extra bowl to wash that does me in.) 

Okay, Karen, you can stop scrolling. Here’s how SIMPLE Pizza Nachos are made. 

  1. Spread a baking dish with tortilla chips. I use my large pampered chef jelly-roll pan. But you can use any pan you like that has an edge to keep the chips from falling into your oven and burning and setting off your smoke alarm and will leaving you wishing you had just ordered pizza like Susan does every weekend and then maybe you wouldn’t be pulling out the fire-extinguisher on a busy evening. So… I’ve used two 9″ X 13″ pans before and that works well. 
  2. Sprinkle a very sparse layer of shredded mozzarella on the chips. This is the glue to hold your toppings together.
  3. Add your toppings of choice. Feel free to be creative or not. I’ve been enjoying diced zucchini and green peppers with canned chicken on mine! Garden fresh basil and jalapenos are delightful. 
  4. Sprinkle with just a touch of Italian seasoning, salt, and garlic.
  5. Add the rest of the cheese to completely cover any sneaky vegetables you don’t want certain family members to know about. 
  6. Bake in the oven at 350° until the cheese is melted and just starting to brown. About 8 minutes. You CAN use broil for a couple minutes instead and you will have dinner, like, yesterday. But broil is not for the faint of heart, or the easily distracted, and you may want to go back to step #1 read it through carefully before you ever ever ever use the broil function… you’re welcome. #TashaCantBroil #BurnedFoodGuaranteed #TrueStory #GoAheadAndUseBroilifYoureVeryBrave
  7. While your Pizza Nachos are baking (or not burning under the broiler thing), warm up your pizza sauce of choice and do a little dance, but not too much dancing if you’re broiling. 
  8. Serve with metal salad tongs, because I don’t know any other way, and dip in pizza sauce.

pizza sauce

What are you waiting for? Go forth and make simple food.

And now I’m going to go eat one of those chocolate peanut butter cups that I have stored in my refrigerator because Laura made me do it and now I’m addicted and all this talk about pizza and nachos has me drooling.

Have you ever made pizza nachos before? I feel like I made this up, but I probably did not. Also, serious question: Is it even possible to broil without walking away and forgetting about what’s turning black in the oven? I know I’m a super unique and wonderful individual human person, but I can’t be only one with this skillset. 

P.S. You’re still allowed to plan ahead with this meal and write it on your meal plan that Laura has been teaching us about, and then you can relax that you have one less thing to worry about because you don’t even have to wash a dough bowl. 


tasha

Tasha Hackett is an unpublished Christian romance author who sometimes lives in a dream world of the Midwest 1800s with her characters. Graciously, Laura lets her play on the blog a few times a month! Tasha likes to encourage women, stay out of debt, read wonderful books, and homeschools with her four children. You can find her playing on Instagram @HackettAcademy and @heavenlyhomemaker.

Heavenly Homemaker's Club Members: Access your homepage and all your fantastic resources here! Not a member yet? Please join us!

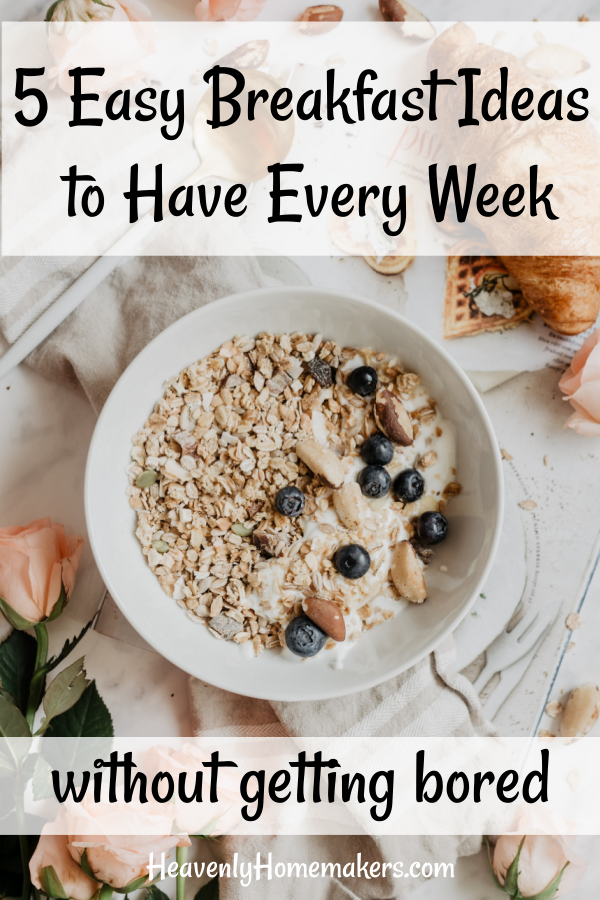
5 Easy Breakfast Ideas to Have Every Week

August 19, 2020 by Laura 8 Comments

This post may contain affiliate links. For more information, please see our disclosure policy.

Need breakfast ideas to have every week to make life easier?

How many decisions do we make in a day, I wonder? I’m guessing it would blow our minds to know the answer to that.

Tip: I’ve heard that it’s wise to always take the same “route” as you walk through the grocery store, simply to cut down on the decisions you have to make.

Hmmm, interesting. Hearing that tidbit of advice made me think about what other decisions I could cut out of my very full brain (that is so busy making decisions that it can’t help me remember where I set my pen).

So let’s talk about breakfast!

I’ve just figured out how wonderful it is to save my brain energy by planning the same basic breakfast meals every weekday!

Here’s the basic breakdown of what I now make or serve each weekday:

Monday – Muffins
Tuesday  – Toast
Wednesday – Oatmeal
Thursday – Eggs
Friday – Granola or Cereal

With this skeleton plan, I can now make fun adaptations each weekday to keep our menu fresh and fun! (I save pancakes or waffles or other special breakfast ideas for Saturdays.) :) And now I will give you more specifics about how this works for us…

5 Easy Breakfast Ideas to Have Every WeekYum

Monday – Muffins

I can choose from these 40 recipes so that Mondays are never boring. I shall call this “Muffin Monday” because cuteness in the kitchen is underrated.

Tuesday – Toast

Let’s hear it for “Toast Tuesday.” Though now I have to admit, my cute names for days of the week have now run out. Anyway though, we can make this Stir and Pour Bread and then top it however we like. Peanut butter and honey is a favorite for most of us. And homemade bread is tough to beat!

Wednesday – Oatmeal

I try to keep this Homemade Instant Oatmeal on hand, but sometimes I splurge and buy these too. Either way, this makes for a fast breakfast!

Thursday – Eggs

We mostly prefer scrambled cheesy eggs, but occasionally we’ll fry them. I love how easy eggs are to make!

Friday – Granola or Cereal

We like different kinds of homemade granola like:

  • Dark Chocolate Almond Granola
  • Easy Basic Homemade Granola
  • Granola ~ 5-Minute Stop-Top Version
  • Peanut Butter Honey Granola

Or, I can make these Homemade Chewy Granola Bars for a fun change of pace.

Always serve fruit

Fruit at breakfast is a given at our house. So with all of the above day-of-the-week breakfast ideas, everyone can choose what fruit they like best. I try to keep a variety on hand, depending on what is in season. Our favorites for breakfast are:

  • Blueberries
  • Cantaloupe
  • Apples
  • Oranges/Clementines
  • Bananas
  • Applesauce
  • Peaches
  • Pears
  • Strawberries

How might this idea work for your family?

Heavenly Homemaker's Club Members: Access your homepage and all your fantastic resources here! Not a member yet? Please join us!

Simple Spicy Chicken Burgers

July 19, 2020 by Laura Leave a Comment

This post may contain affiliate links. For more information, please see our disclosure policy.

Gather five basic ingredients, and you can make these delicious and unique Simple Spicy Chicken Burgers!

You might recognize part of this recipe if you’ve ever made our Simple Chicken Cheeseballs with a Kick. This proves, once again, how easy it is to take one recipe and tweak it to make it into something new! This saves brainpower, while still giving us lots of fun recipes to enjoy with our family!

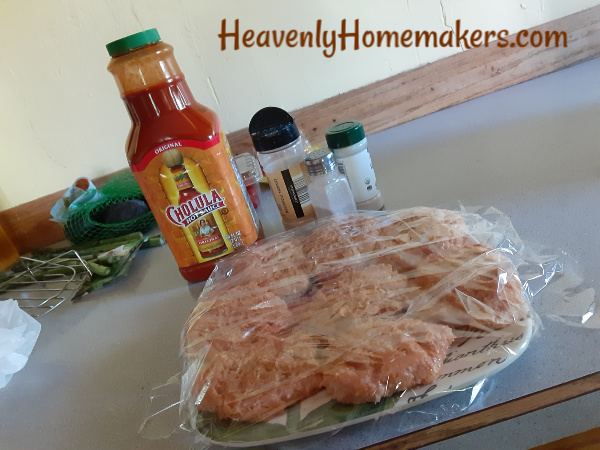
Oh hey, speaking of spicy burgers, remember that one time I ordered a bottle of Cholula online? It went a little something like this:

My family was running low on hot sauce, and I like to keep it on hand because all of our older boys love it. In true Laura style, I ordered it from Amazon because if I can possibly have something sent directly to my porch to save myself from overflowing my grocery cart at the store, I will absolutely have the item sent to my porch.

Also in true Laura style, I wasn’t thorough when reading the description of the bottle of Cholula that I put into my Amazon cart. It looked like a biggish bottle, and that sounded good to me because we have a biggish family full of biggish eaters. I thought nothing more about my Cholula until I pulled it out of the box a few days later.

And wow. Well, we didn’t know they made Cholula bottles that large!

Laura had ordered a 64-ounce bottle of Cholula, which is the same as a half-gallon, thankyouverymuch. Picture a 2-liter of soda and you’ve got our Cholula bottle. We shall not run out of Cholula any time soon, or so it seems. But then again, we REALLY like these Spicy Chicken Burgers so we may go through the bottle faster than we think.

I appreciate that this is a recipe that allows me to mix up the ingredients quickly in the morning, shape the burgers for later, refrigerate, then pull them out at dinnertime to quickly grill and eat. Read this post for more ideas about getting ahead and making dinner early in the day!

It’s also fun to note that ground chicken costs less than ground beef. So this recipe will save you money!

Beyond that, our family finds it fun to have yet another variety of burgers to grill in the summertime. These have a great, unique flavor that isn’t too spicy, but is super tasty!

Simple Spicy Chicken BurgersYum

Simple Spicy Chicken Burgers
 
Save Print
Author: Laura
Serves: 8
Ingredients
  • 2 pounds ground chicken
  • 1½ teaspoons onion powder
  • 1 teaspoon garlic powder
  • ½ teaspoon sea salt
  • 2-4 Tablespoons hot sauce (I use Cholula)
Instructions
  1. Mix all ingredients in a bowl until well combined.
  2. Shape into 8 patties.
  3. Cook patties on a grill or in a skillet on the stovetop until the meat is golden brown and cooked through and through.
  4. Serve on buns with sliced cheese, lettuce, tomatoes, or any of your favorite burger toppings! Ranch dressing is a tasty topping with these burgers!
3.5.3251

If you’re grilling these, you’ll find that you need to leave them alone for quite some time before you flip them. They don’t hold together as well as beef burgers. Allow them to cook slowly on the grill until they have solidified somewhat, then they’ll turn easily!

Have you ever tried grilling a chicken burger? Give these a try – hope you love them as much as we do!

Heavenly Homemaker's Club Members: Access your homepage and all your fantastic resources here! Not a member yet? Please join us!

Potato and Bacon Foil Packs on the Grill

July 15, 2020 by Laura 1 Comment

This post may contain affiliate links. For more information, please see our disclosure policy.

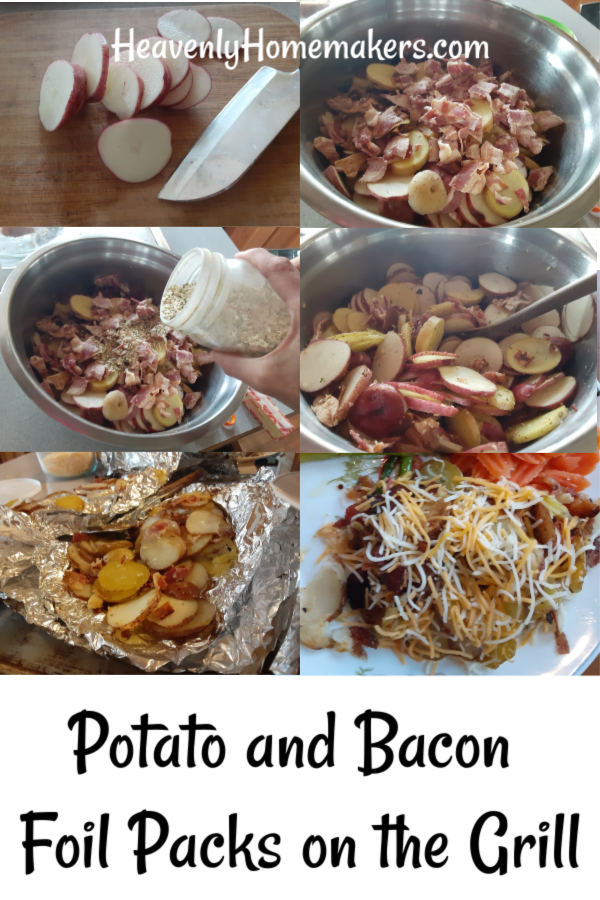
Make yourself some Potato and Bacon Foil Packs for the grill! You will not be disappointed!

I may have to make this every week of the summer! The flavor is unbelievably good. And of course, these are really easy to make!

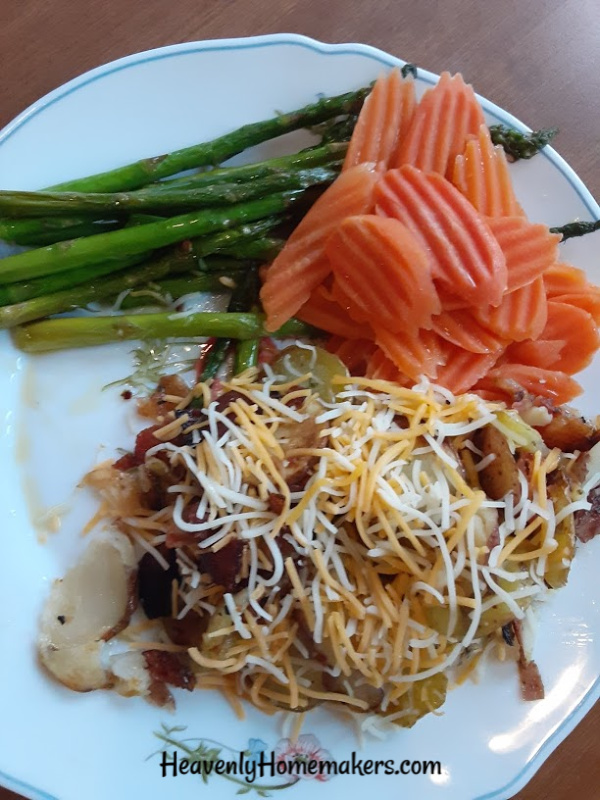
I like to prep them in the afternoon while the babies are napping. Then at dinnertime, we throw them on the grill. While they cook, we steam some veggies. And the meal is perfection!

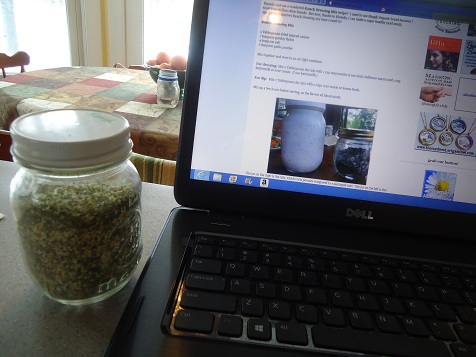
First things first, make yourself a batch of this Ranch Dressing Mix. I like keeping a full jar of this mix in my pantry to use in recipes like this!

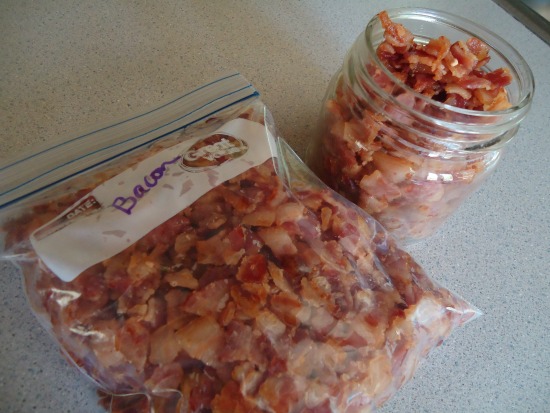
Second, consider making a batch of Bacon Bits like this. I love having these ready to grab and use in recipes!


If you’ve got those prepped ahead, you can make these Potato and Bacon Foil Packs super quickly!

Ready to put yours together?

Potato and Bacon Foil Packs on the GrillYum

Potato and Bacon Foil Packs on the Grill
 
Save Print
Author: Laura
Serves: 6-8
Ingredients
  • Heavy-duty foil
  • 5 pounds baby red potatoes
  • ½ pound cut and cooked bacon
  • 4 Tablespoons ranch dressing mix (or 1 pouch)
  • 1 stick of butter, cut into 12 slabs
  • Shredded cheese and sour cream for serving (optional)
Instructions
  1. Wash potatoes and slice them into very thin slices.
  2. Place them in a large bowl.
  3. Stir in cooked bacon and ranch dressing mix.
  4. Prepare foild packets using a double layer of foil filled with potato mixture. (I try to make my foil packets thin so they will cook faster on the grill. So I make this recipe into 3 large, flat foil pouches.)
  5. Top potato mixture with slabs of butter.
  6. Close pouches securely for the grill.
  7. Cook pouches on the grill for 15-30 minutes, turning occasionally for even cooking.
  8. When you can easily poke a fork into the pouches, you'll know the potatoes are thoroughly cooked.
  9. Pull potato pouches off the grill and serve with cheese and sour cream!
3.5.3229


Need more recipes for the grill? Here’s a great list!

Heavenly Homemaker's Club Members: Access your homepage and all your fantastic resources here! Not a member yet? Please join us!

How to Serve a Special Breakfast without Breaking the Bank

June 14, 2020 by Laura 2 Comments

This post may contain affiliate links. For more information, please see our disclosure policy.

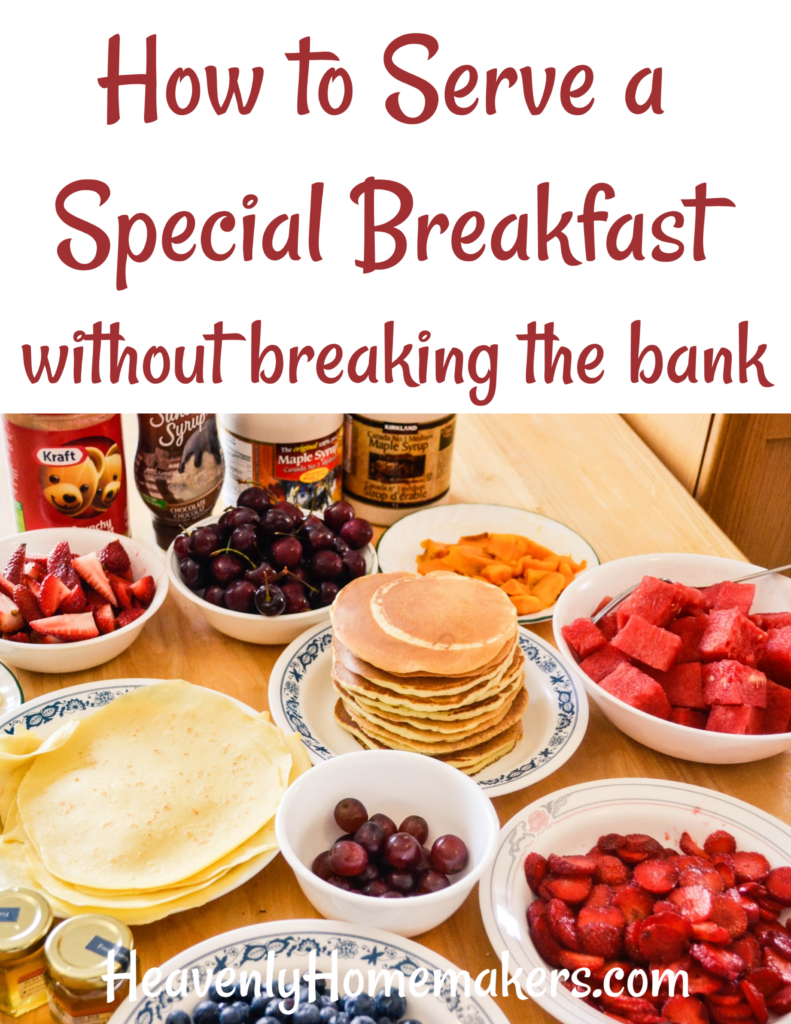
Want to serve a special breakfast without breaking the bank? Here’s how!

Yum

How to serve a special breakfast without breaking the bank

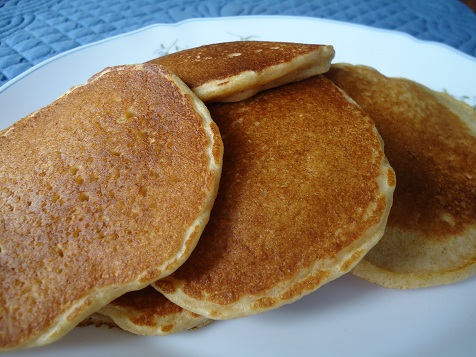
In short, the answer is pancakes.

And crepes.

With pretty fruit.

And whipped cream.

See, here’s how I came to learn about this special breakfast. I mean, I already knew about it. But I guess I didn’t realize how amazing it really was. I thought I was just feeding college kids while simultaneously cleaning out my fridge (shh, don’t tell!).

As it turns out, I was giving them a feast that made them think I had gone to a lot of trouble and expense. They were amazed and grateful and overjoyed when they saw our buffet. Which was?

A tower of pancakes and whatever fruit I could find in my house.

We already know that pancakes are cheap to make in bulk. And we already know that most people love pancakes. So this is a great meal to feed a larger group of people.

So as I flipped the cakes, I kept pulling out whatever I could find to go with them. Matt sliced some bananas. I whipped some cream. Then I got out frozen fruit stuffed and forgotten in the back of my freezer and turned it into syrup.

We got out half empty full jars of applesauce. We pulled out a few fresh berries. We set out homemade peanut butter.

The buffet ended up looking so pretty and fun! The college students (who this time happened to be a bunch of soccer athletes who can EAT and who also have a soft spot for our Boy Babes – oh my heart) were simply thrilled with the food options.

We fed about 10 extras that night for just a few dollars. But seeing their faces beam and their plates fill and their hearts soften as they loved on our littles – it was entirely priceless.

For the record, I did decide to save money and make “syrup” by heating and stirring together brown sugar and water in a saucepan. Again, they all thought it was fancy since I’d made it myself. I was kinda feeling stingy about such a large group dousing their pancakes in our hard-to-come by and pretty pricy real maple syrup. So that was my money-saving solution to that. :)

So that’s that.

If you need to feed a crowd and you want to do it on the cheap, make a pile of pancakes and clean the frozen fruit out of the back of your freezer. Make your own “syrup” (I’ll post the details soon!) and put a big smile on your face. Offer this meal for breakfast, lunch, or dinner – it is a winner any time of day!

Heavenly Homemaker's Club Members: Access your homepage and all your fantastic resources here! Not a member yet? Please join us!

Easy Salads for Summertime

June 7, 2020 by Laura Leave a Comment

This post may contain affiliate links. For more information, please see our disclosure policy.

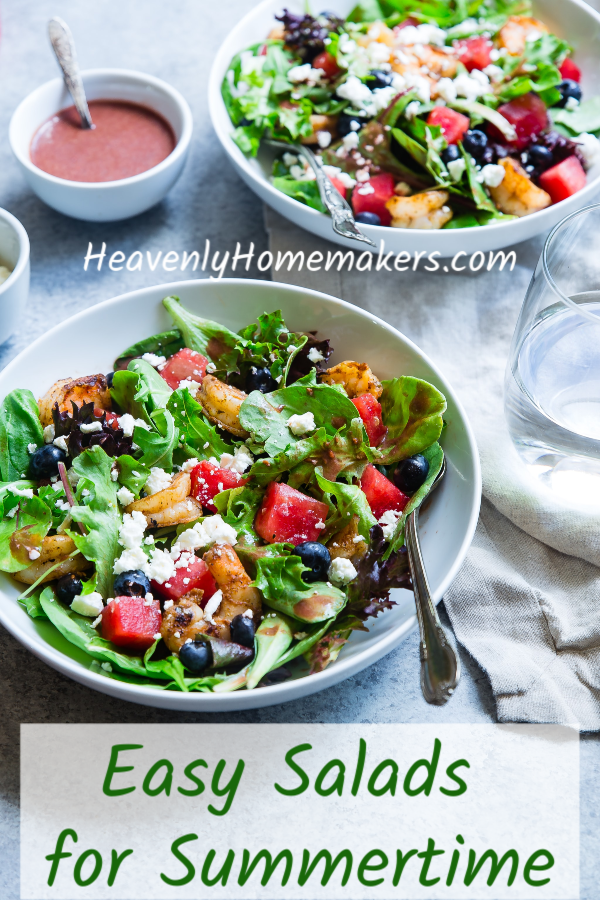
Need some easy salads for summertime?

I’ve confessed here before that I often just grab mixed greens out of the fridge and eat them on the fly. No dressing. No bowl. No fork. Mixed greens are finger food for this busy mom.

But do I truly enjoy them that way? Not really. I just eat them because I need them and know that they will give me nourishment. Weird and boring…I know. But it works because I need it to work.

Meanwhile, these awesome salad recipes are sitting here waiting to be actually enjoyed. They taste amazing, include fantastic and flavorful add-ins, and they don’t take a lot of time to prepare.

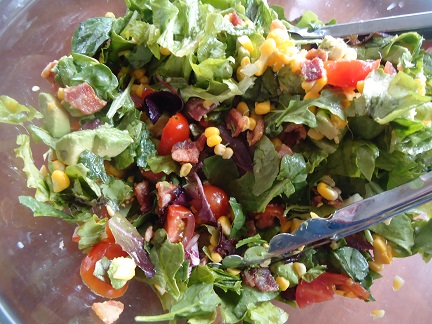
My favorite by far is this BLT Chopped Salad. Wow is this a fantastic combination of flavors! This salad is worth getting out a bowl and a fork for!

Some of the salads in this list are an entire meal all by themselves. Some make a wonderful side dish. All of them are wonderful to take on a picnic or potluck. Some have fruit, some include greens, some even include cream cheese because God is good.

Easy Salads for SummertimeYum

  • Bacon, Egg, and Avocado Salad
  • Black Bean Taco Salad
  • BLT Chopped Salad
  • Easy Taco Salad
  • Chicken Chef Salad
  • Tuna Salad
  • Perfect Pasta Salad
  • Simple Bacon Broccoli Salad
  • Easy Blue Raspberry Salad
  • Strawberry Spinach Salad with Vinaigrette
  • Easy Salsa Chicken Salad
  • Strawberry Christmas Salad
  • Pineapple Fluff Salad
  • Build-a-Fruit-Salad Bar
  • Hawaiian Fruit Salad
  • Simple Strawberry Fluff Salad

What are your favorite summertime salads?

Heavenly Homemaker's Club Members: Access your homepage and all your fantastic resources here! Not a member yet? Please join us!
« Previous Page
Next Page »

Join Our Community!

 Facebook Twitter E-mail Instagram Pinterest

Popular Posts

~ Will All of the Real Moms Please Stand Up?
~ Easy! Stir-and-Pour Whole Wheat Bread
~ How to Make Gatorade
~ 31 Real Food Breakfast Ideas
~ Dear Teenage Girls...
~ When Mom Takes a Step Back
~ The Inexpensive Health Insurance We Love!
~ Let's Talk Real Food Grocery Budgets

Check out our latest posts!

  • Big Family Food and Fun: August 30-September 5, 2026
  • Big Family Food and Fun: August 23-29, 2026
  • Big Family Food and Fun: August 16-22, 2026
  • Big Family Food and Fun: August 9-15, 2026
  • Big Family Food and Fun: August 2-8, 2026
Home  ~  Simple Meals  ~  Club Membership  ~  Shop  ~  Privacy Policy  ~  Disclosure  ~ Contact

Copyright © 2026 · Beautiful Pro Theme on Genesis Framework · WordPress · Log in