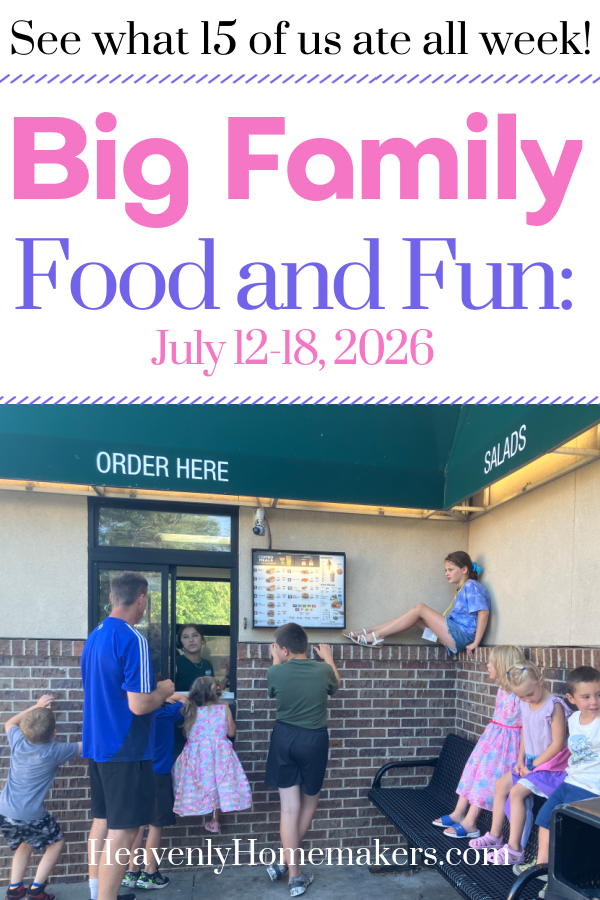
Here’s our Big Family Food and Fun: July 19-25, 2026 post!
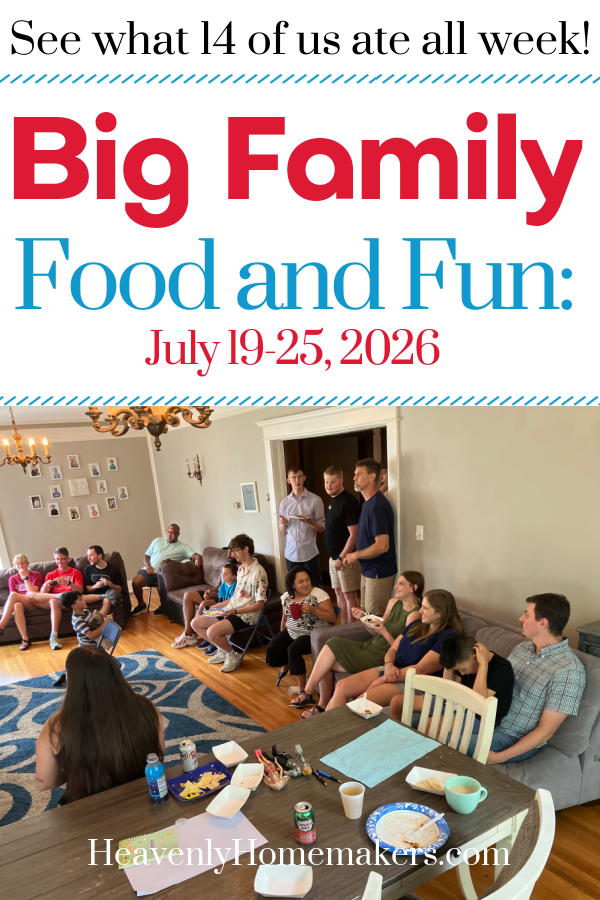
Big Family Food and Fun: July 19-25, 2026
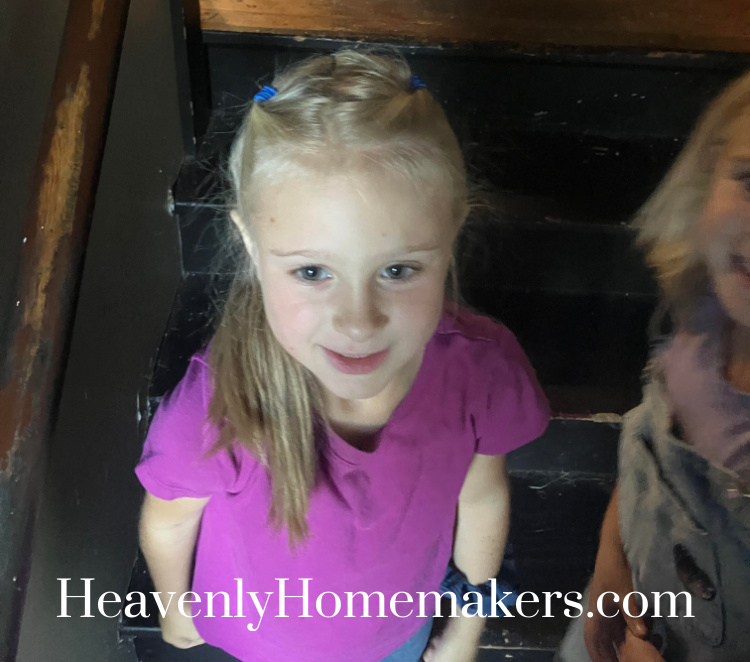
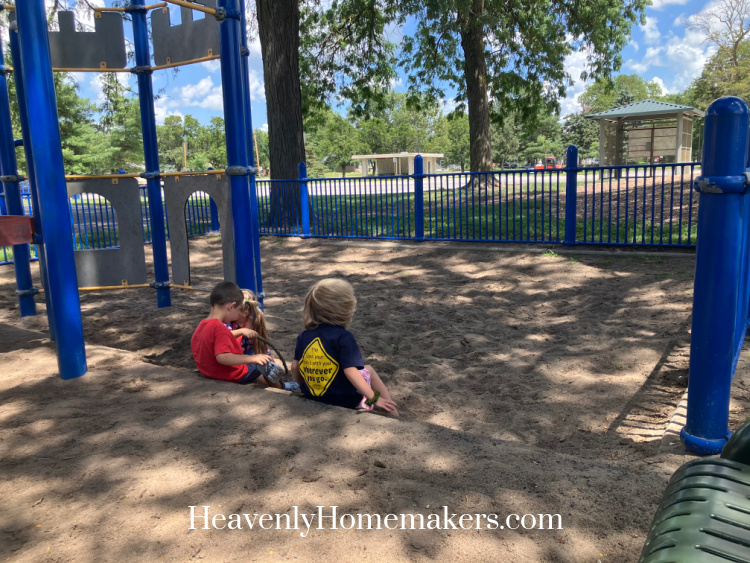
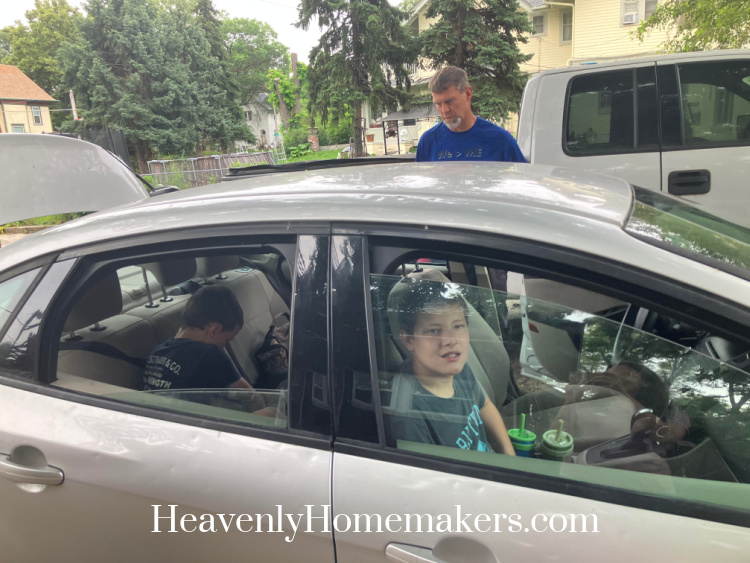
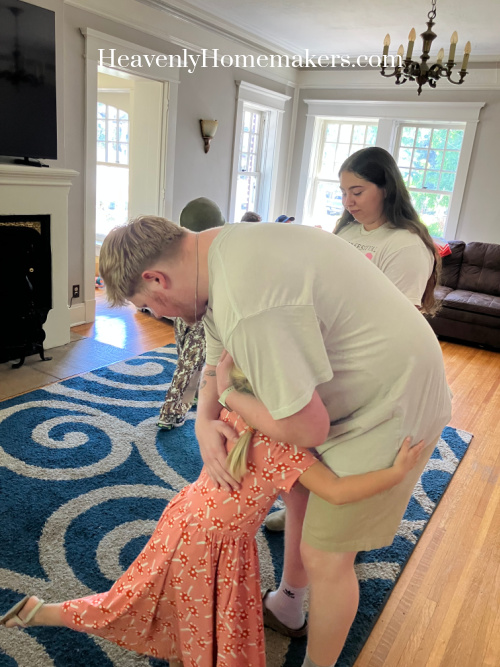
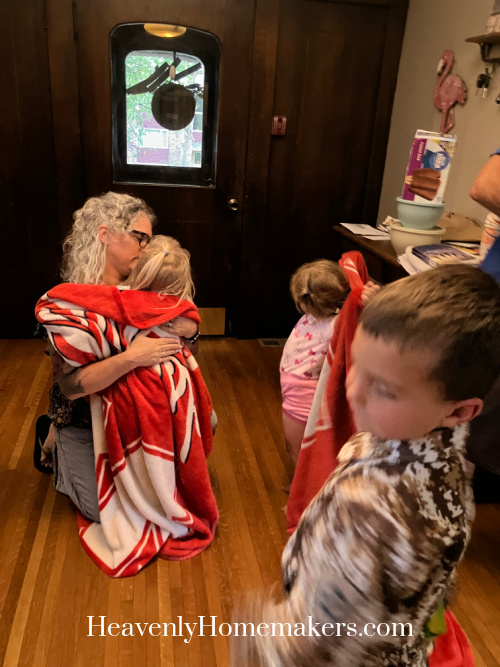
Before diving into this week, I had to share this fun hug from the end of the day last Saturday. Arrow had hung out with us all day and he was very excited to see Auggie after he work up from his nap!
![]()
![]()
Ok, now onto Sunday!
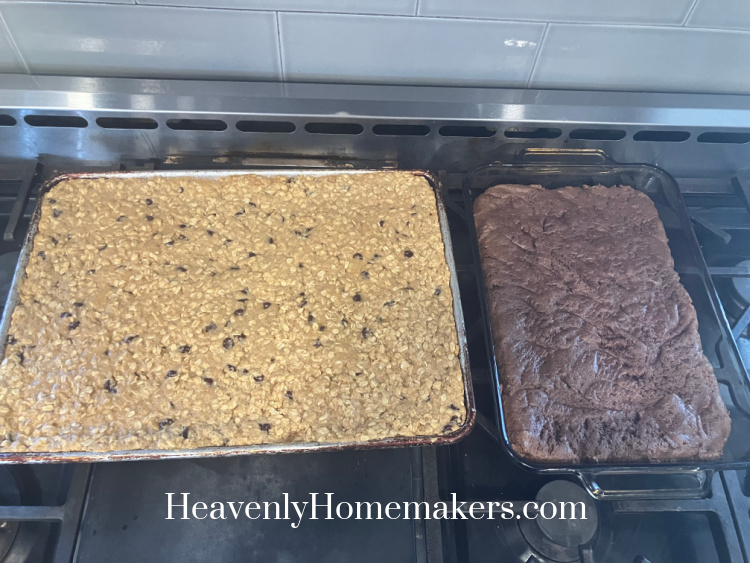
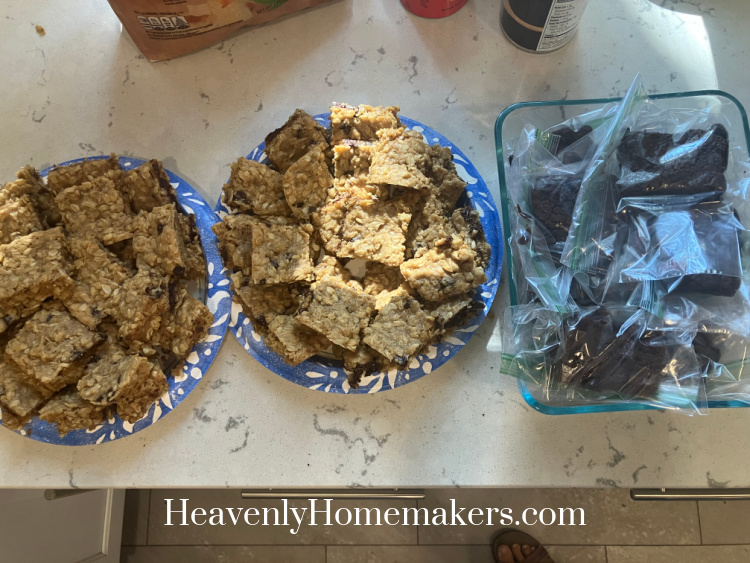
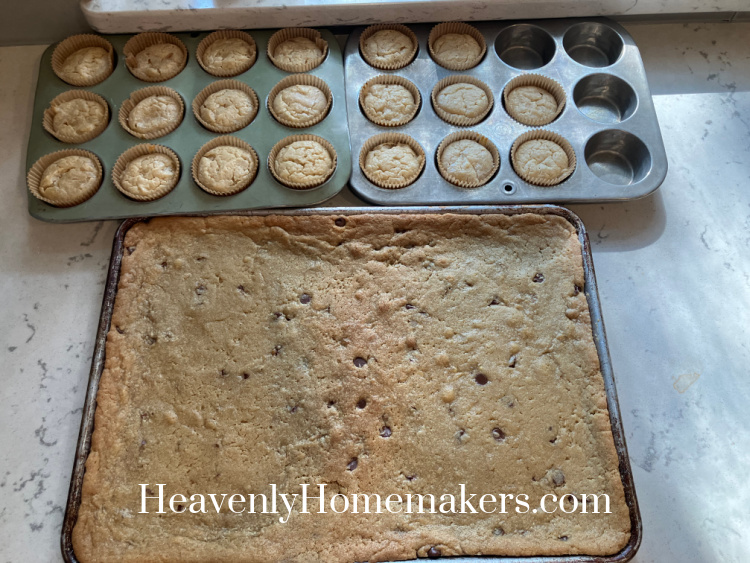
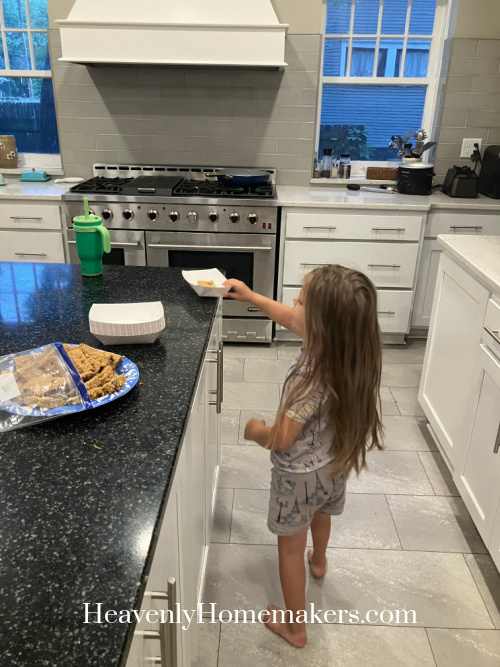
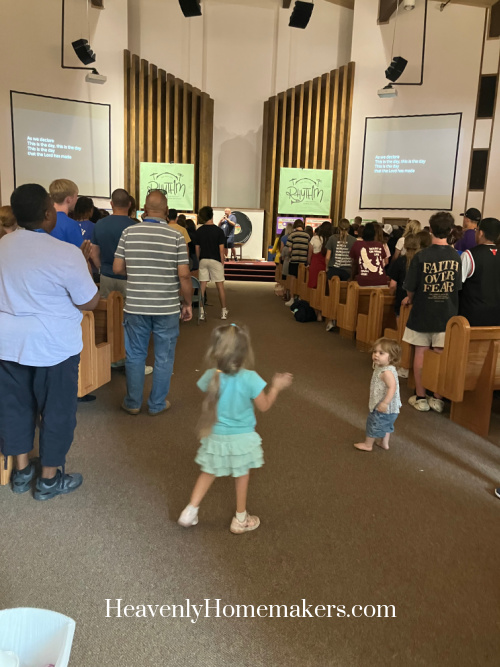
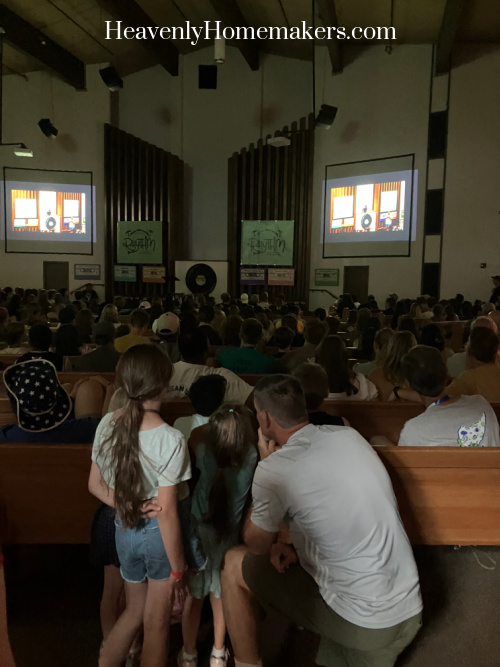
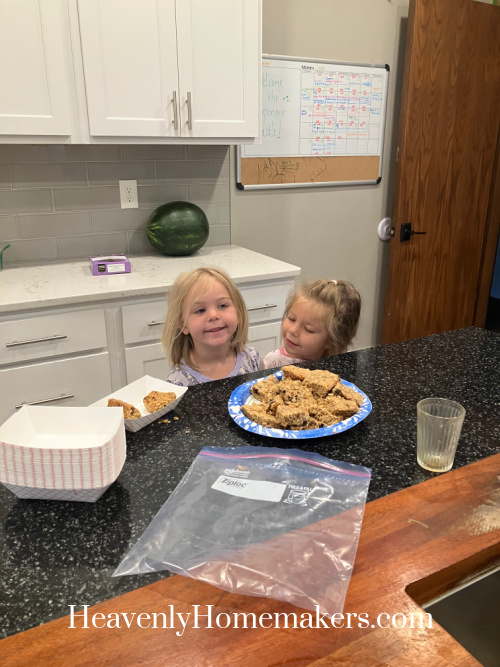
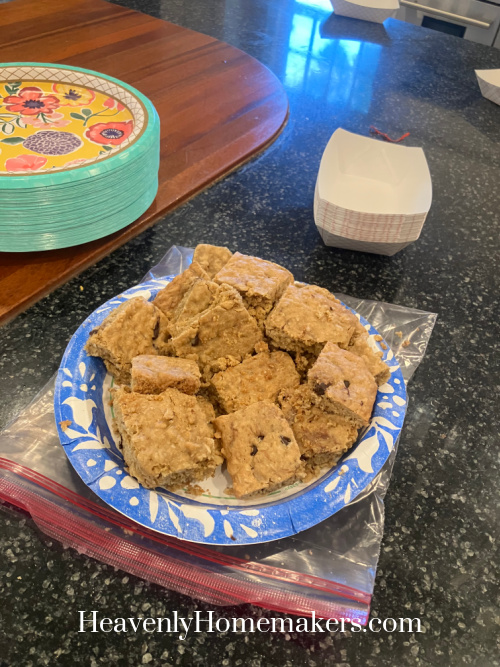
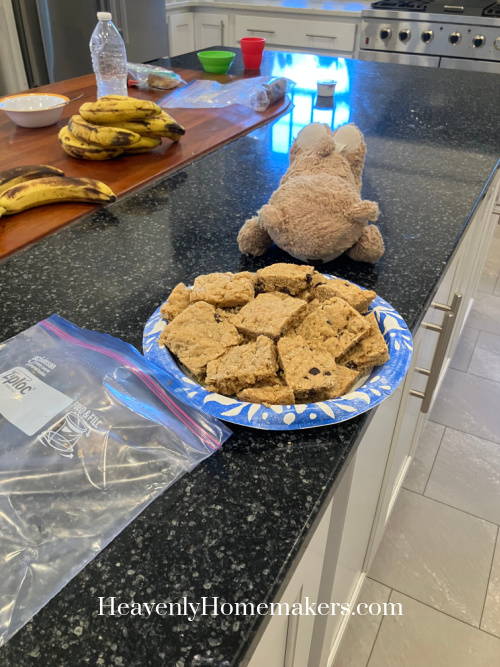
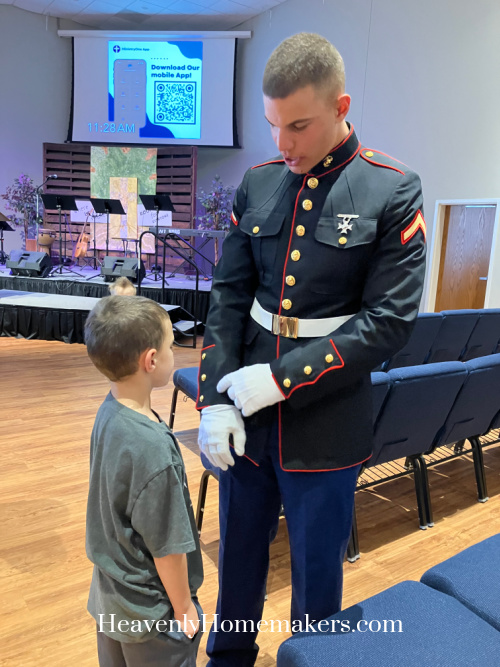
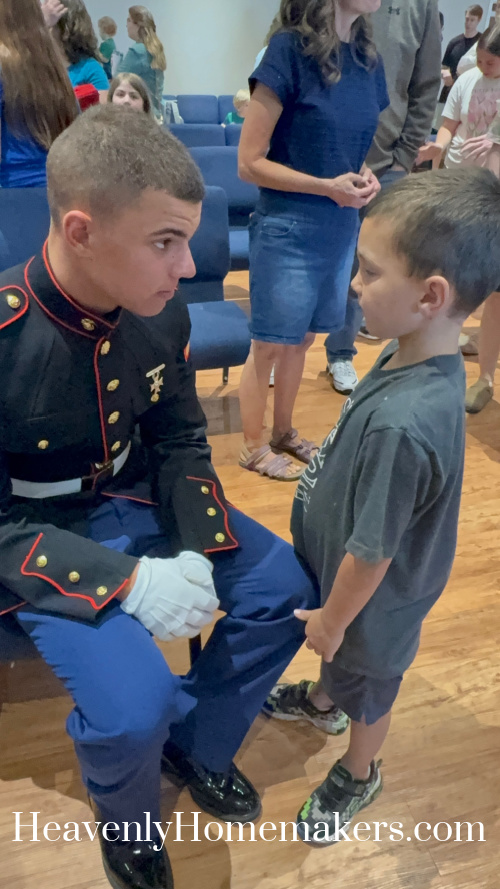
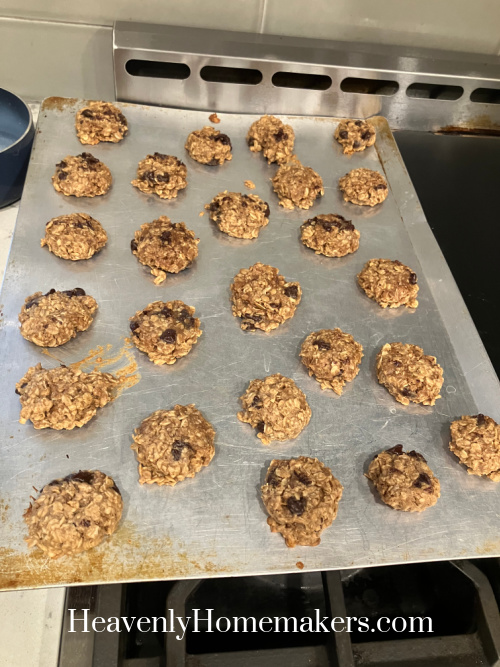
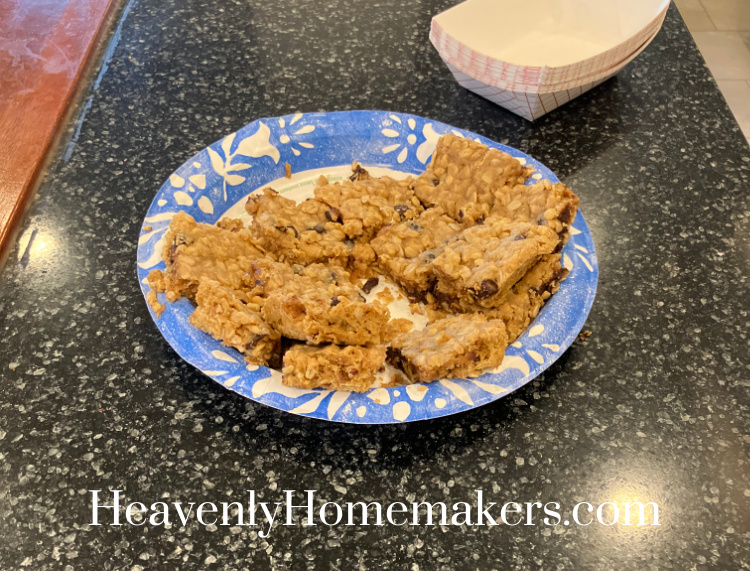
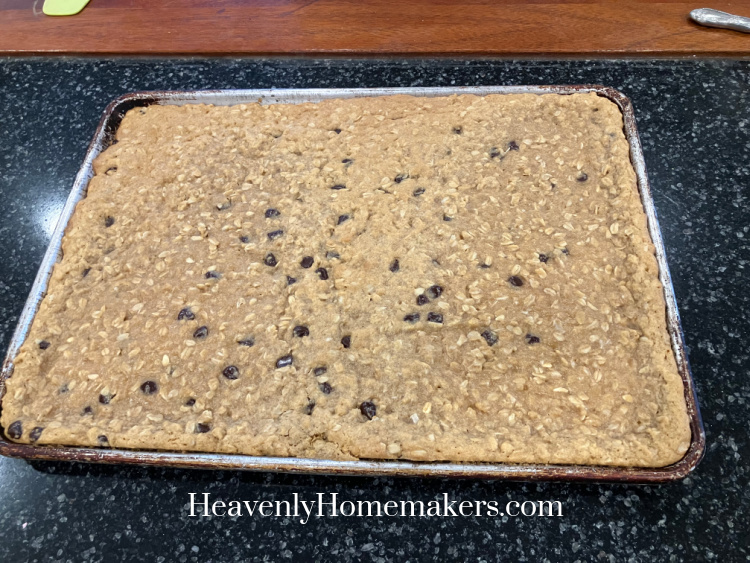
We ate our Breakfast Cookie Bars while getting ready for church. These are such a life saver – no brainer breakfast – as we get so many kids out the door!
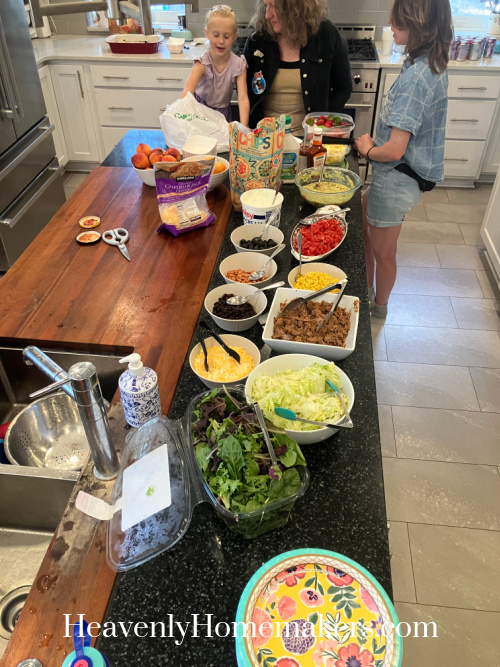
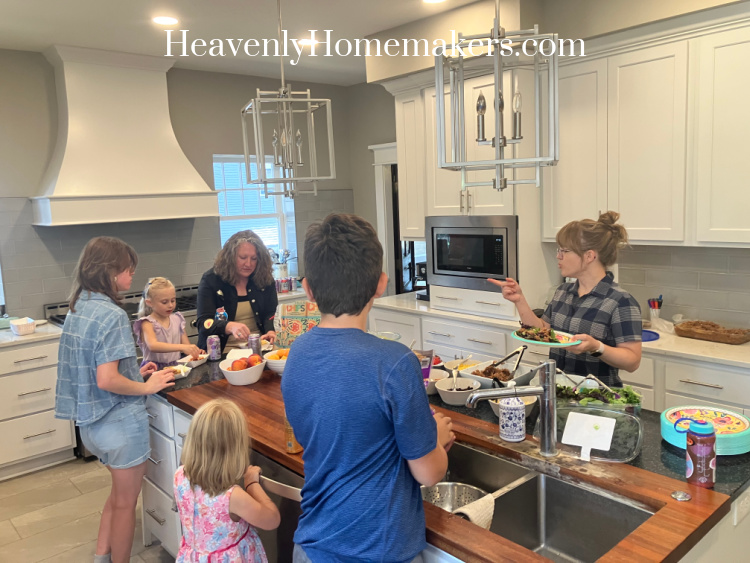
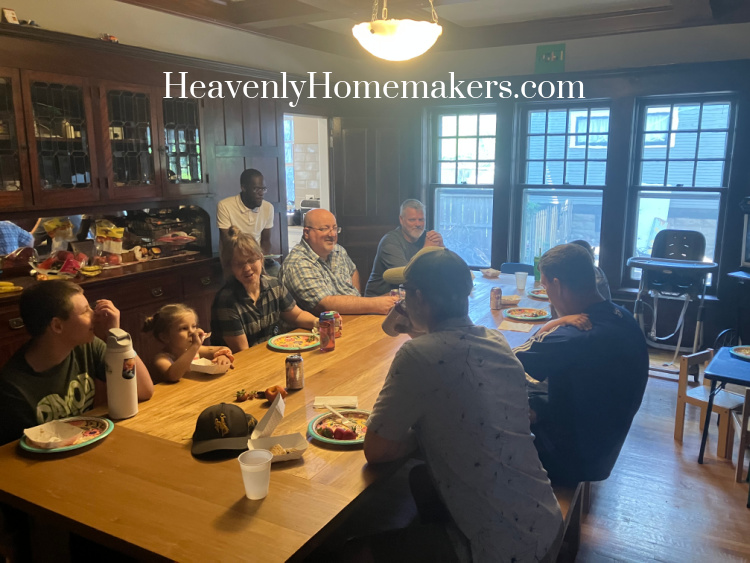
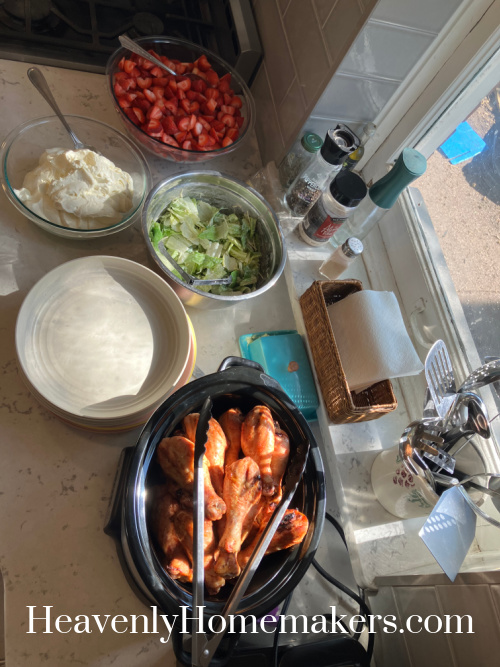
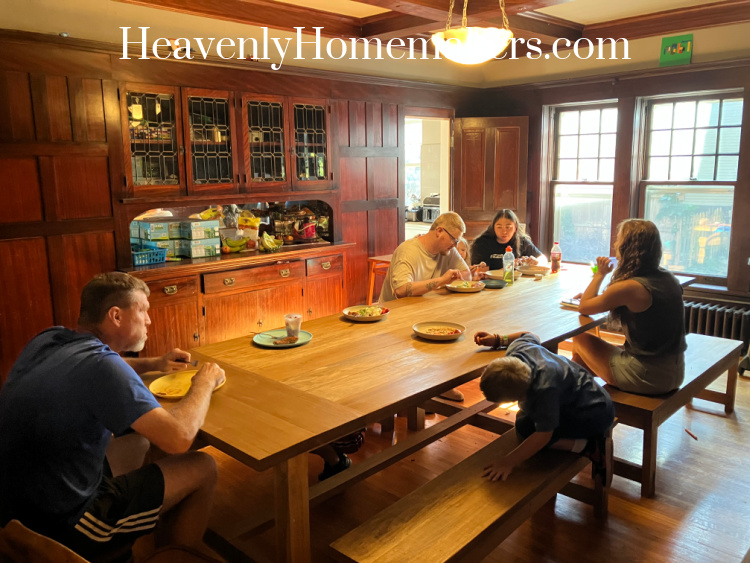
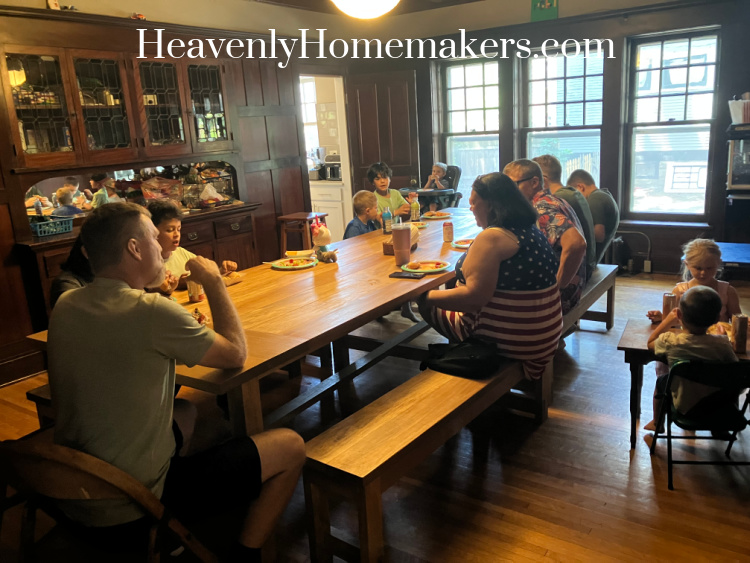
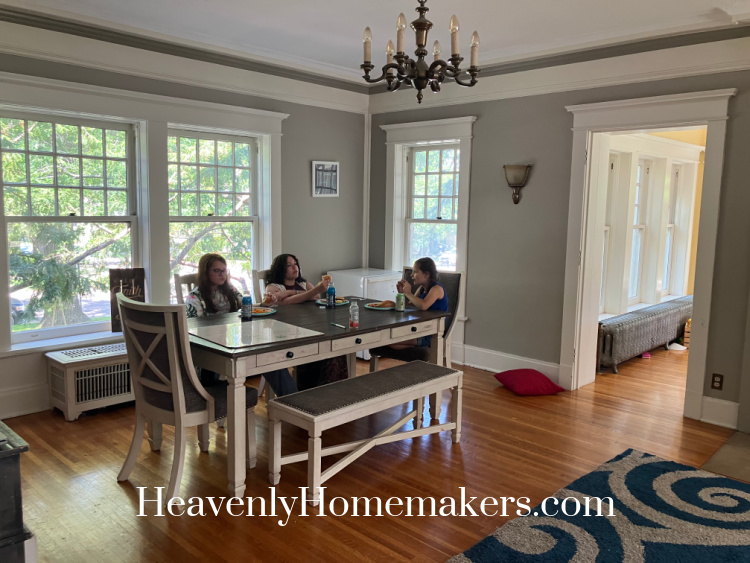
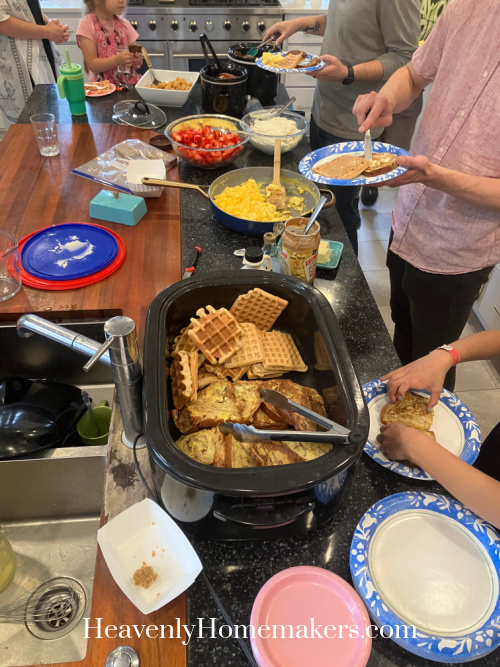
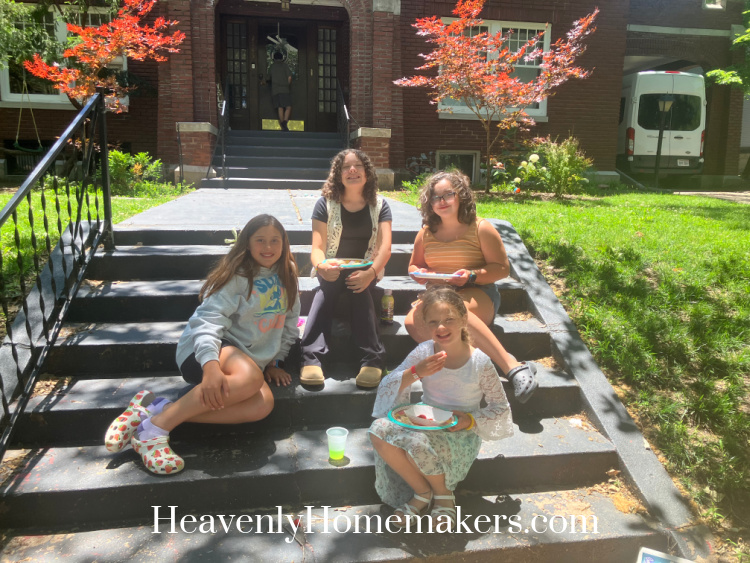
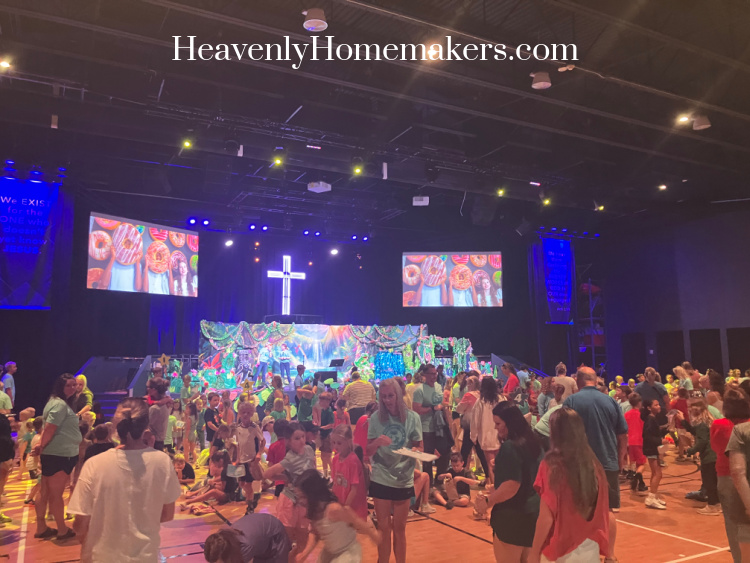
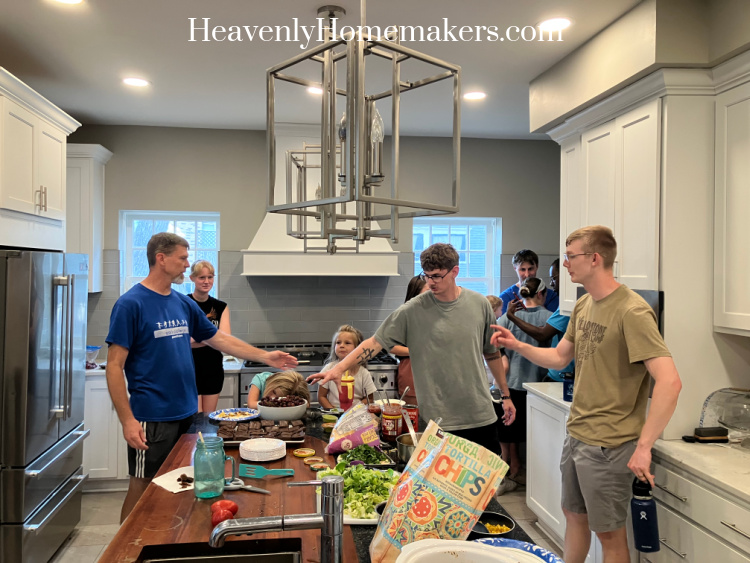
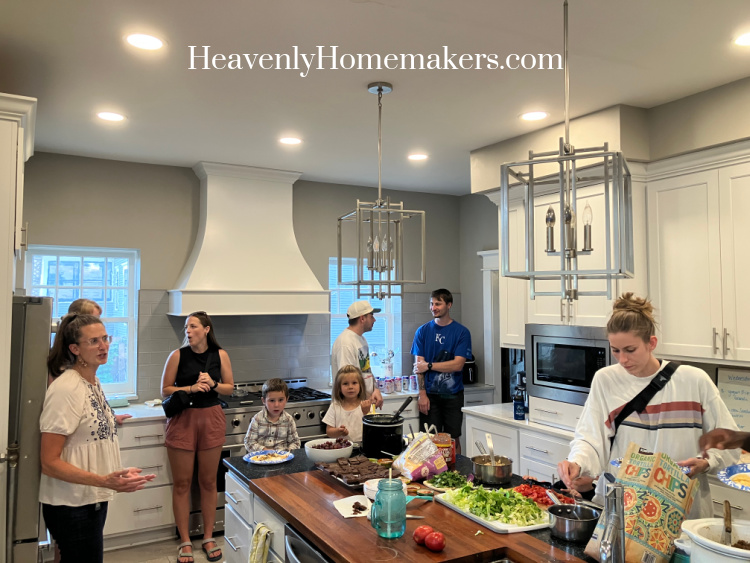
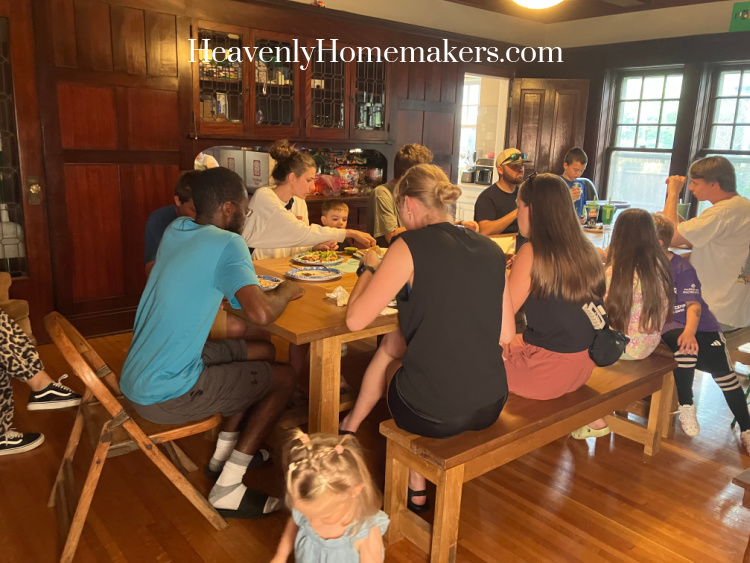
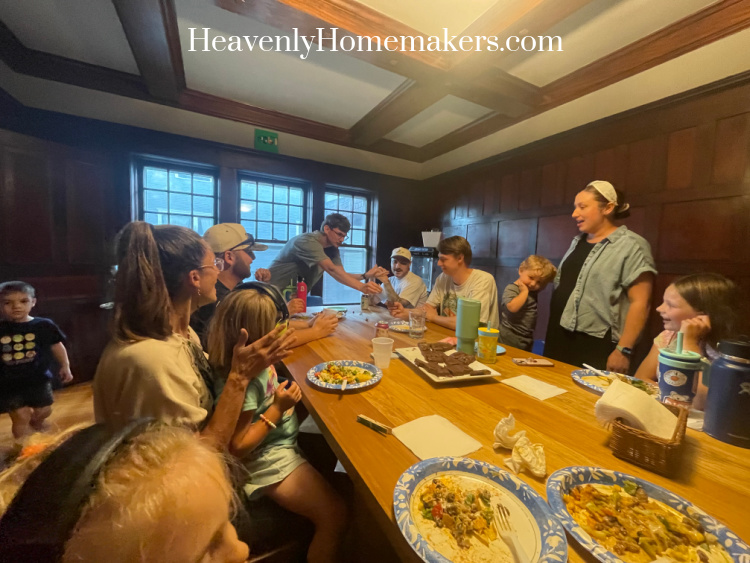
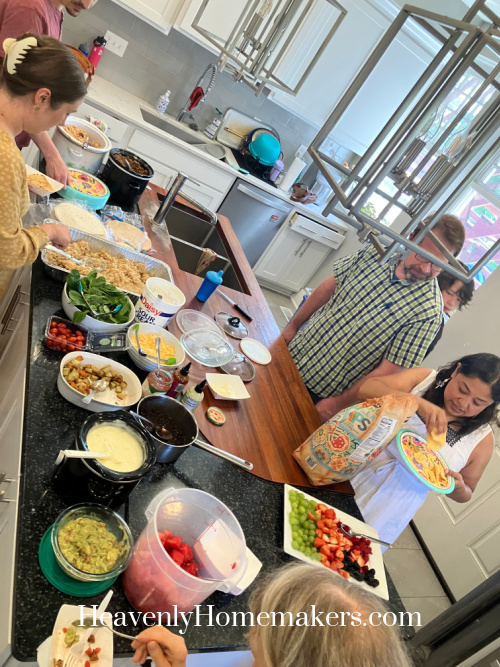
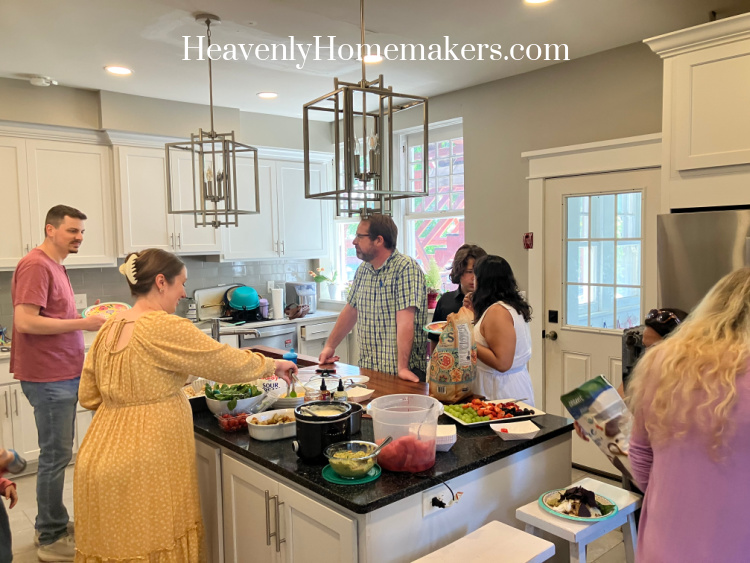
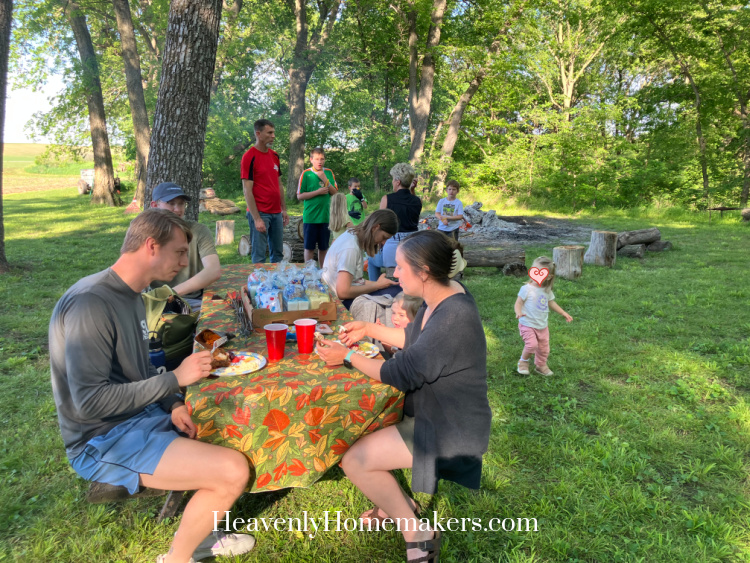
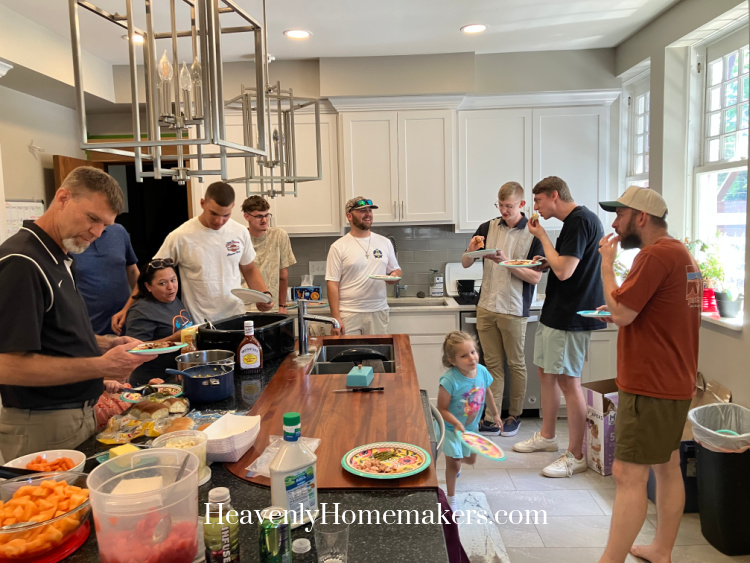
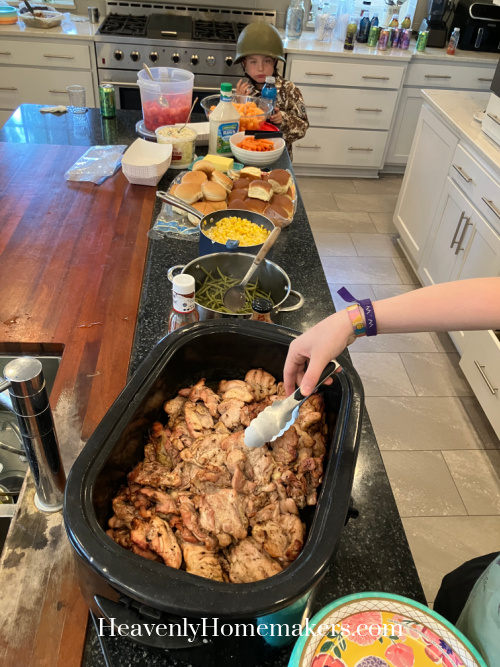
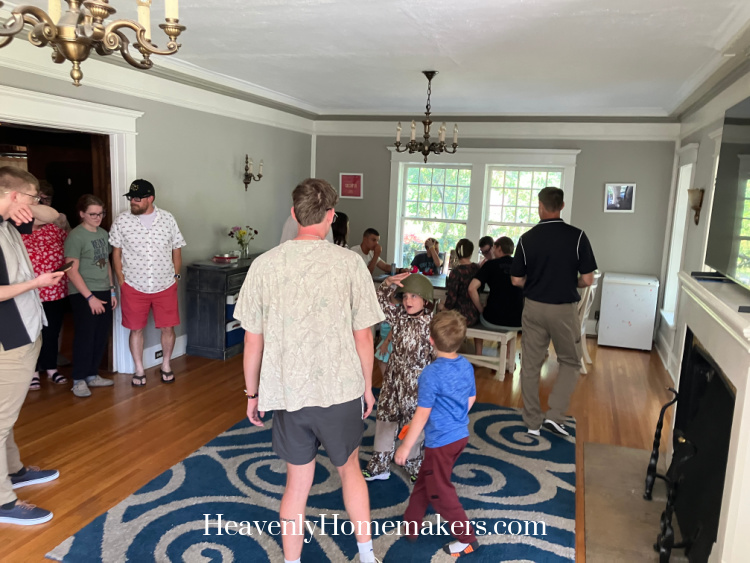
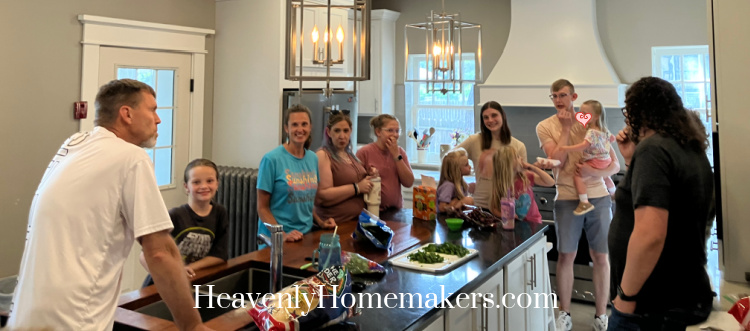
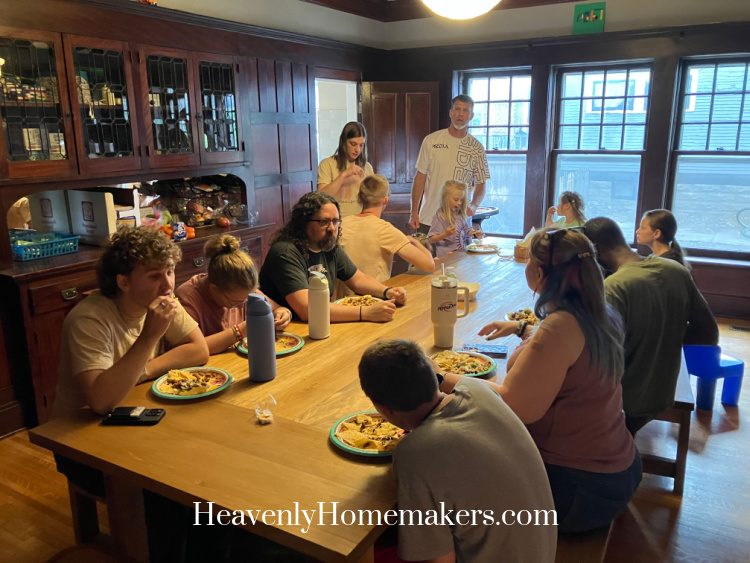
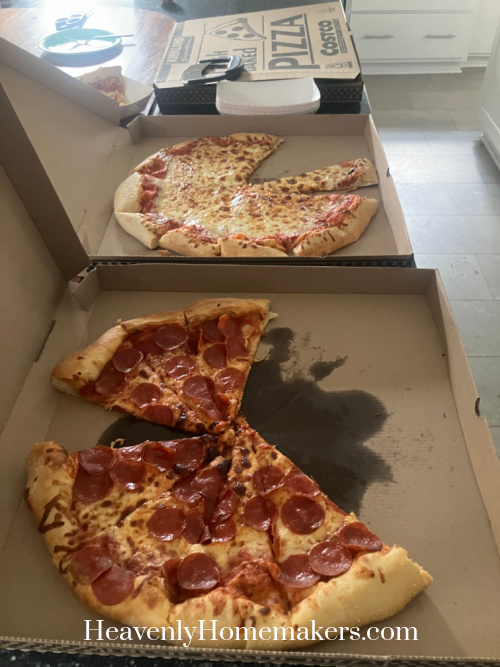
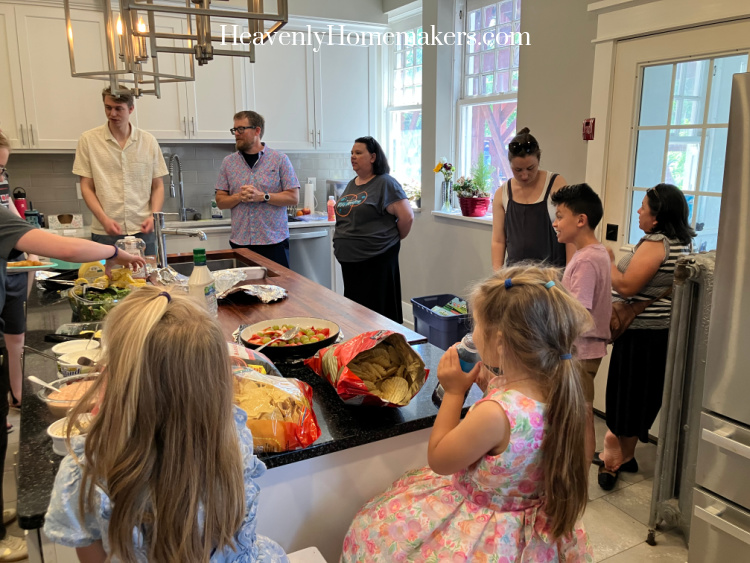
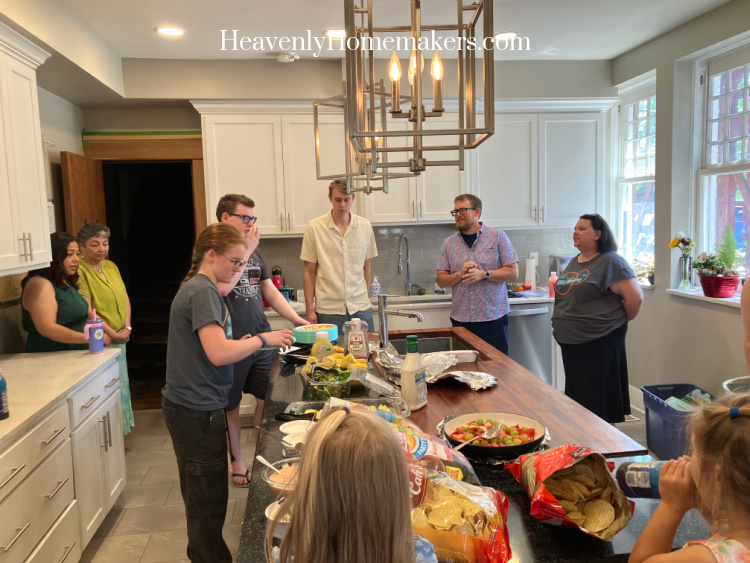
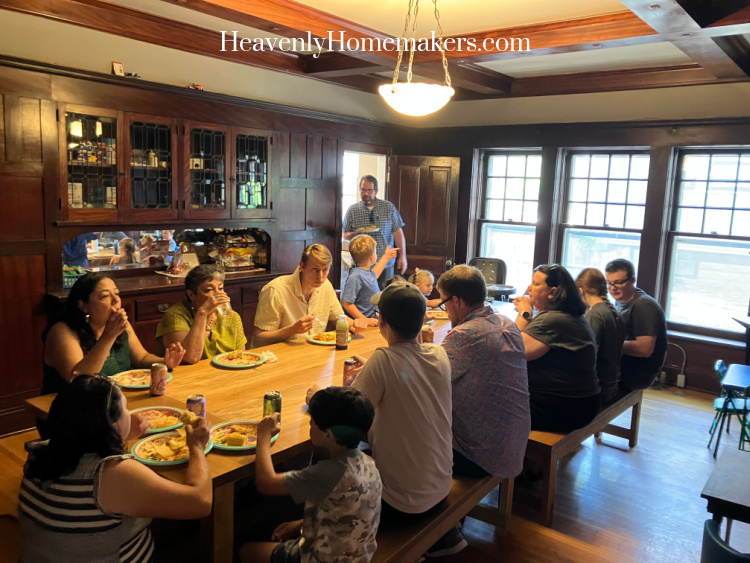
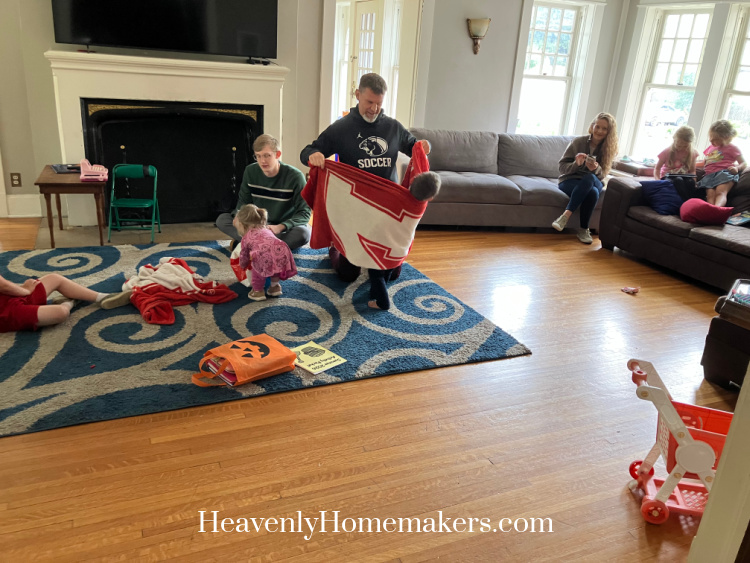
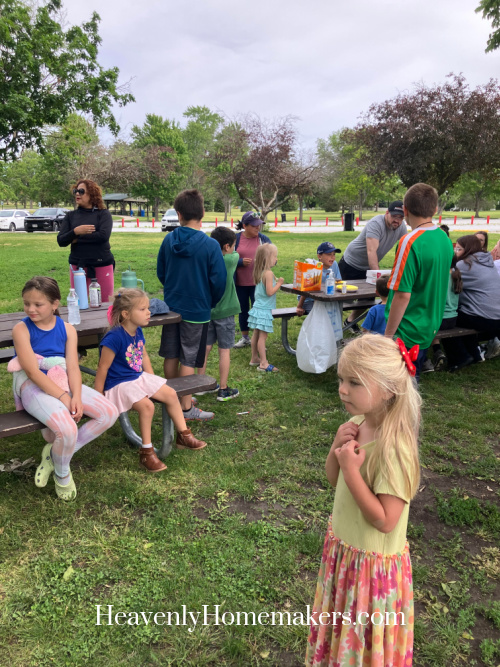
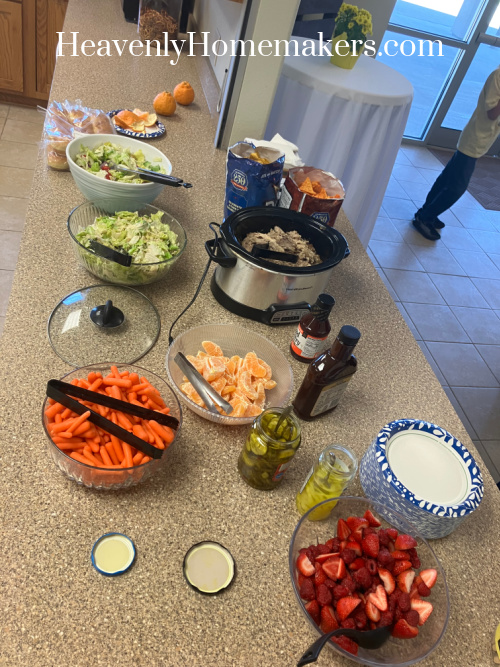
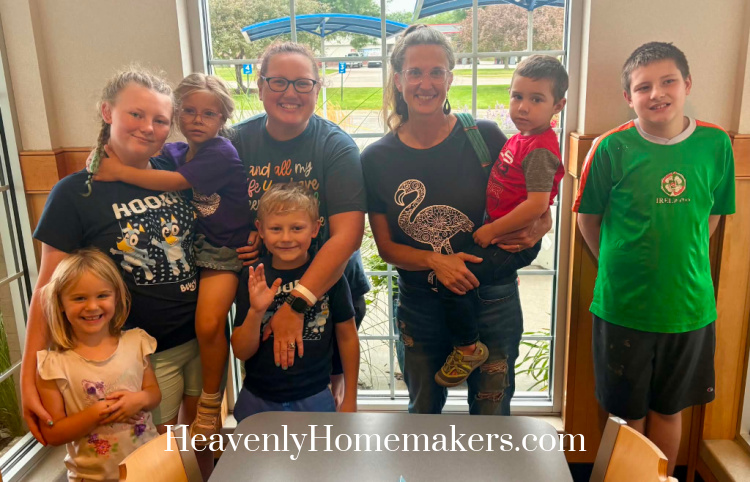
Lunch that day was SO.MUCH.FUN.
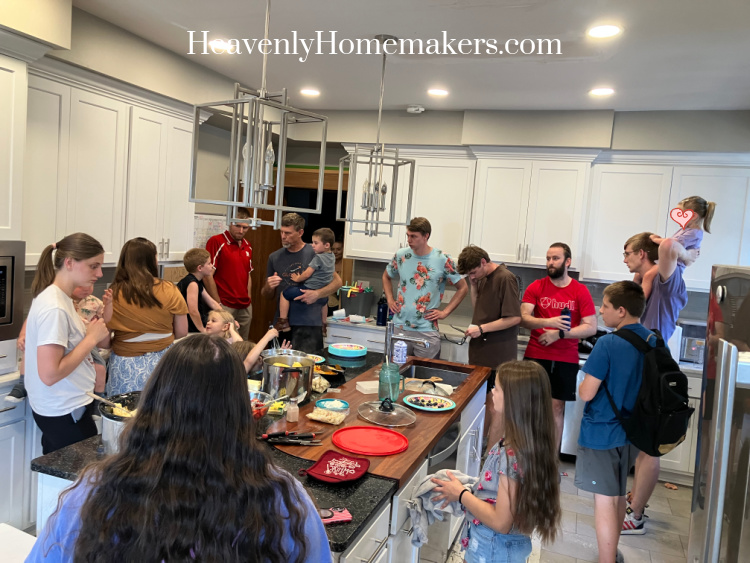
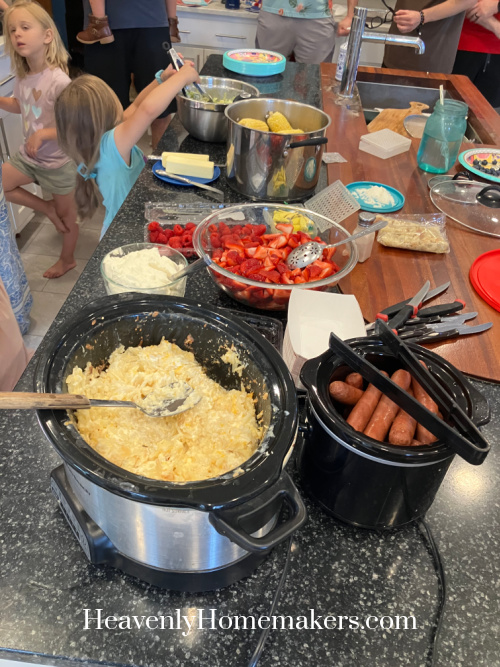
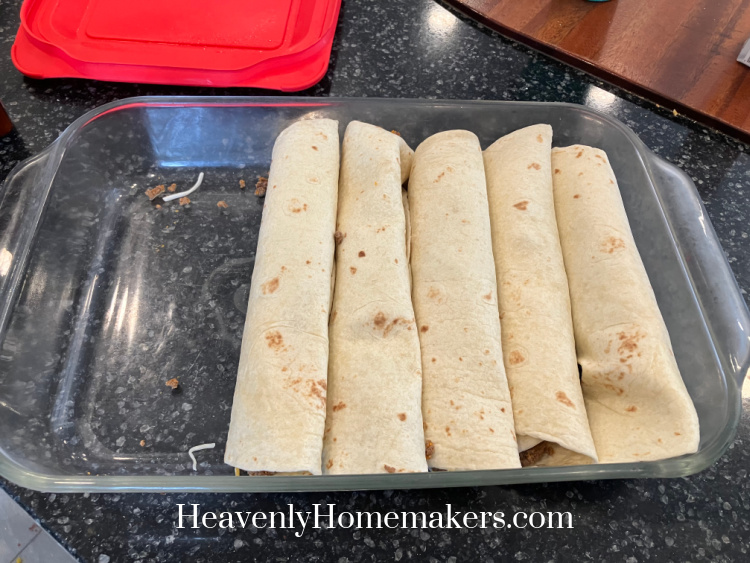
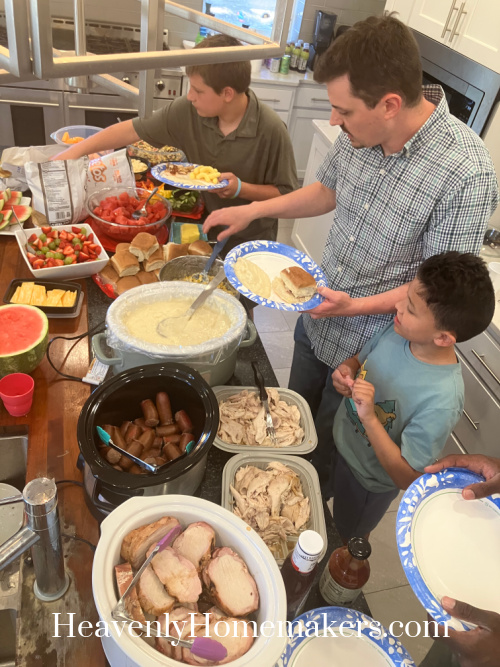
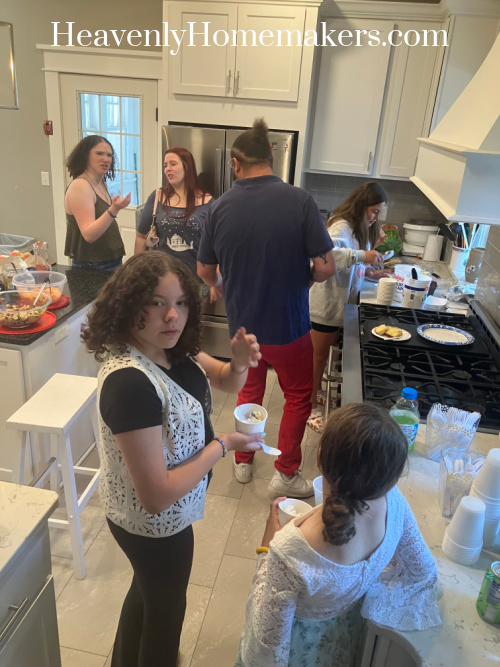
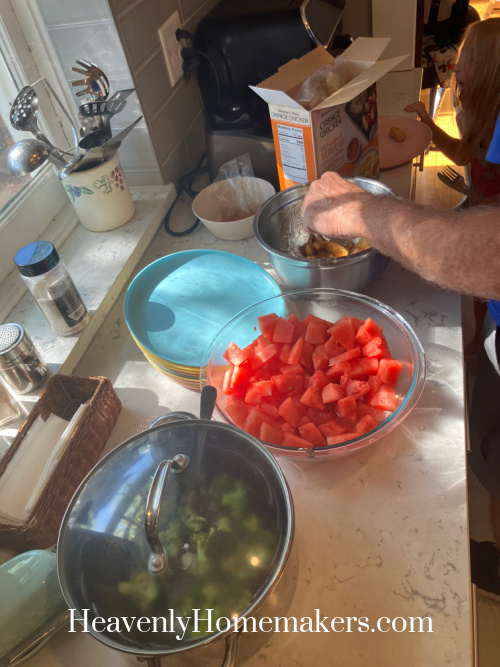
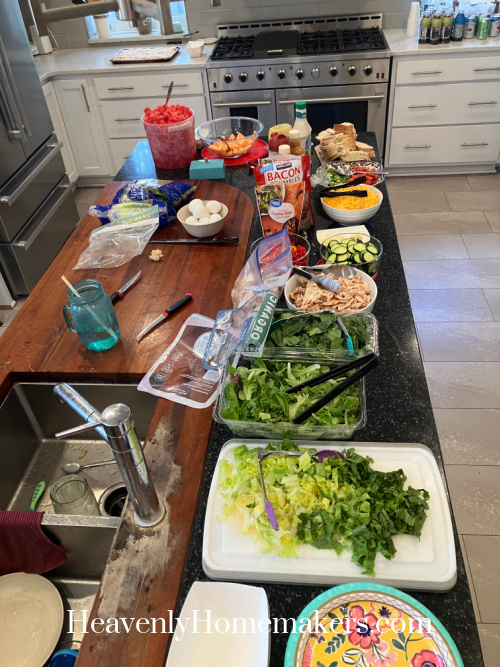
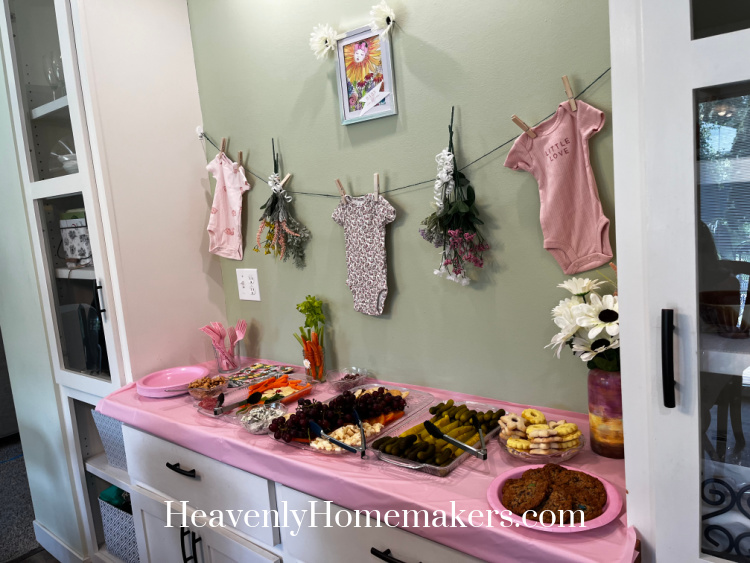
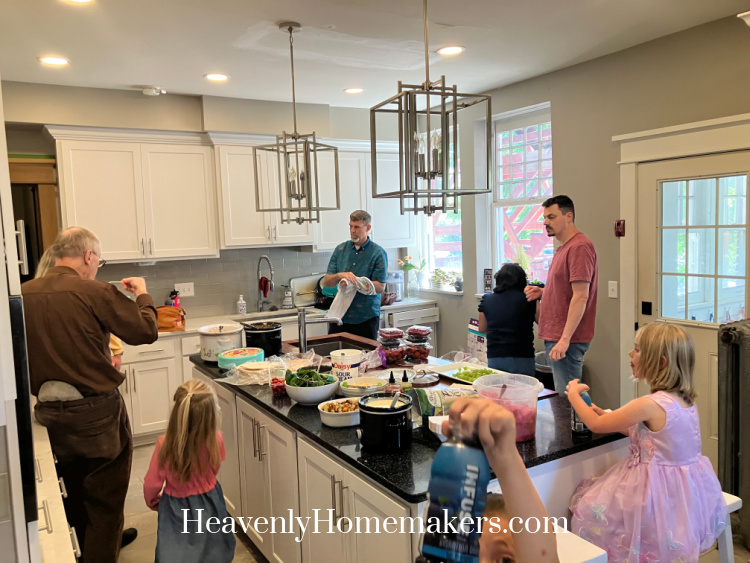
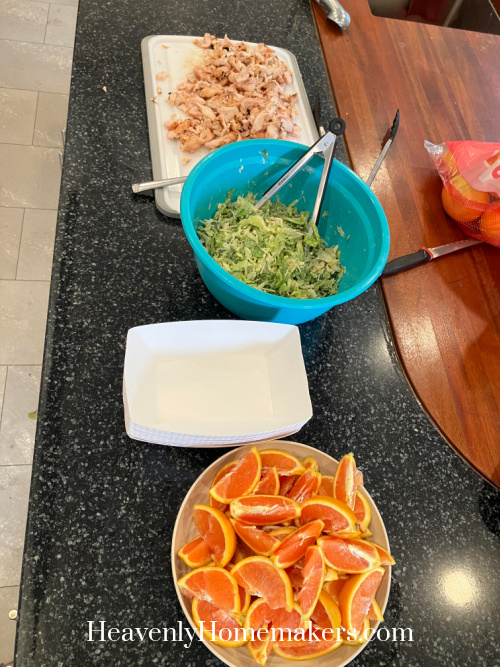
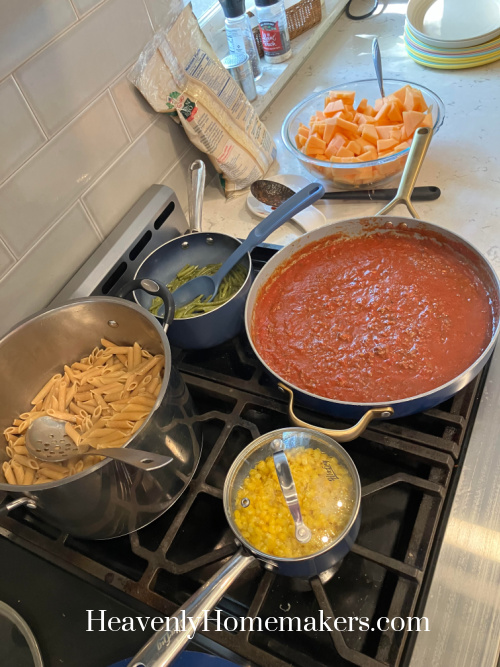
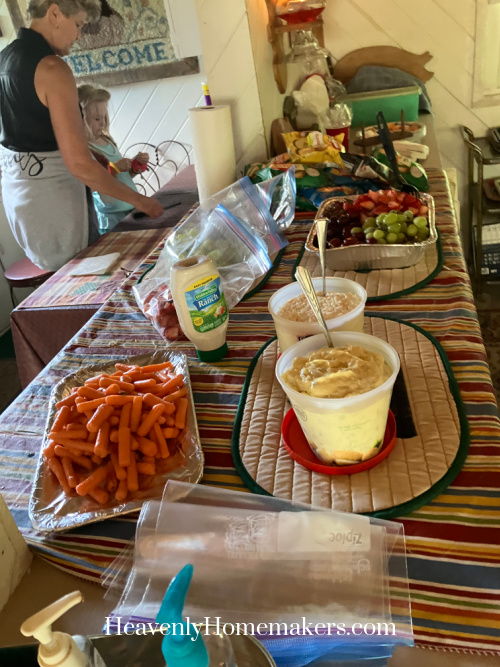
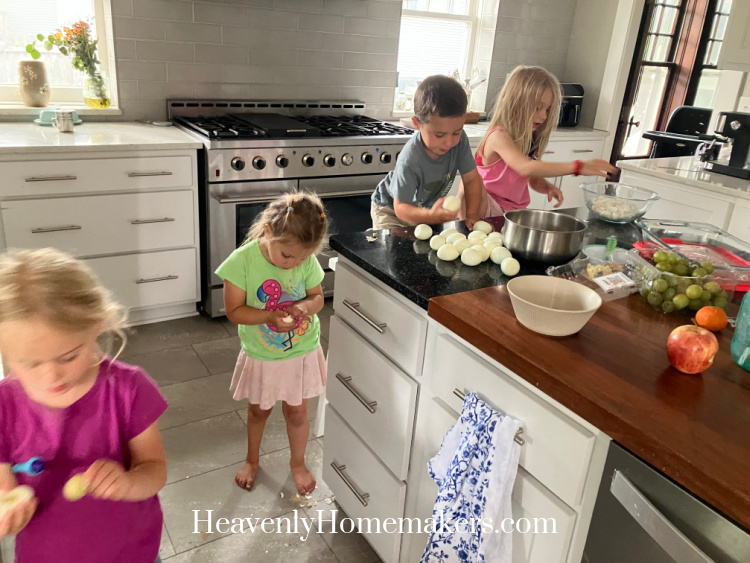
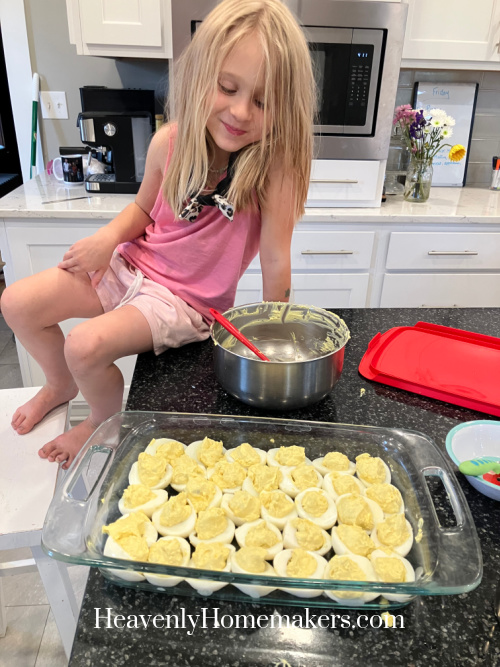
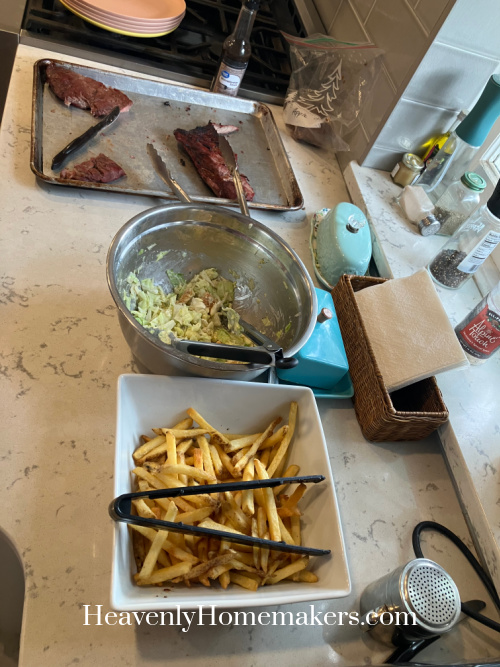
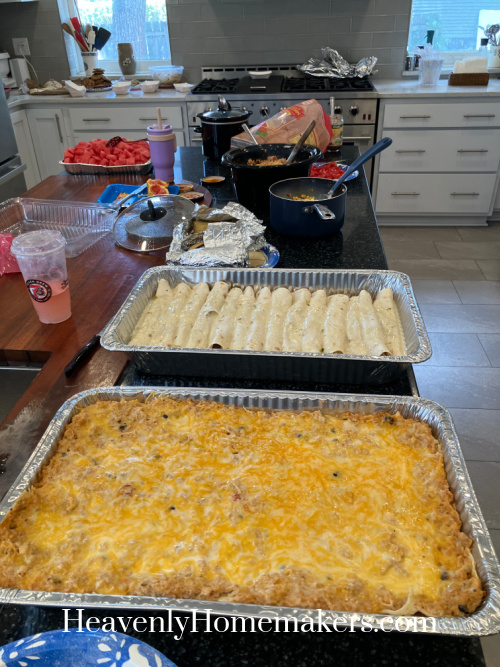
There were 37 of us that gathered for a fun Mexican Themed Feast. We had smothered Shredded Beef Burritos, Layered Chicken Enchiladas, Spanish Rice (<– new recipe!), Mexican Corn (<– new recipe!), Chips and Salsa or Pico, Oranges, Watermelon, and desserts.
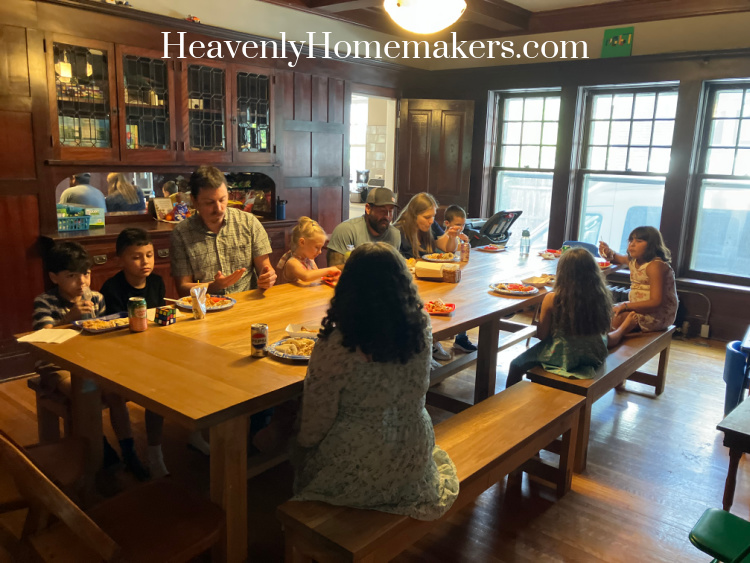
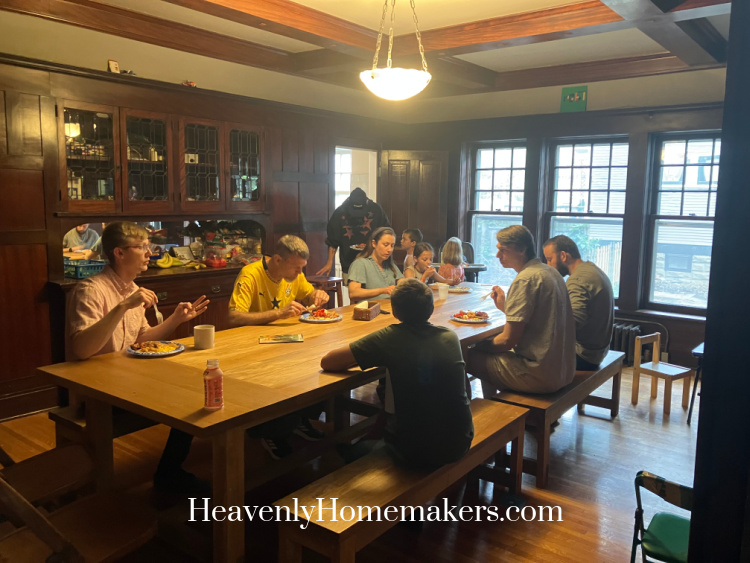
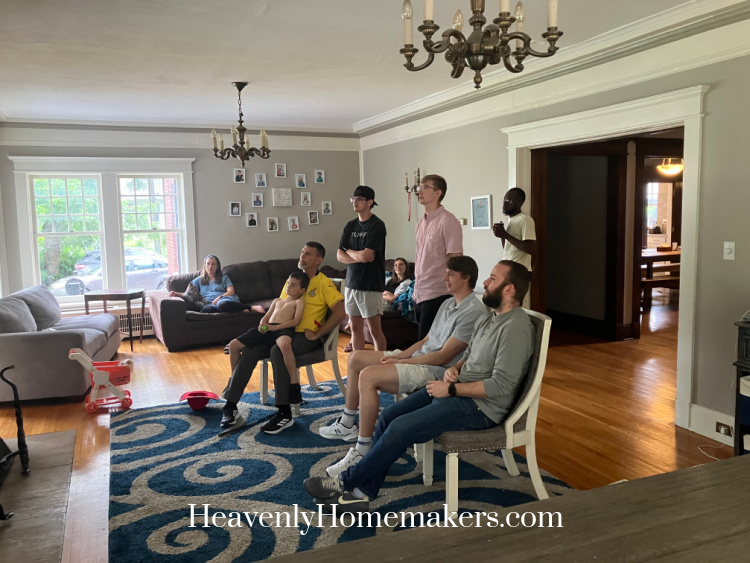
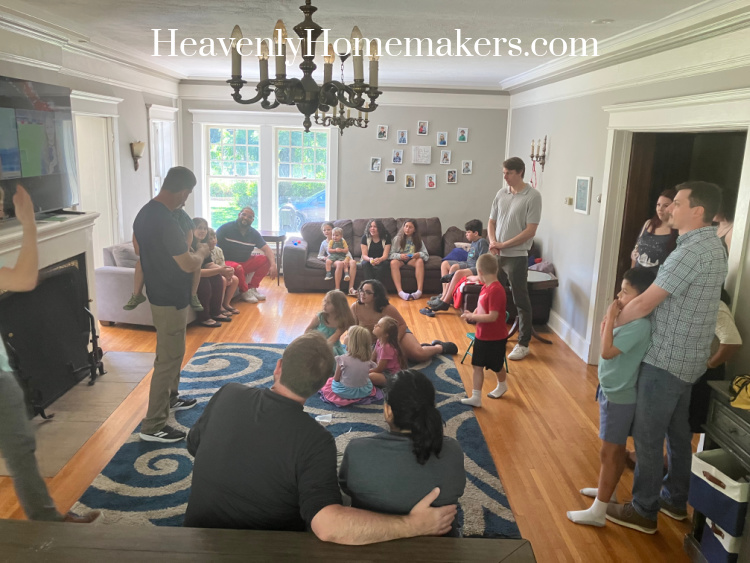
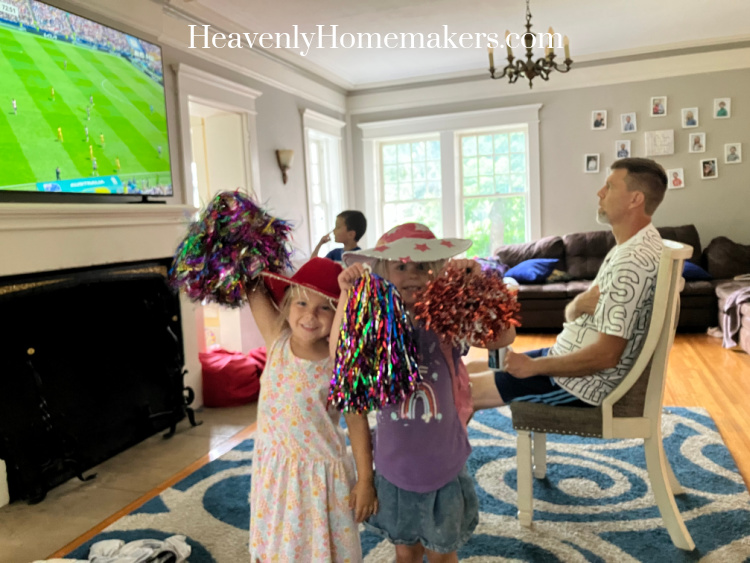
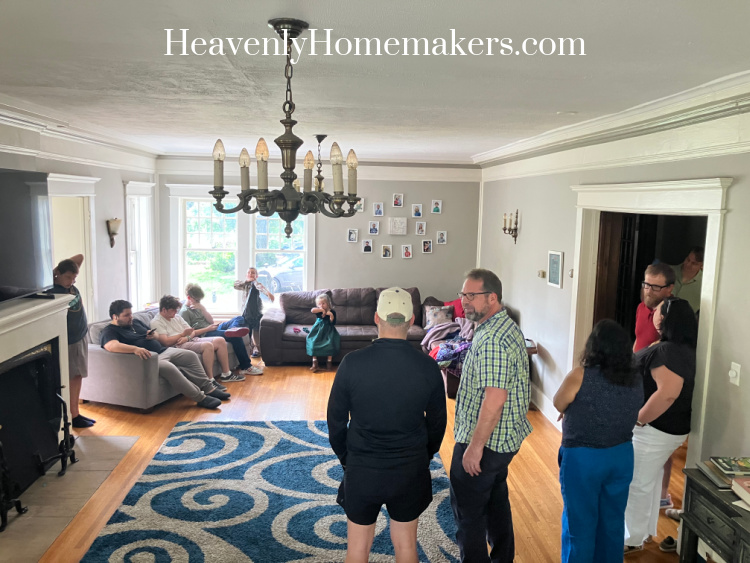
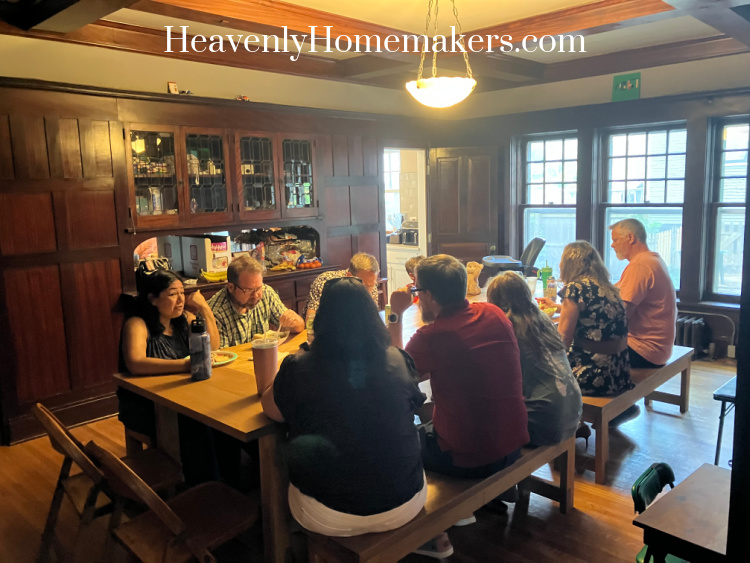
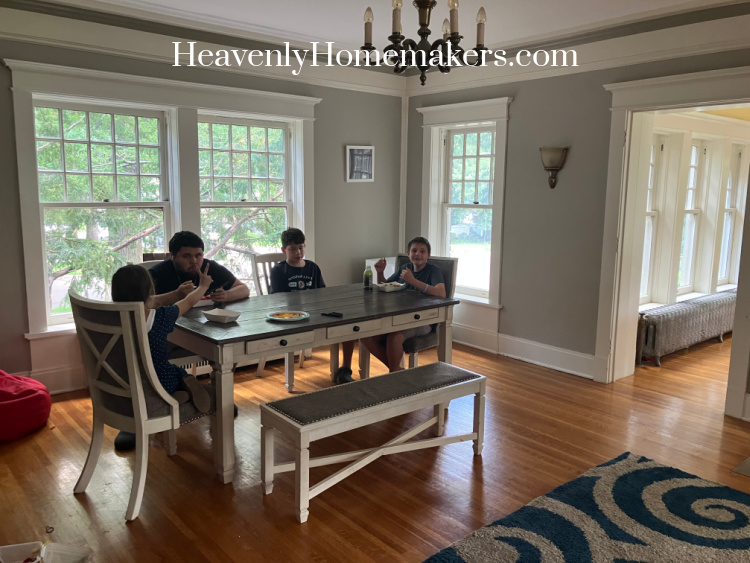
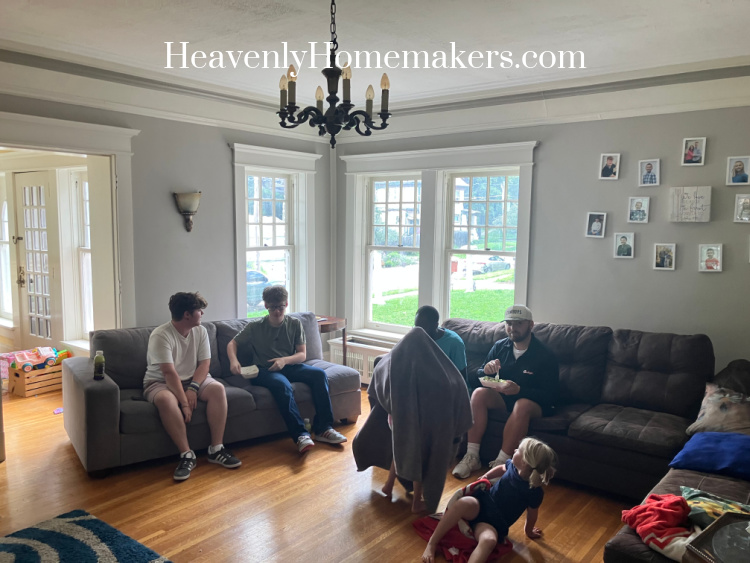
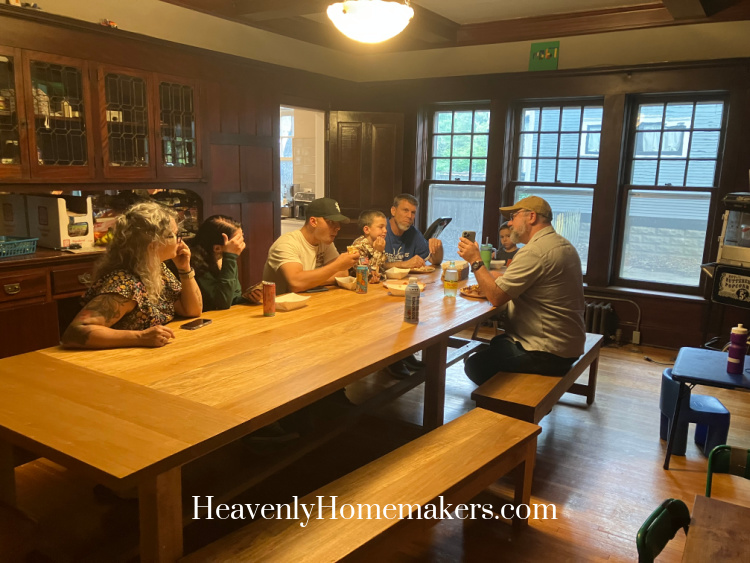
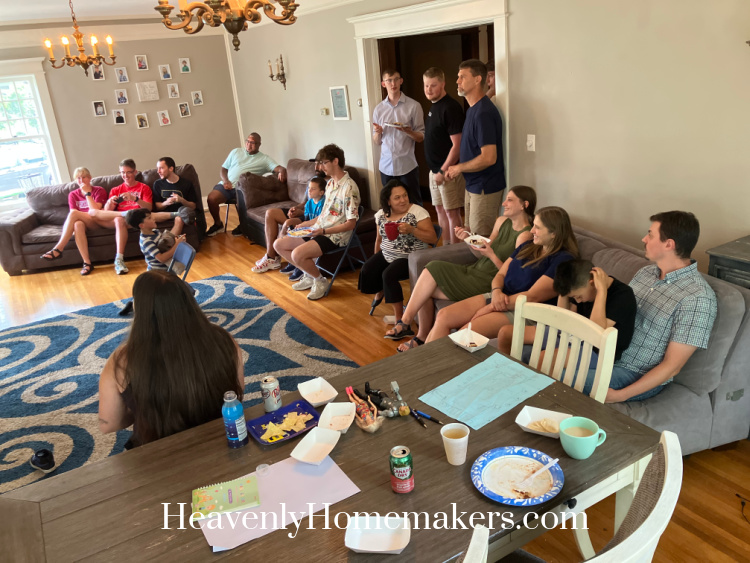
And THEN it was time for the World Cup Final Game where we all gathered in the living room to experience this special time. None of us really cared who won. We just hoped for a good game and fun together. Hosting events like this are a dream come true for me. A good meal, coffee, desserts, friends, family, babies, laughter – it’s the best!
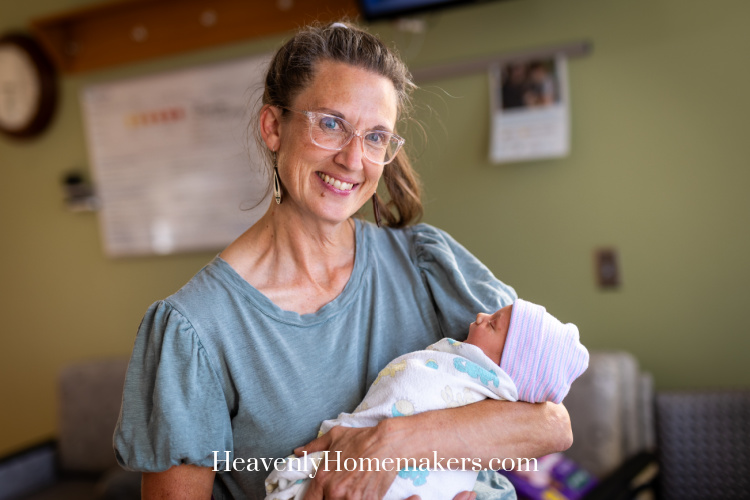
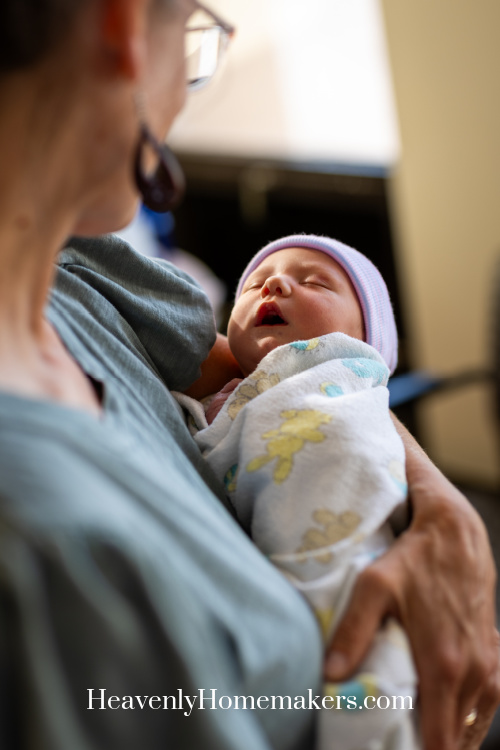
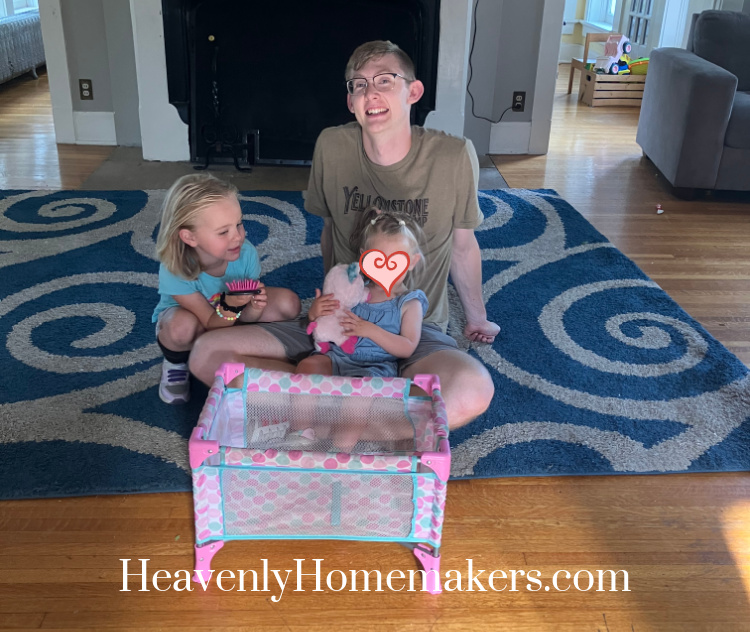
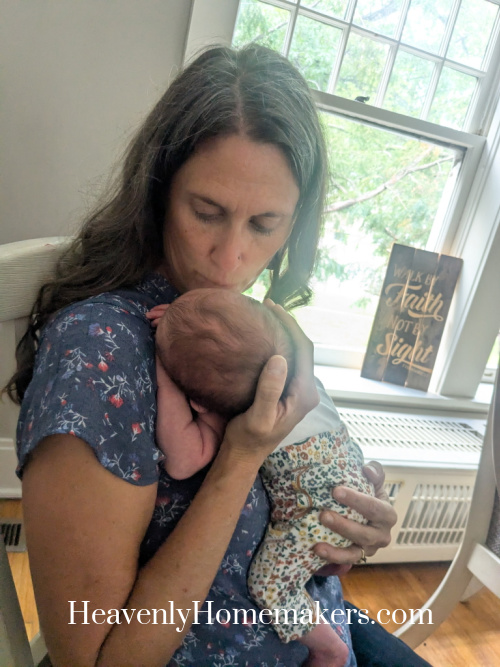
And speaking of babies…
We had turned a movie on for the kids downstairs so we grown-ups could enjoy the game. That meant that Phoebe could come out of her tucked-away-protected spot in Eva’s carrier and Lolli could have a turn loving on her. I liked watching the game. But I LOVED snuggling Phoebe!
Overall, it was an amazing day and we ended the night tired and grateful. Elias and Malorie headed to Kansas that evening to stay with family on their way back to Texas for a couple of weeks before they come back to Nebraska for the school year. We loved our week with them!
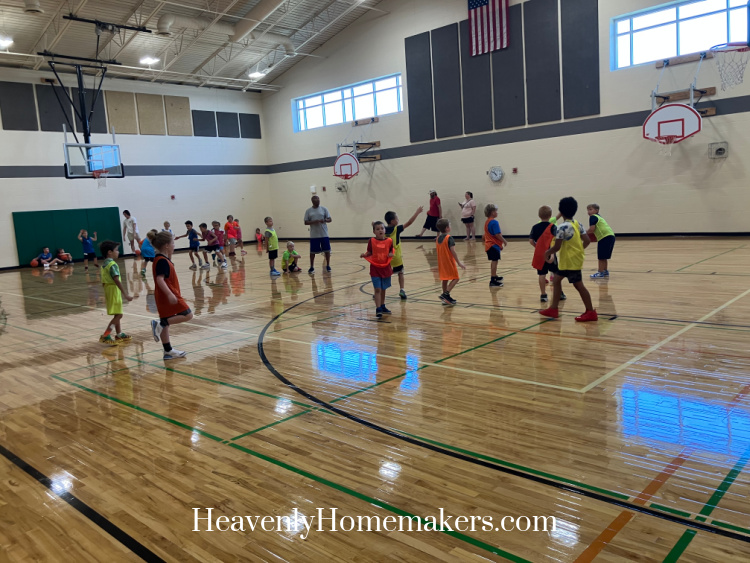
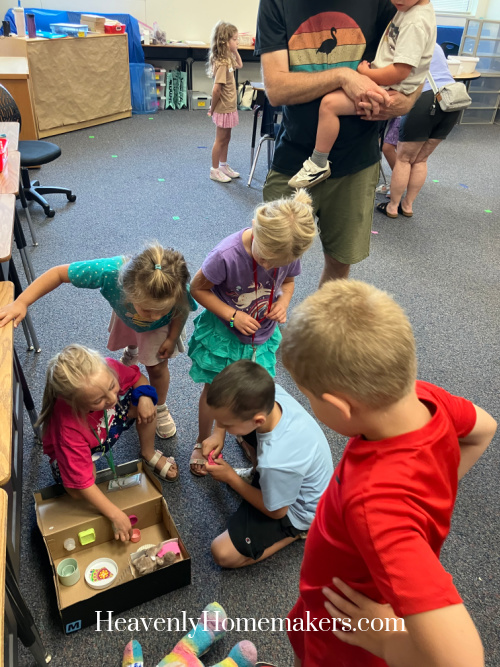
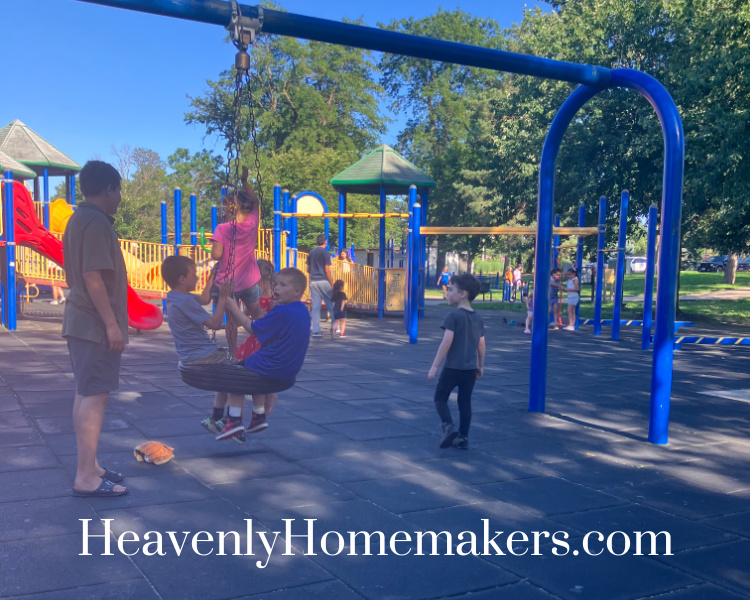
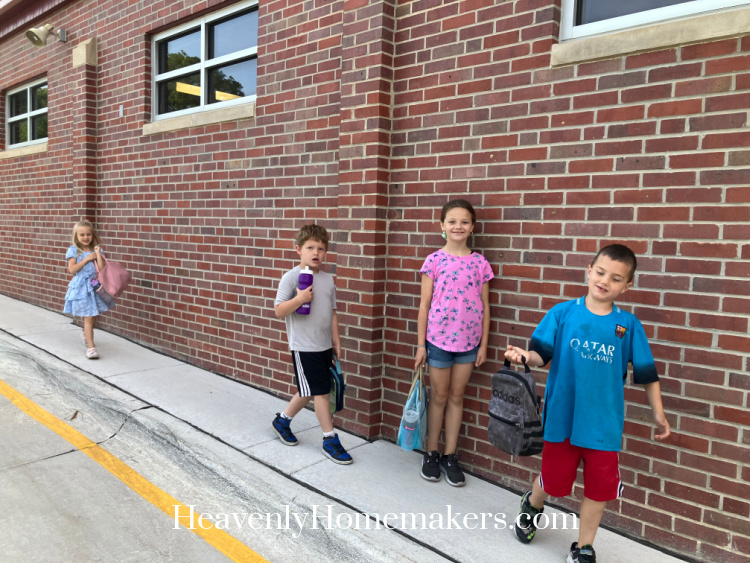
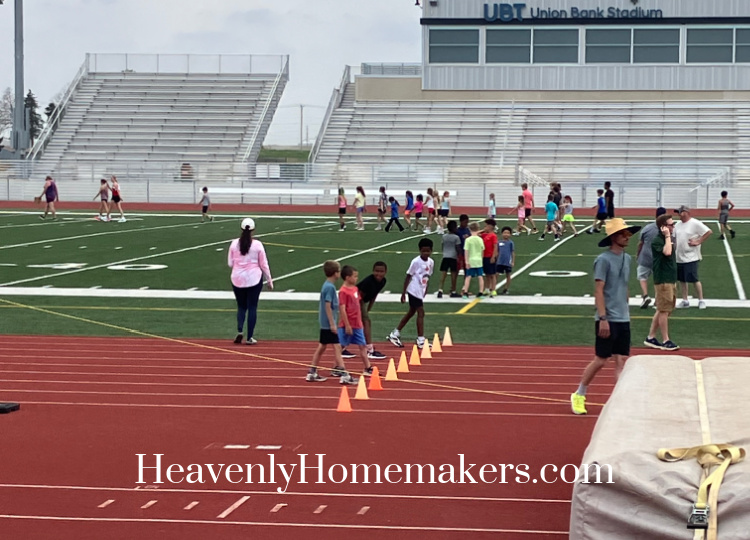
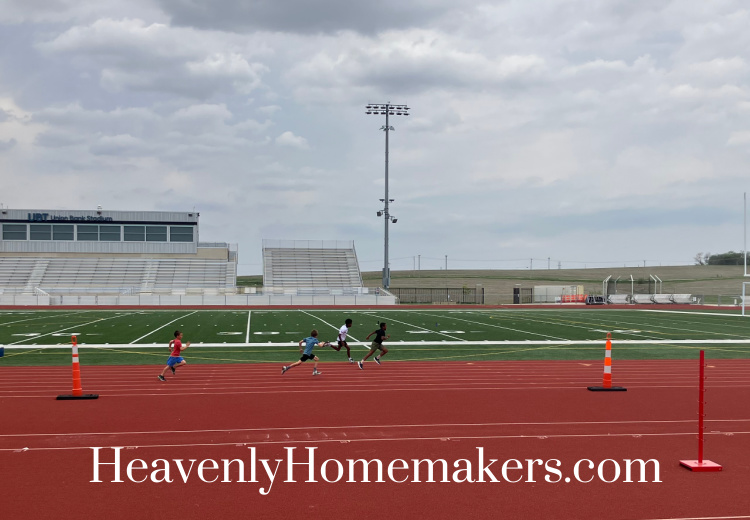
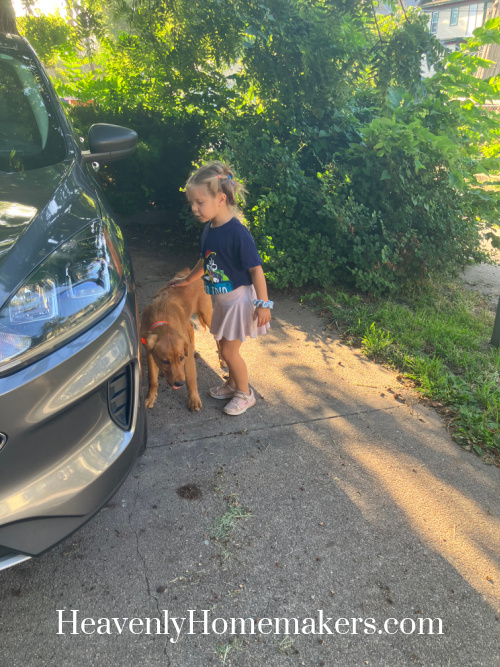
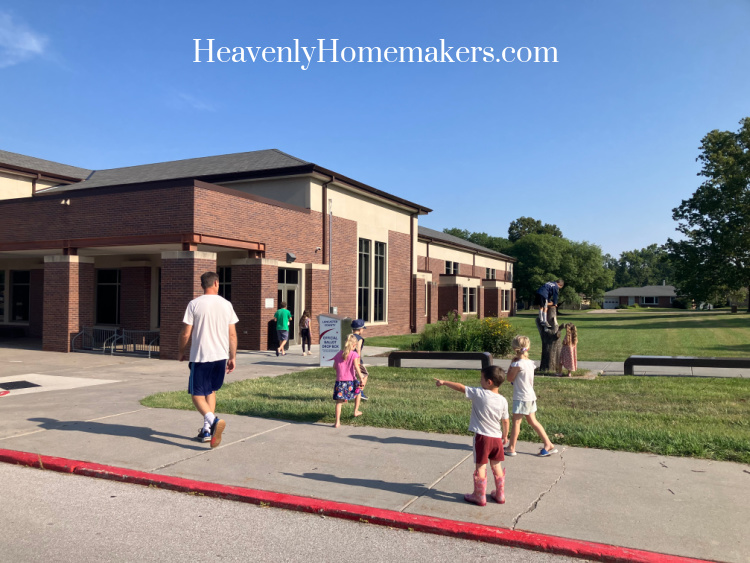
Monday morning, Emma came over to stay with kids. Auggie’s ABA therapist came, and we loaded up four kids to take to Day Camp. Acacia got right to work playing with Emma’s dog, Buddy.
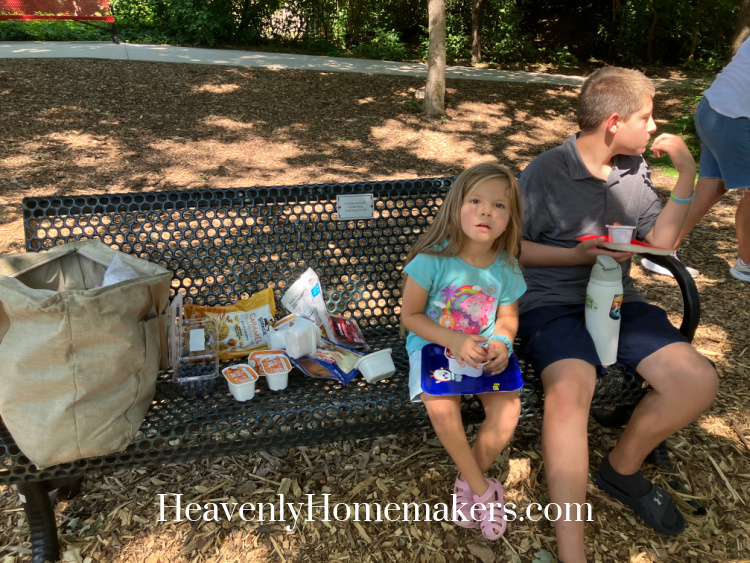
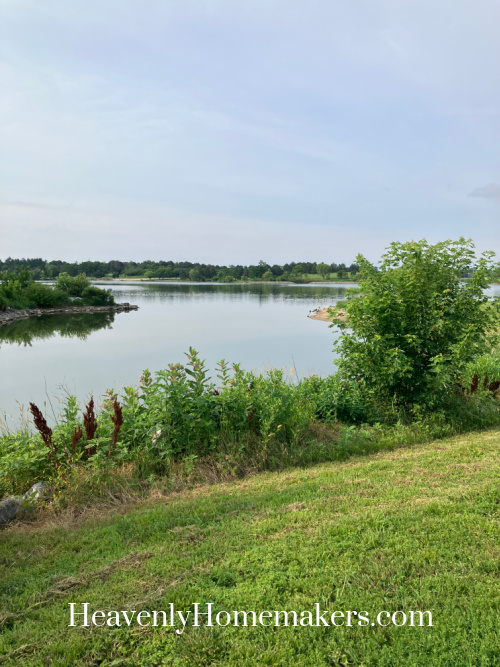
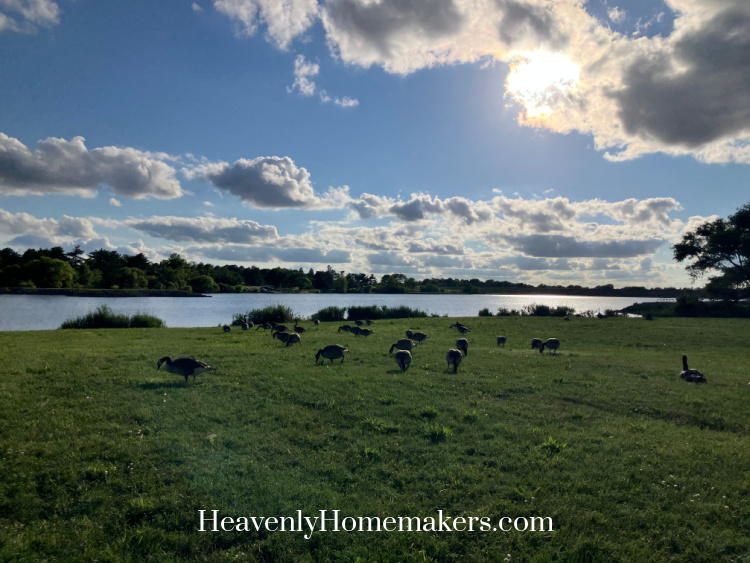
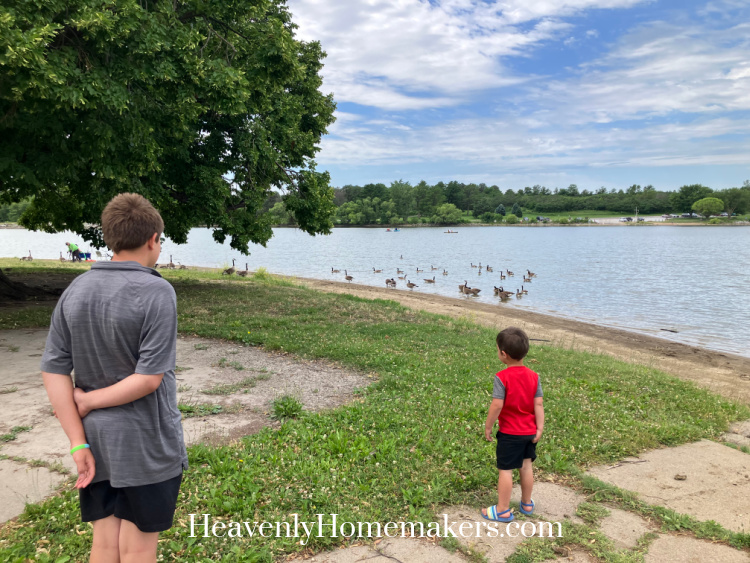
Matt and I dropped off the camp kids, then we headed to Holmes Lake to enjoy our kid-free time! It was already getting hot, but we were able to fully enjoy a walk around the lake, then time in the shade on a bench to rest and visit.

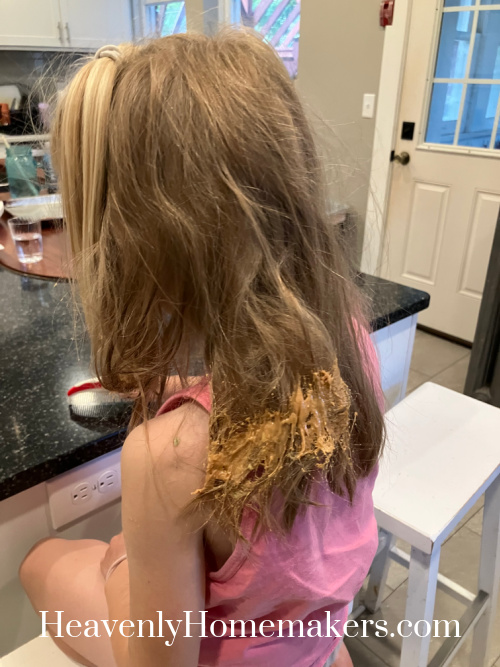
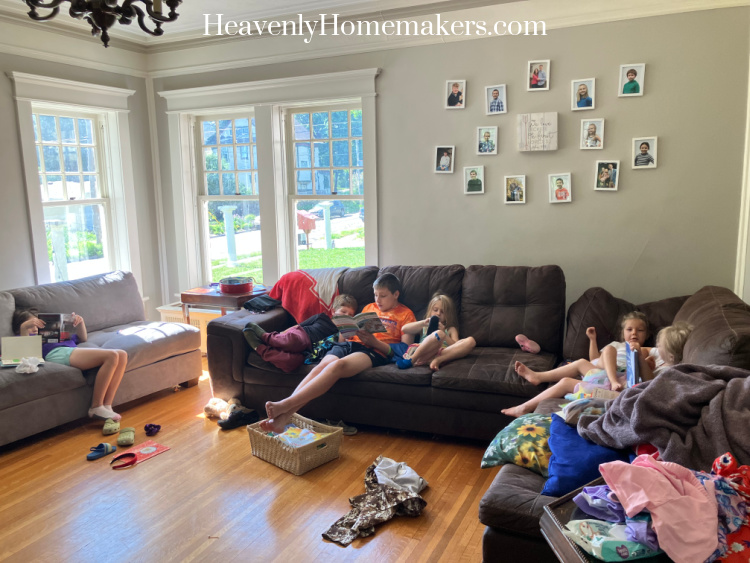
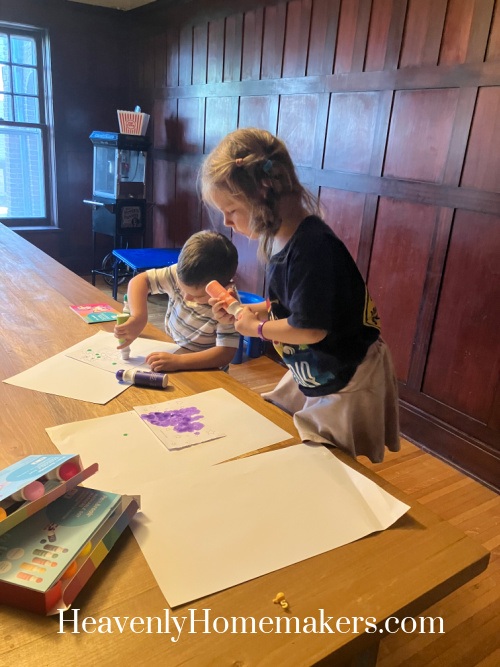
We all stayed inside all afternoon at home because the heat was a bit on the dangerous side. Brayden had an early ABA therapy session that afternoon so that he could go to a fun laser tag event that night with Heartlands Youth Ministry. Josie fell asleep and Acacia and Auggie spent some time painting with some dot paints I had picked up last week.
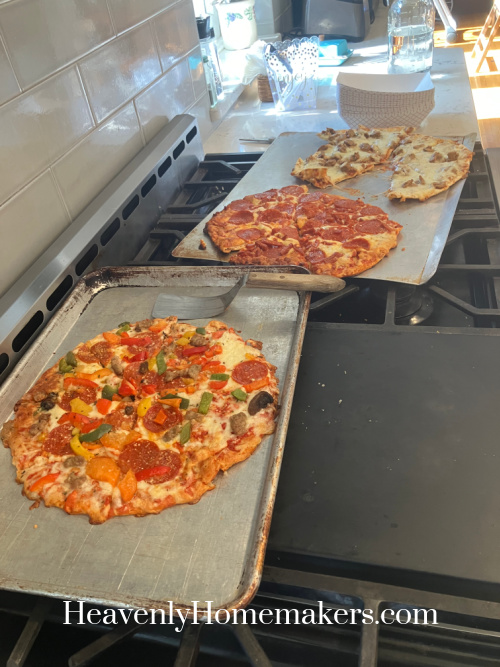
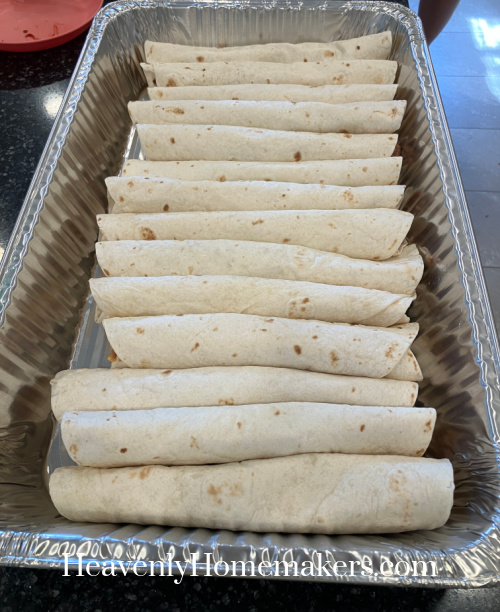
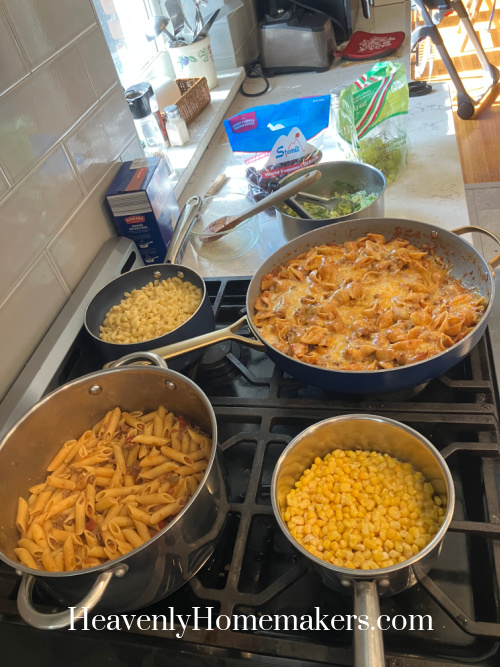
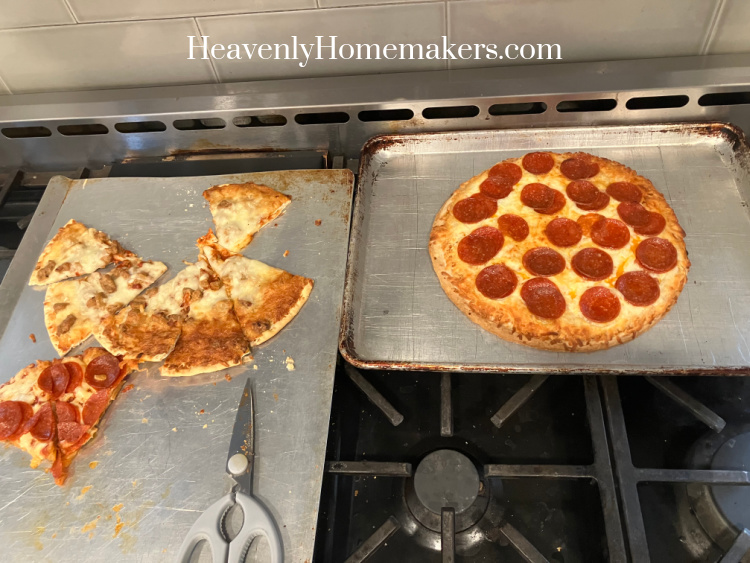
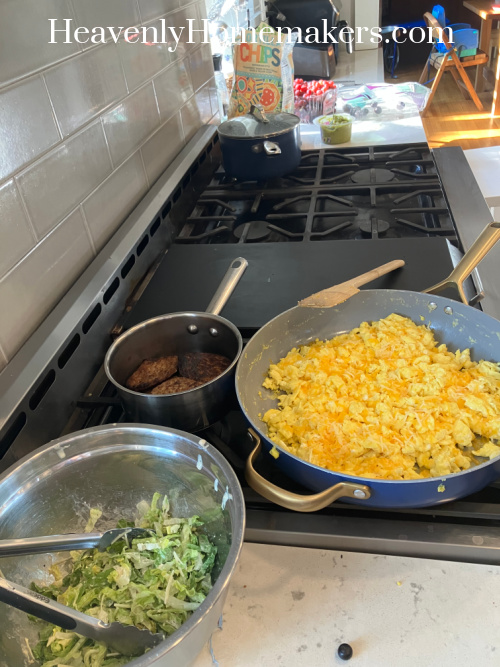
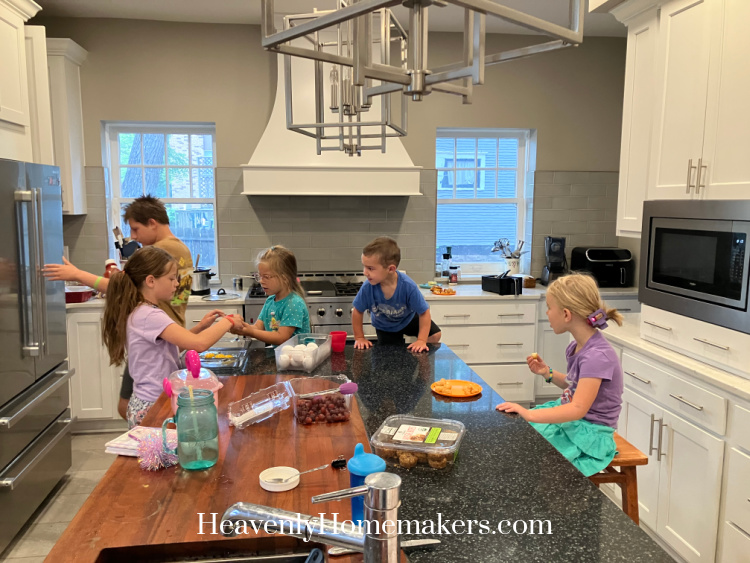
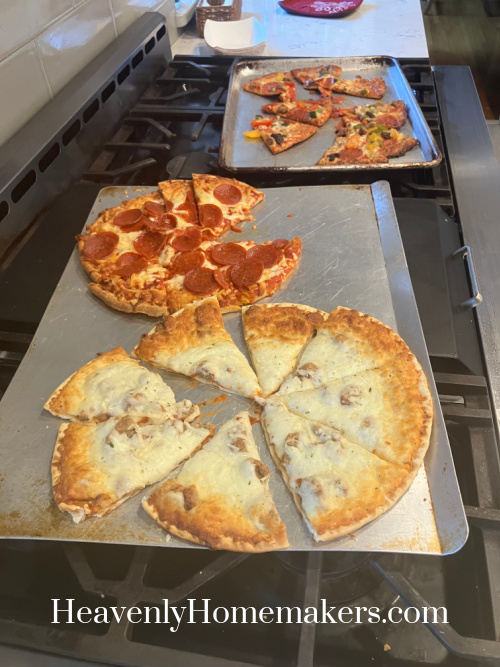
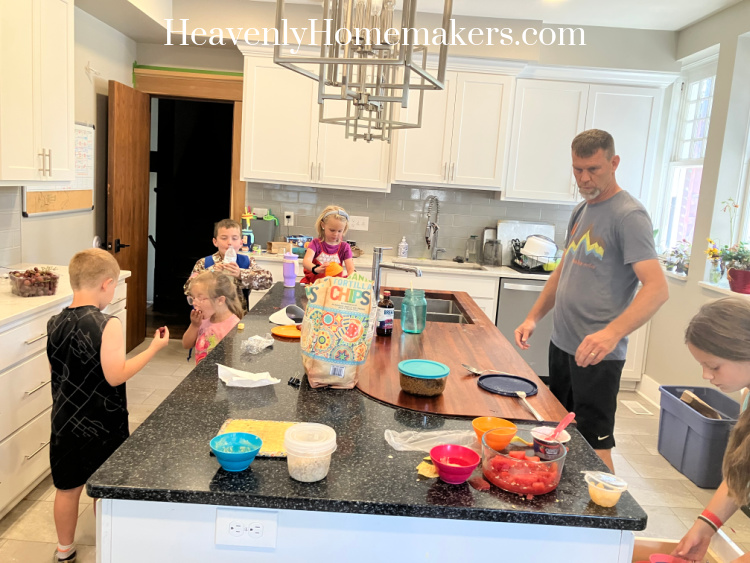
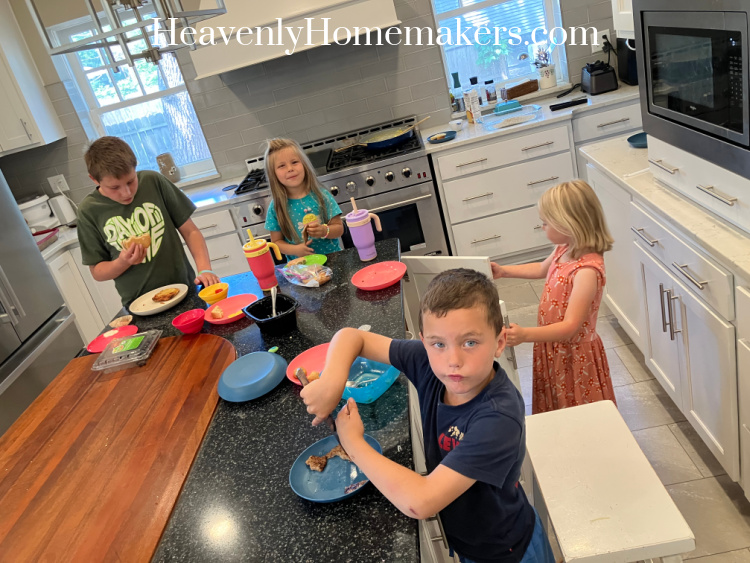
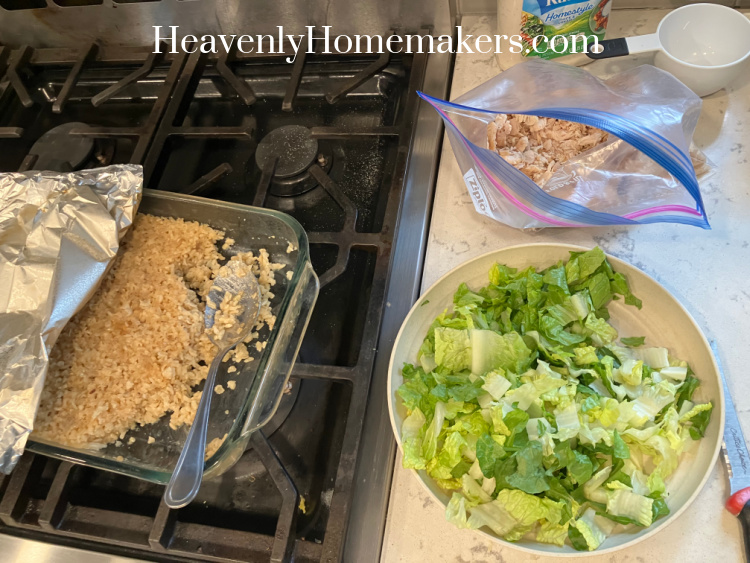
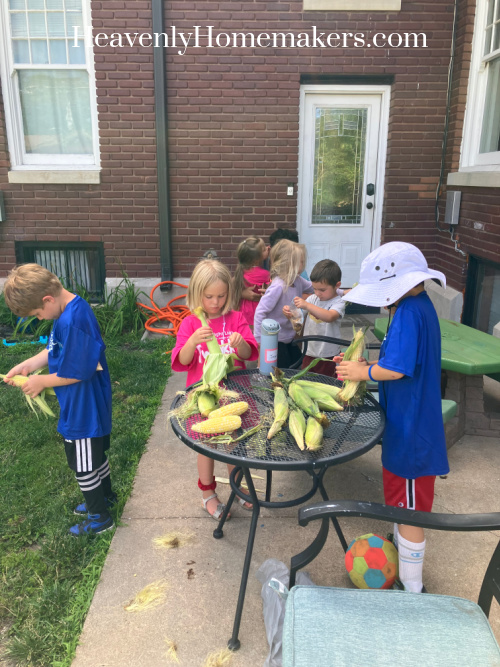
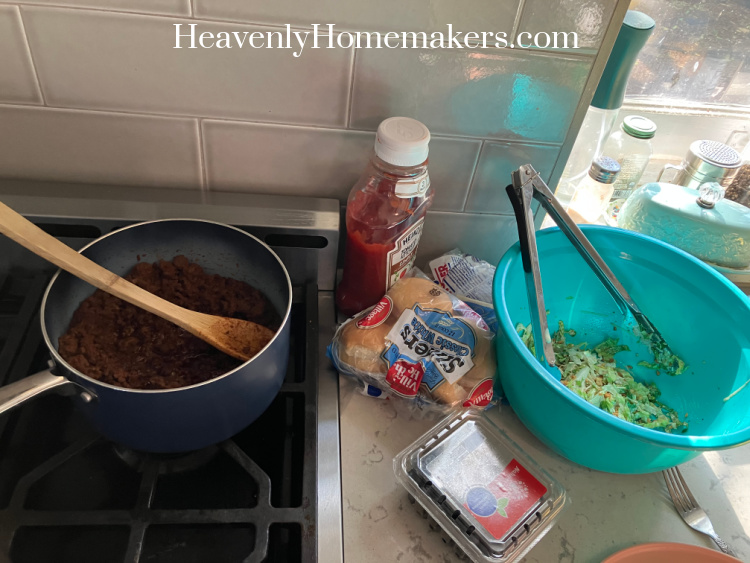
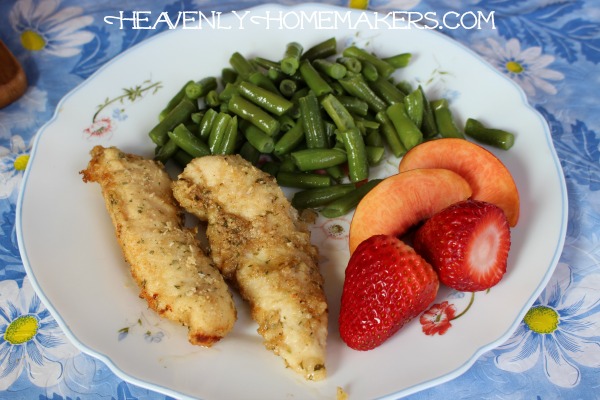
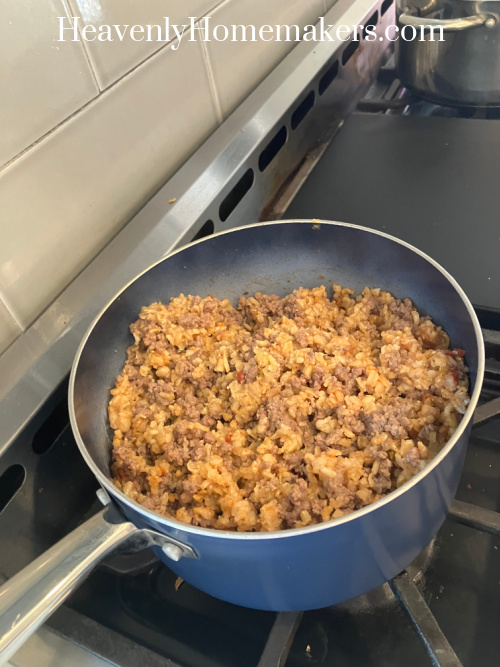
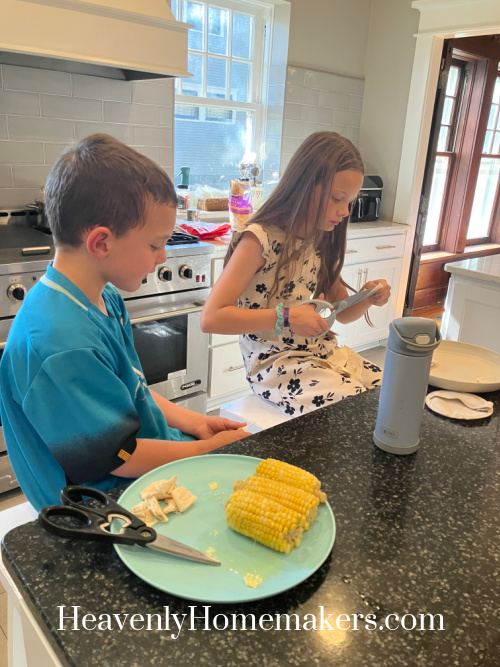
Dinner that night was simple. I browned hamburger meat and stirred in Sunday’s leftover Spanish Rice. I also warmed up leftover corn on the cob and let the kids make cheesy tortillas.
This turned into a nice calming project as they cut tortillas however they liked, sprinkled cheese on top, then melted the cheese.
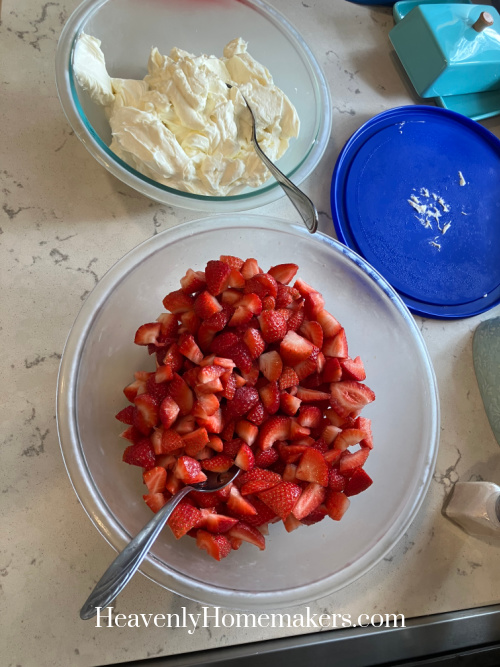
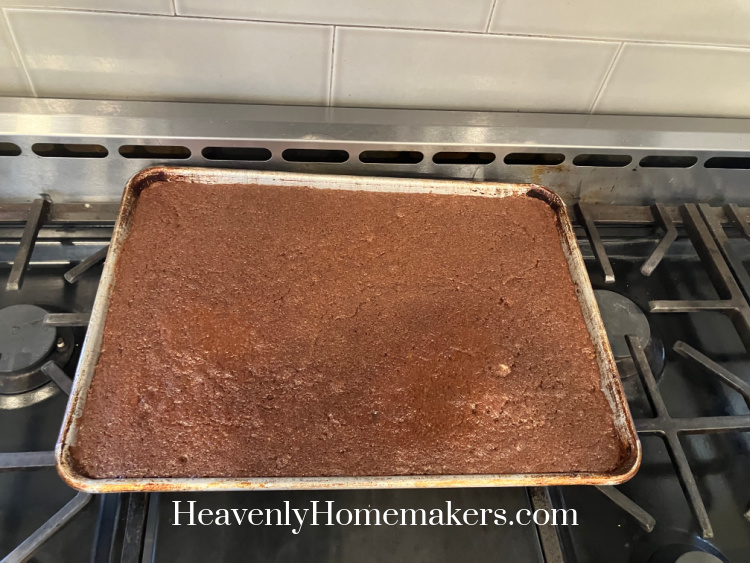
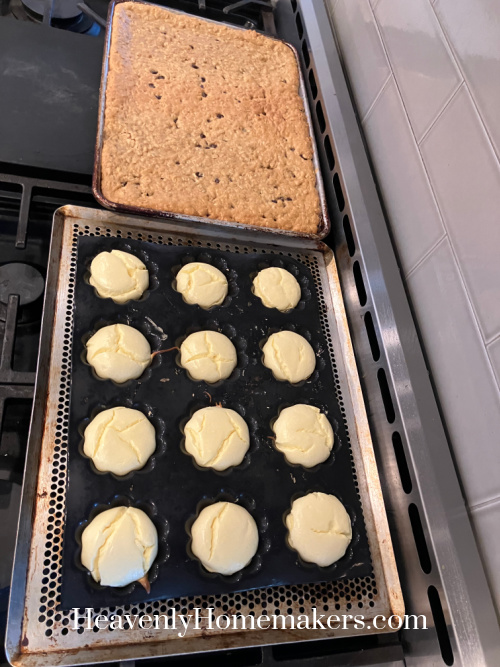
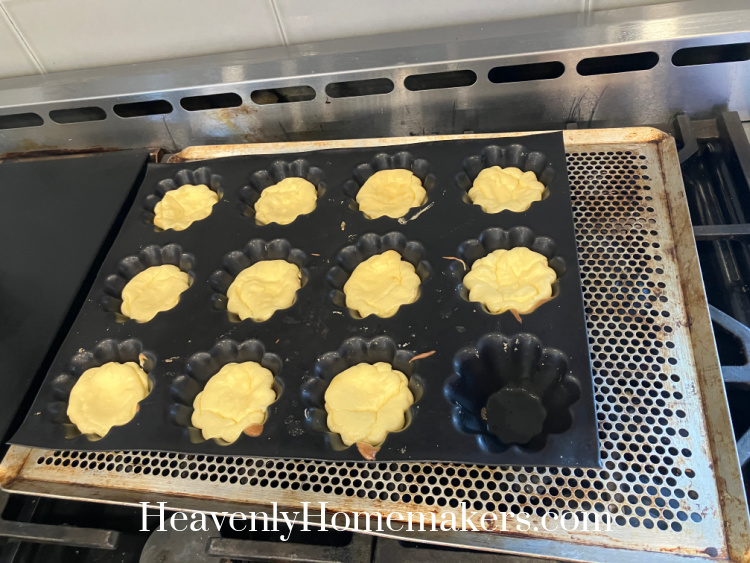
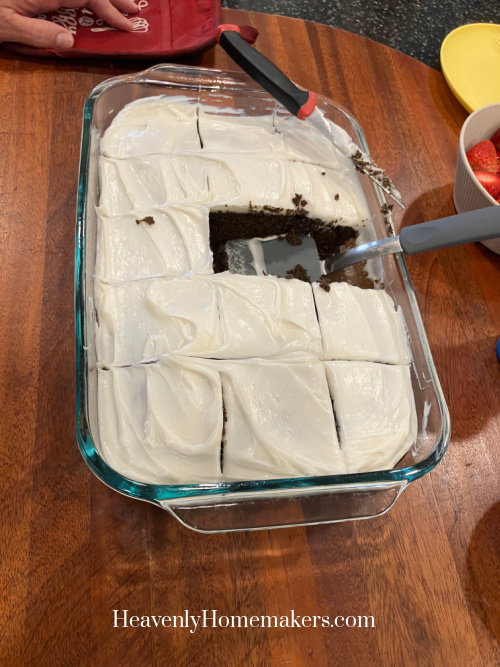
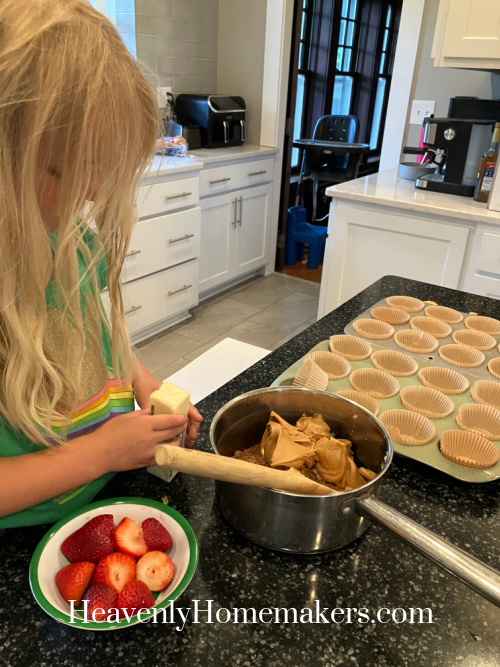
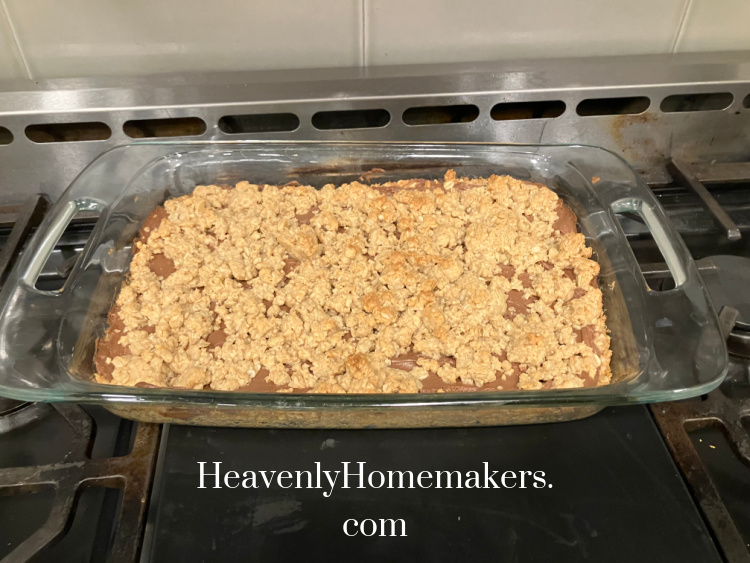
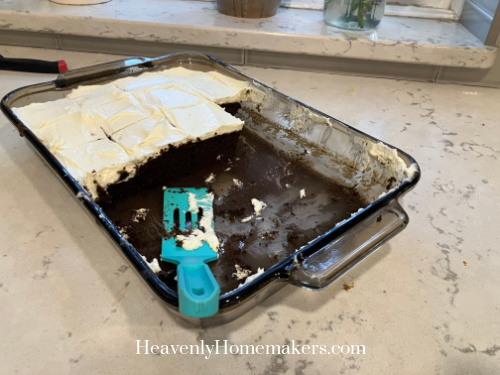
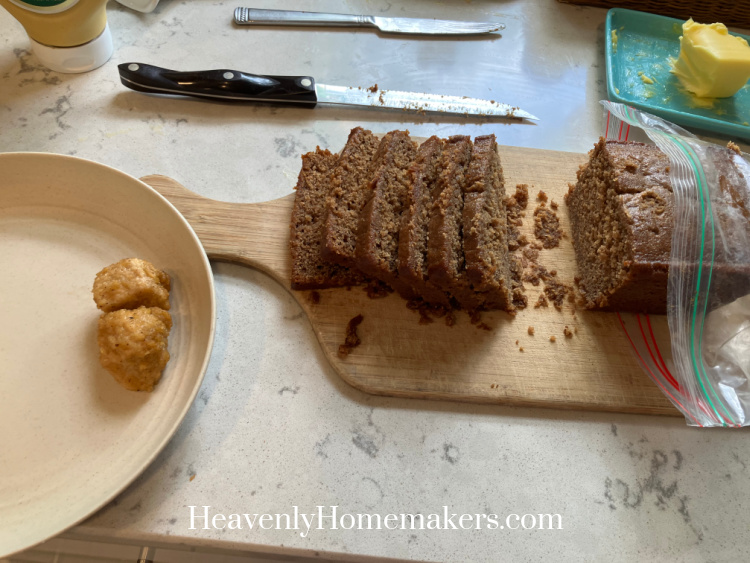
It was not a good day to bake! And yet, I did it anyway, because I needed to. :) I made a batch of Crustless Cheesecake and a Spinach Cake in an attempt to have more ready-to-grab foods available.
I made Whipped Cream to go on the cake, and Bonus Buddy declared with amazement that it tasted like “actual whipped cream!” Haha, that’s because it is actual whipped cream, my dude!
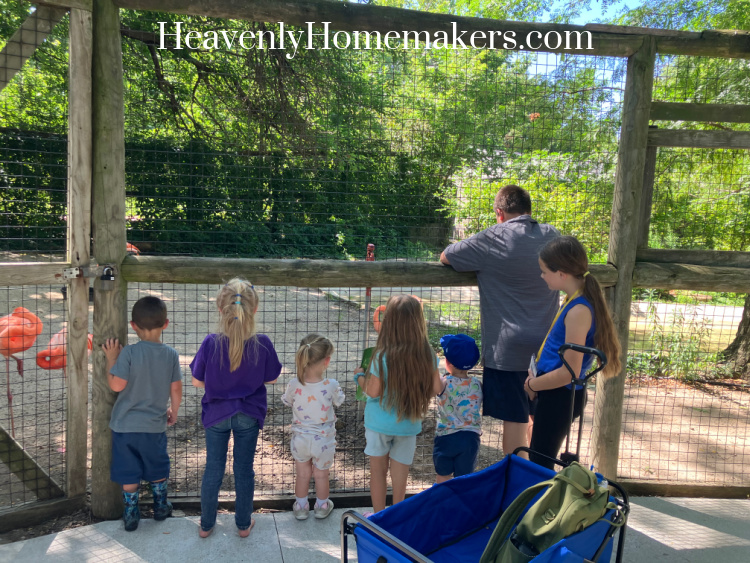
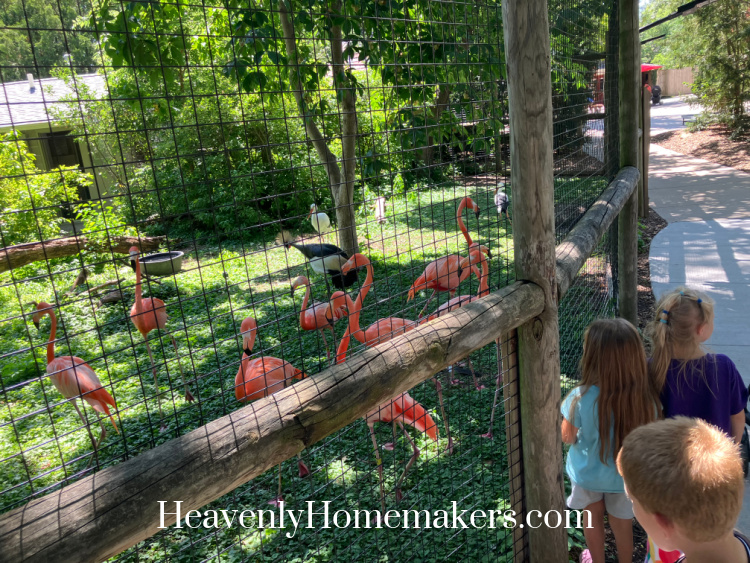
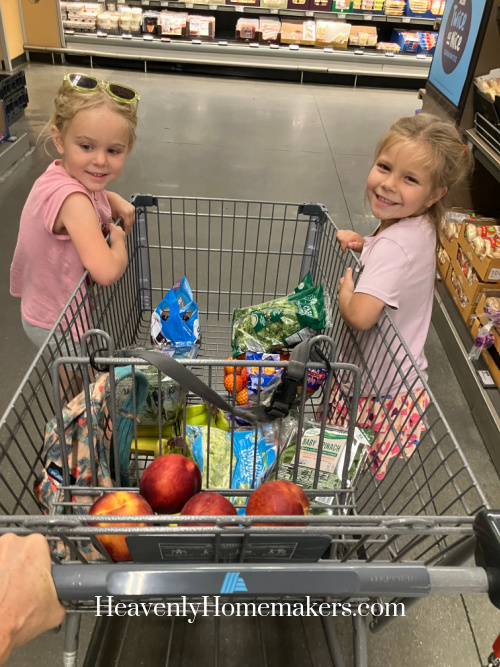
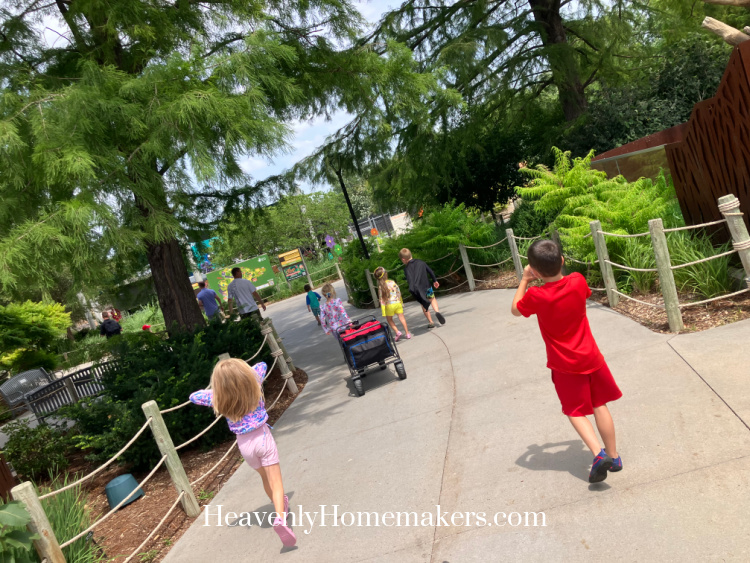
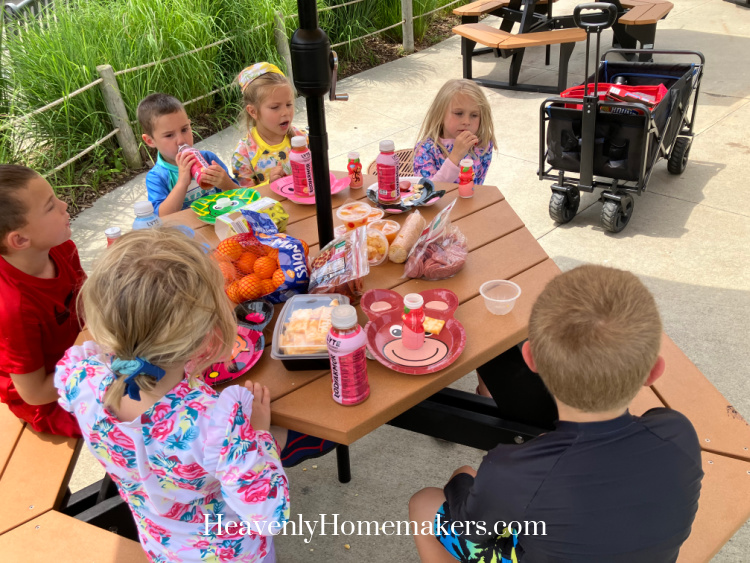
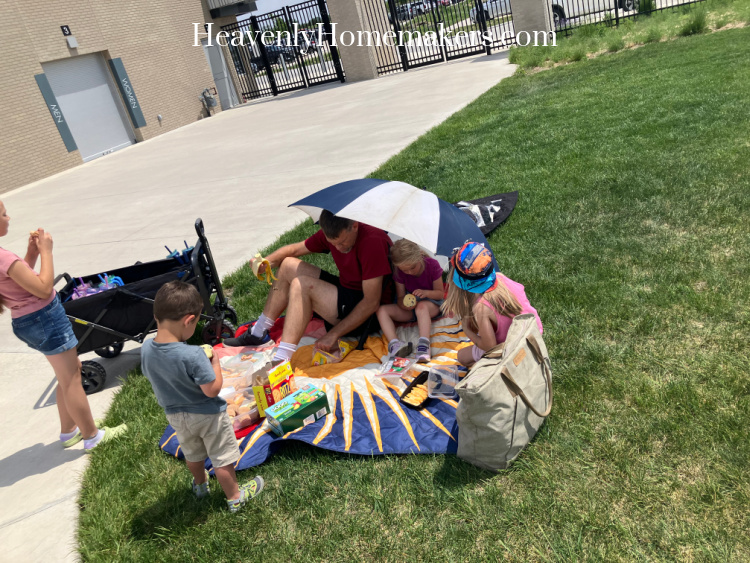
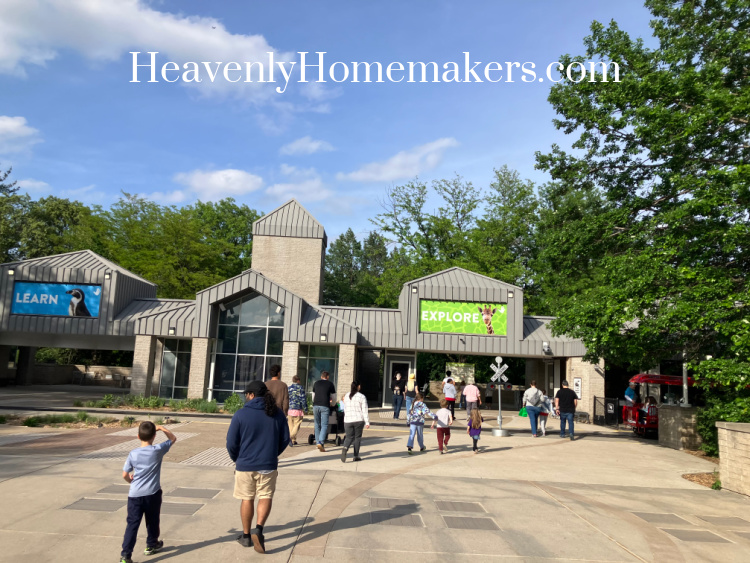
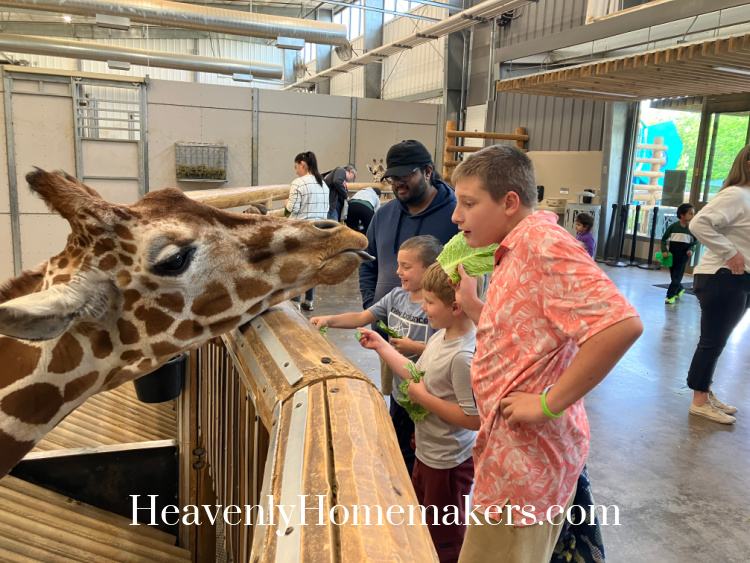
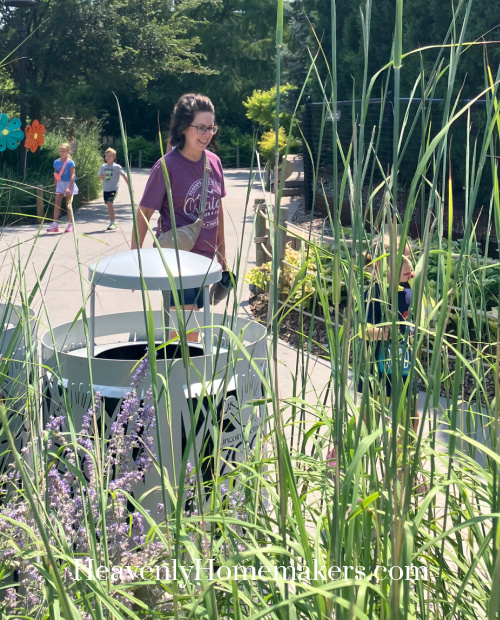
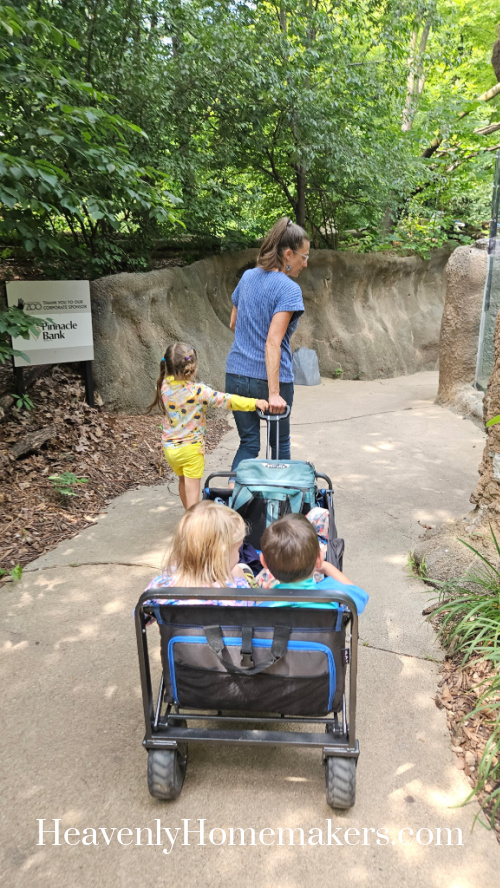
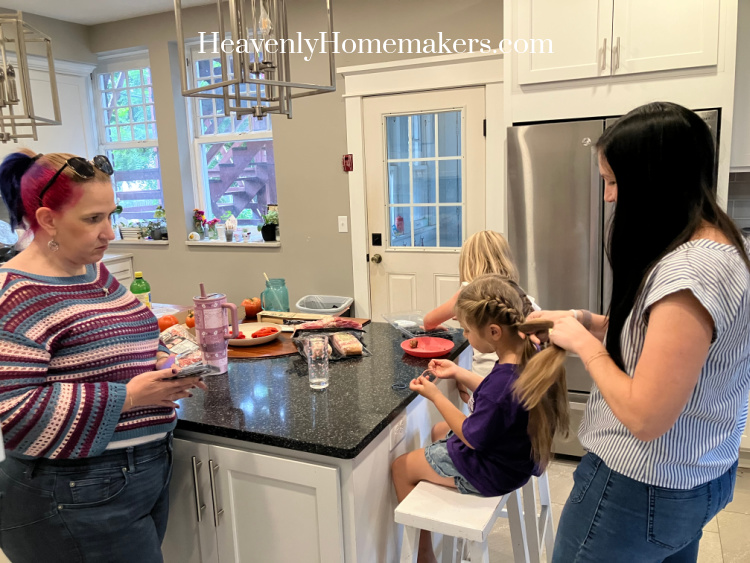
Tuesday morning, my dear friend, Amy, came to visit from Kansas! We haven’t seen each other in a few years (since before Auggie was born) so spending time catching up with her was incredible! After Auggie’s ABA therapy session, she went with me to take Acacia, Josie, and Auggie to the zoo for a couple of hours. See Acacia there behind that tall grass? No? Well, there she is, leading Amy to our zoo picnic spot.
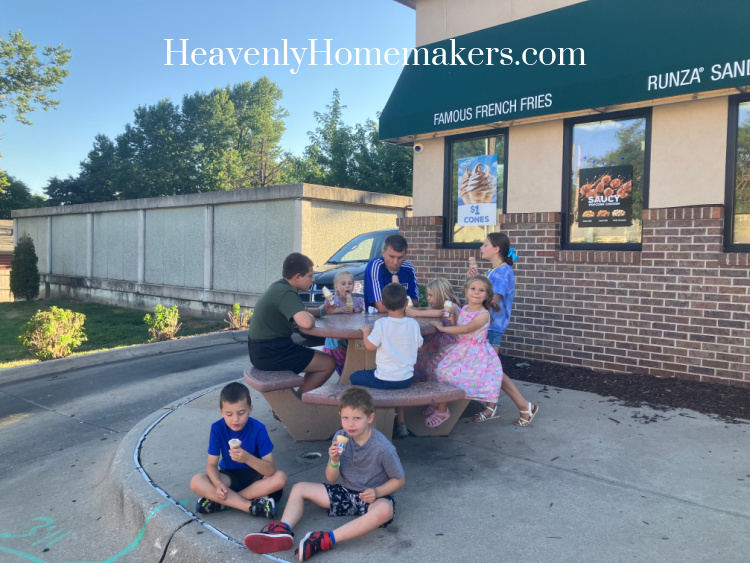
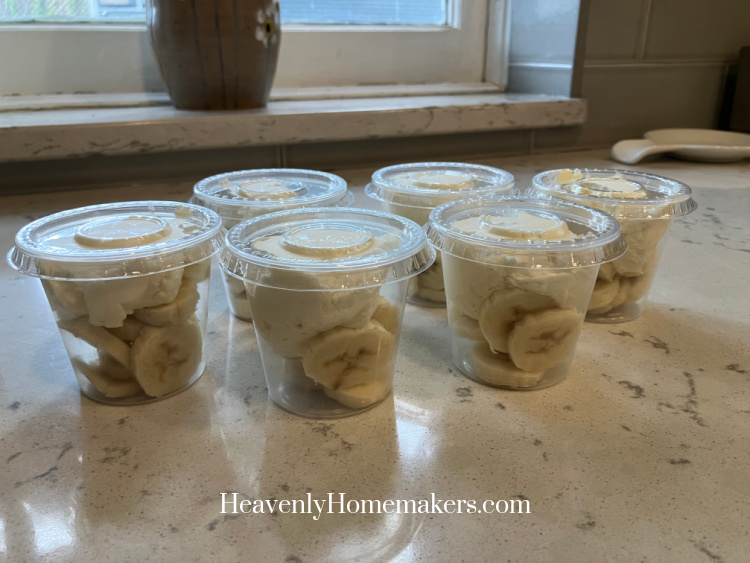
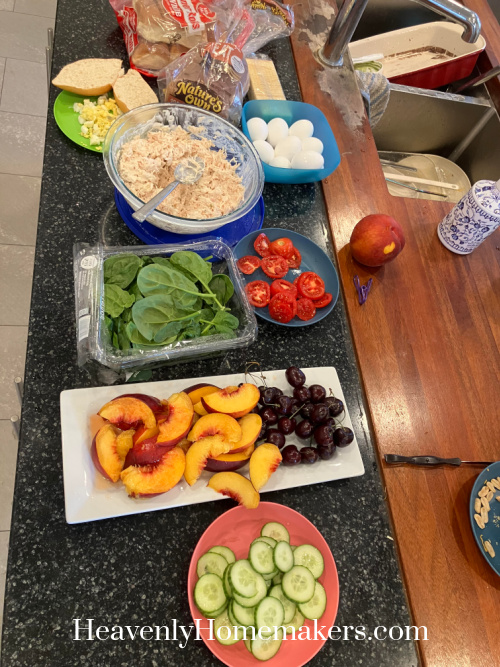
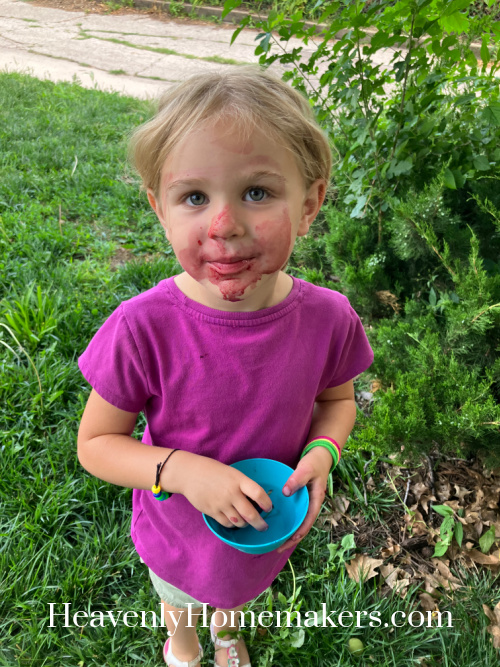
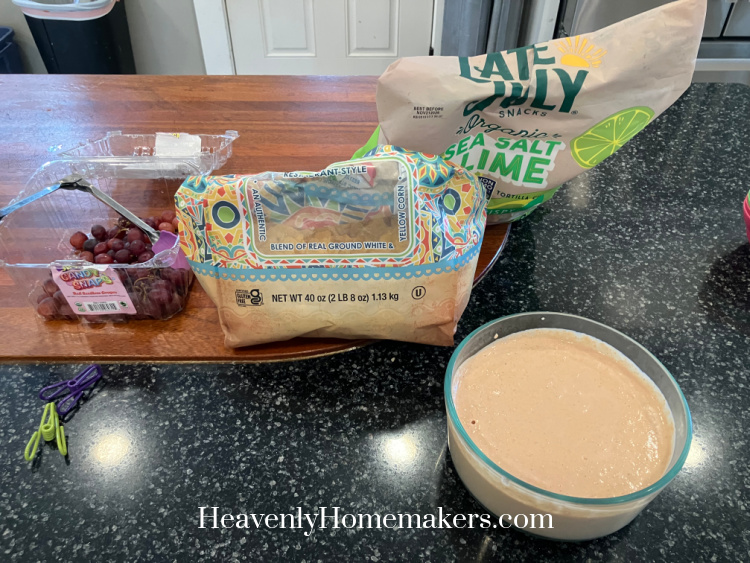
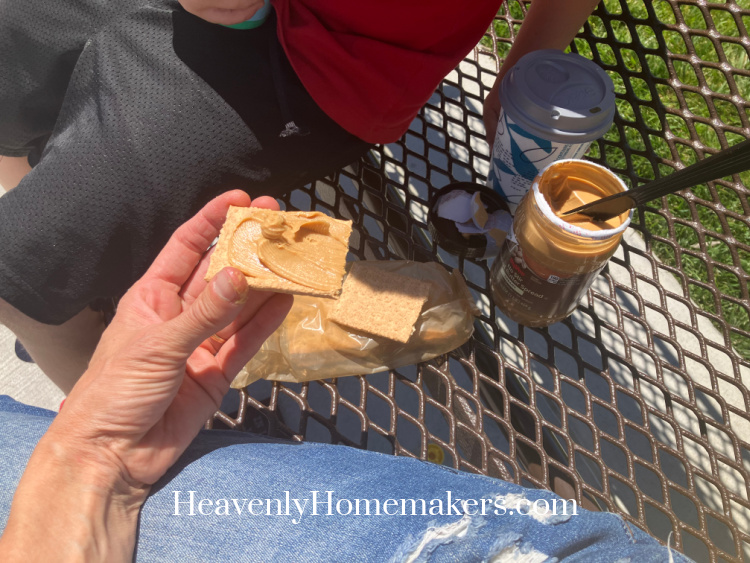
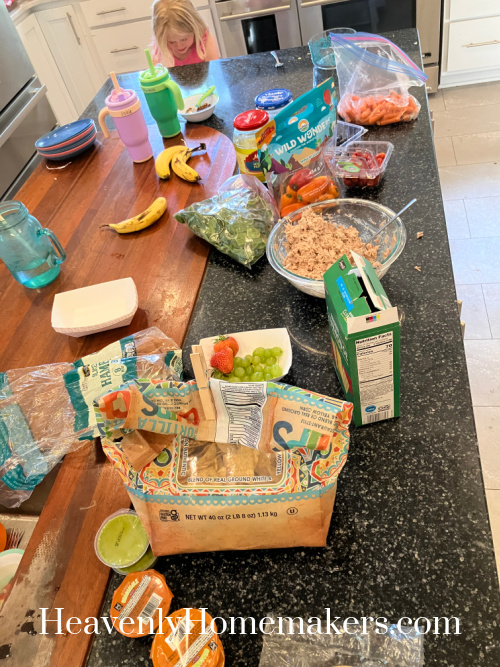
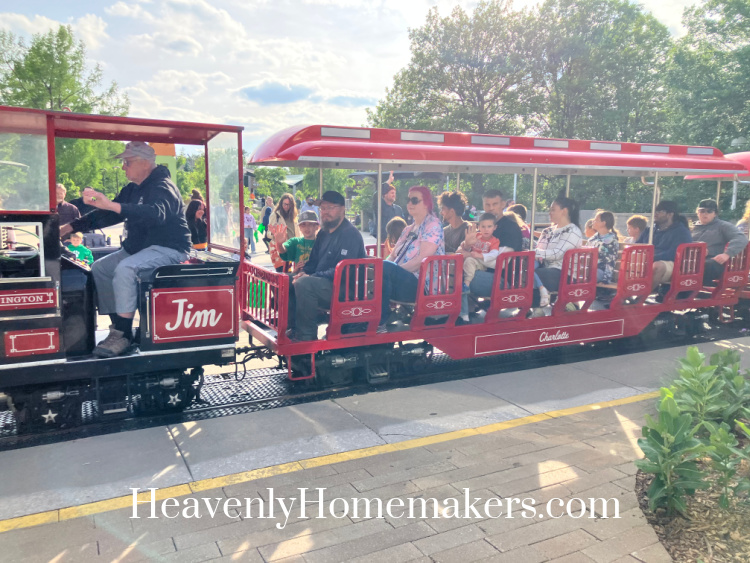
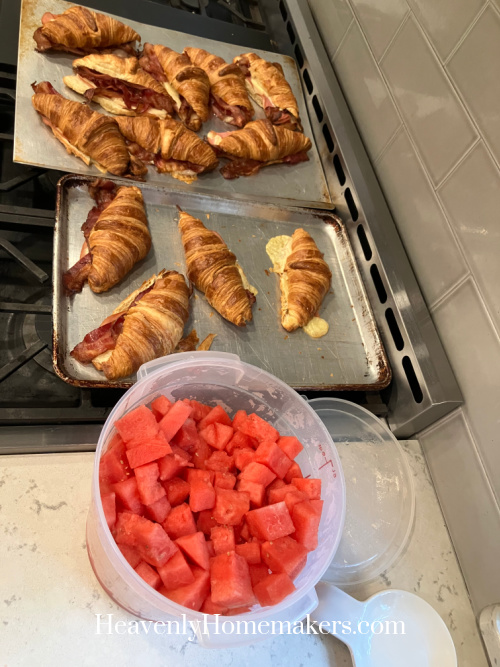
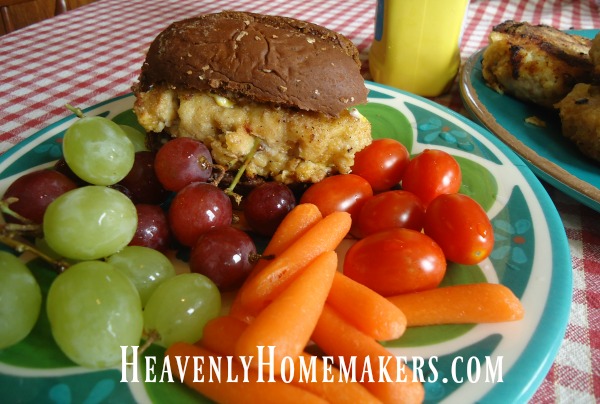
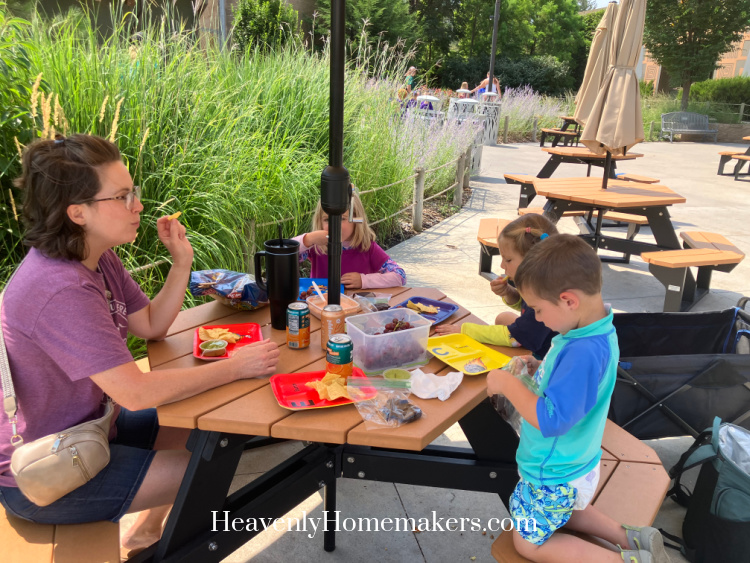
Taking three kids to the zoo is super easy when you’re used to taking eight kids to the zoo. We had a lunch of Bean and Cheese Salsa Dip, Avocado Cups, Chips, Grapes, and Peanut Butter Brownies.
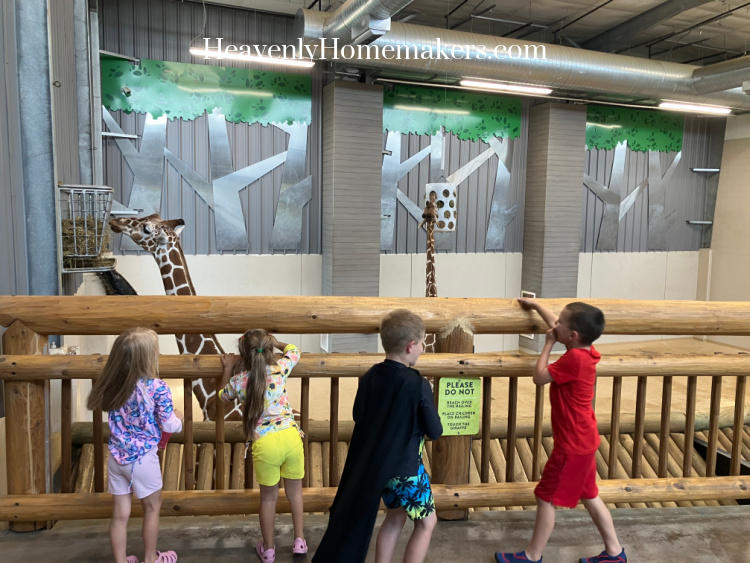
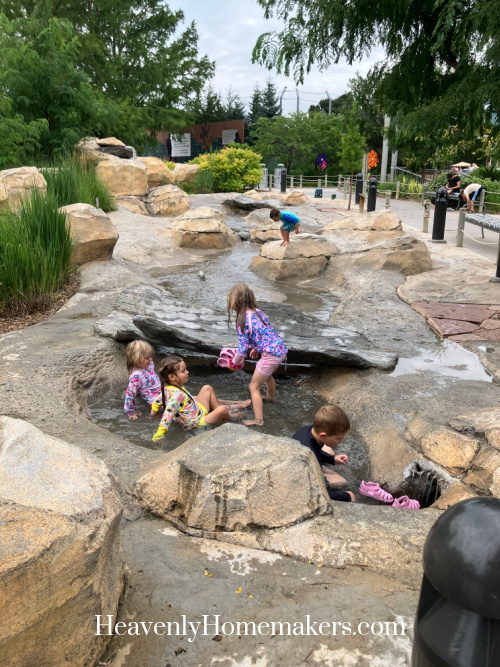
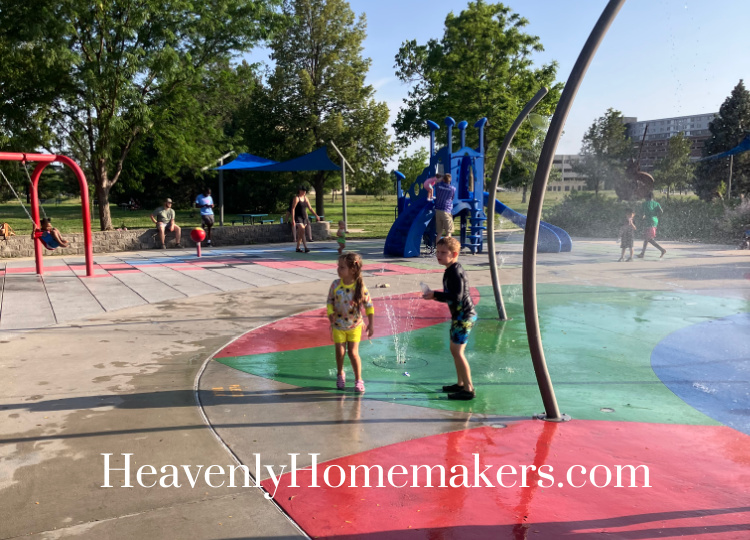
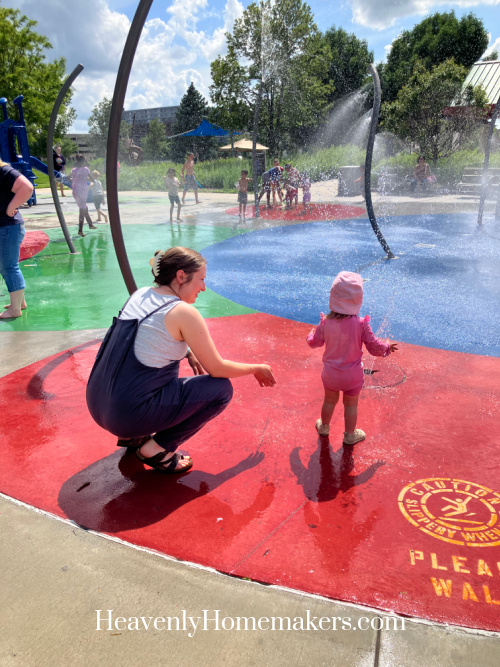
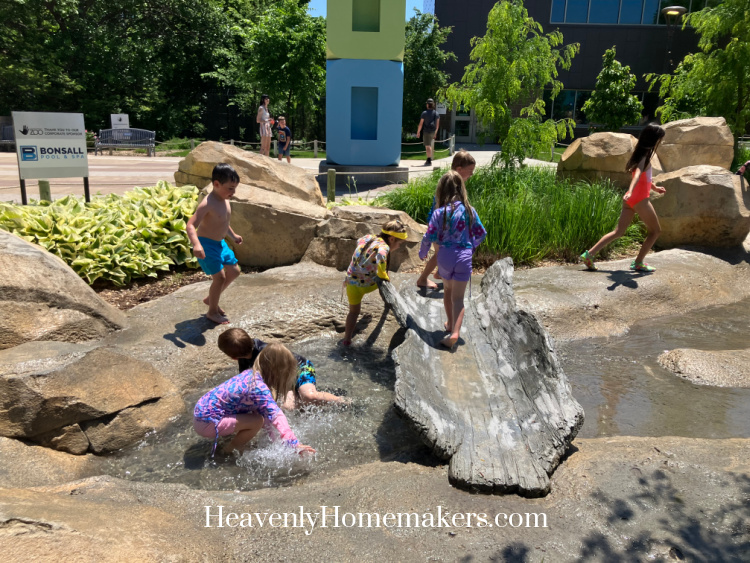
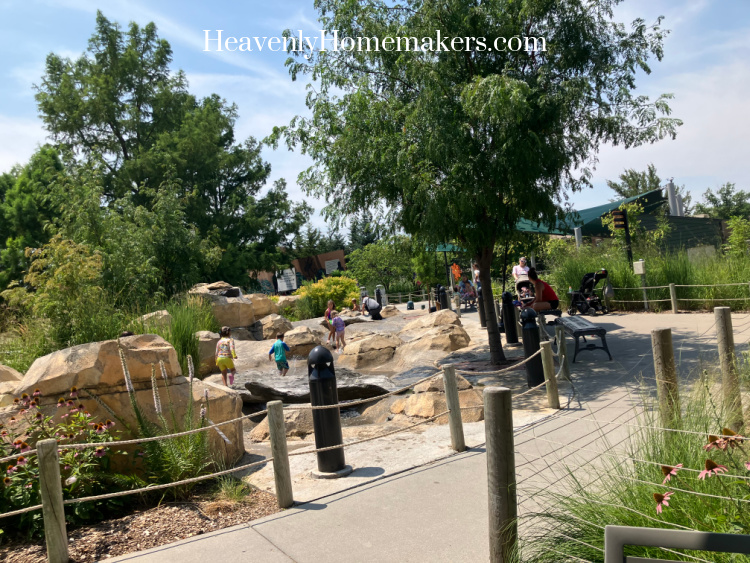
Then it was water play time! Amy and I were able to sit and visit while the kids played. I ran into my friend, Kimmie, while there, plus my friend, Nancy! What a great zoo trip with lots of bonus hugs from friends!
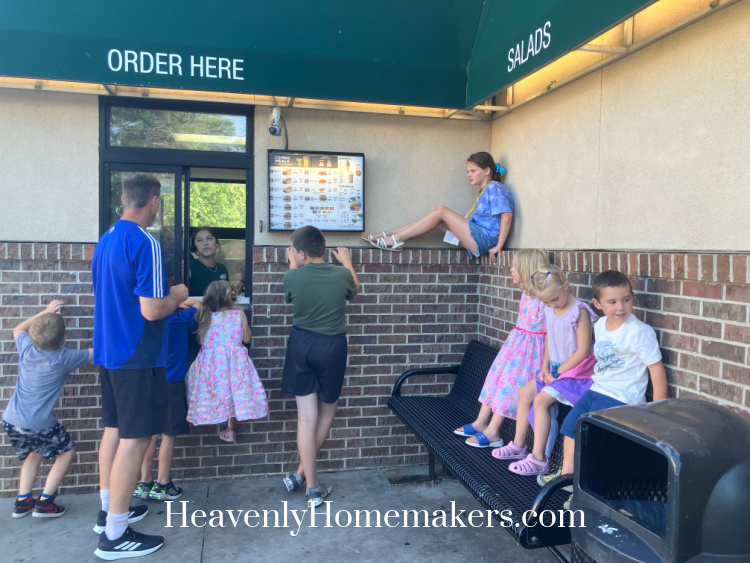
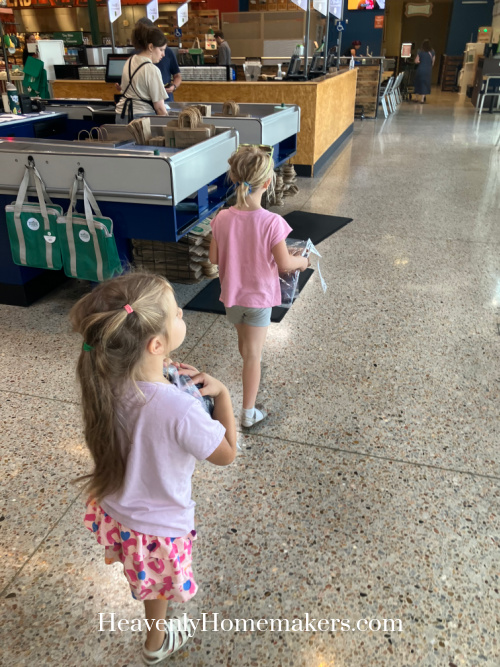
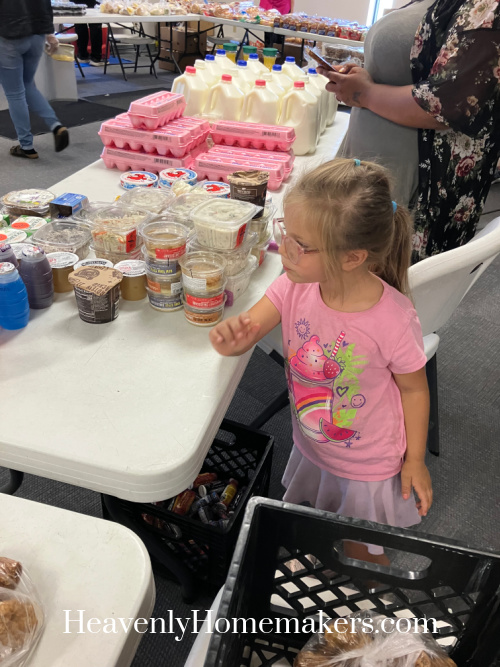
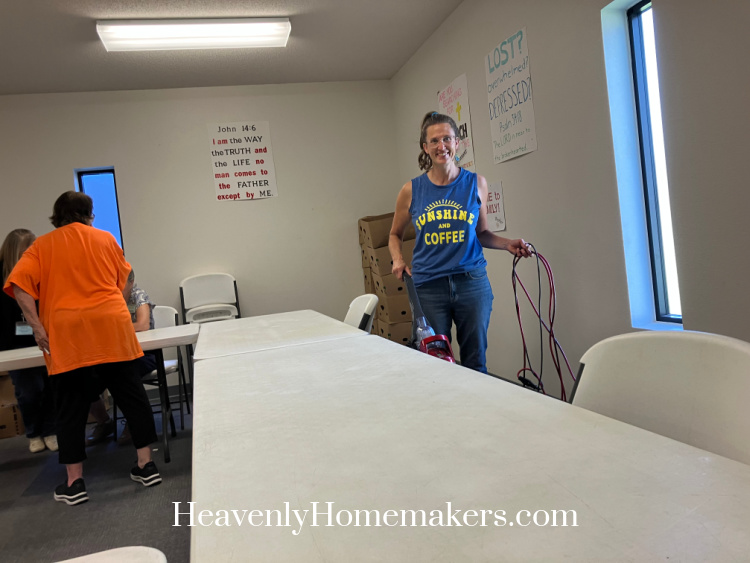
Before we left the zoo, we knew we had to show Amy our flamingos. Then it was time to head home and transition into our afternoon/evening of ABA therapy and Tuesday Food Distribution.
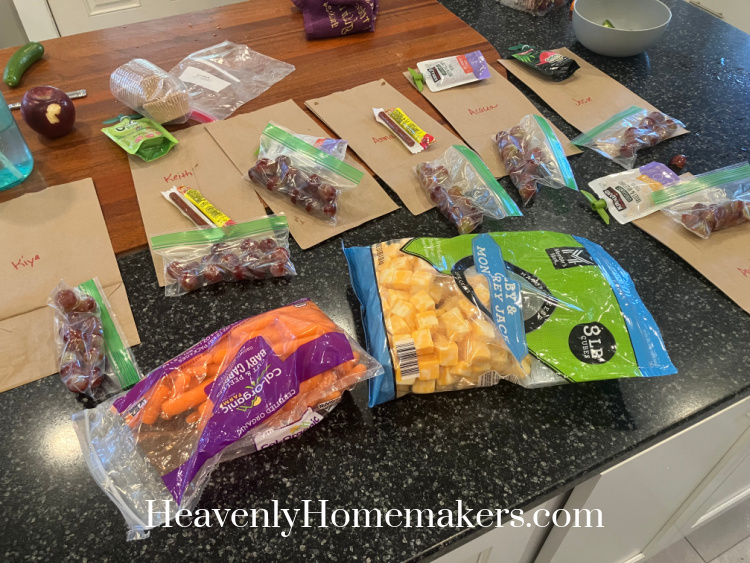
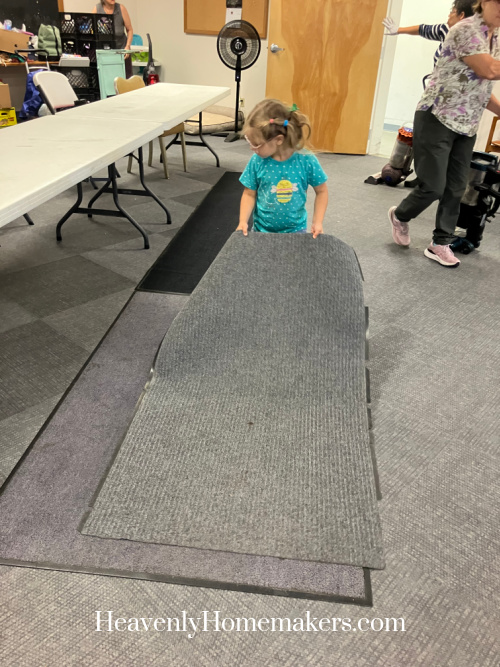
Brayden, Kiya, and Acacia went with me this time and they all did great!
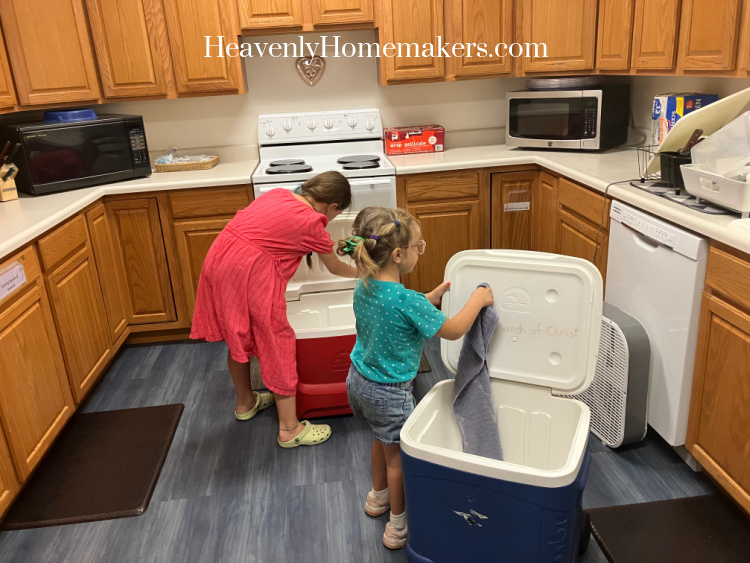

After we’d handed out all the food, Acacia helped me drag all the rugs to the hallway where they are stored. This girl loves to be a hard worker!
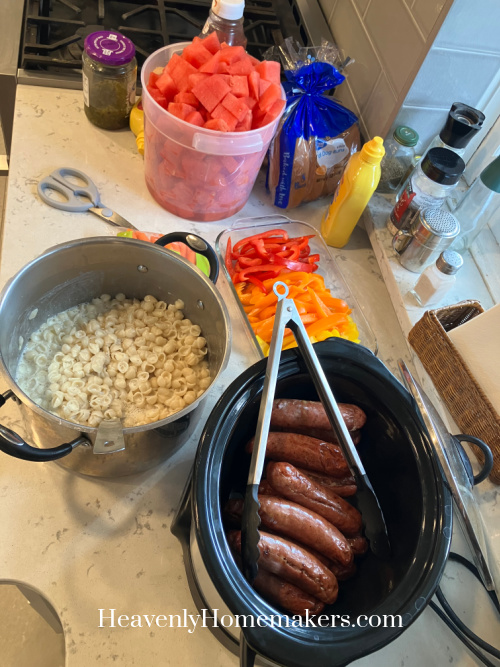
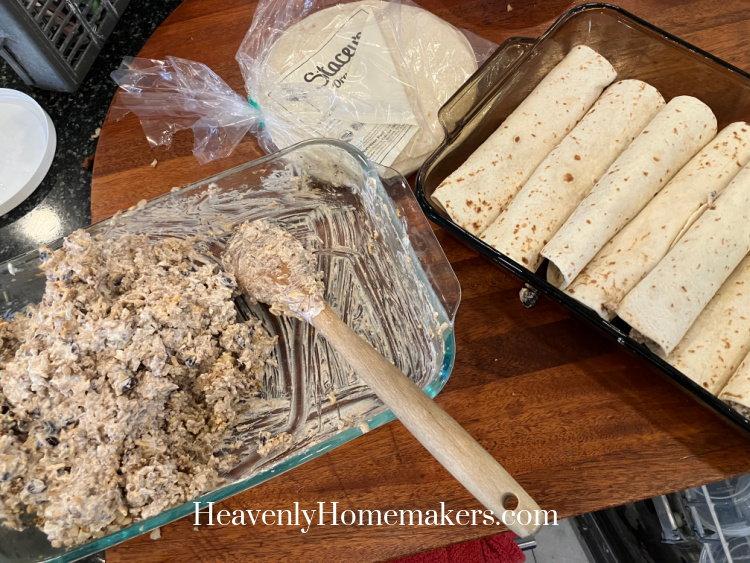
Back at home, I had experimented with putting Cheese Tortellini into a crock pot with cooked ground sausage and sauce. I’d picked up the Tortellini on super clearance at Wal-Mart last week so this was a super cheap meal! We had green beans on the side and it was simple and delicious!

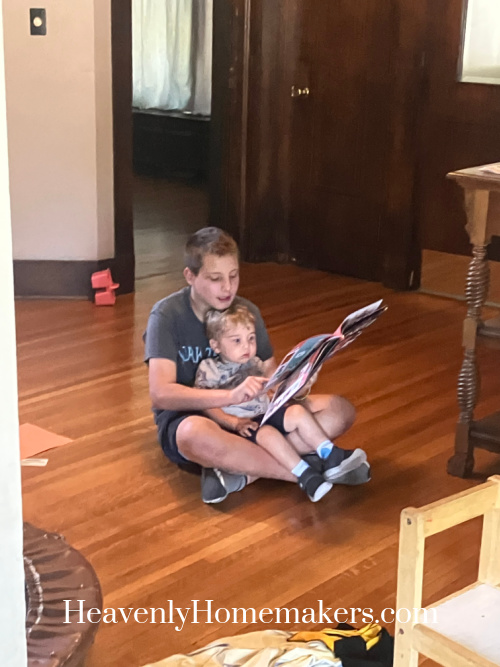
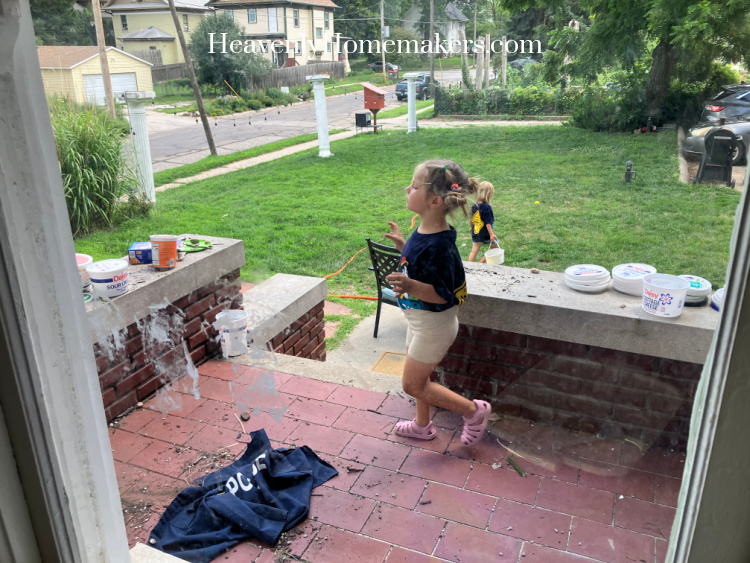
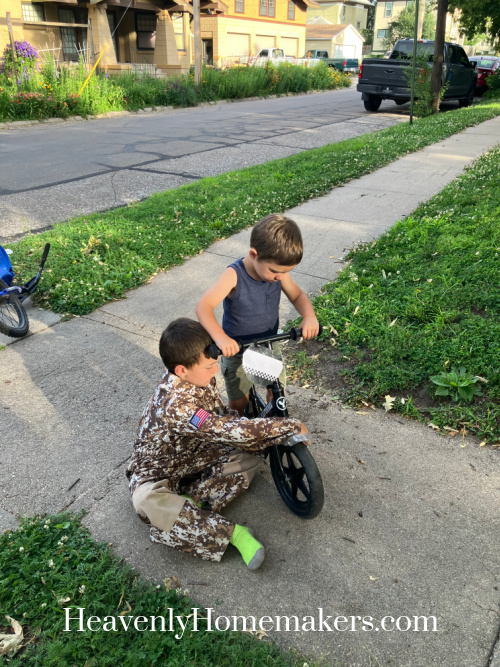
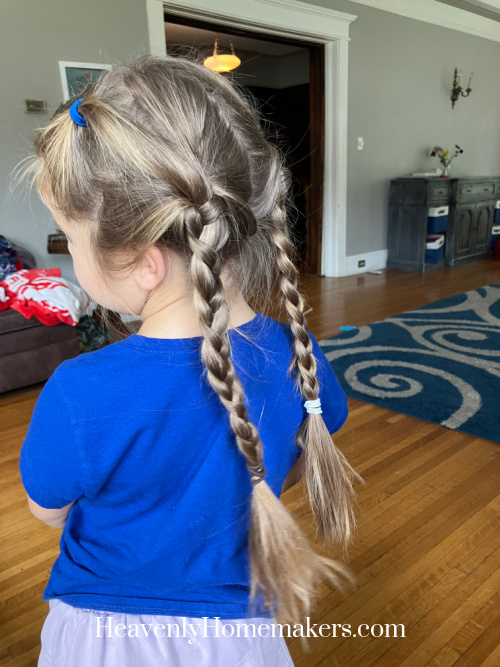
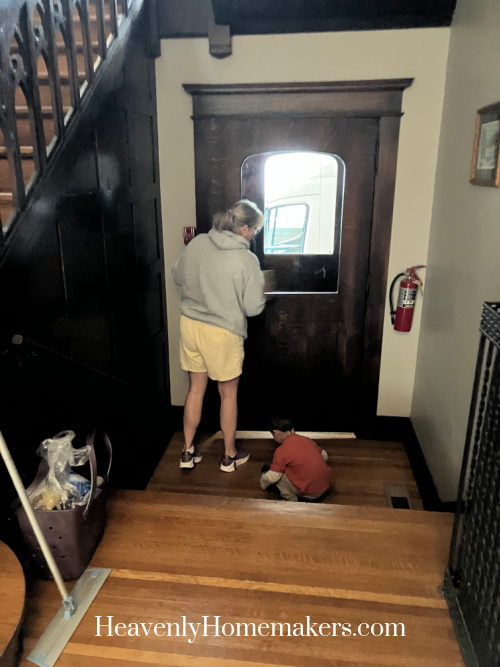
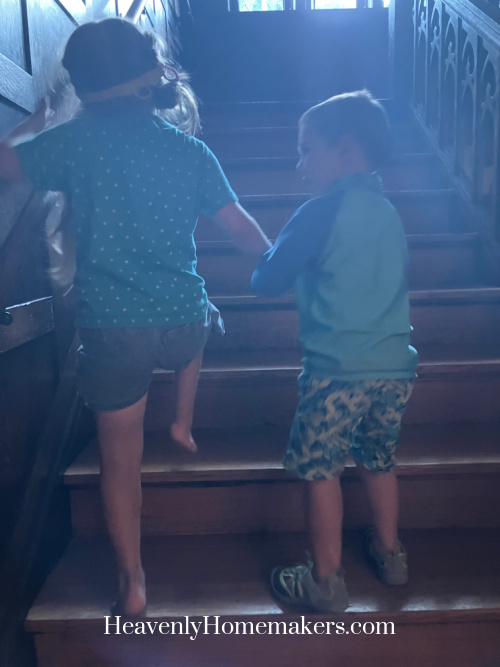
I captured this scene on our way up the stairs to get ready for bed that night. It’s a poor quality photo but I hope you can see the sweetness. Acacia got an ouchie and Auggie was comforting her and helping her up the stairs. This three year old baby brother has come so very far in the past year – in so many ways!
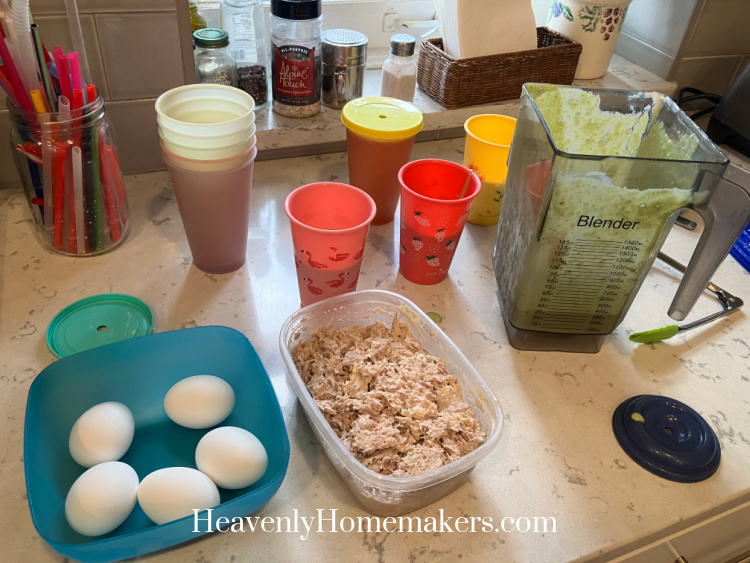
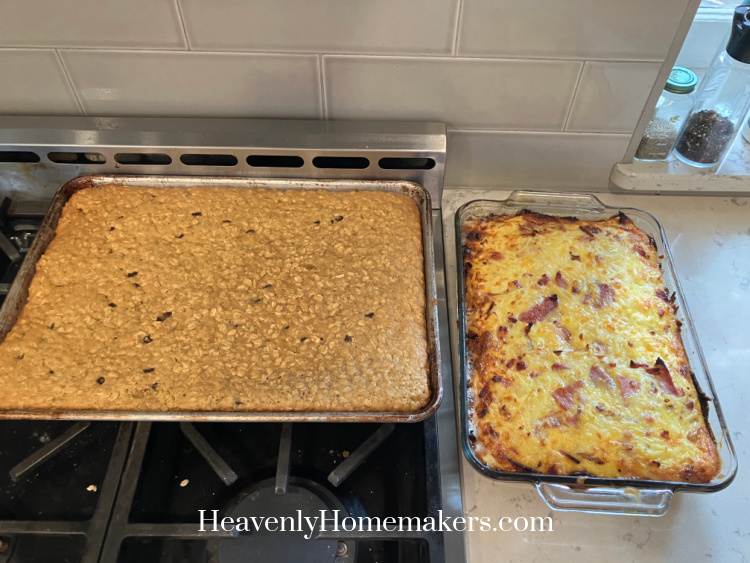
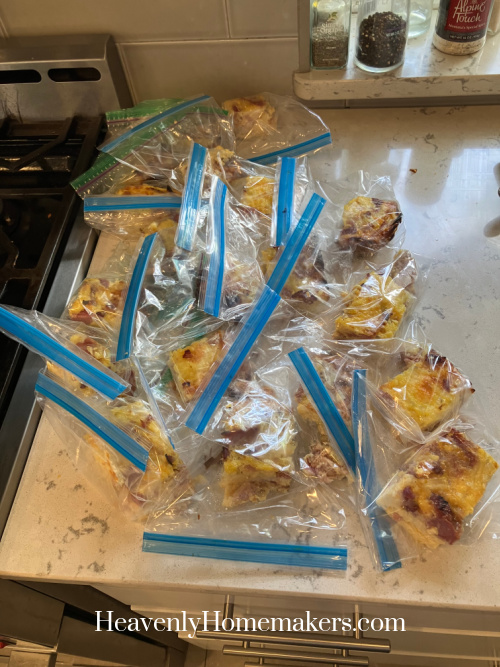
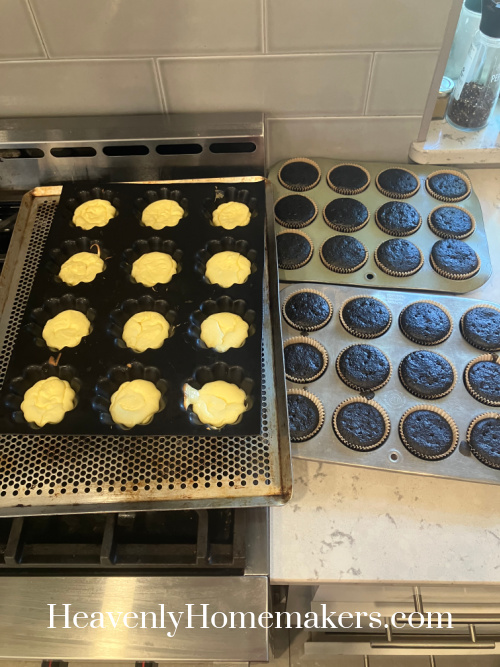
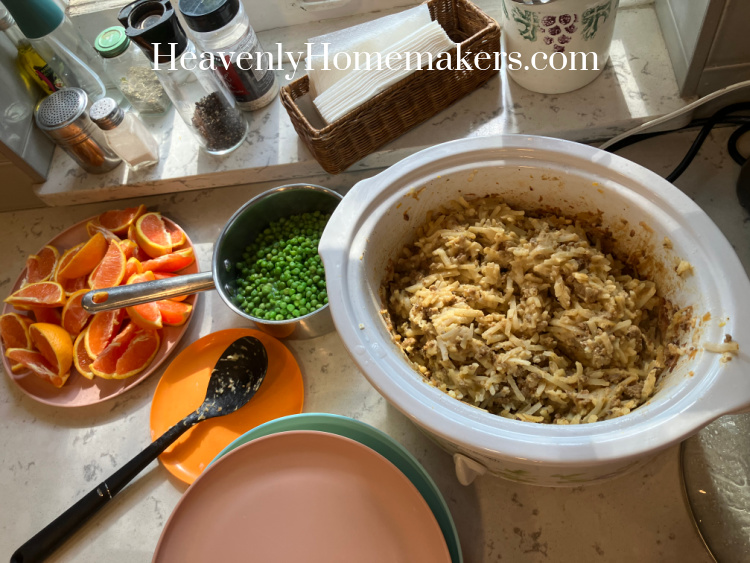
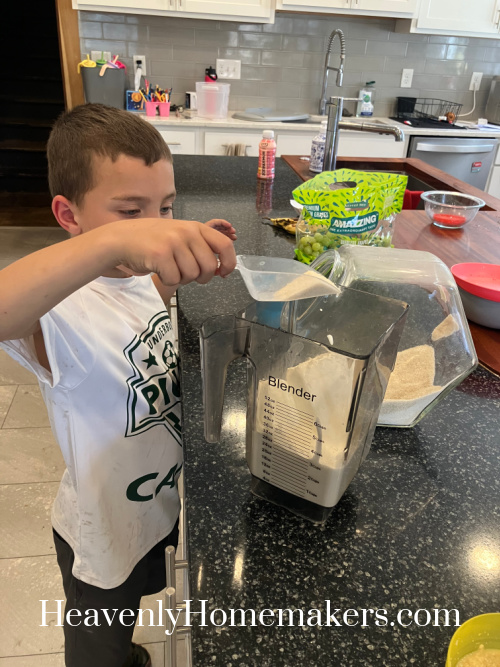
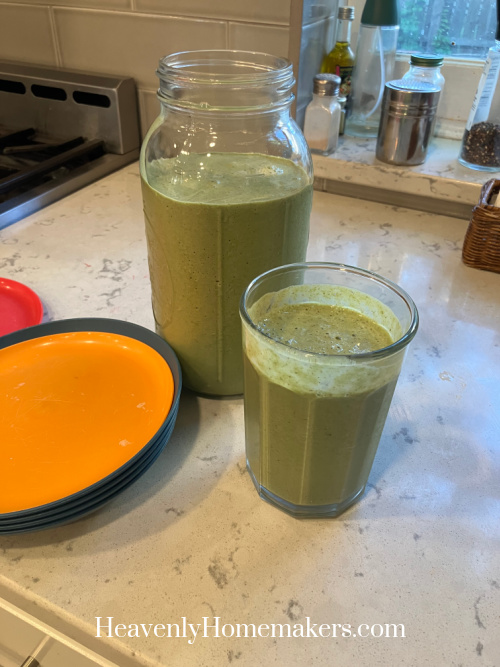
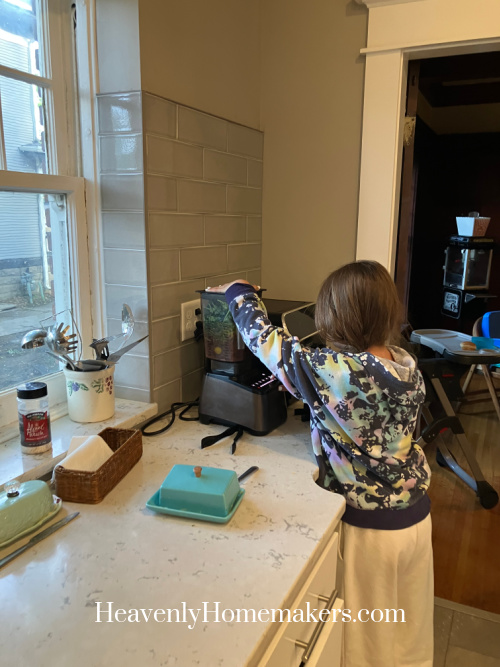
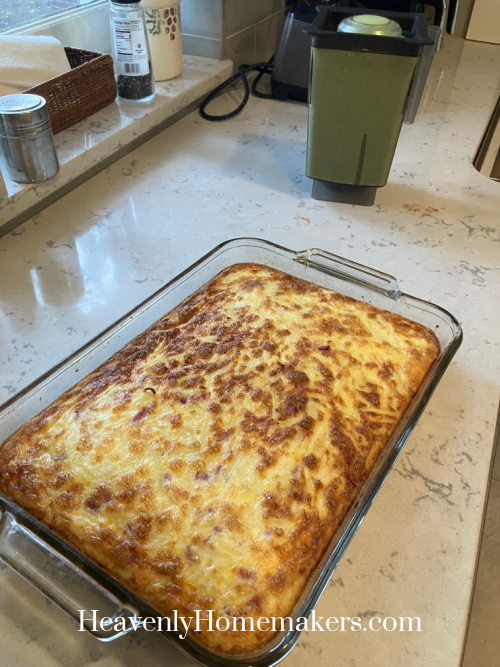
Wednesday morning, I baked an Egg and Hashbrown Casserole that I’d put together the night before. We’d run out of Smoothie, so I made a blender full!
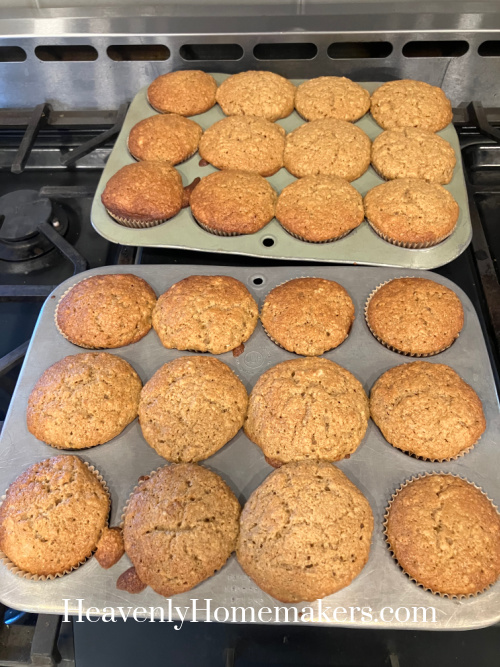
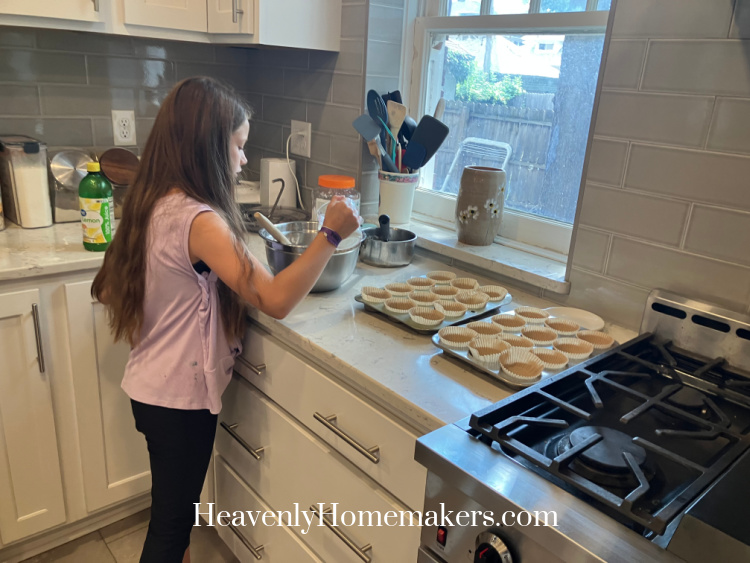
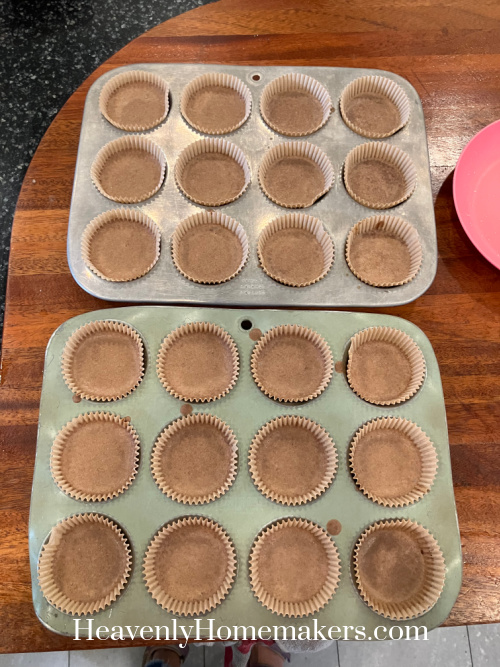
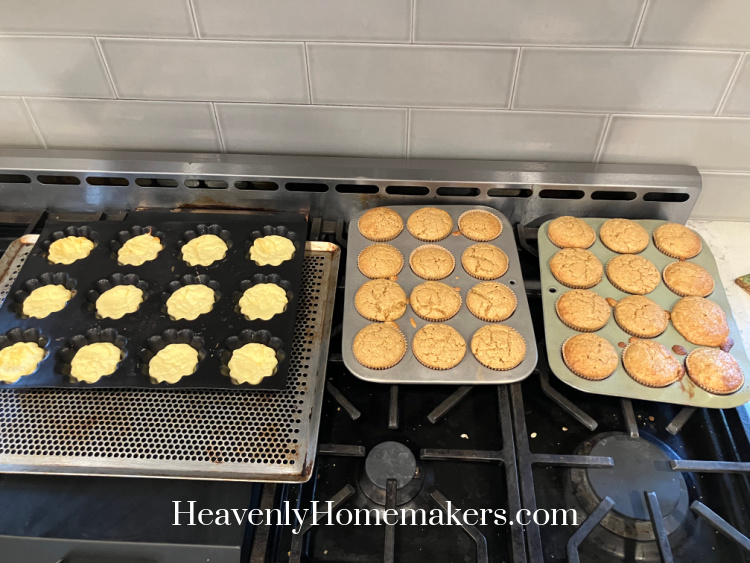
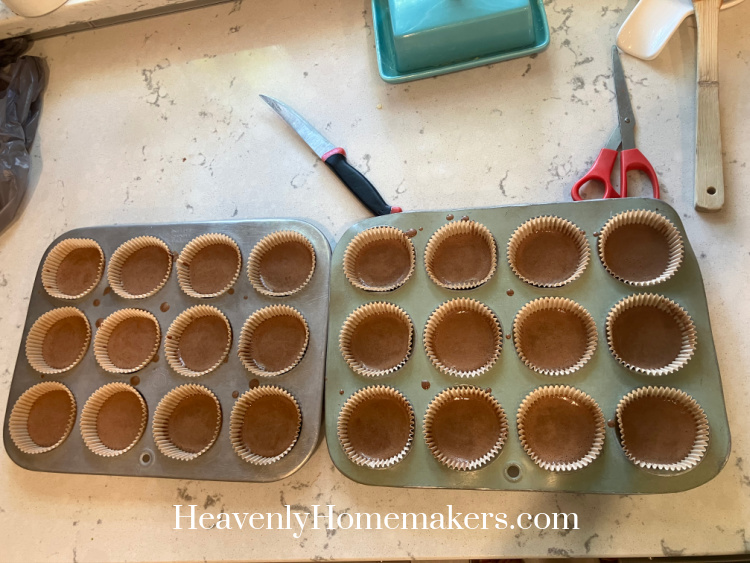
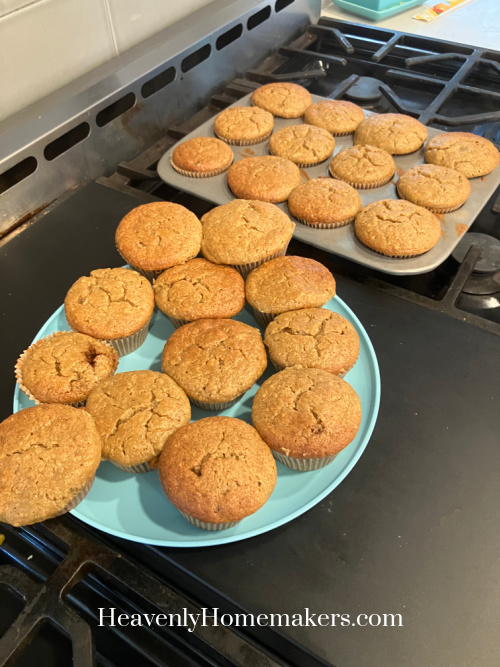
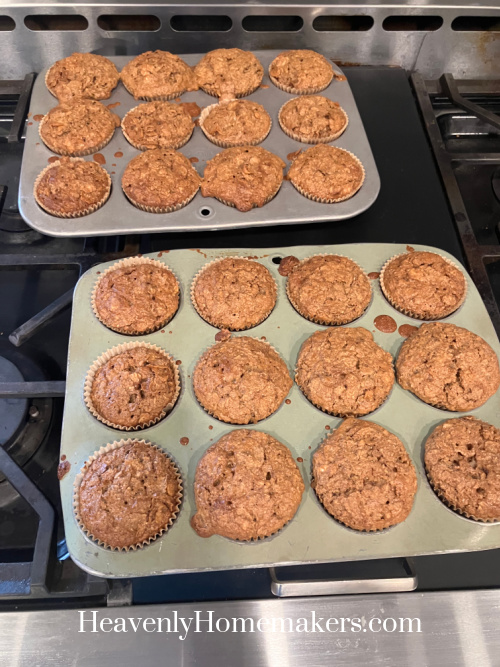
Since the oven was already hot because of baking the casserole, I made a double batch of Bran Muffins to bake also.
Amy came over again that morning to hang out. Arrow was with us and the kids had such a fun time playing together!
![]()
He was all kinds of sweetness as I tucked him in upstairs for his afternoon nap at Lolli’s house.
![]()
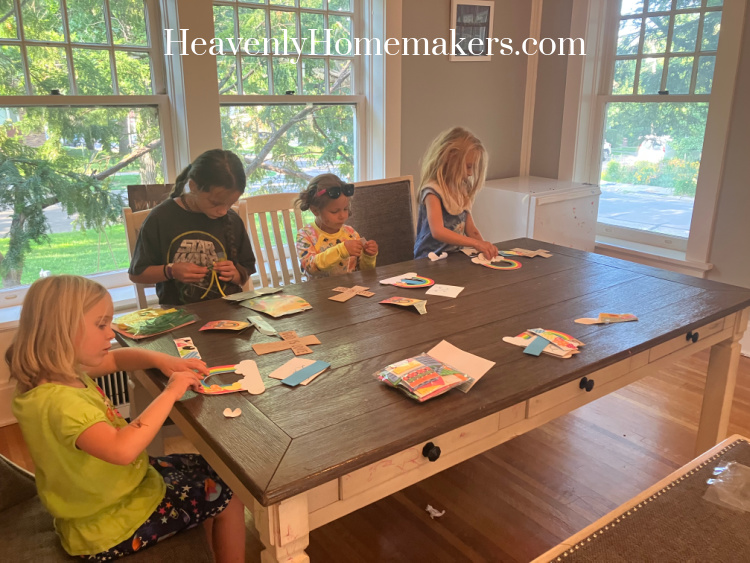
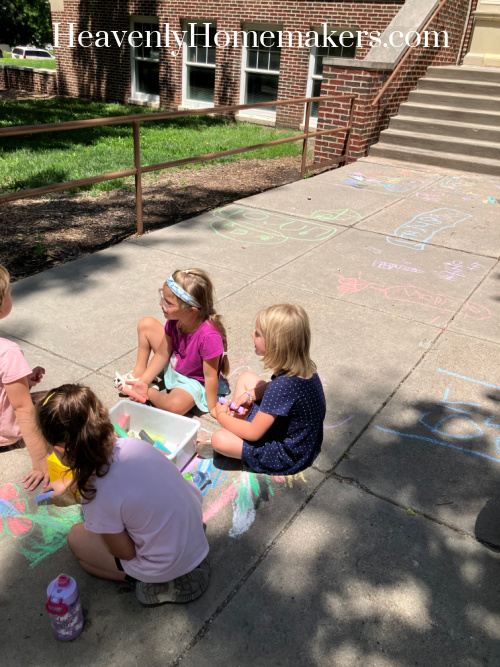
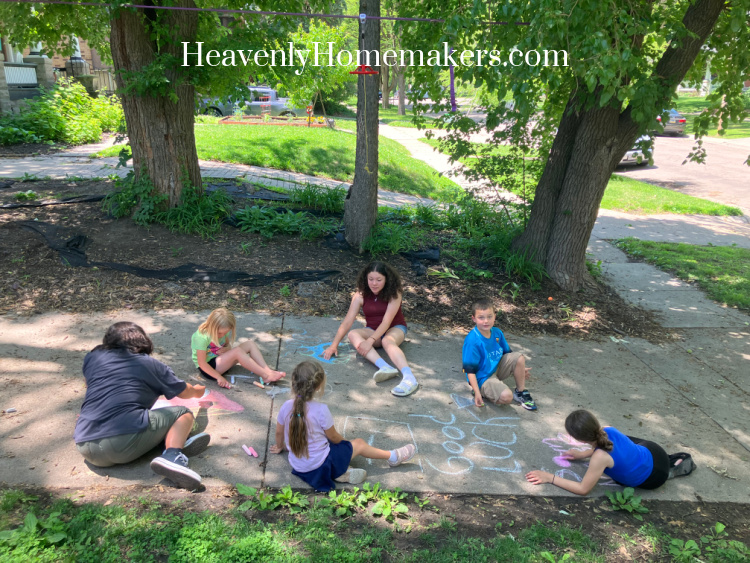
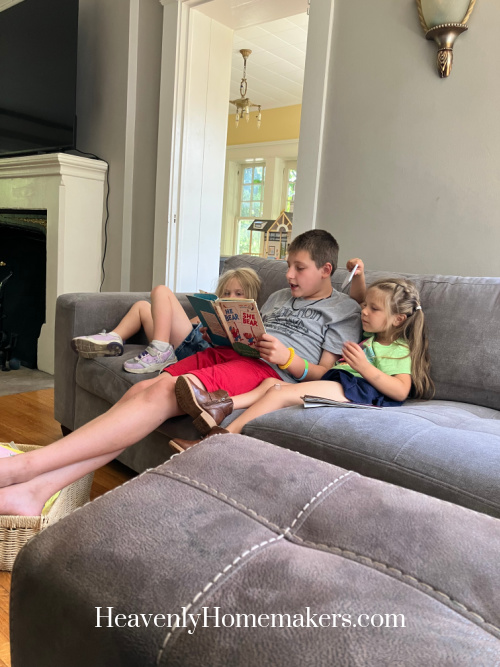
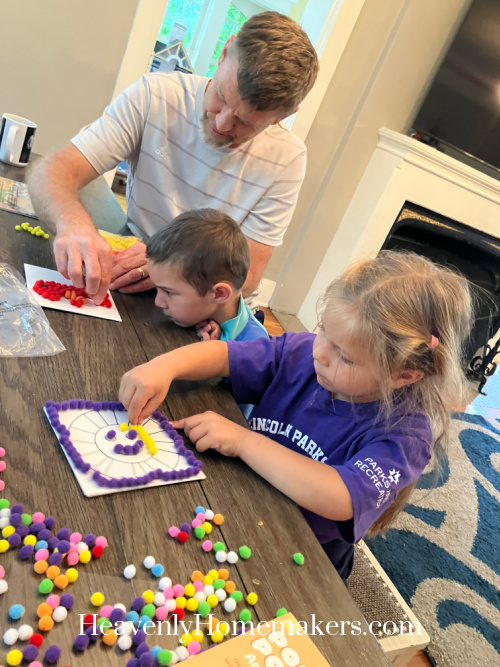
It was rainy that afternoon, so we needed to find some ways to stay quiet and entertained for a few hours in the house. Amy had brought the kids some fun craft projects that I planned to save for a rainy day. Turns out, this very day was that rainy day. These were perfect!
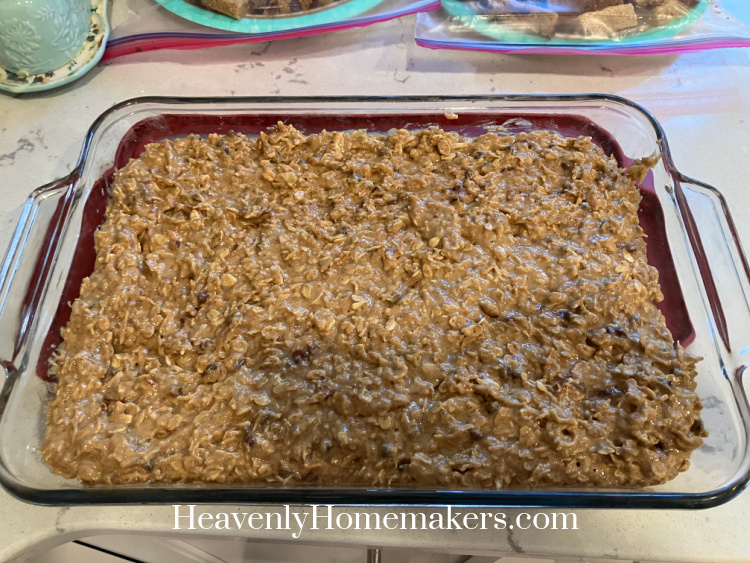
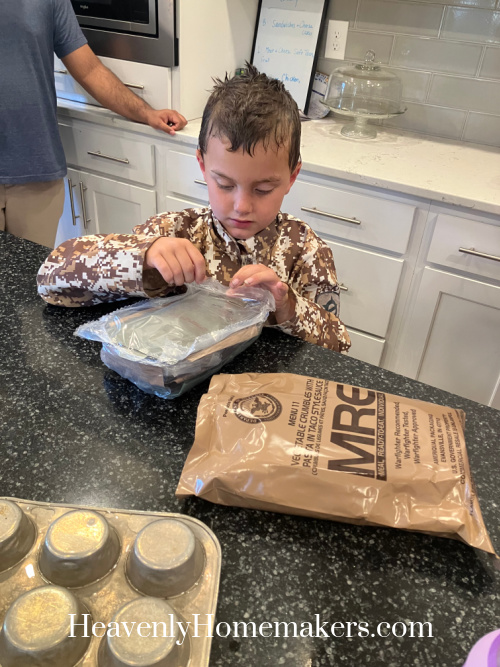
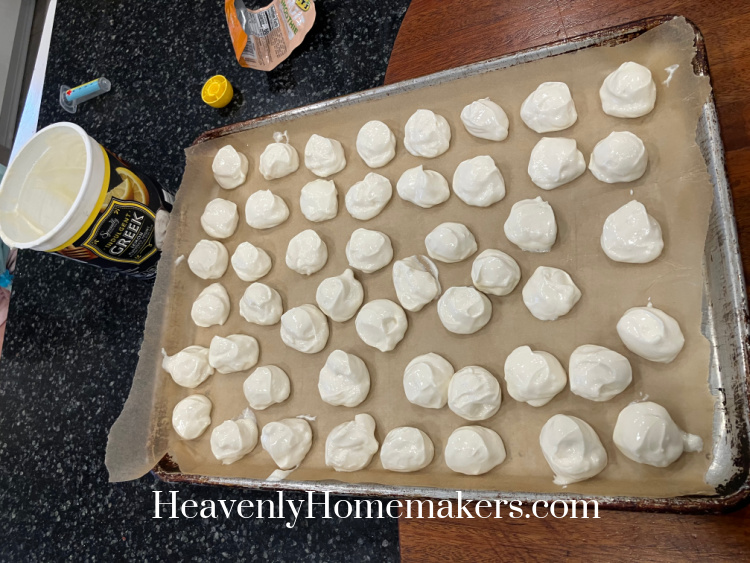
I made a monster-sized batch of Mudballs that afternoon. We got all the kids home early from their Day Camp so we could start ABA therapy sessions by 3:30. Dinner was leftovers – whatever sounded good – as we had a fridge full of food to choose from.

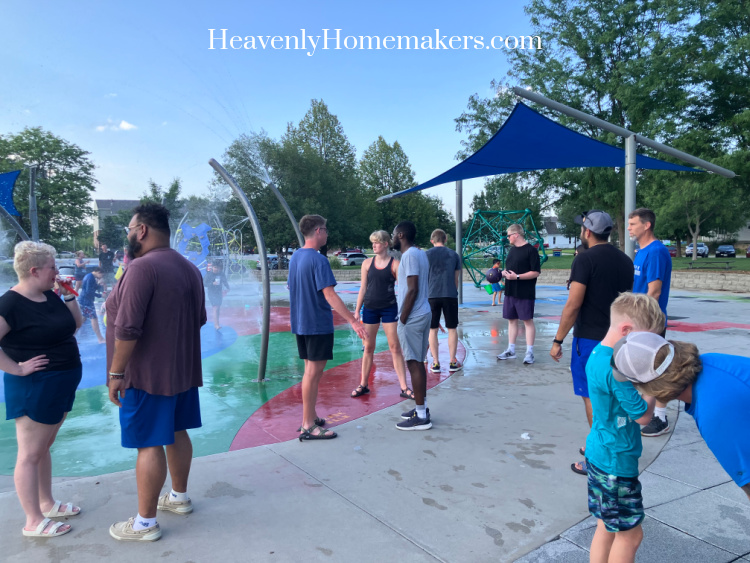
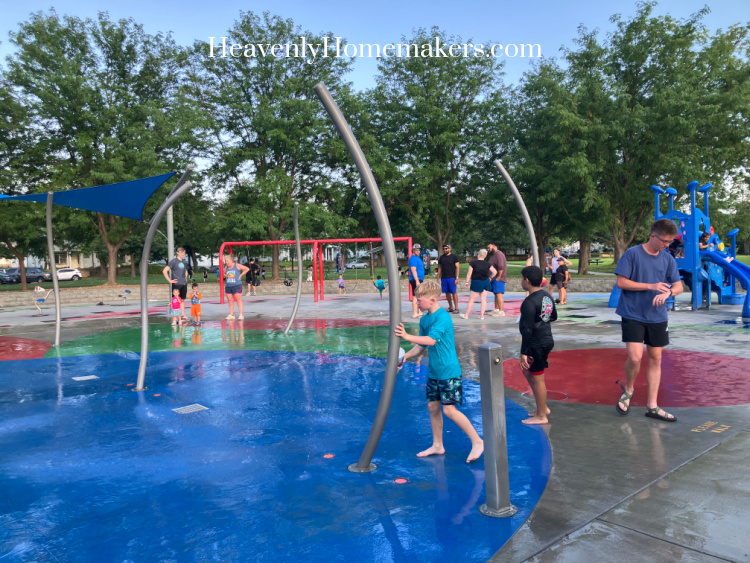
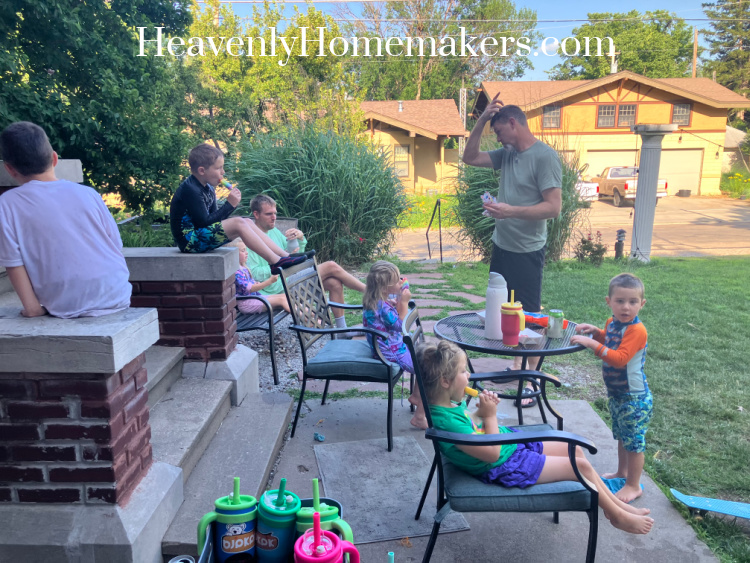
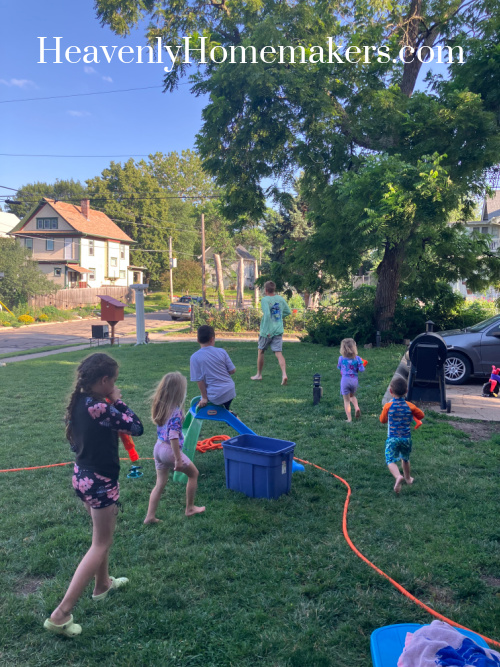
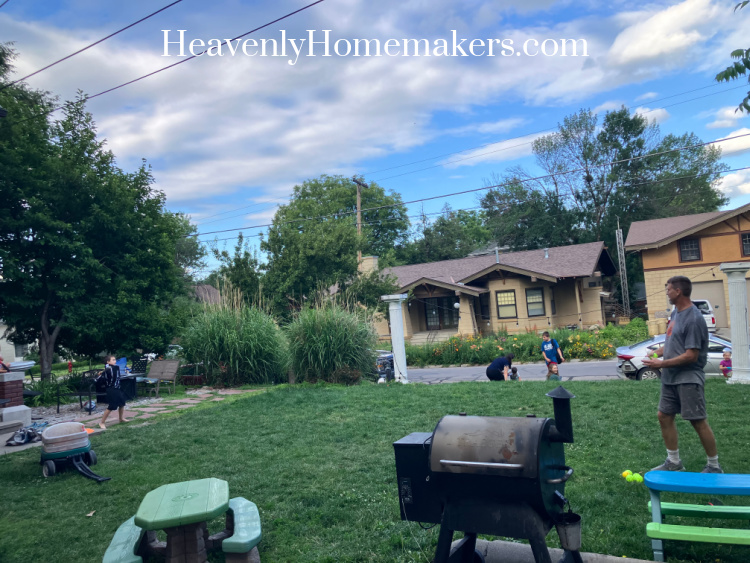
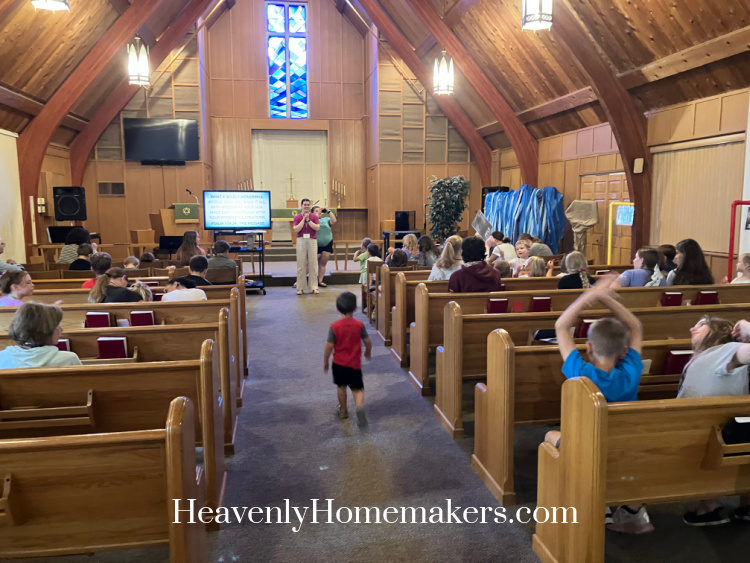
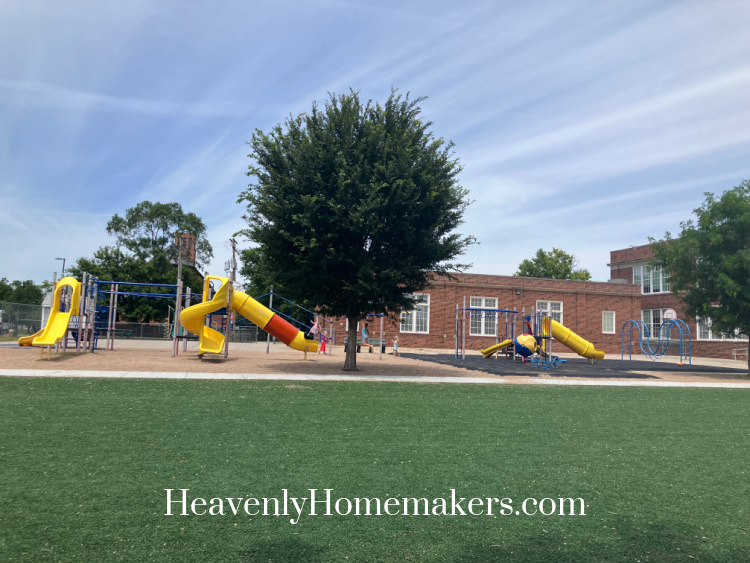
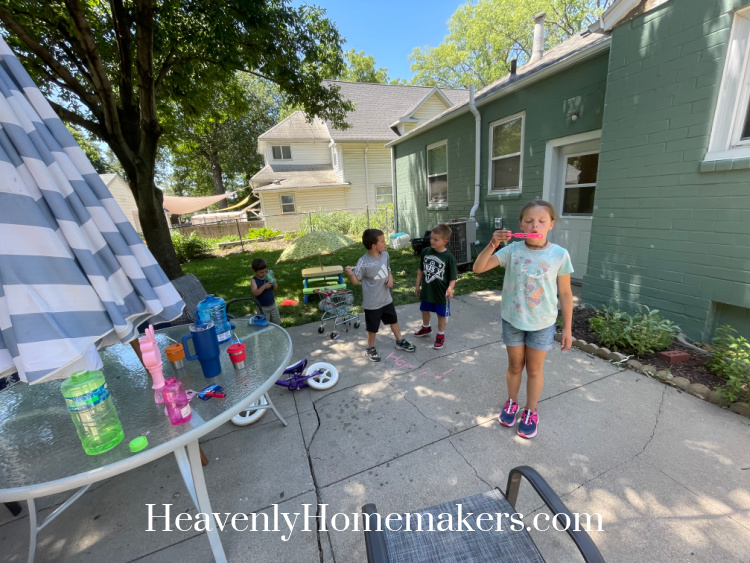
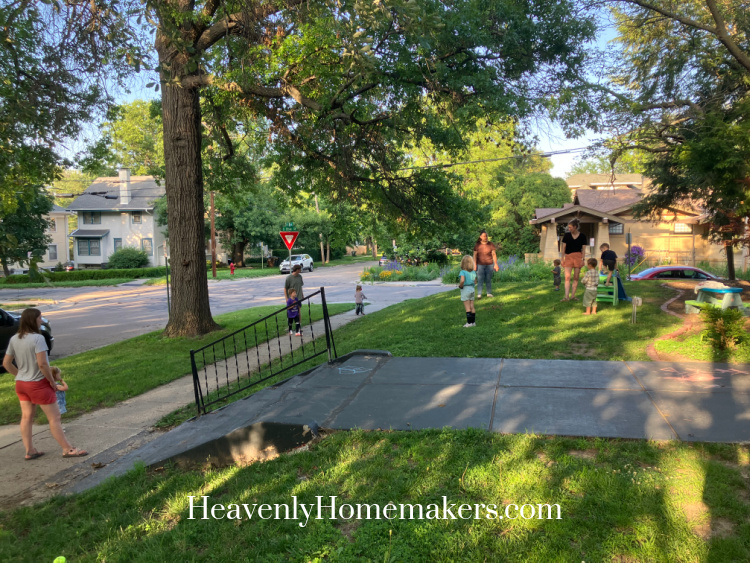
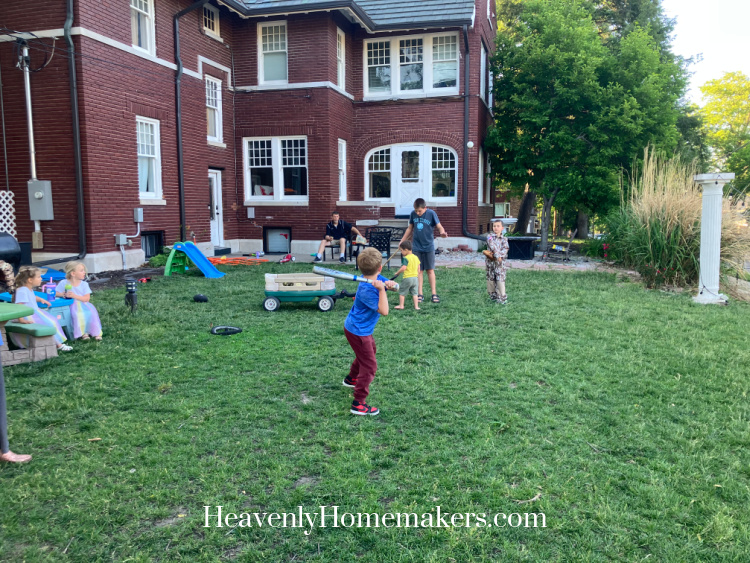
Then we headed off for Popsicles in the Park with our Heartlands church family. It was a chilly evening so the crowd was very small that night. But we had a good visit with our friends and it was good for the kids to run around outside before bedtime.
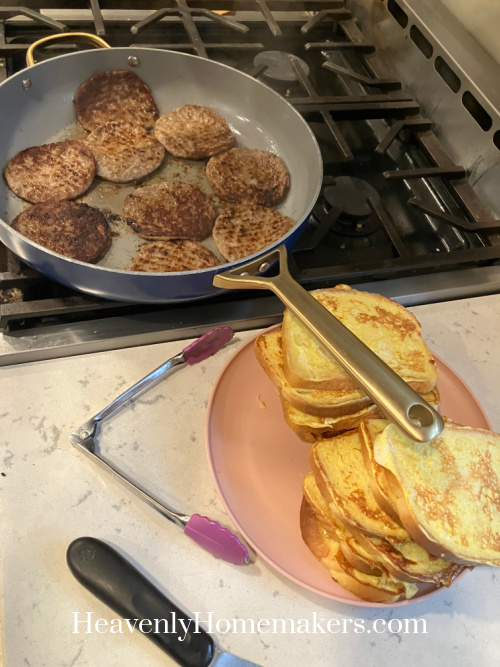
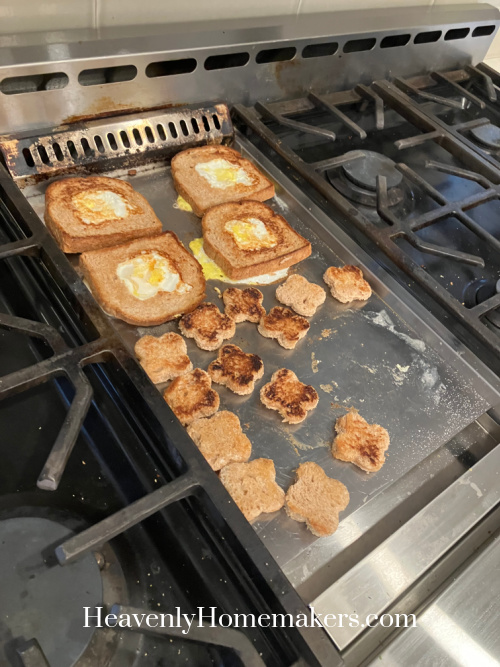
On Thursday morning, I made some Eggs in a Nest for the kids who like those. Other kids ate Mudballs.
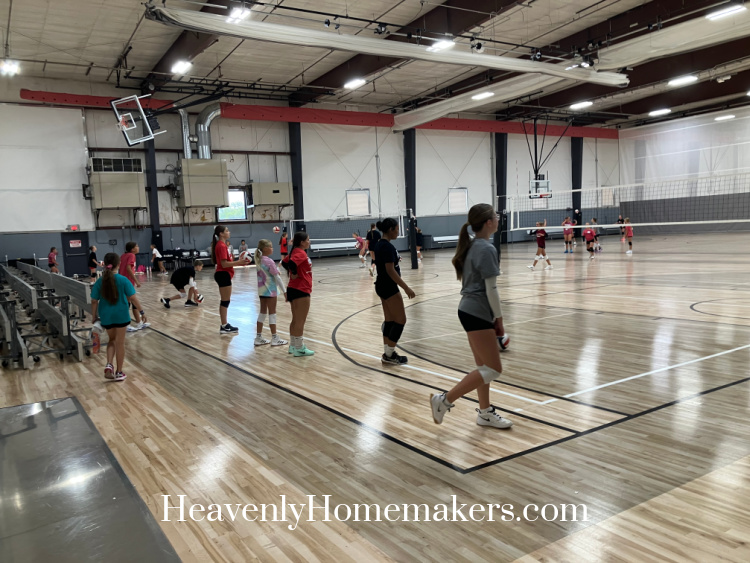
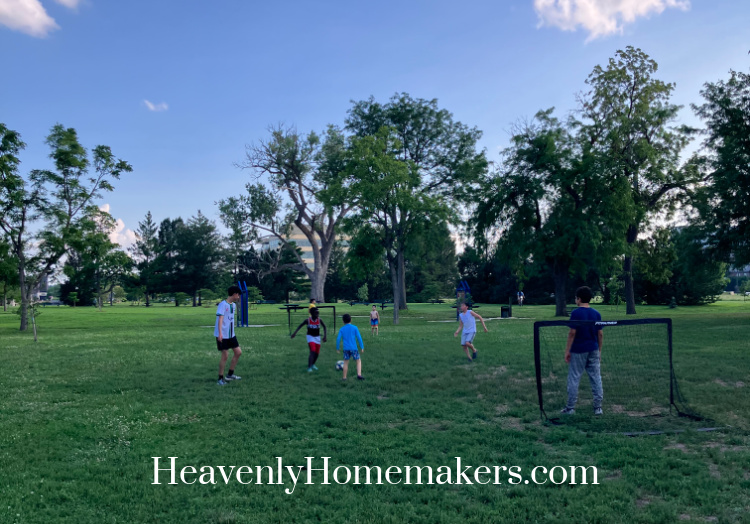
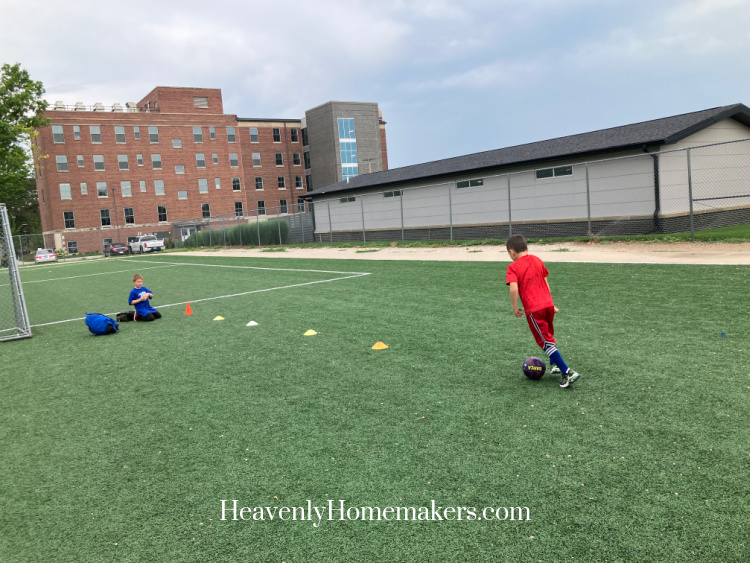
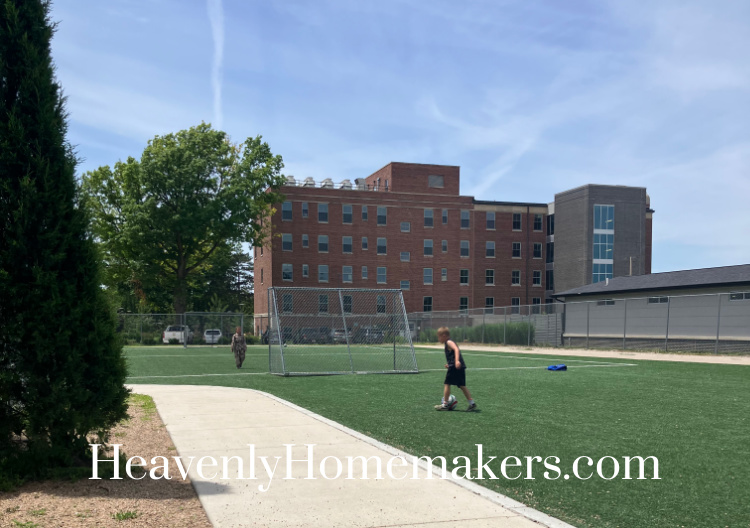
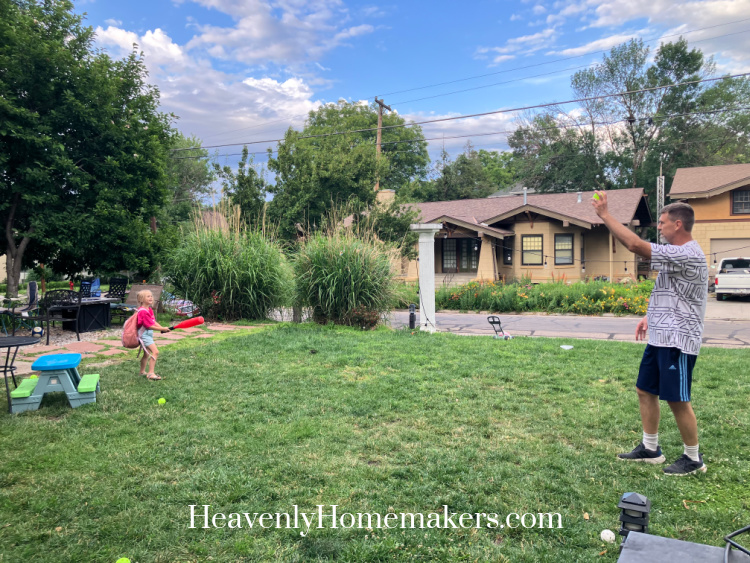
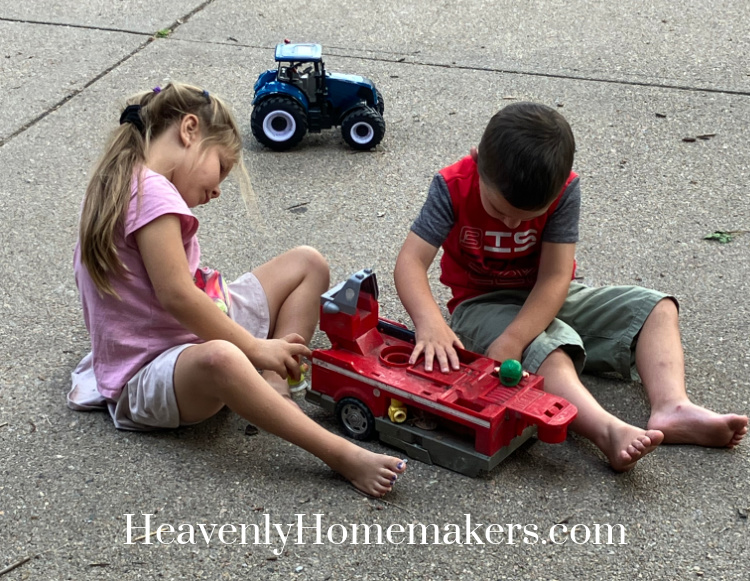
The day was pretty chill with a morning ABA therapy session for Brayden, me getting to have a little writing time at Panera after dropping four kids off at day camp, and the little girls having playtime at home. The weather had cooled off and was lovely! So that afternoon, Acacia and Auggie played with vehicles outside for a long time.
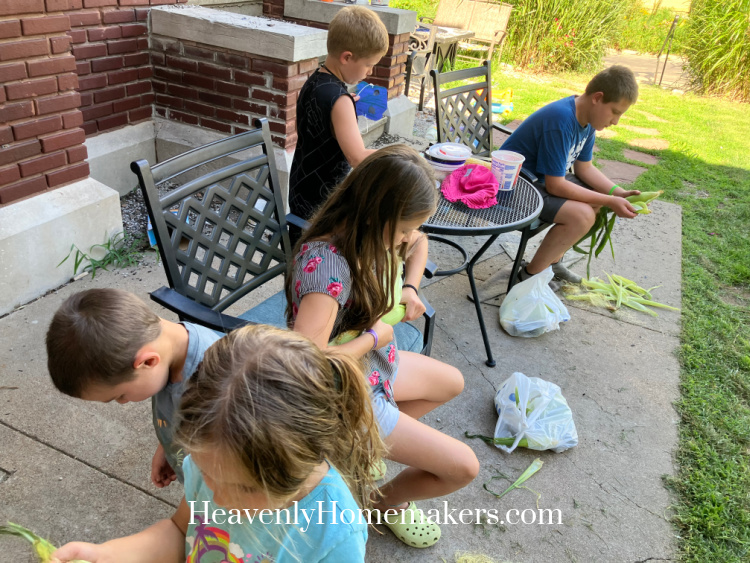
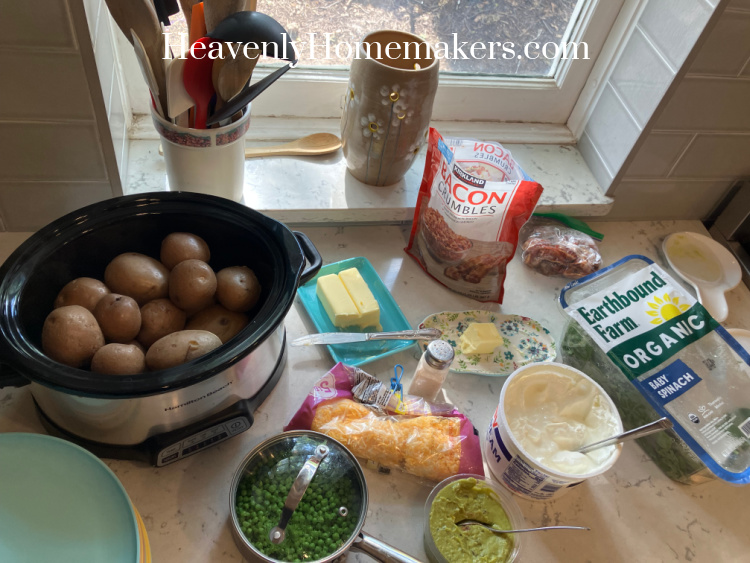
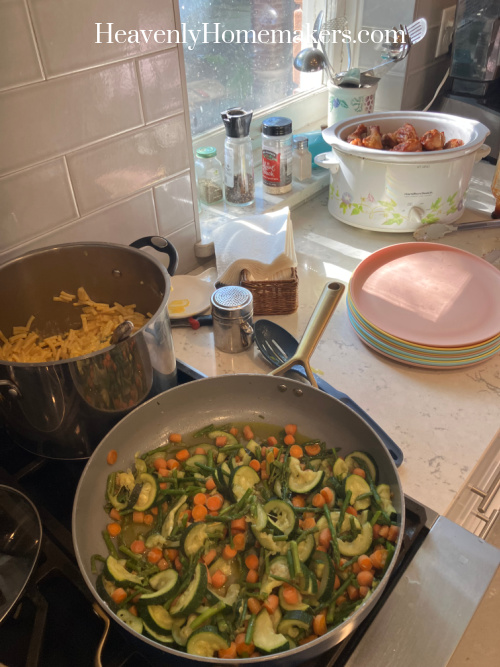
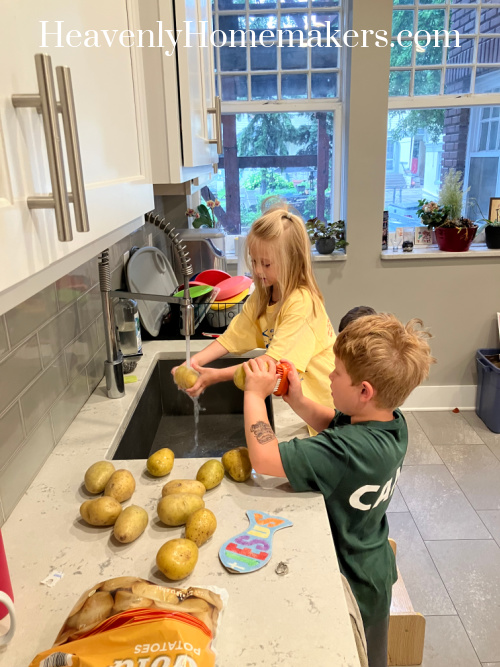
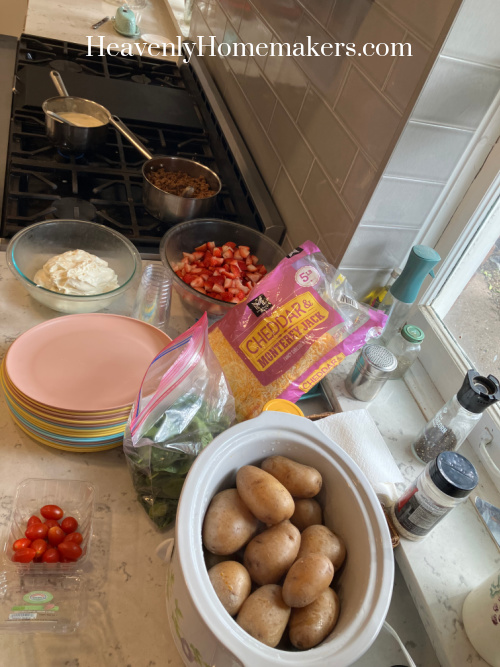
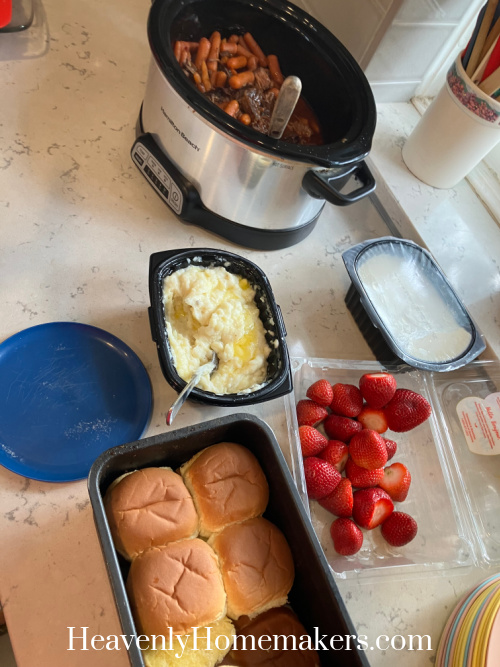
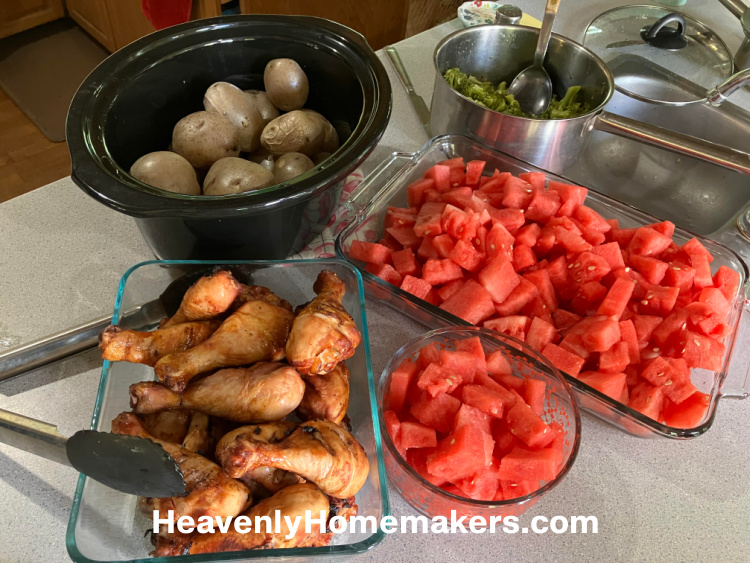
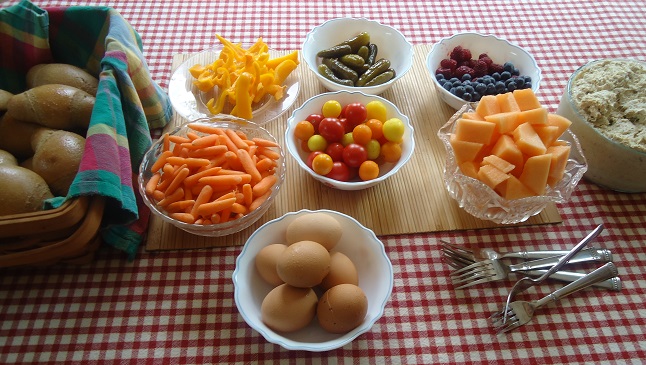
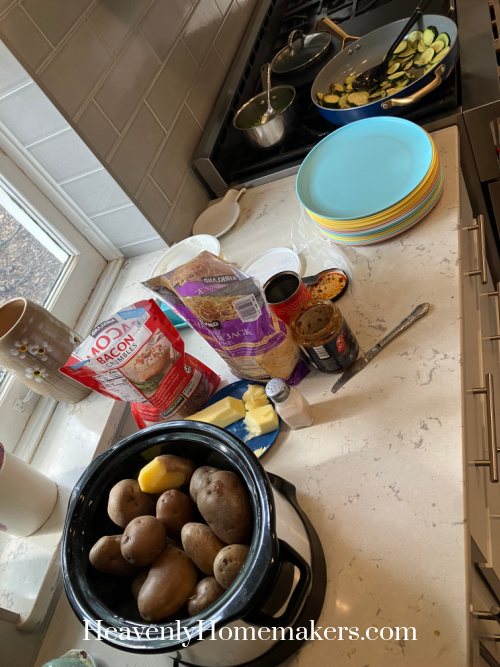
I’d asked kids to each scrub a few potatoes that morning, so for dinner that night we had Baked Potatoes in a Crock Pot with bacon bits, cheese, butter, and sour cream, plus Peas and Fried Zucchini.
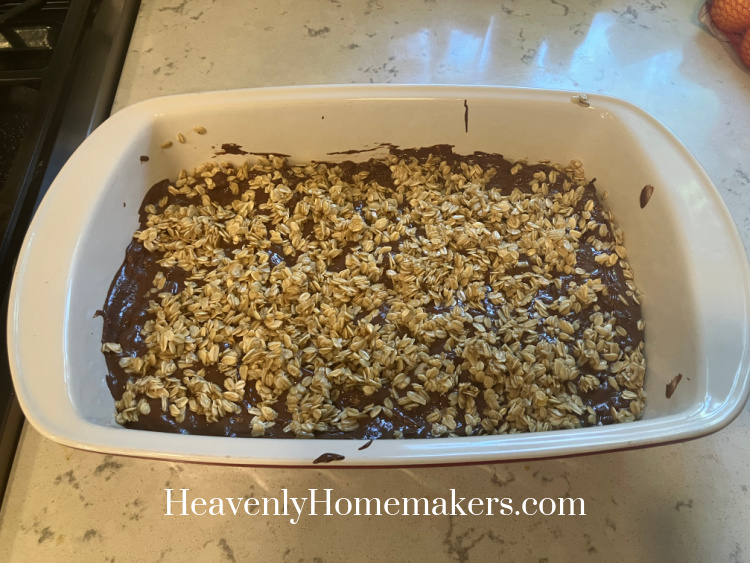
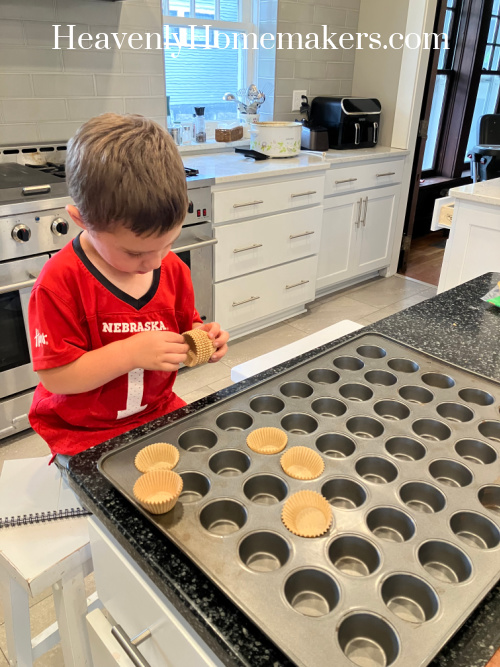
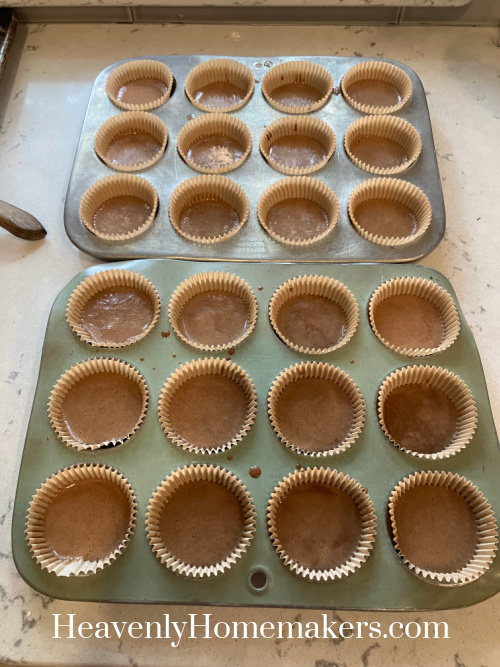
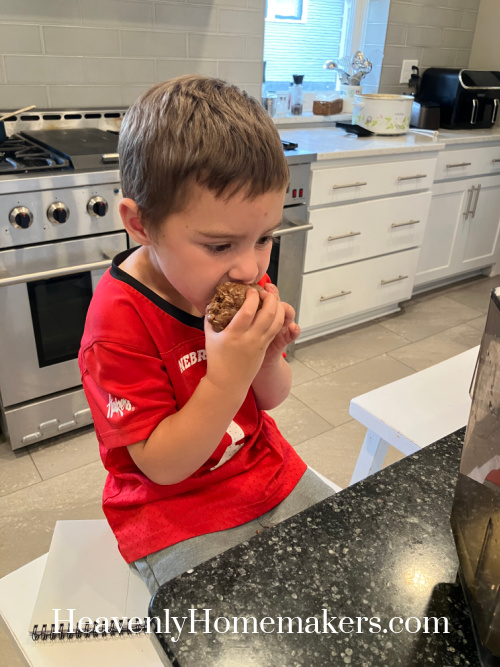
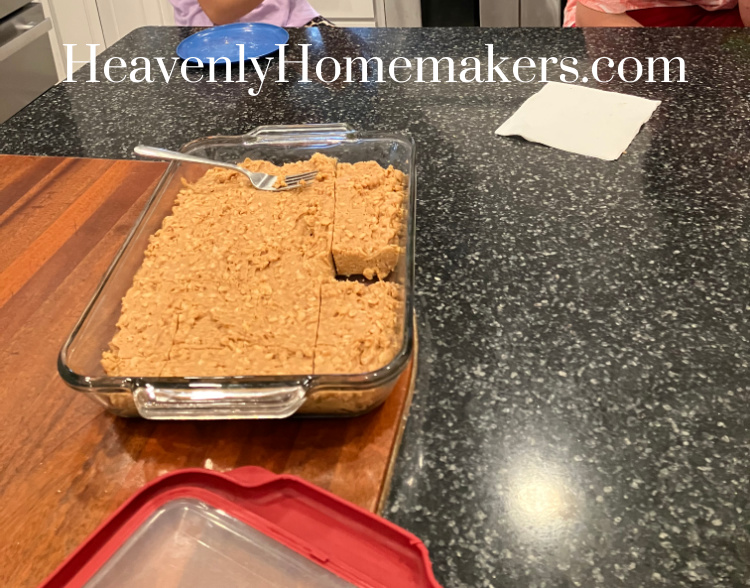
During all the kids’ ABA therapy sessions that evening, I had time to make a double recipe of Breakfast Cookie Bars to get us through the next two Sundays.
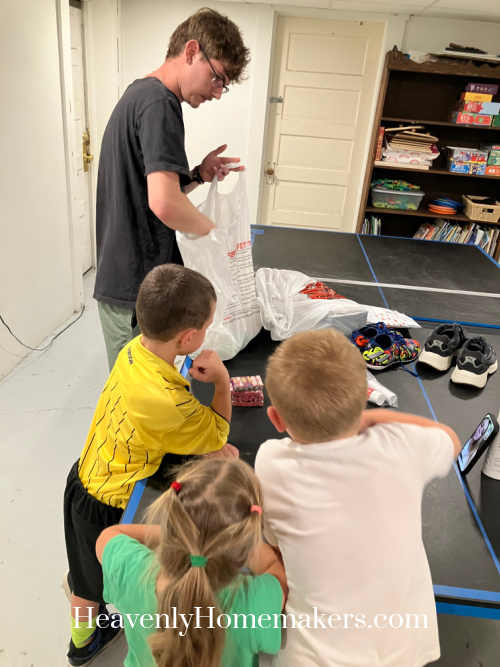
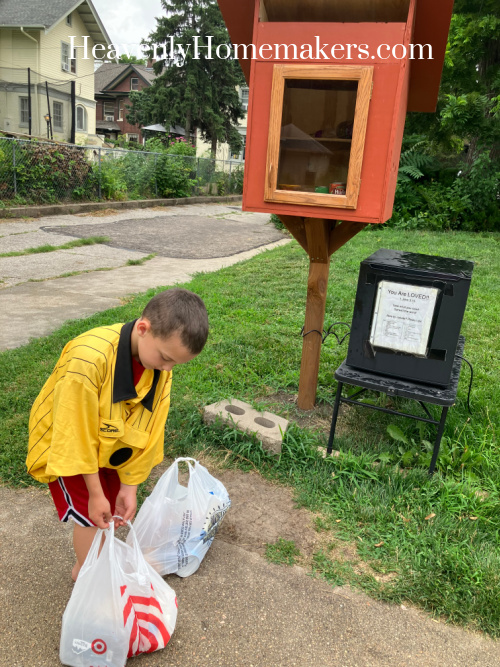
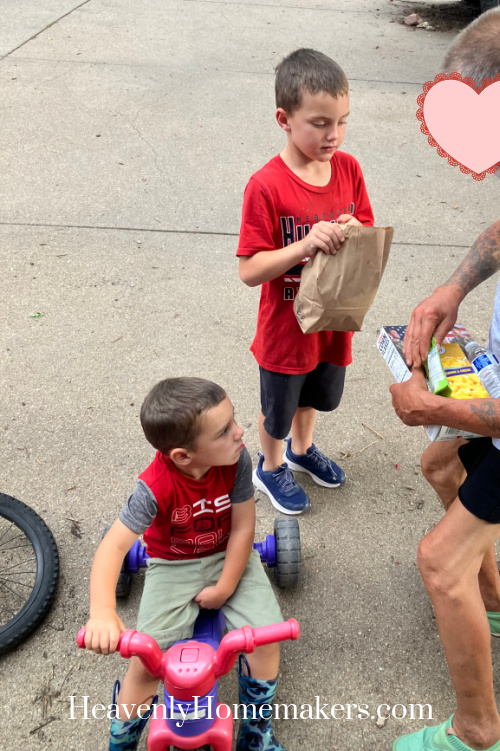
One of our former neighbors stopped by to say hello and to see if there was any food available out in the Little Free Pantry on our corner. Our conversation helped us learn that he was pretty hungry, so Keith helped me make our friend two sandwiches and fill a sack with other food for him like fruit cups, applesauce, a granola bar, and some chips. I loved to see Keith’s eagerness to help our friend.
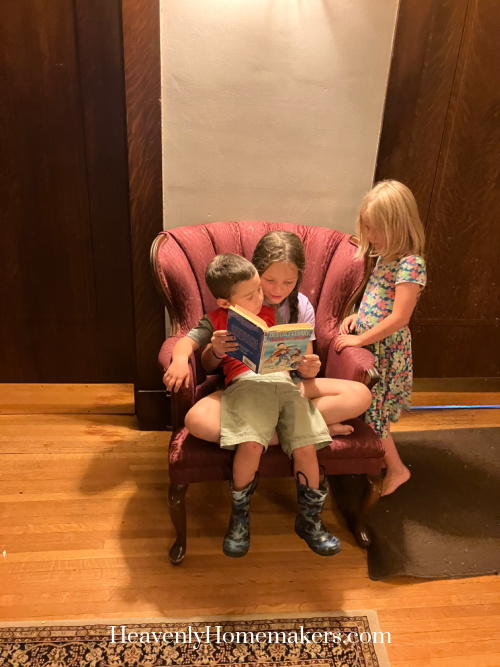
At bedtime that night, Auggie climbed up onto Kiya’s lap for a story. Did he need to wear his rainboots so that he could sleep better? Most definitely.
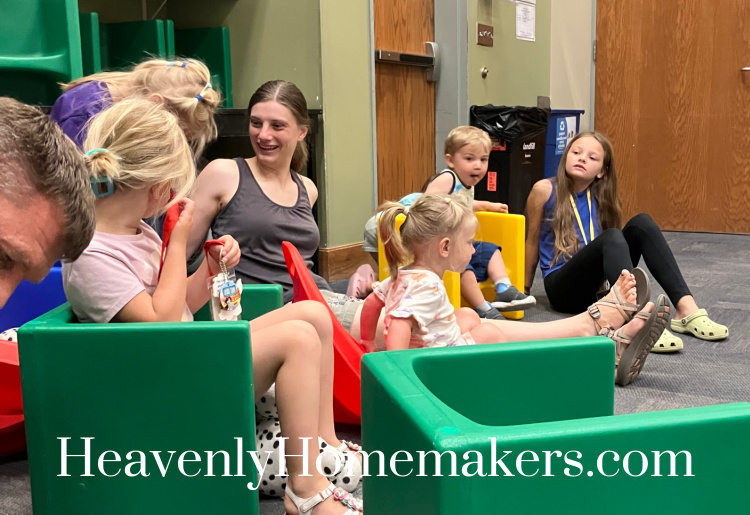
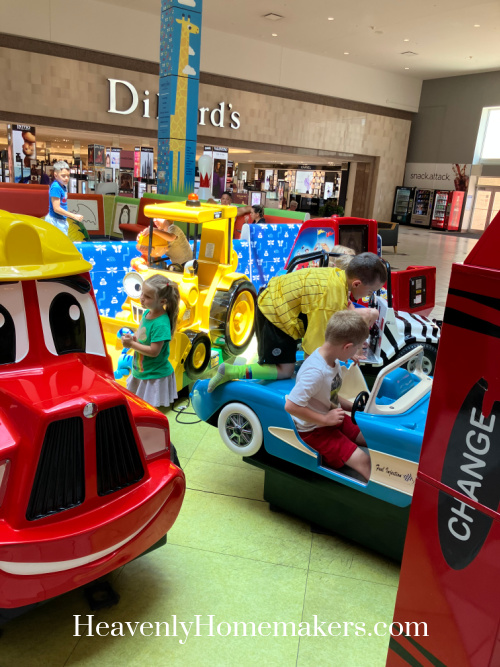
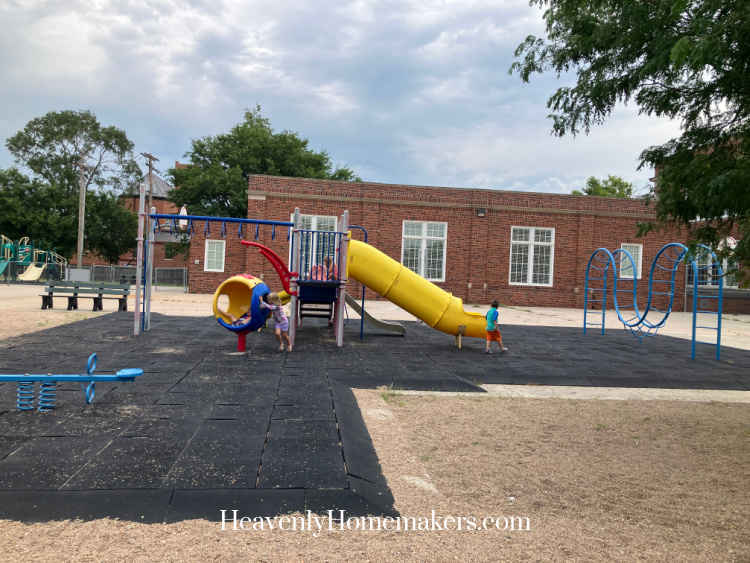
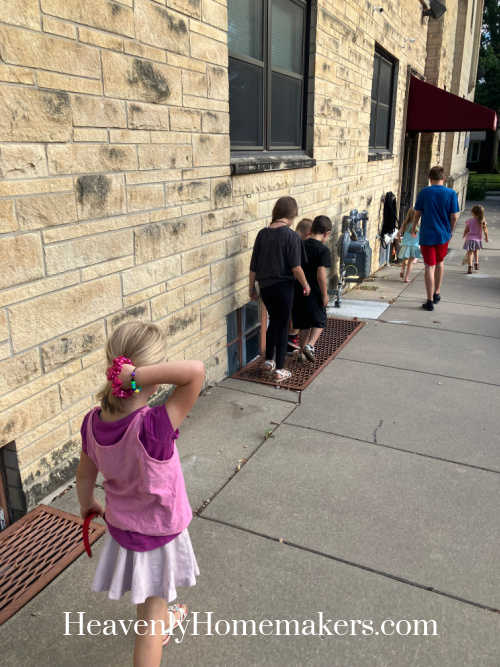
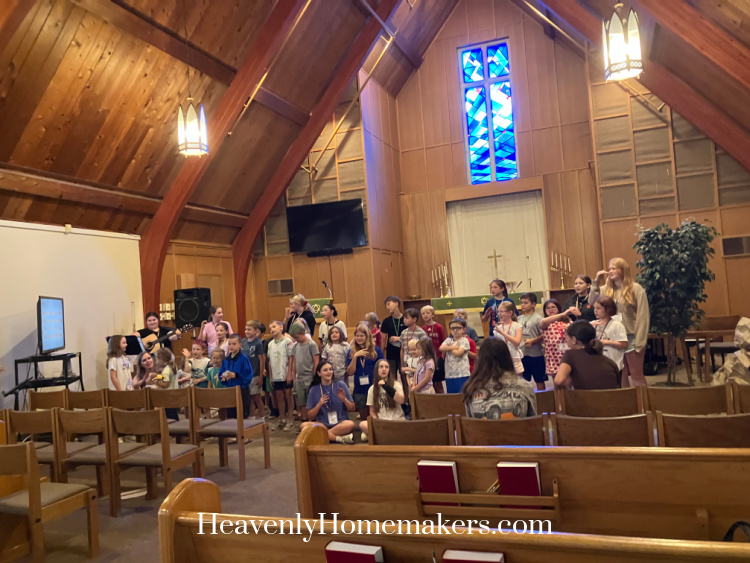
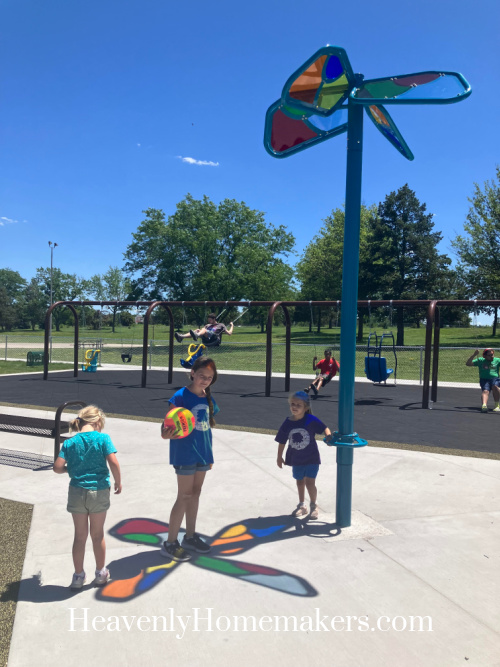
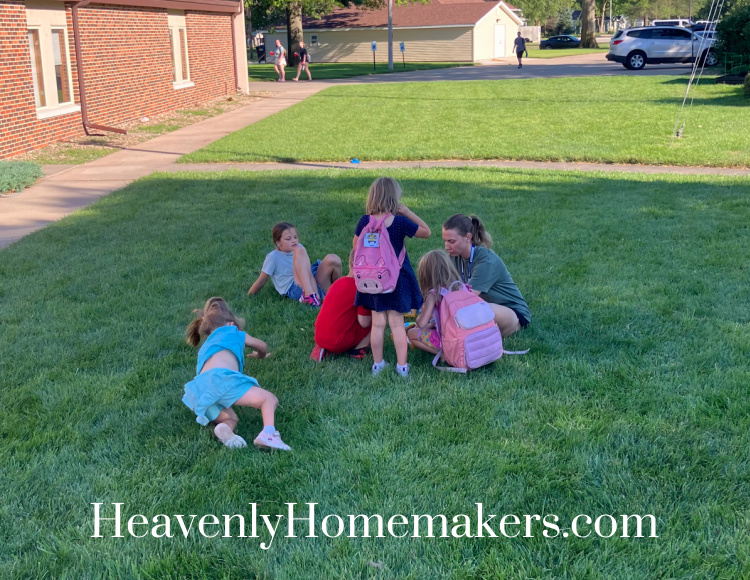
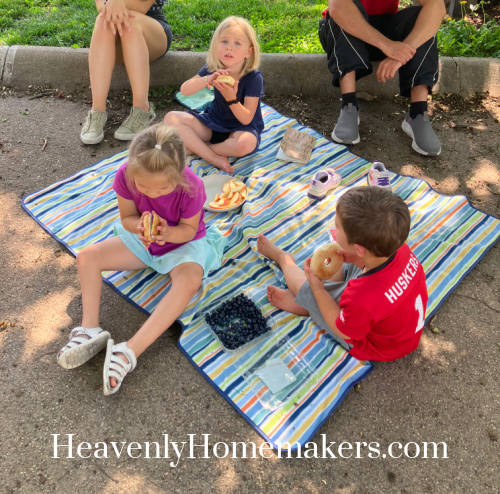
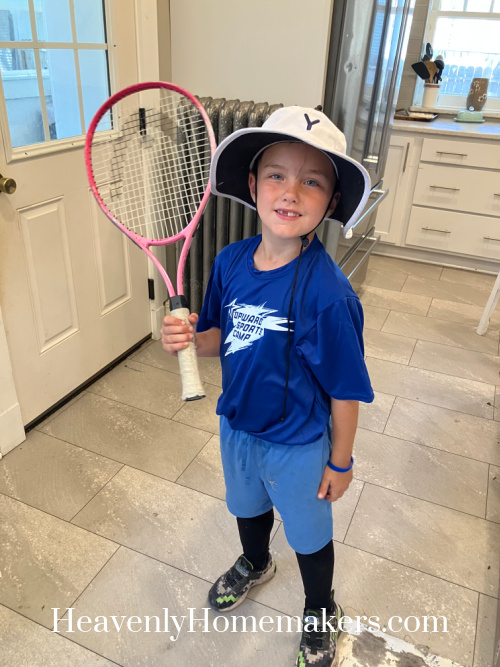
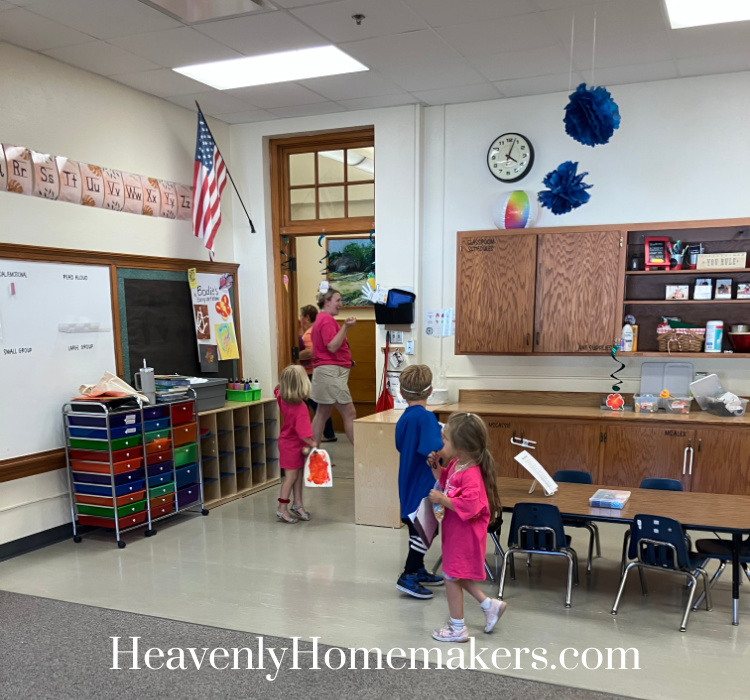
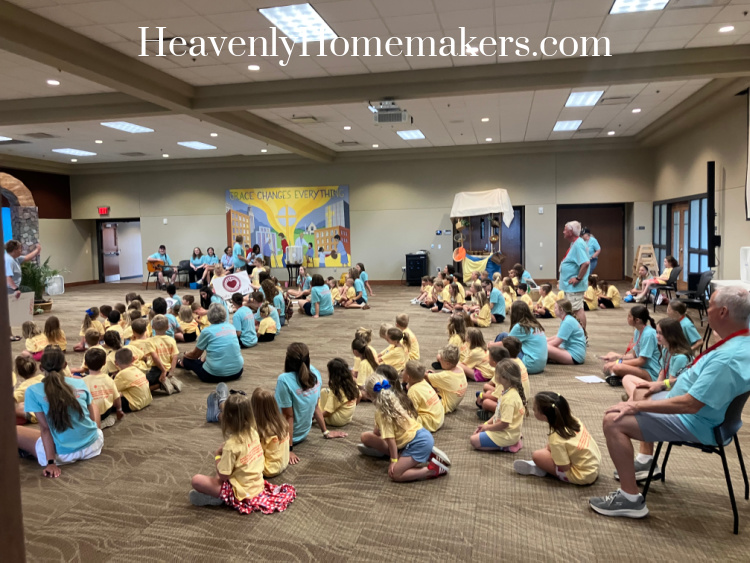
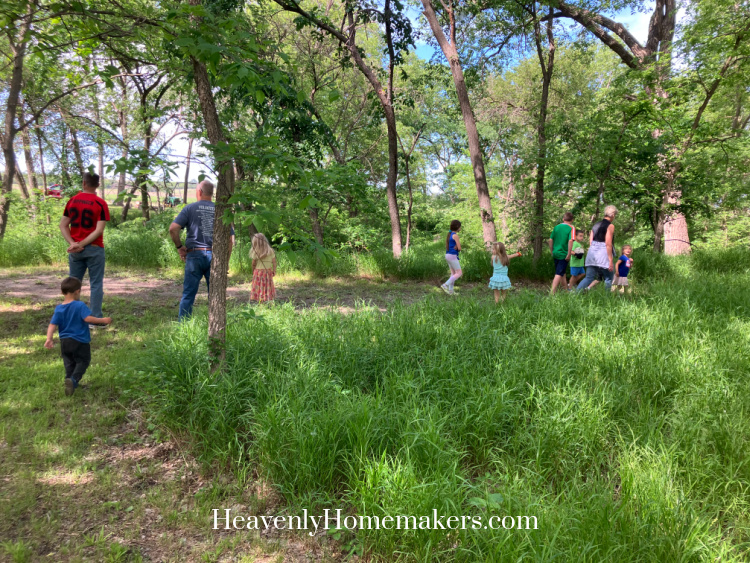
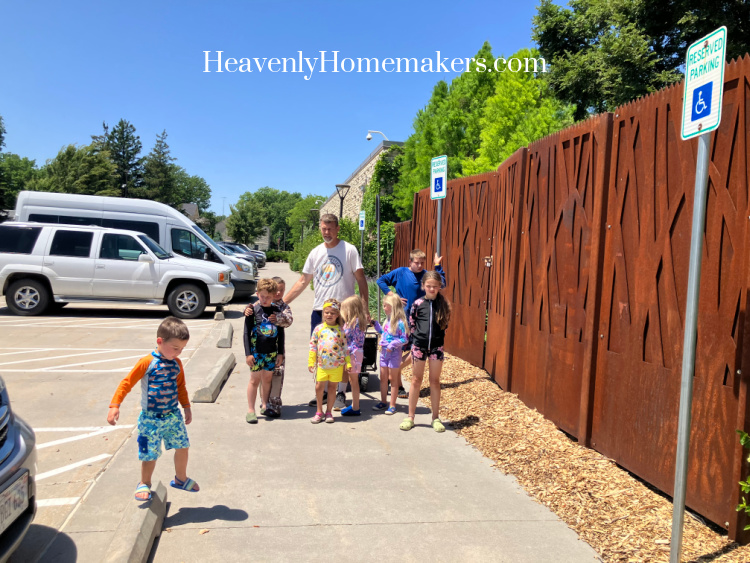
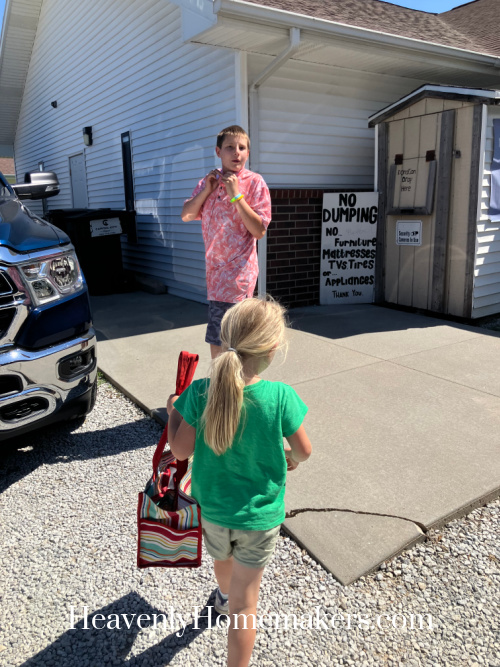
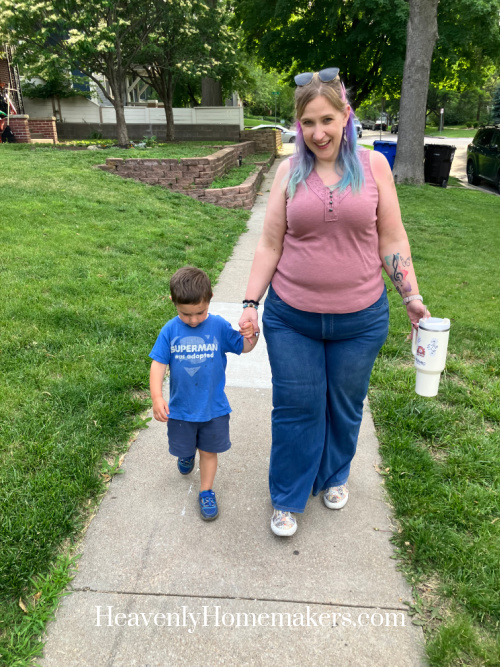
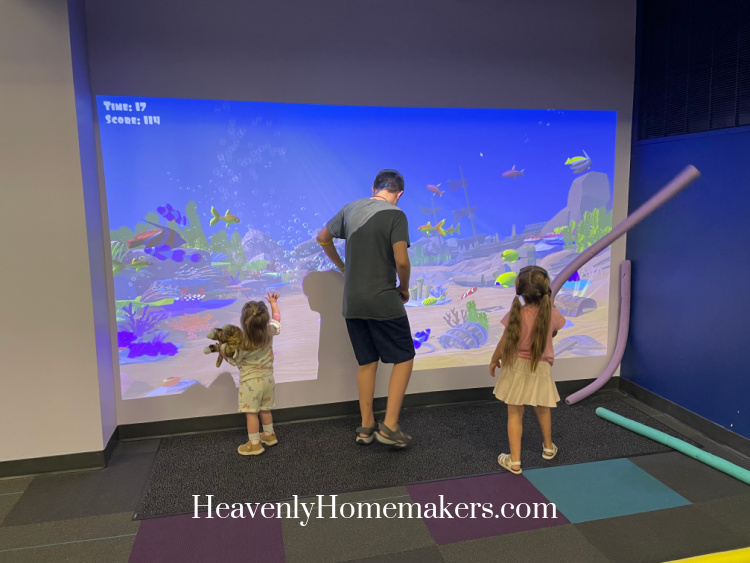
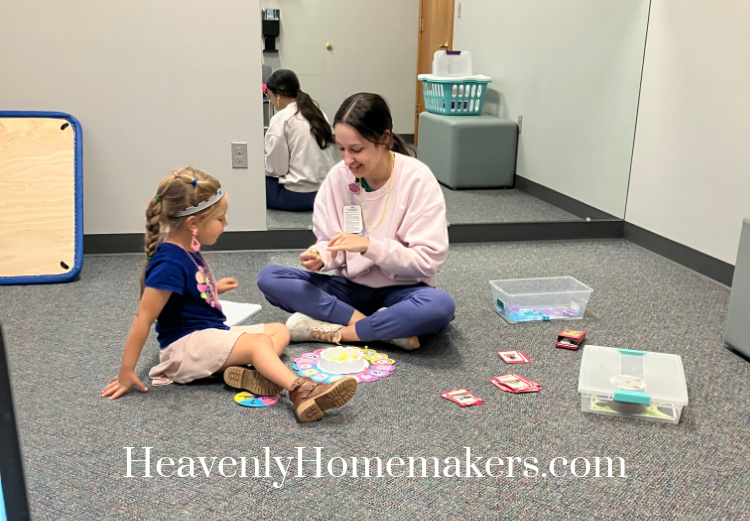
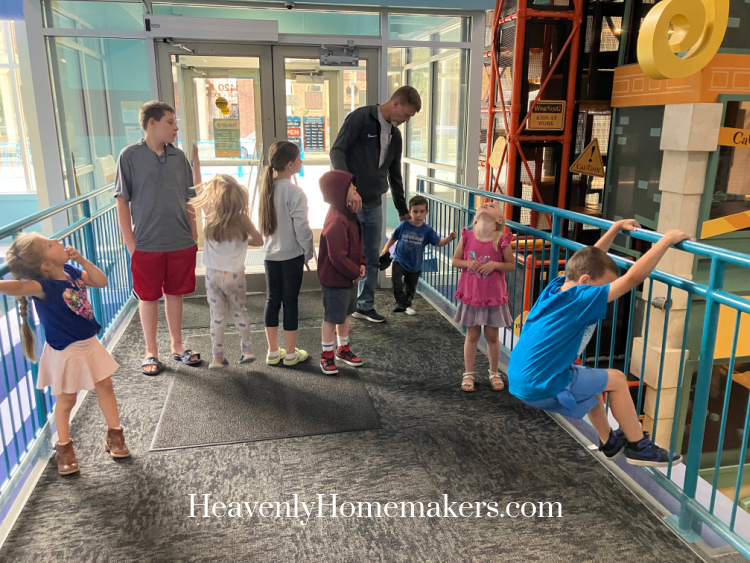
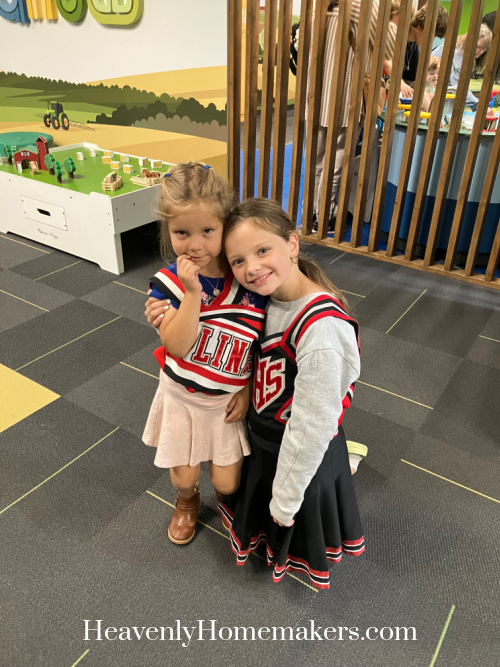
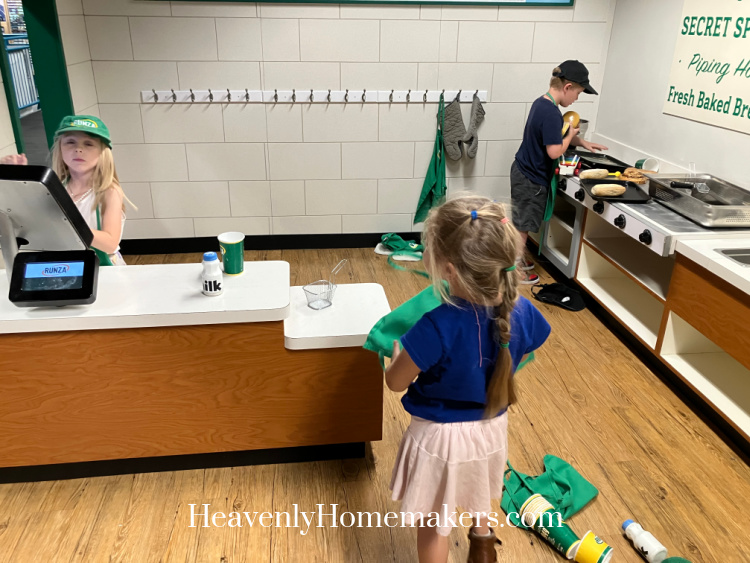
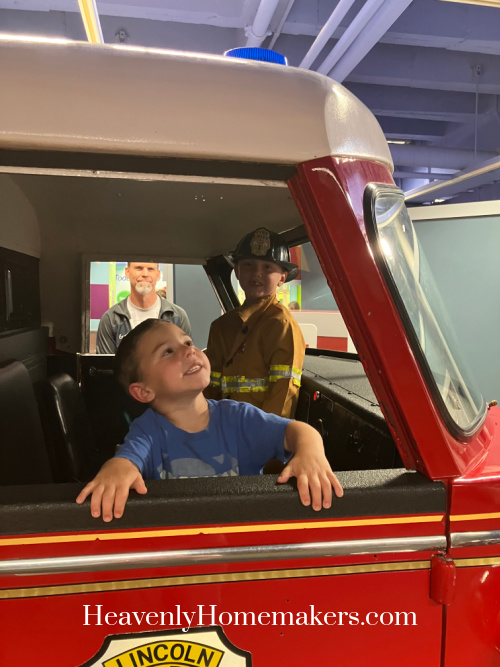
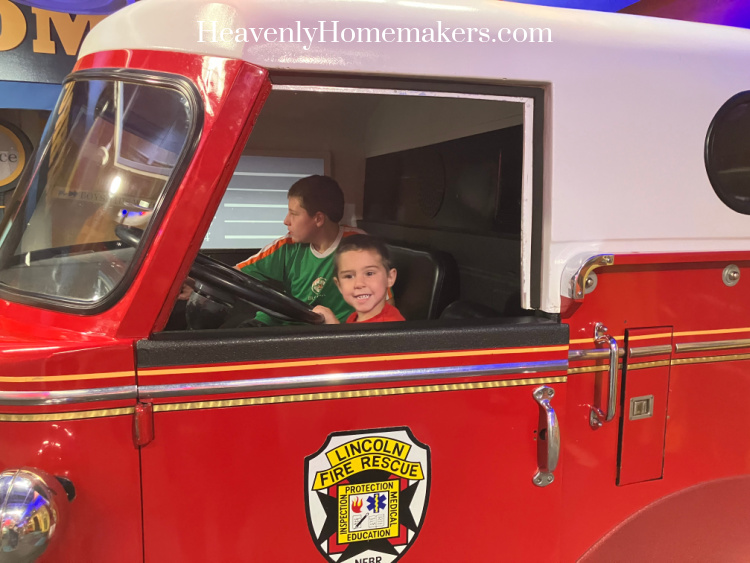
Friday was full and wonderful! It was drizzly outside so we decided to take the kids who weren’t at camp to the Children’s Museum to play. We picked up Arrow on our way so he could play too!
![]()
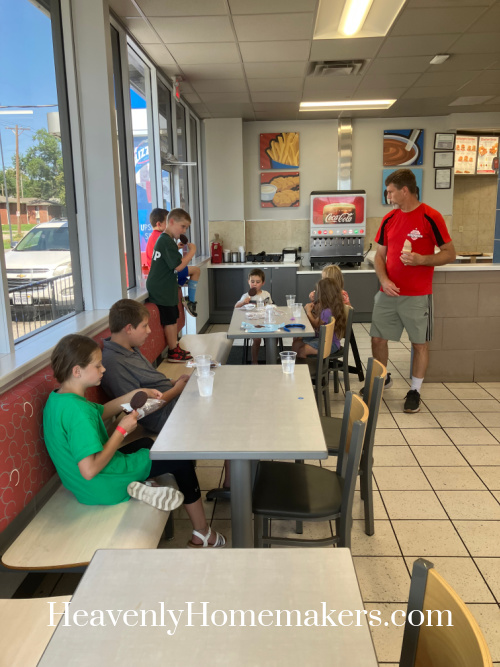
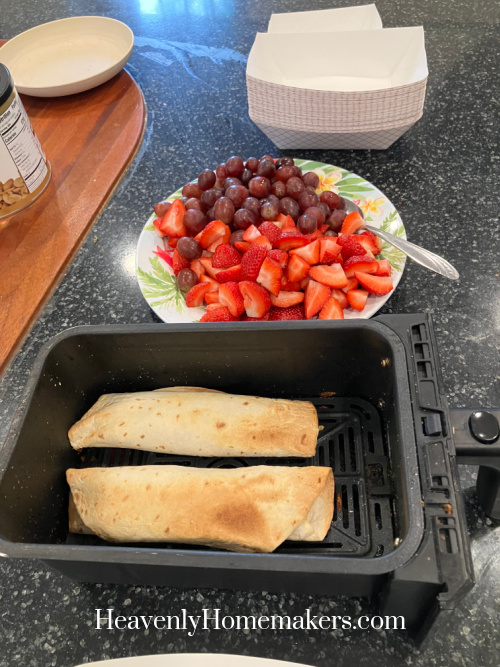
We went home and ate leftovers for lunch. Then we put Arrow down for a nap and I took four kids to Culver’s to meet up with some longtime dear friends. They live in Arkansas now and were on their way to York for a Choir reunion. It was incredible to see them and catch up for a while!
We made it back home just in time to open our front door for more dear friends who were also on their way to York. This Choir Reunion was big, and with all of our kids, I wasn’t able to go. But how wonderful that friends made time to come see us before their big weekend! We had years of life to catch up on, and we shared all we could in the two hours that we had. What a gift this afternoon was!
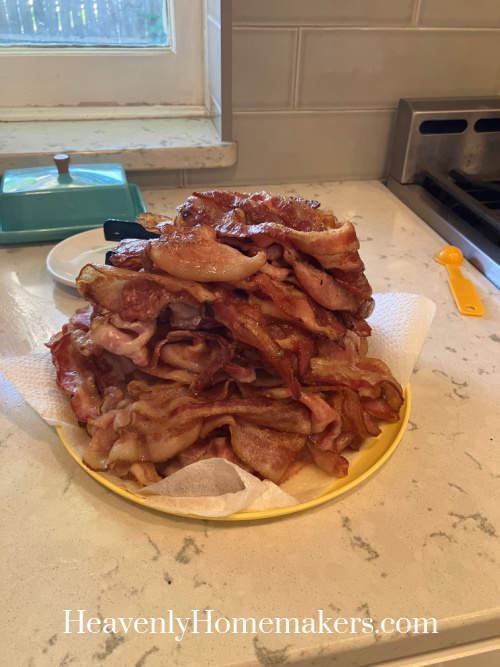
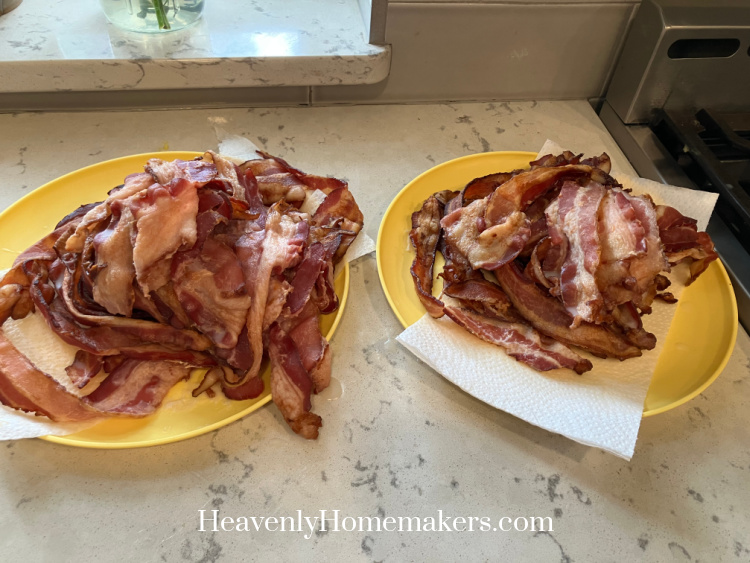
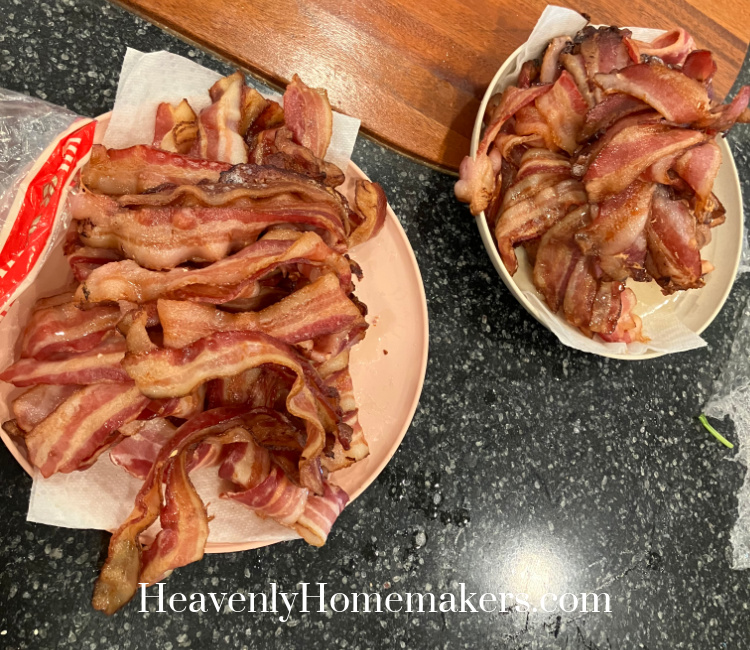
As our friends loaded up and made their way to York, I started baking pans of bacon for BLTs for our dinner. One of our neighbors had given us fresh tomatoes from their garden, so BLTs were a must!
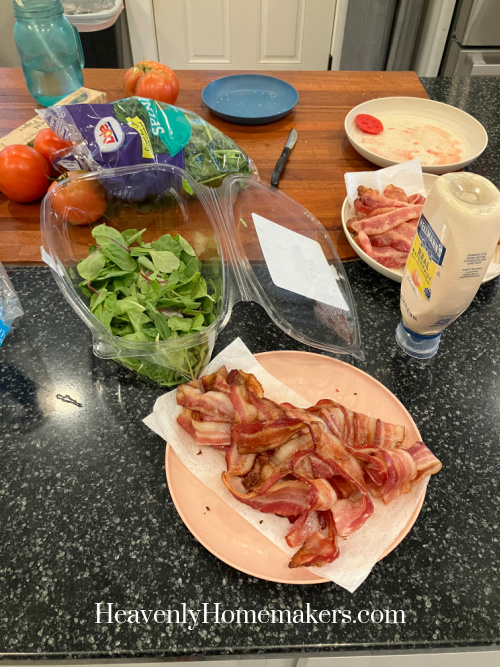
We all ate our fill and I continued baking bacon until I had lots extra to freeze for future meals.
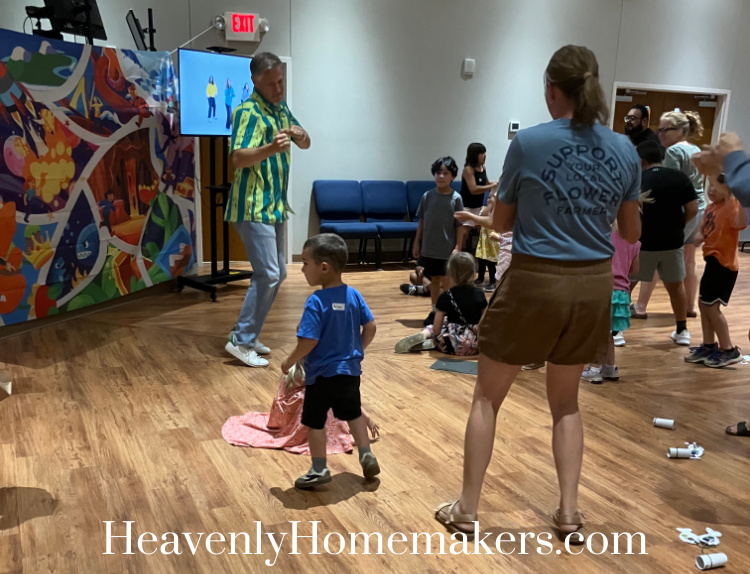
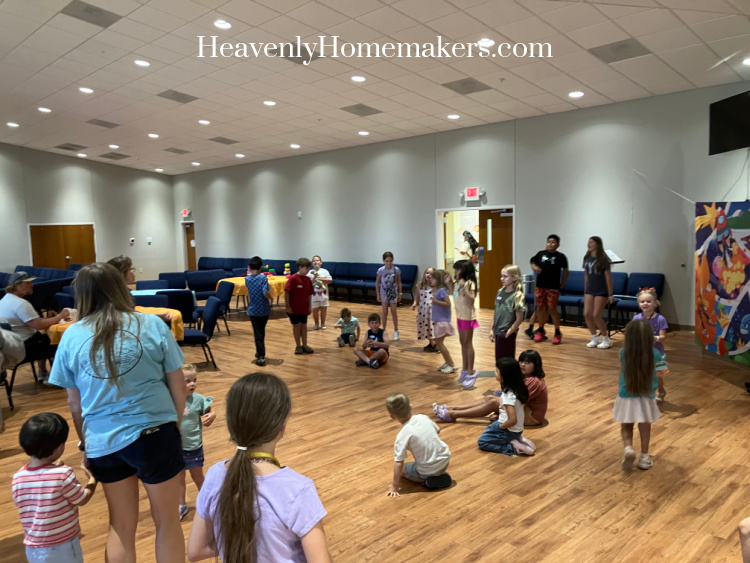
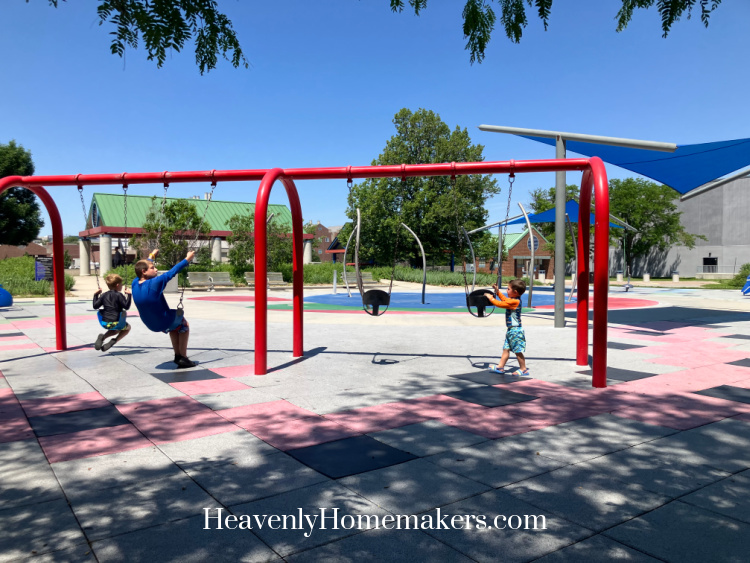
Saturday was a super full and great day. We started by going to our Sensory Storytime at the library.
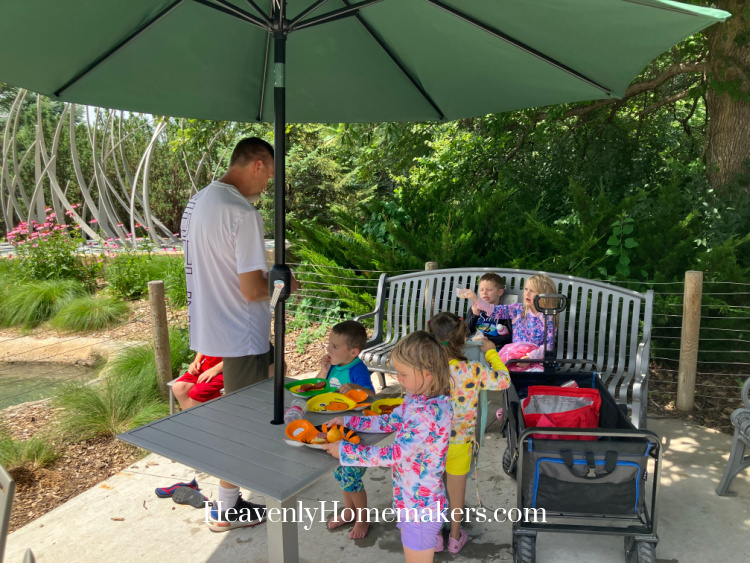
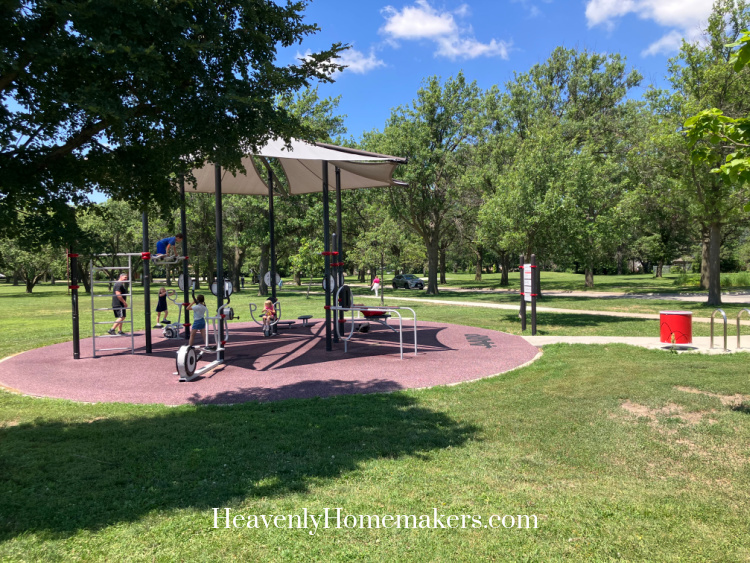
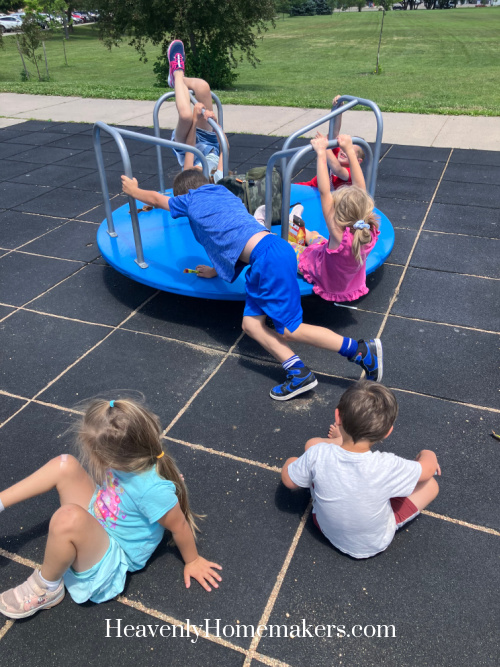
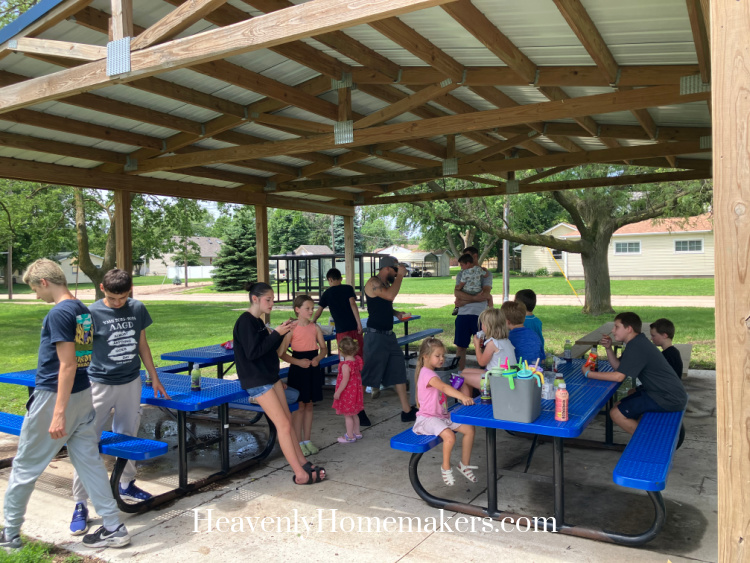
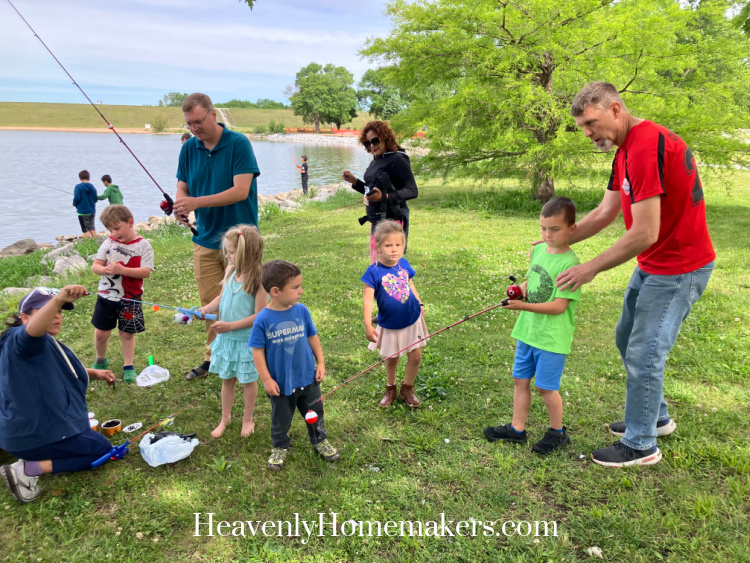
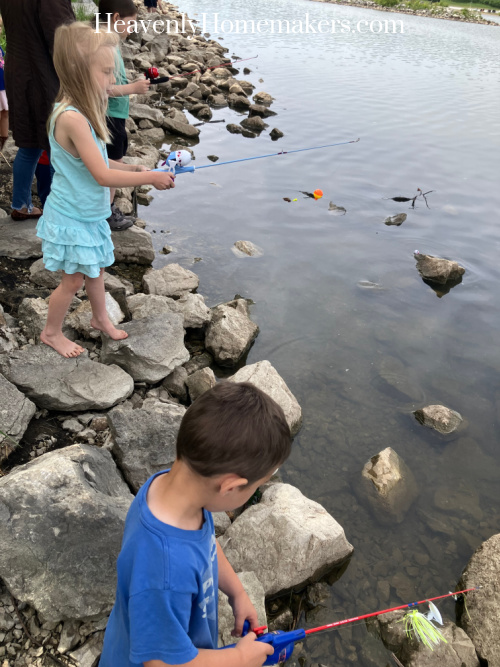
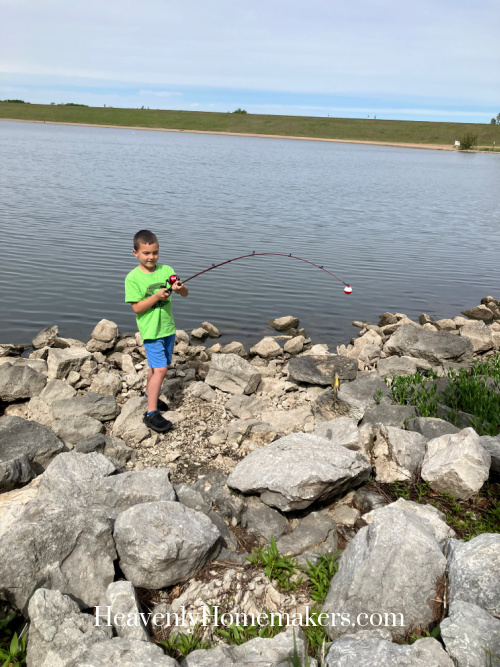
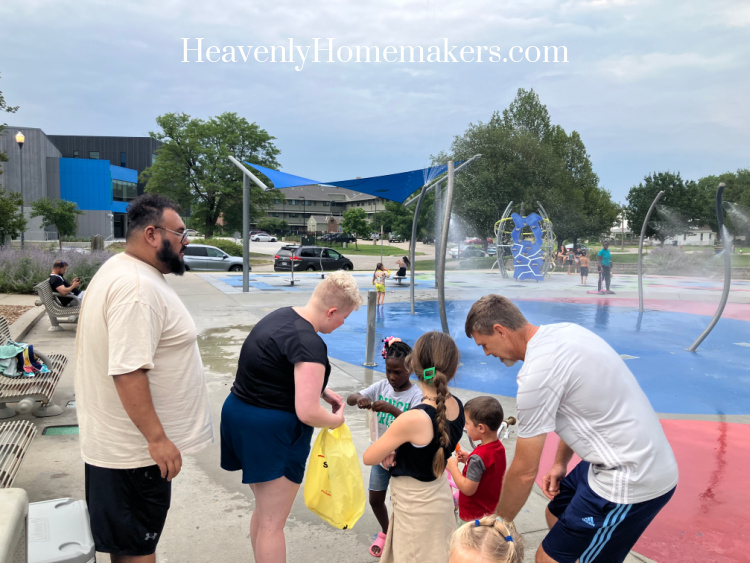
From there, we went to Holmes Lake where Big Gumdrop Outdoors hosted a fishing event for families called Cops and Bobbers. There were police officers there to help as well as a lot of Big Gumdrop Outdoor folks. This would have not been possible for our family without so many amazing people out there helping. First, we all practiced using fishing poles in the grass with fake fish.
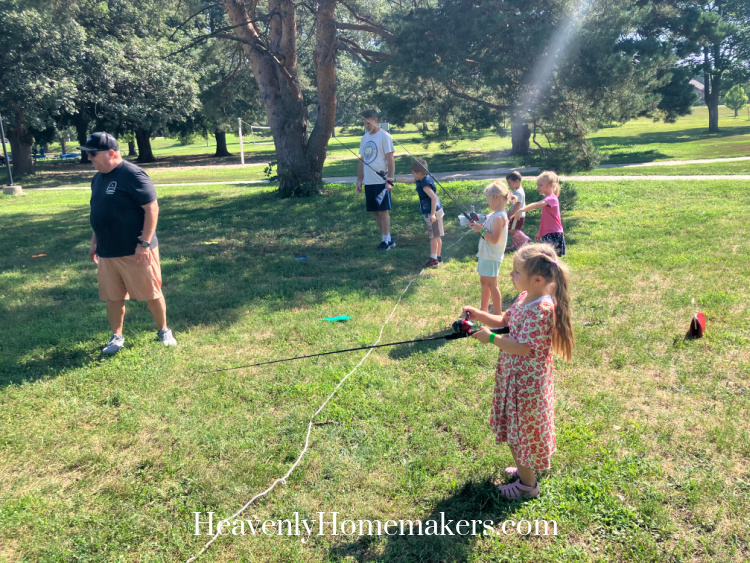
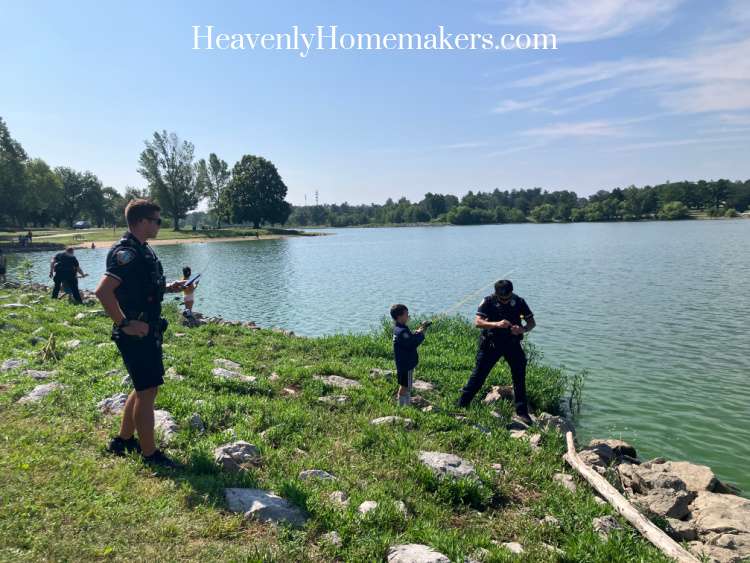
Then we headed to the water! All eight kids fished for well over an hour, and most of the kids caught at least one fish.
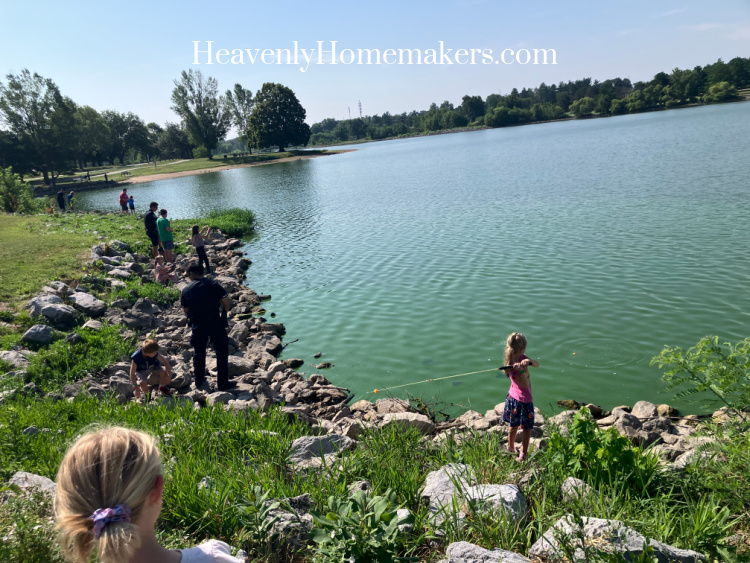
The officers helped untangle fishing lines, put worms on hooks, keep everyone safe, and take fish off hooks once they got caught. There were lots of families there and it was truly a most awesome event!
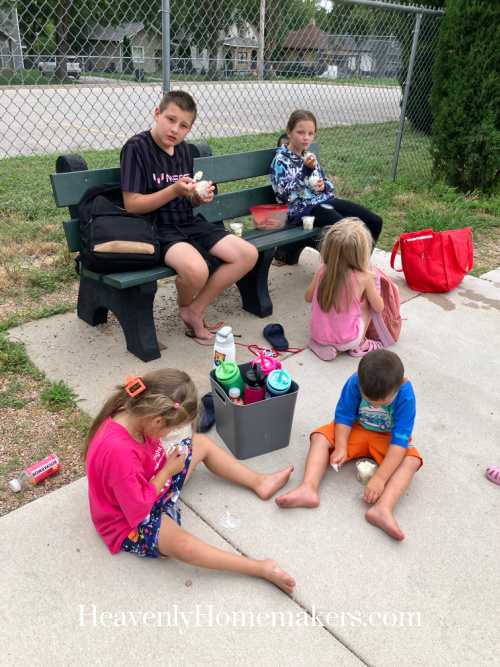
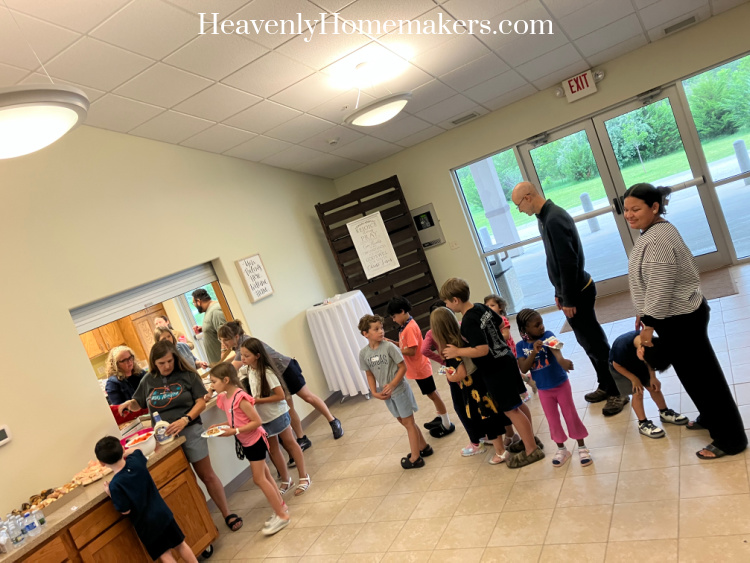
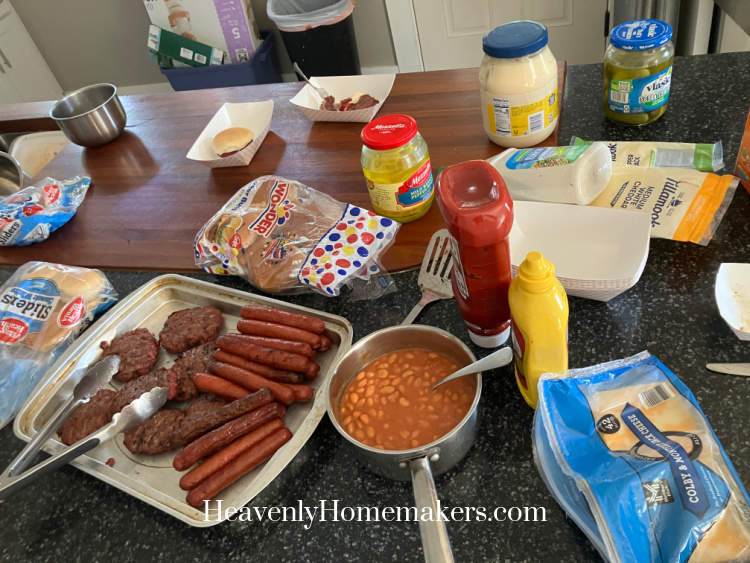
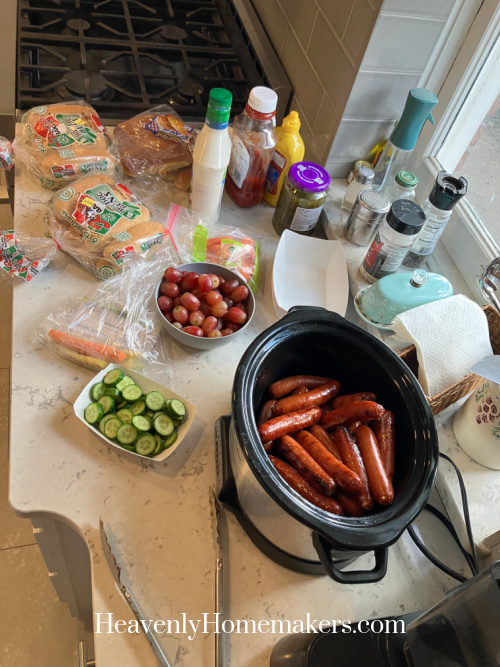
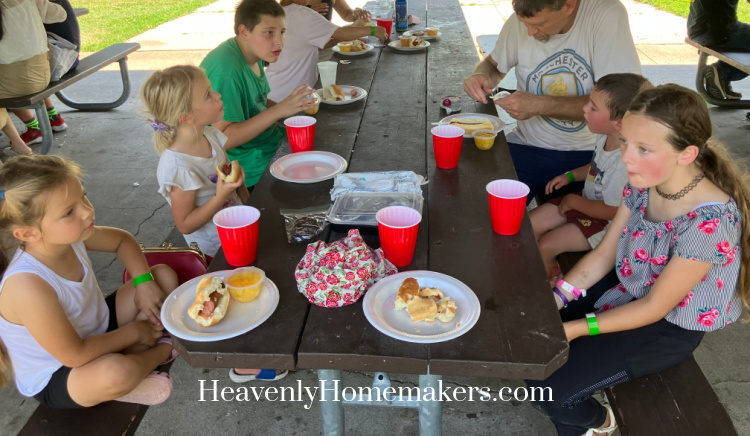
Lunch was provided, so we washed up and ate hotdogs and fruit cups (or lunch that I had packed for our kids who don’t eat hotdogs).
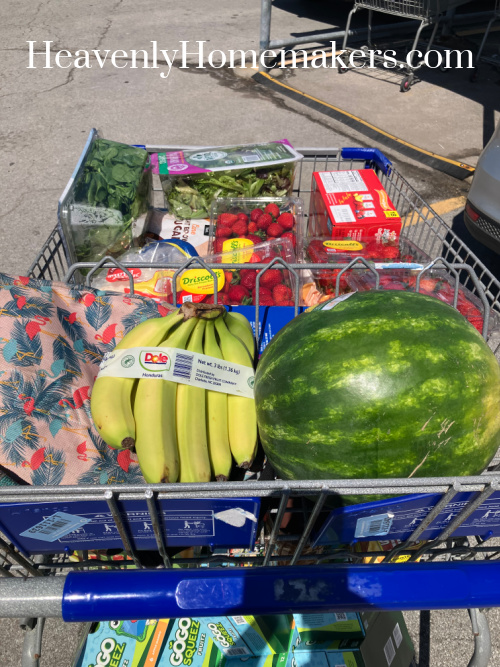
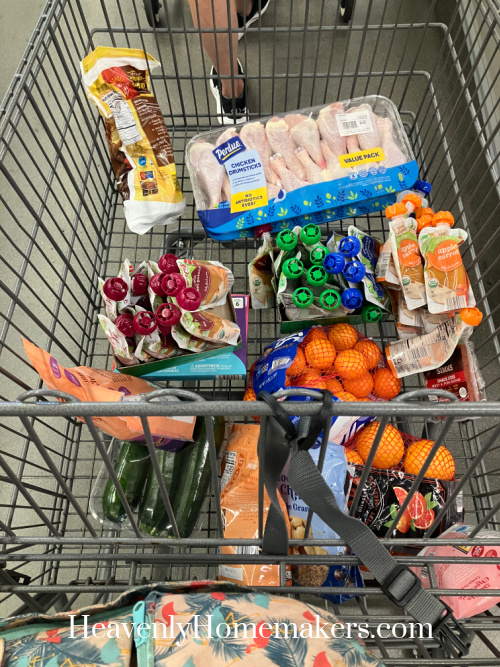
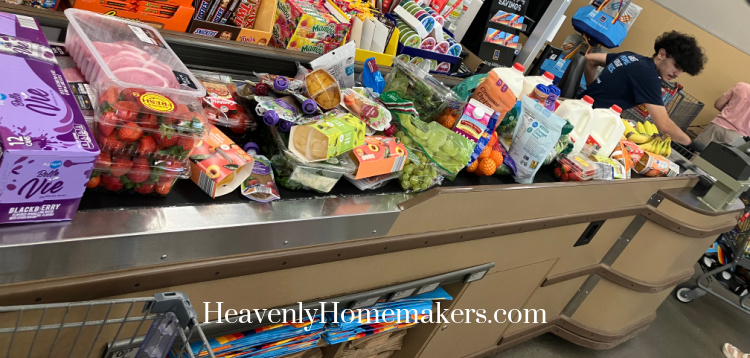
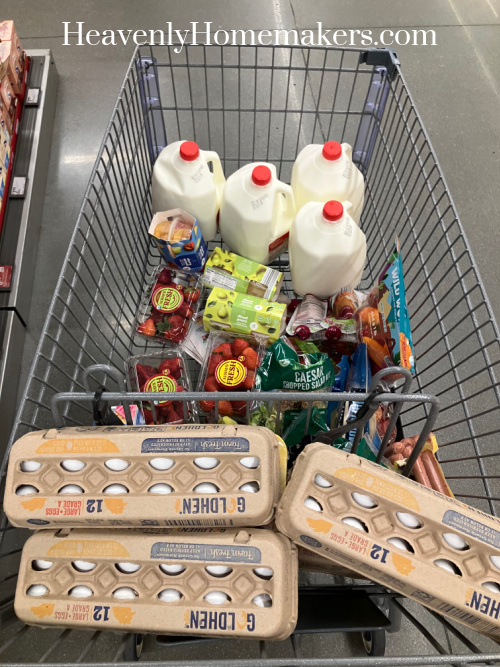
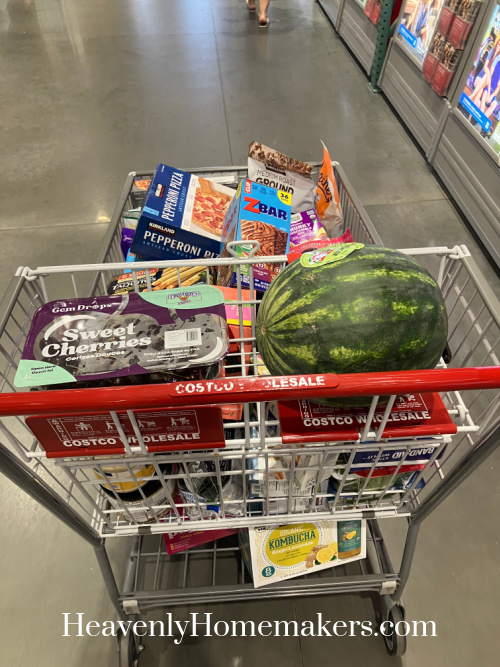
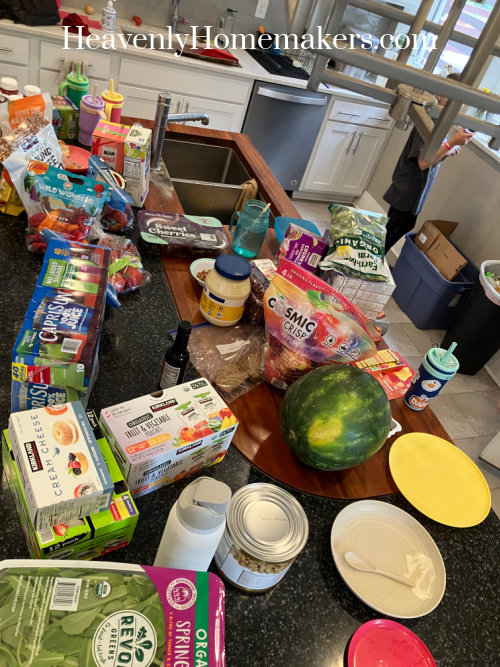
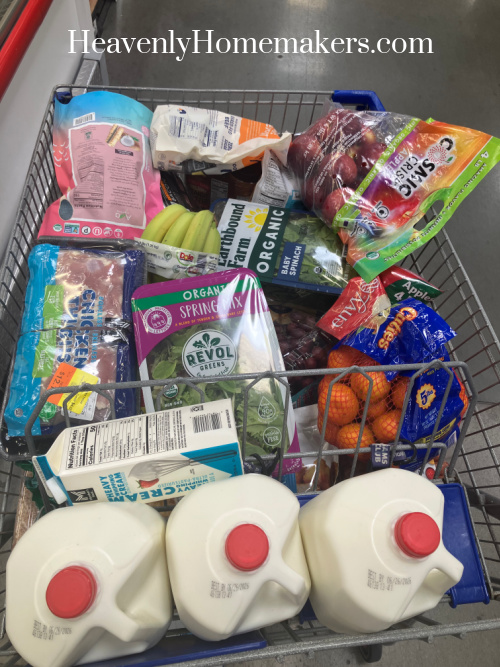
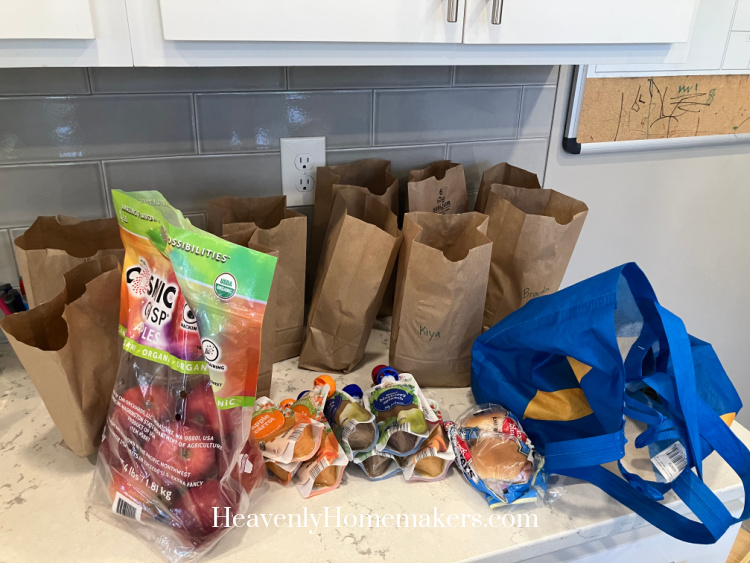
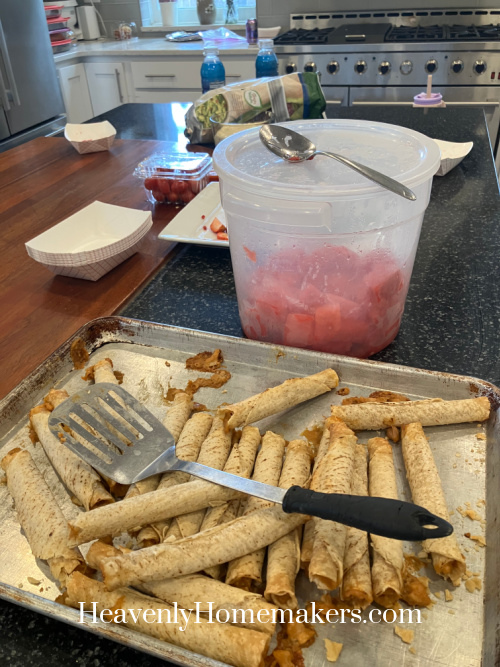
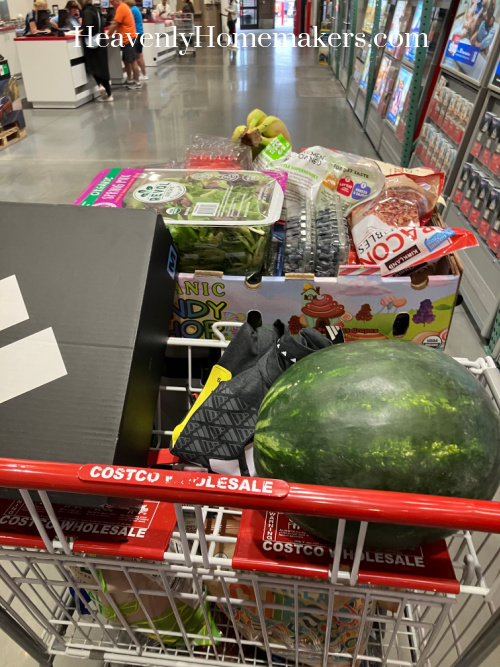
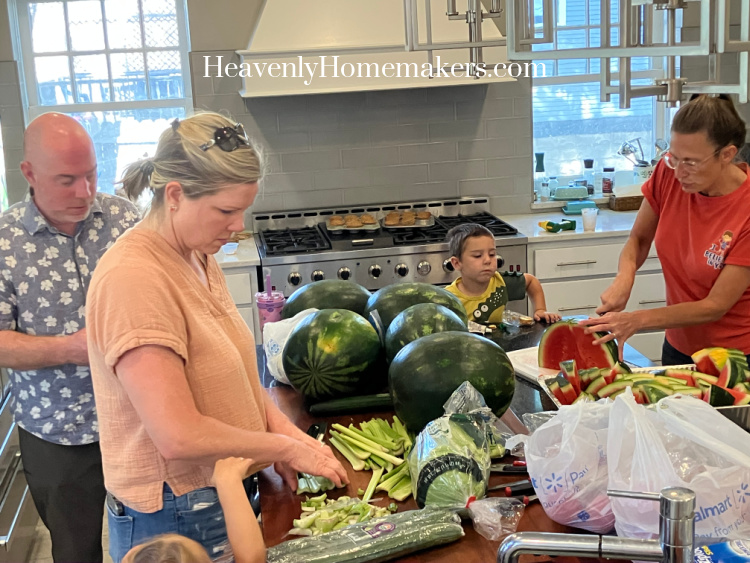
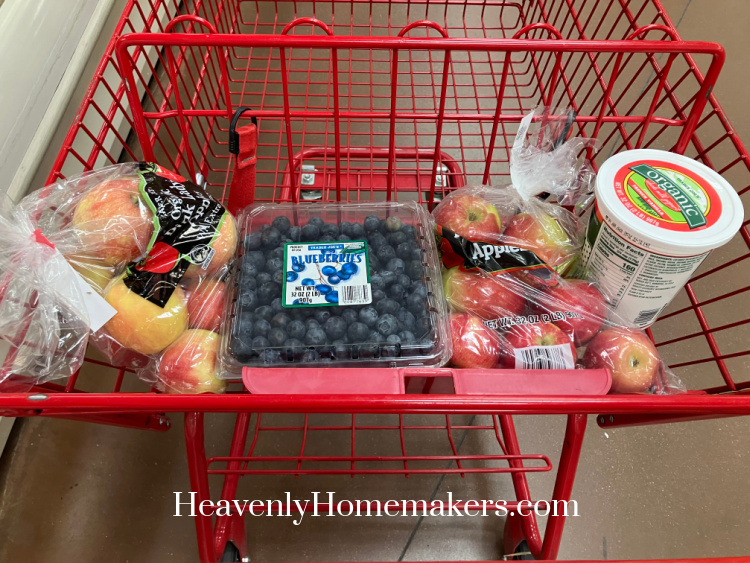
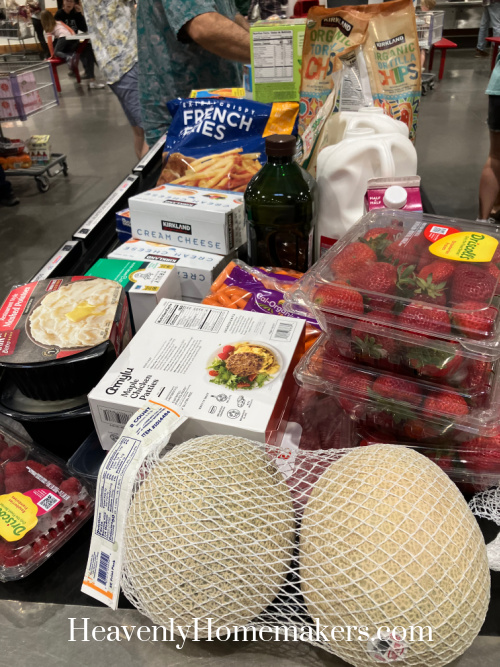
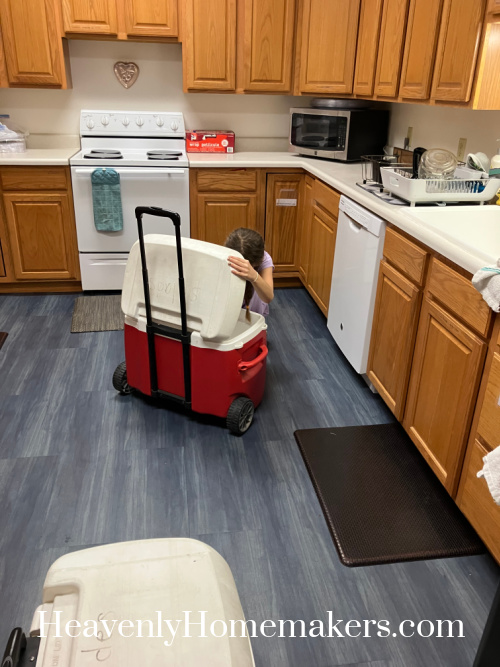
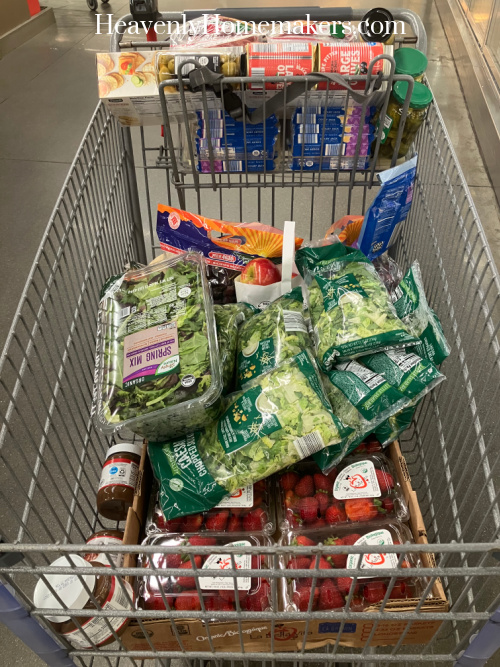
We loaded up hot, sweaty kids into the van and ate a snack with a cold Capri Sun while I ran into Aldi to grab a bunch of fresh produce plus a few other things for friends.
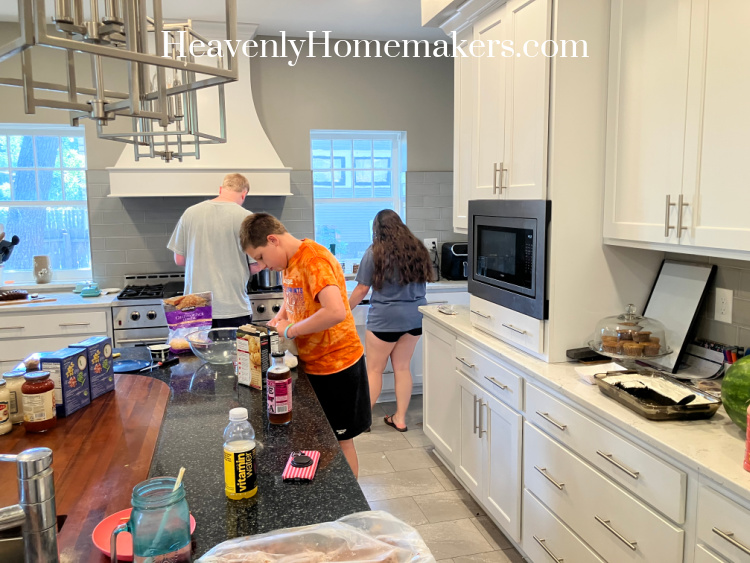
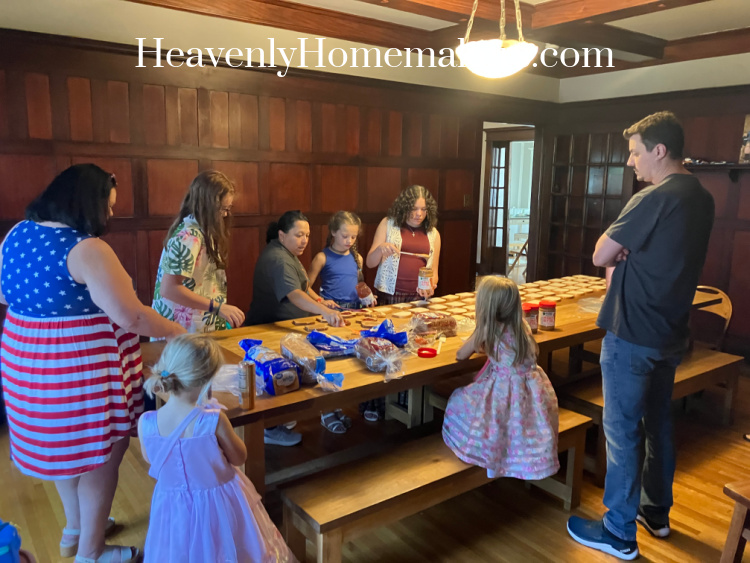
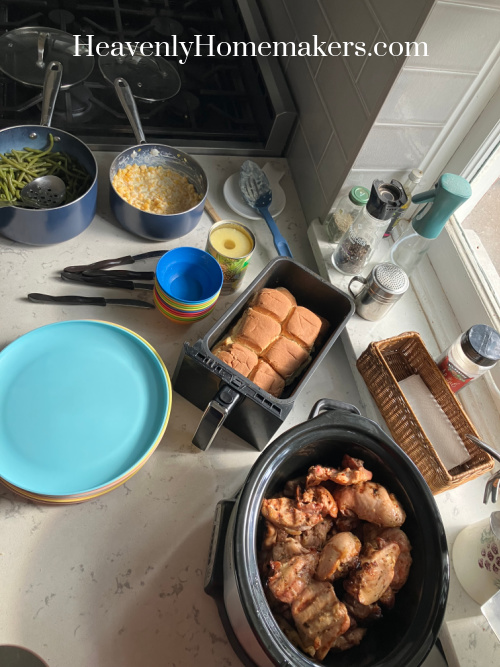
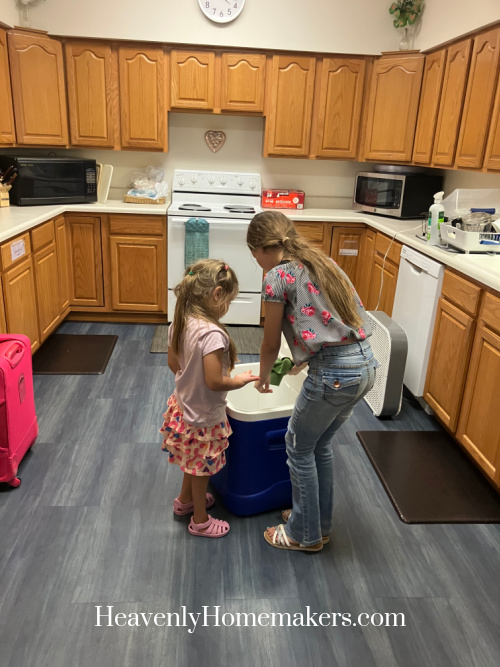
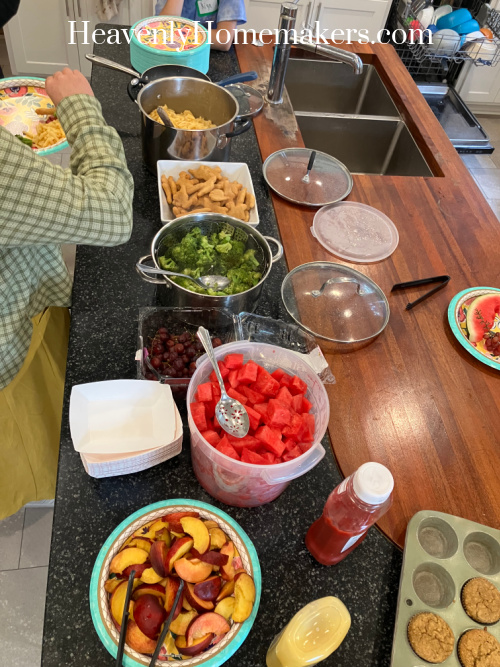
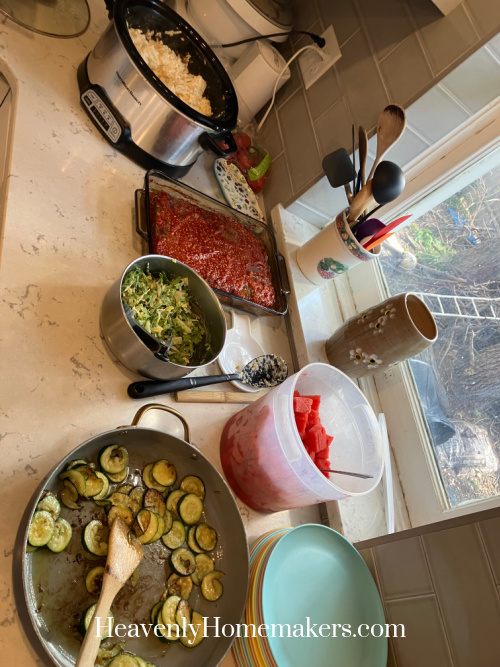
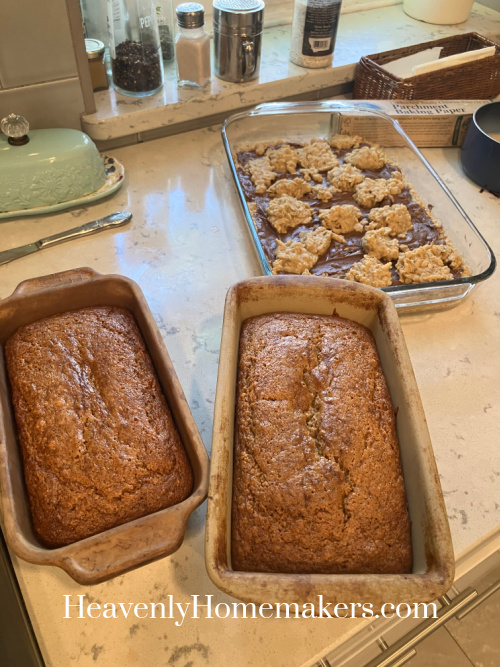
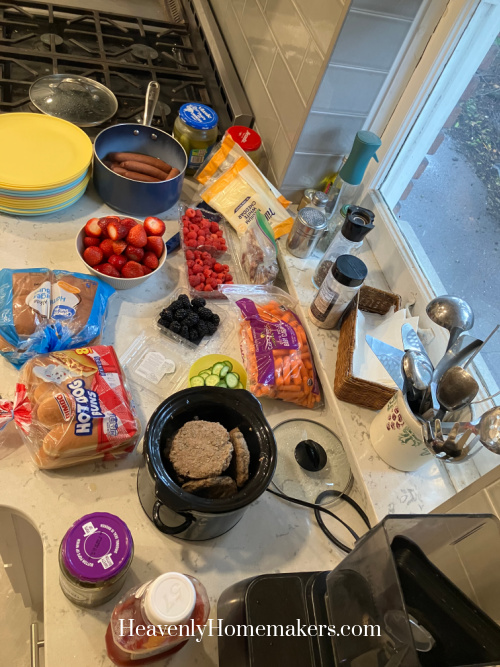
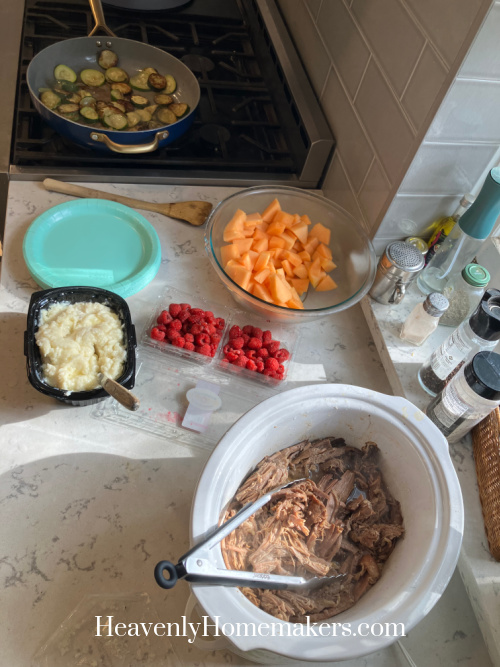
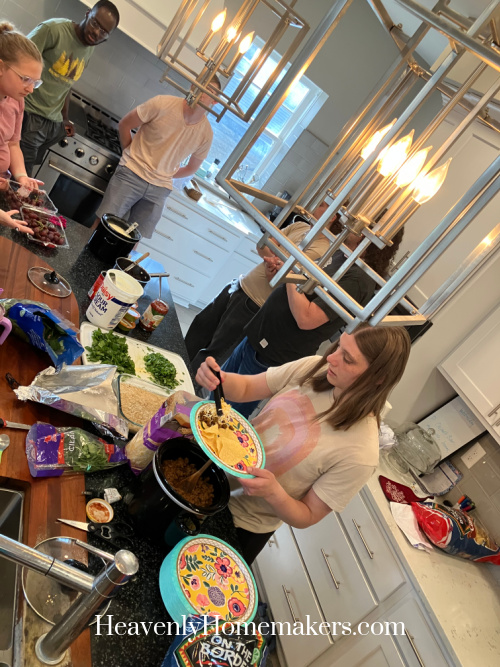
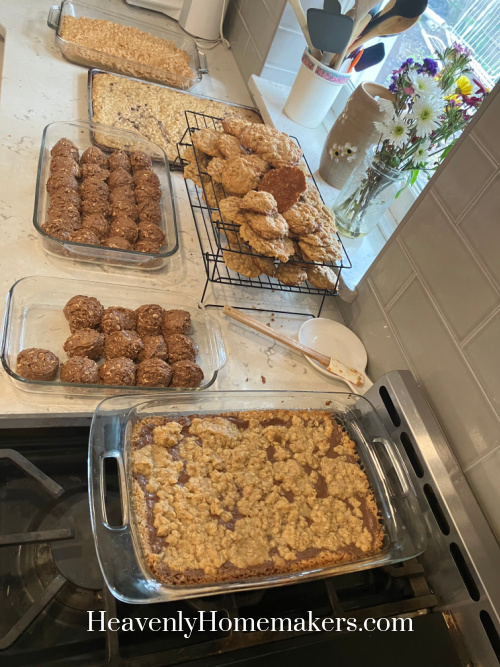
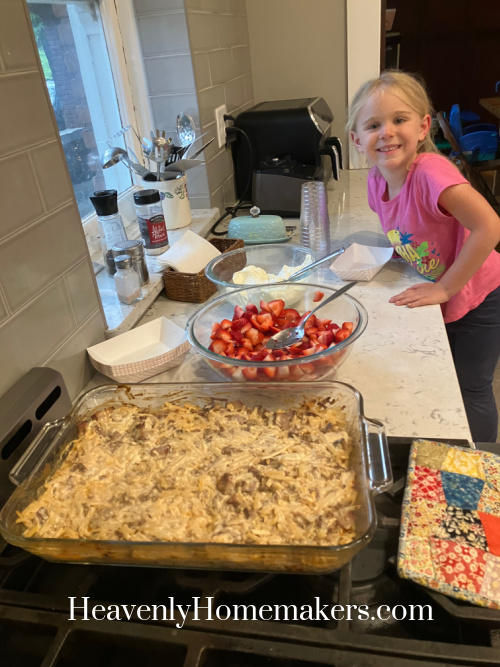
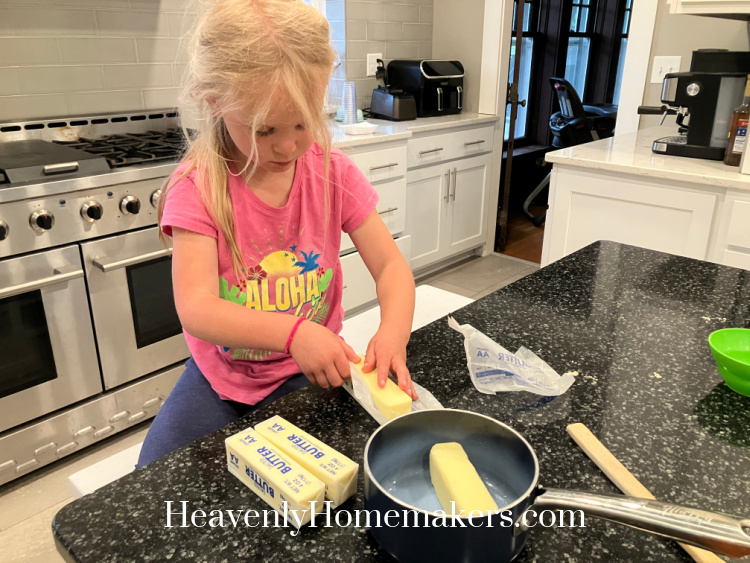
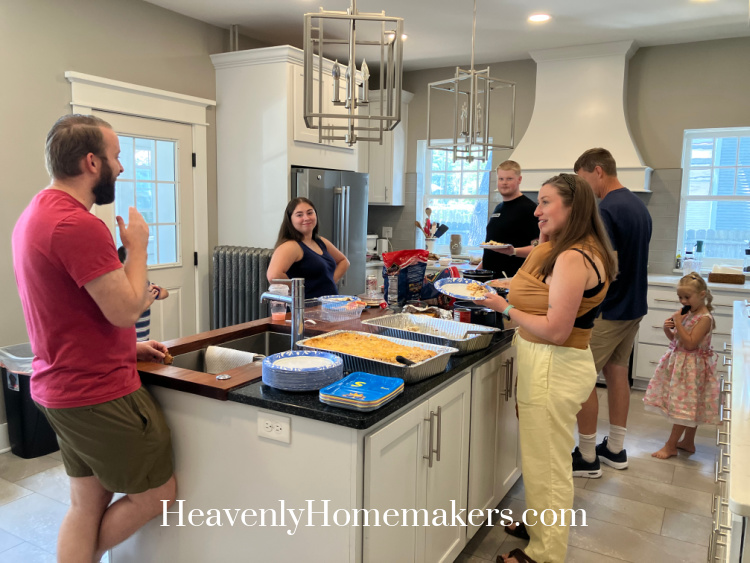
Back at home, I got to work in the kitchen with a couple of awesome helpers! Two families we love are going through some tough life situations so while prepping for Sunday Lunch the next day, we tripled our efforts to take dinner to them that night. Kiya and I got four loaves of Stir and Pour Bread started, then she took off with Nutella Oat Breakfast Bars on her own.
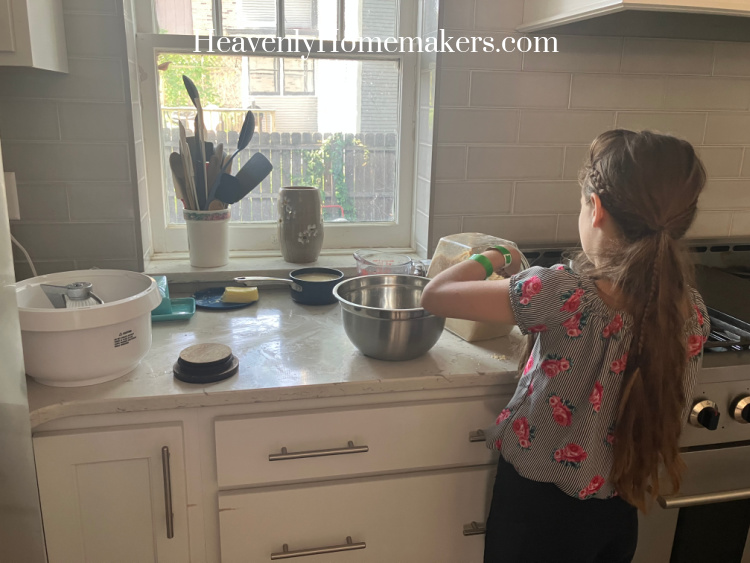
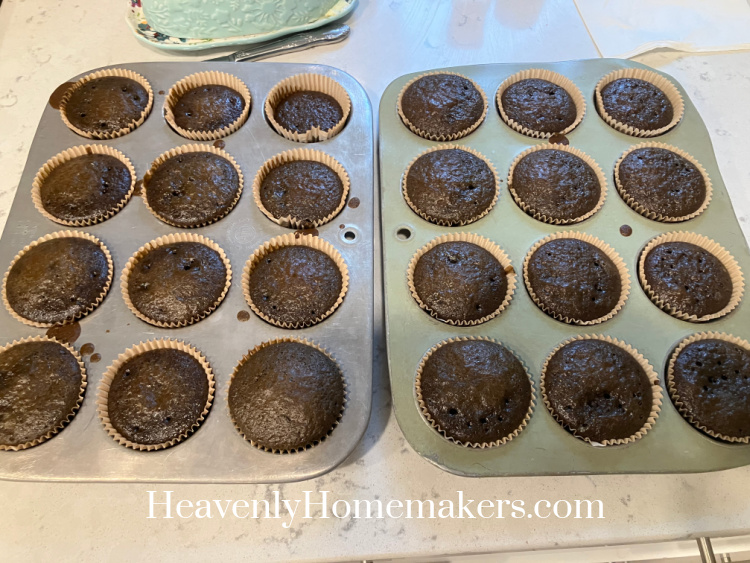
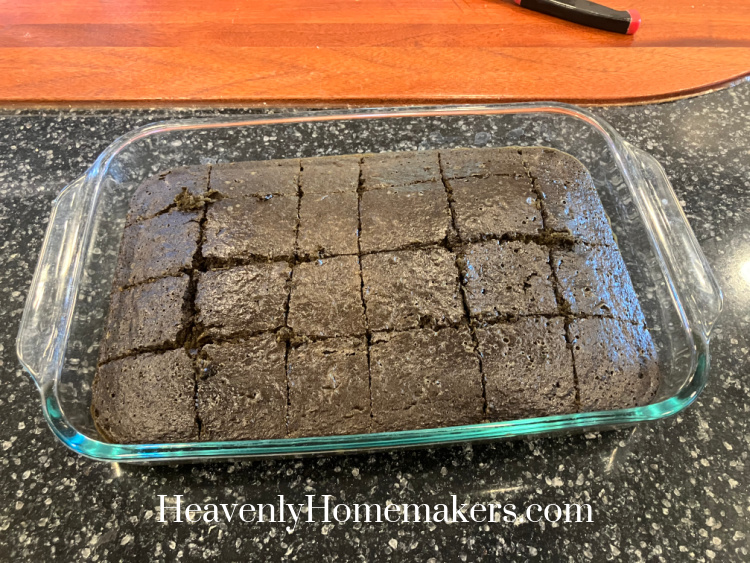
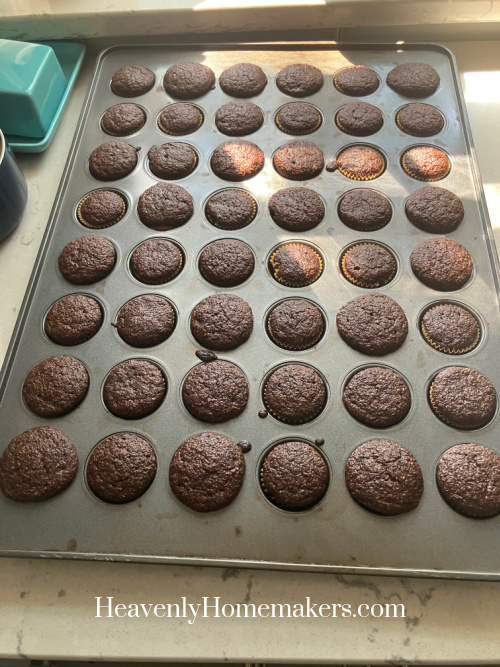
While she did that, I made Flourless Chocolate Banana Muffins and a pan of Brownies.
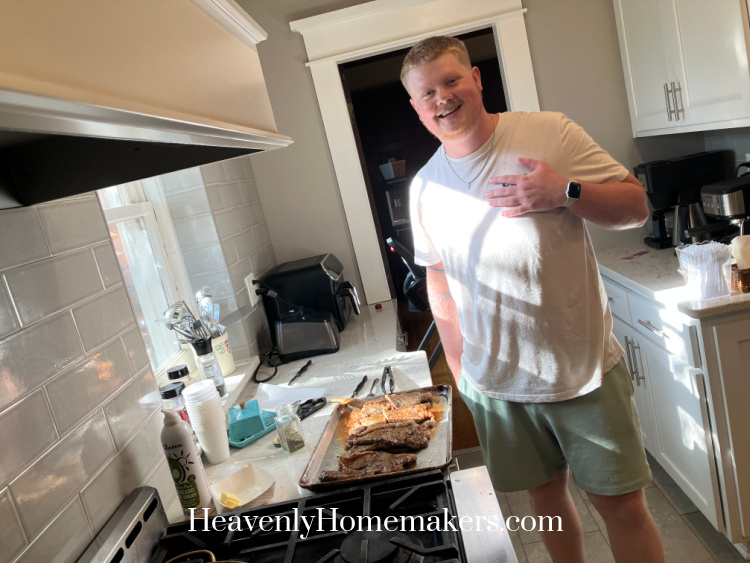
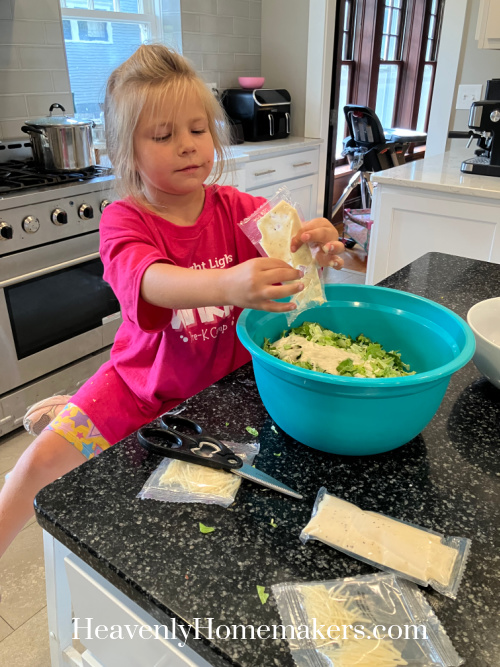
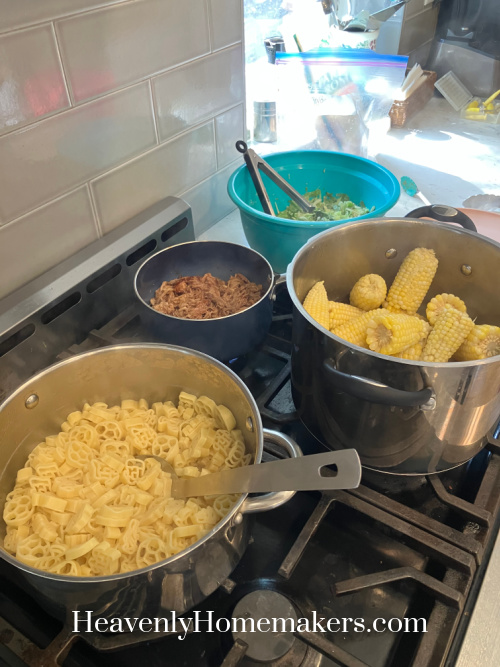
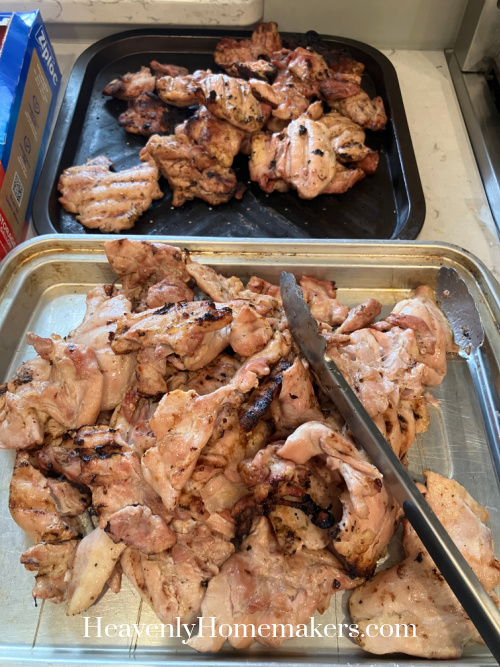
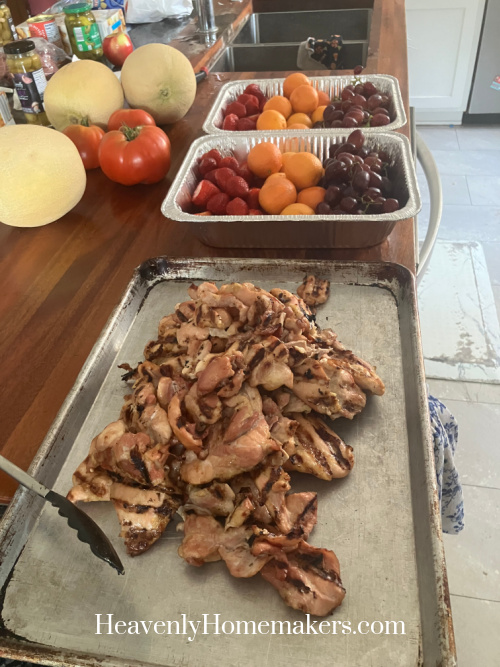
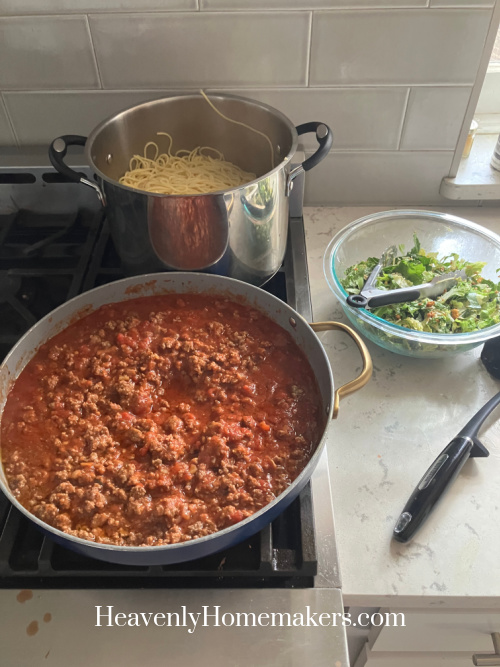
While all this was baking, I was also making Smoked Chicken outside. Brayden helped make Spaghetti and Salad for dinner – and our house smelled amazing!

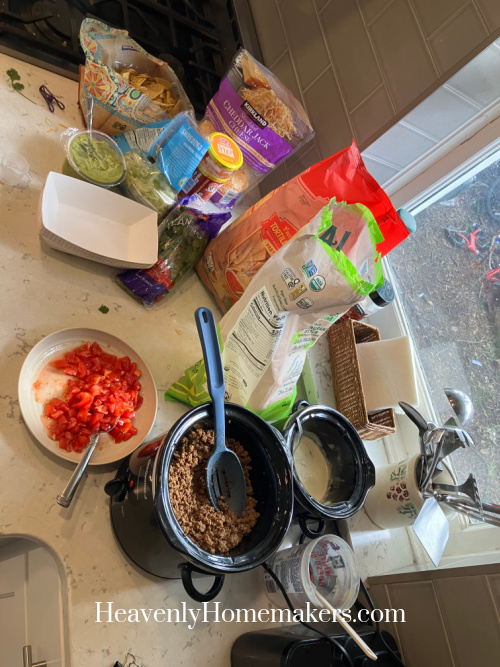
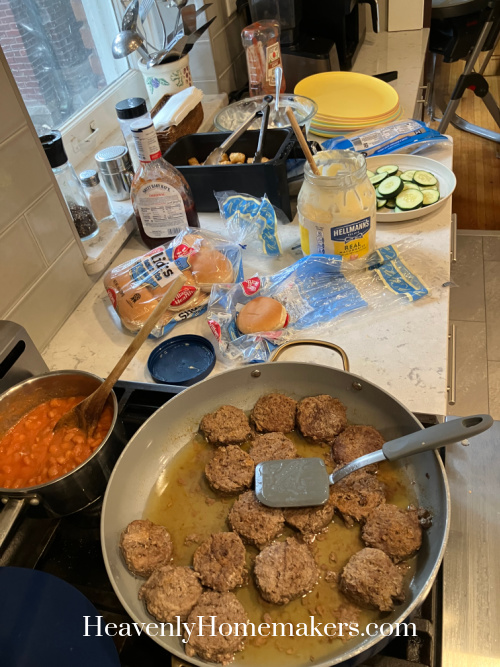
We made some trays of fresh fruit to deliver to our friends along with Smoked Chicken, Baked Beans, Homemade Bread, Brownies, Muffins, and Salad.
We fed the kids dinner, then loaded up all the kids and the food and delivered it to our friend along with hugs.
Back at home, we gave the kids baths, did a lot of dishes, and put all the extra prepped food into the fridge for Sunday Lunch the next day. And that was our week!