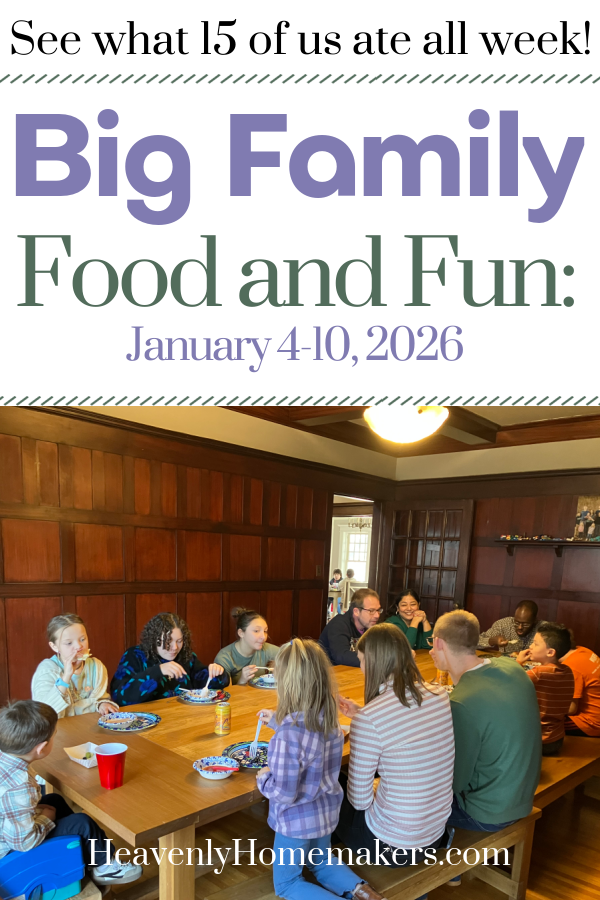
Here’s our Big Family Food and Fun: January 4-10, 2026 post!
We enjoy a Sabbath rest from Saturday evening through Sunday evening – so I turn off my computer on Saturday afternoons and miss posting some of these pictures. I’ll catch up on our last Saturday activities before launching into our new week!
Saturday, January 3
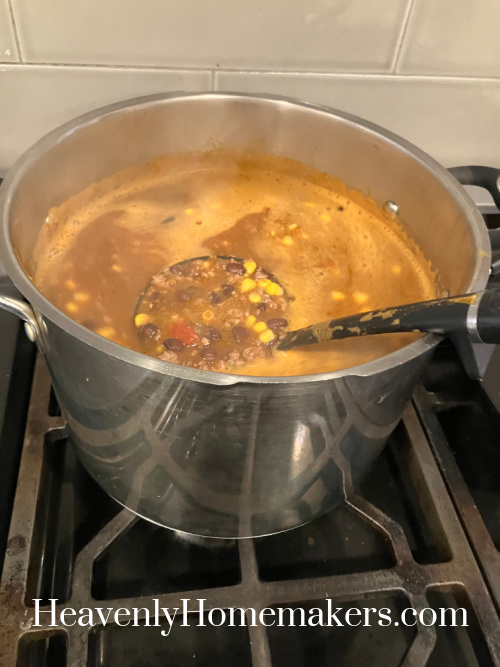
For dinner on Saturday evening, I’d made a huge pot of Beef Stew with some stew meat I’d picked up marked down at Sam’s that week. The kids didn’t eat it very well, but we grown ups enjoyed it. :)

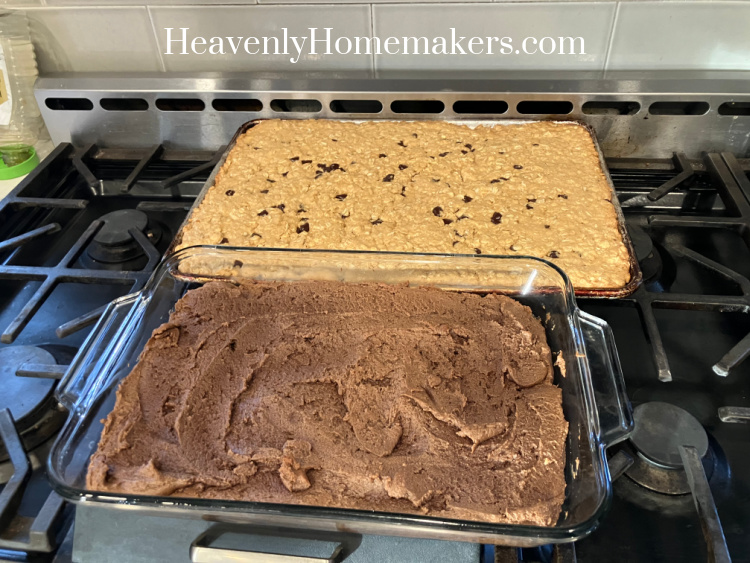
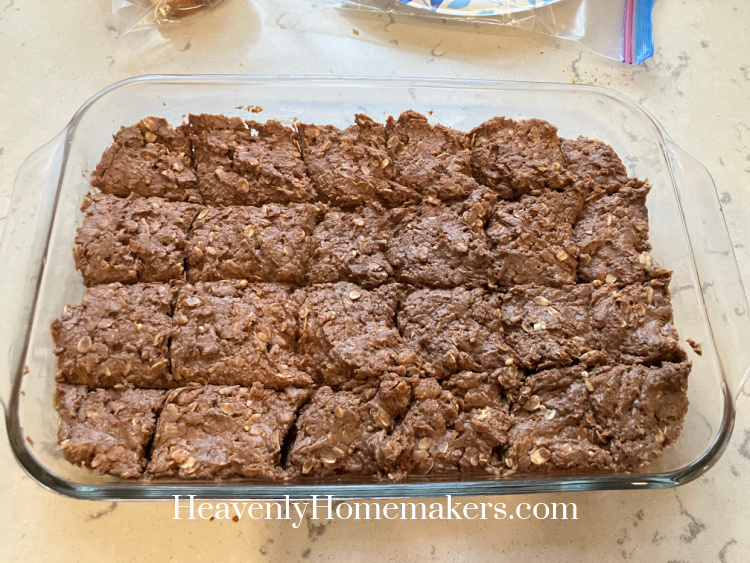
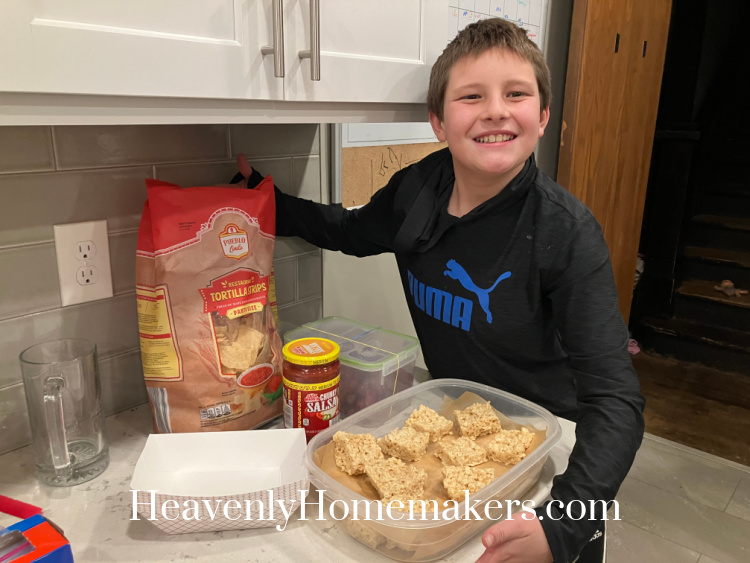
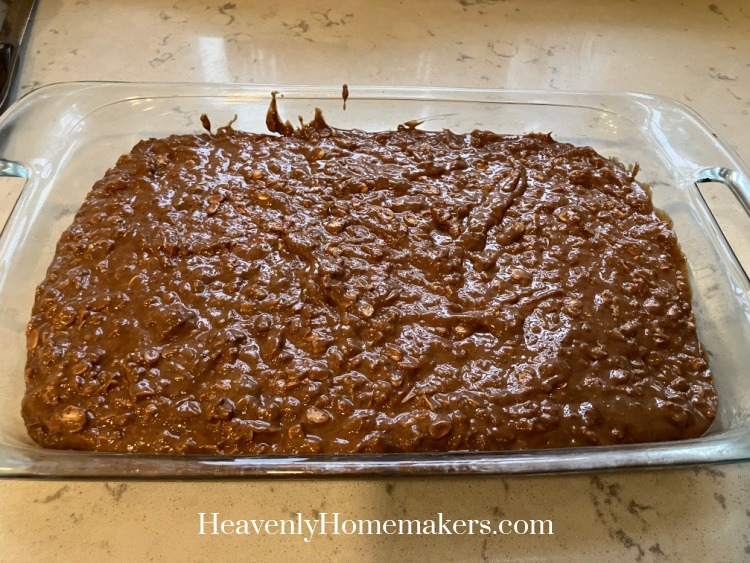
The evening was uneventful, filled with bath time and the normal mayhem. I did manage to finally cut and individually wrap the Flourless Peanut Butter Brownies that I’d baked the day before. Having these ready to pack in school lunches was my main goal for them.

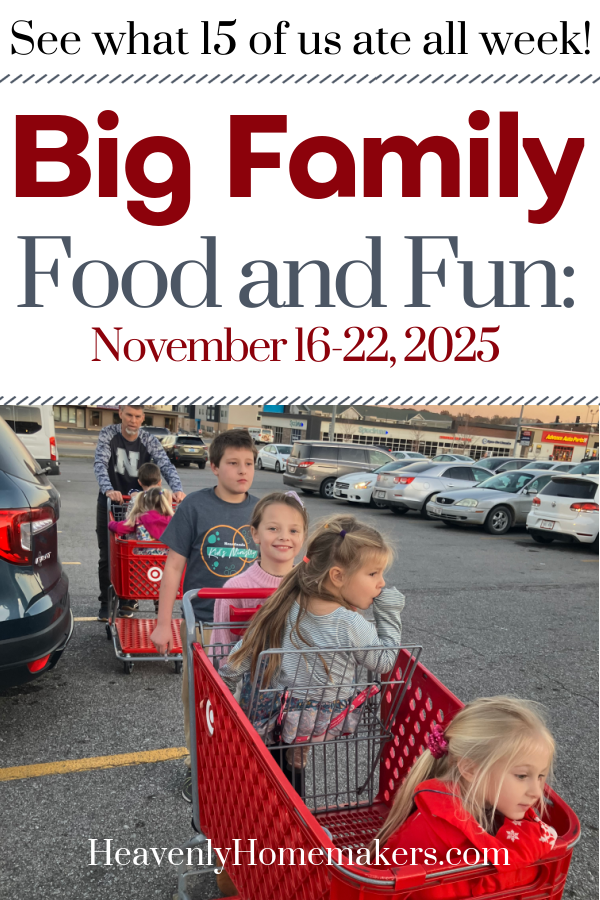
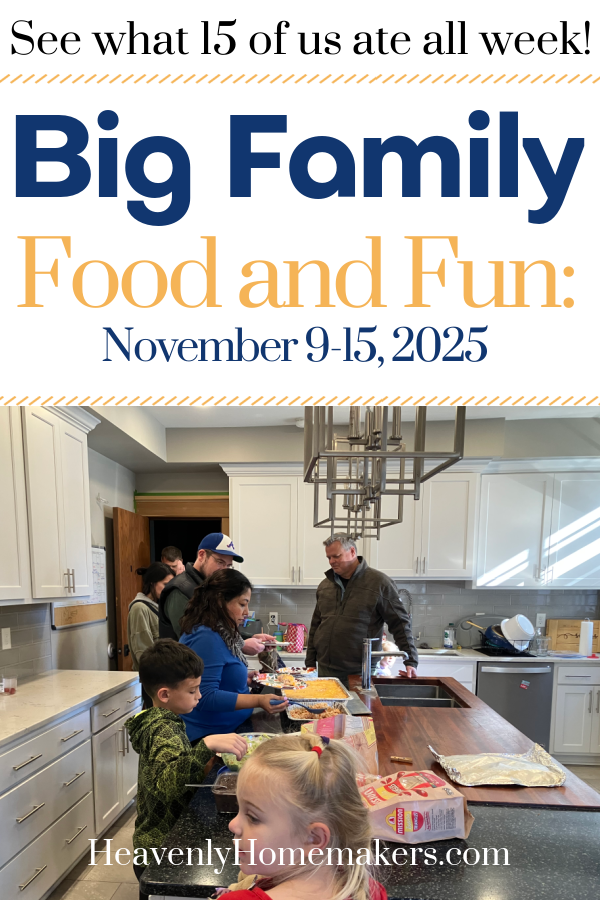
Big Family Food and Fun: January 4-10, 2026
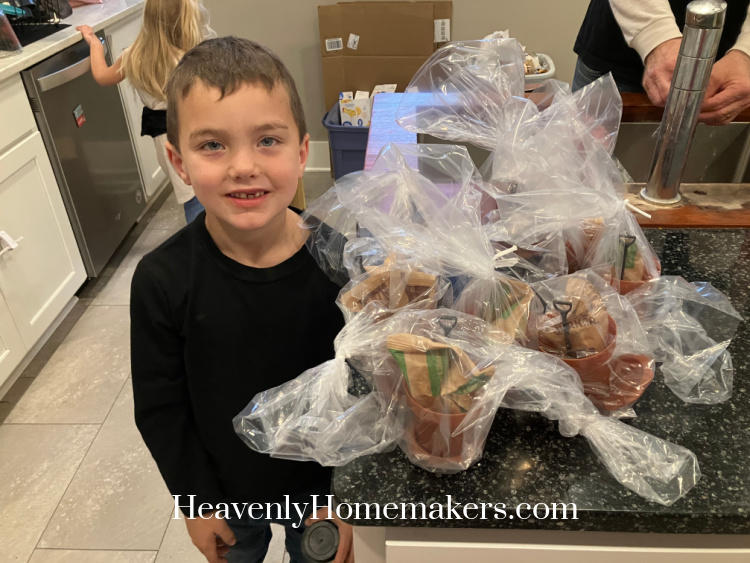
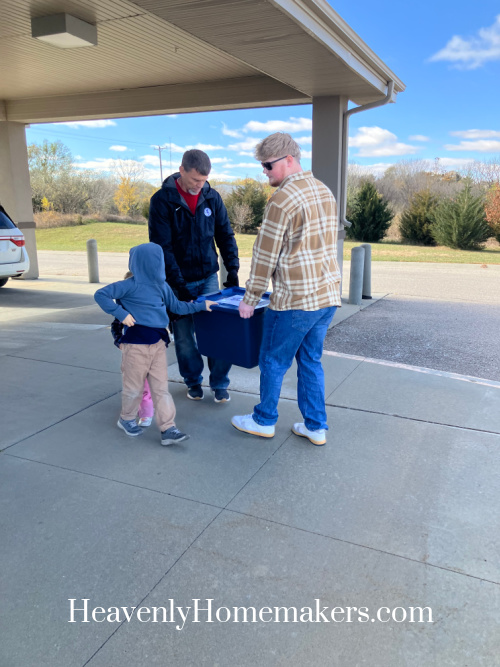
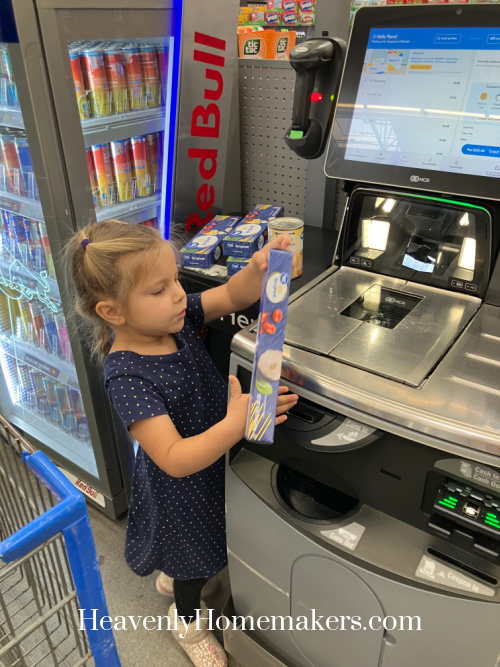
On Sunday morning after worship, Josie and Auggie helped Matt fill a tote of pantry items to bring home and fill our Little Free Pantry.

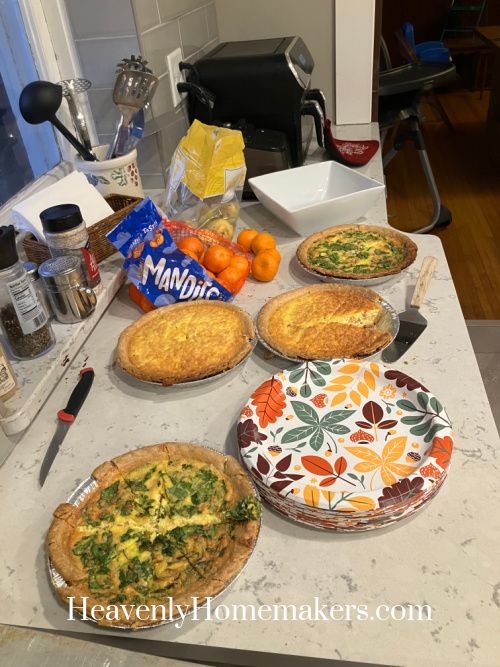
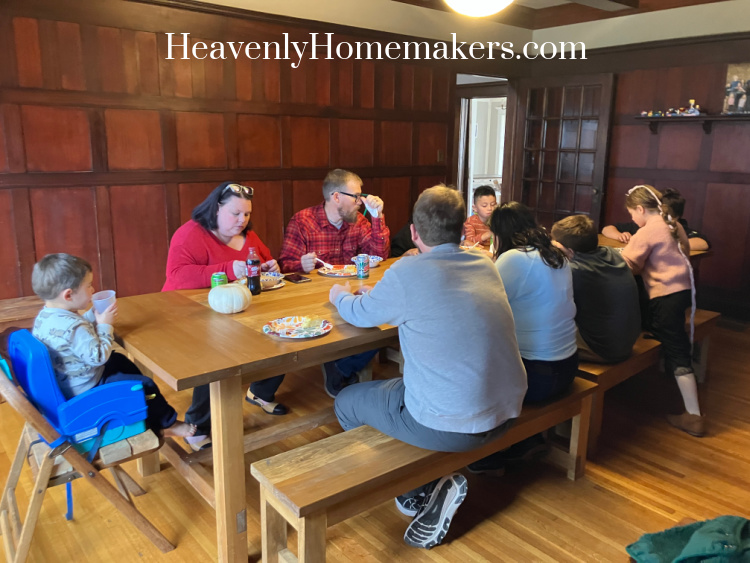
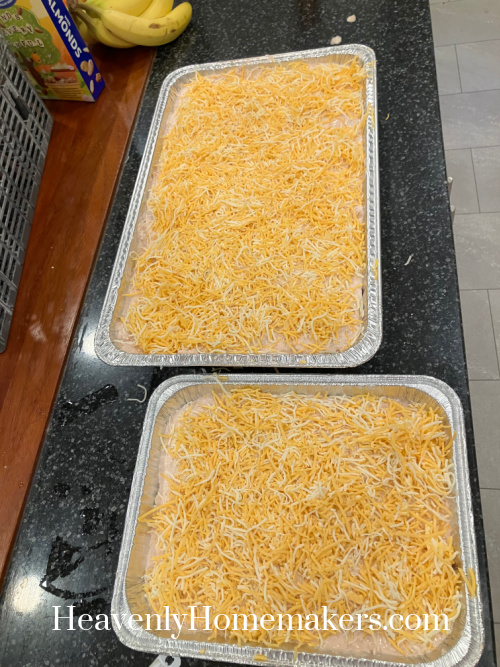
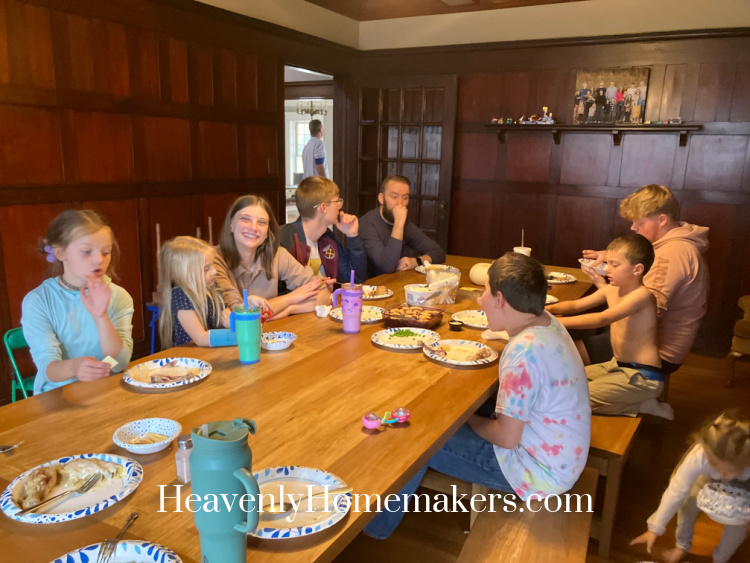
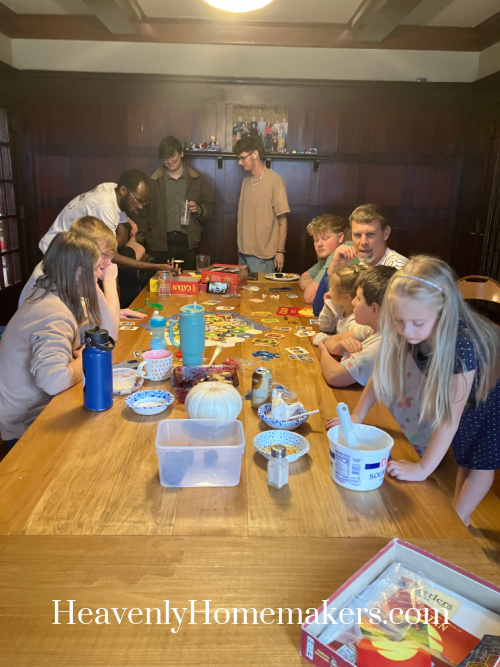
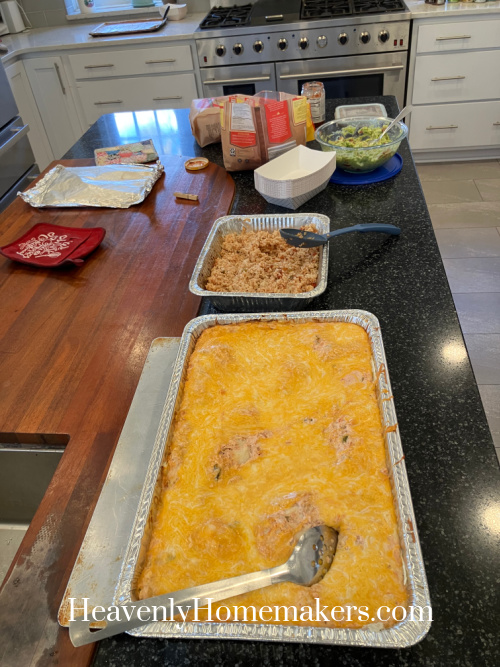
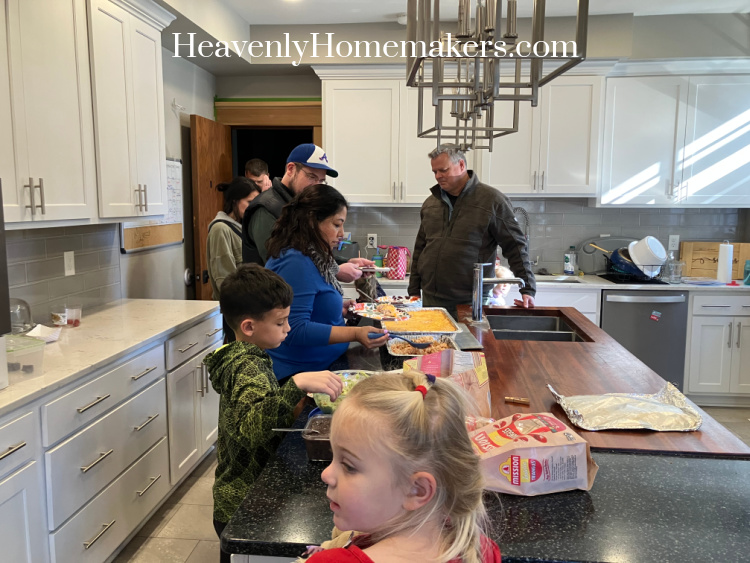
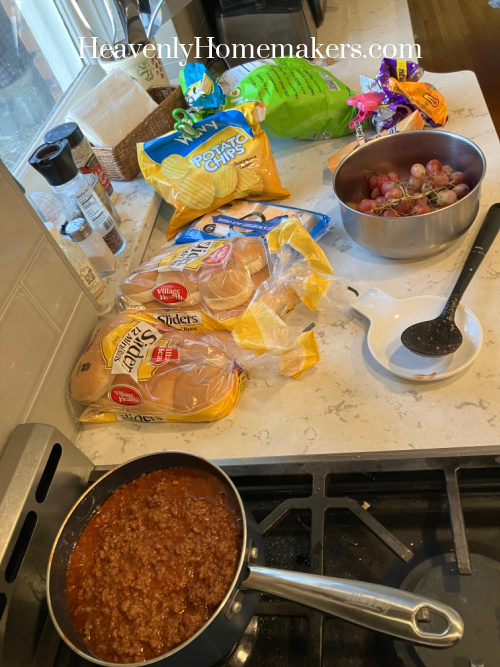
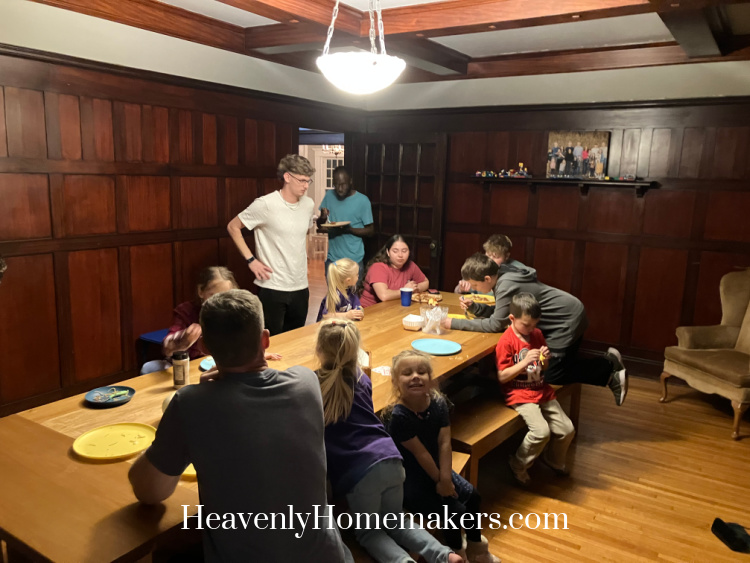
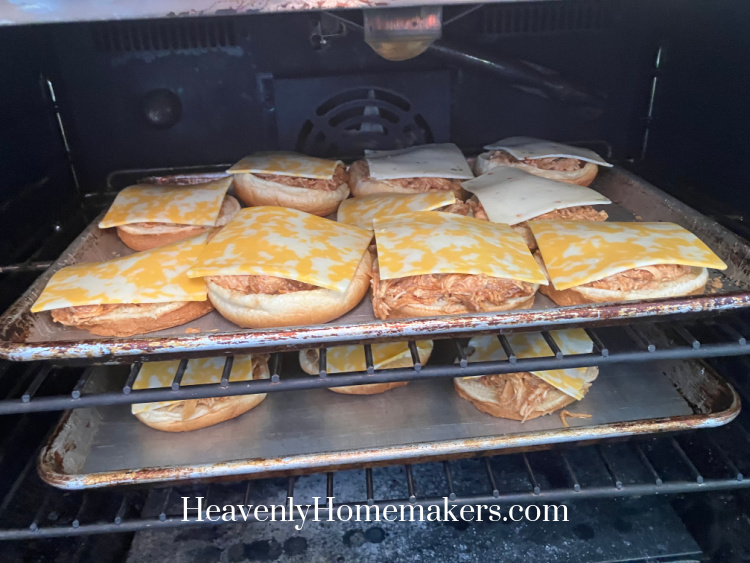
Our lunch gathering after church was a huge delight, as usual. Our friend Steve walked in a case of Root Beer to share – and it didn’t take much arm twisting at the mention of Root Beer Floats for him to run right out to the store to pick up ice cream so that we could add Floats to our dessert bar. He was back with “the goods” right as we were getting ready to serve lunch: Ham and Cheese Sliders, Tomato Soup, Fruit, and Potatoes.

I’d put together six foil 12-packs of Sliders to warm in the oven – so 72 Sliders altogether. At the end of our meal? Exactly one slider remained. I guess this meal was a hit!
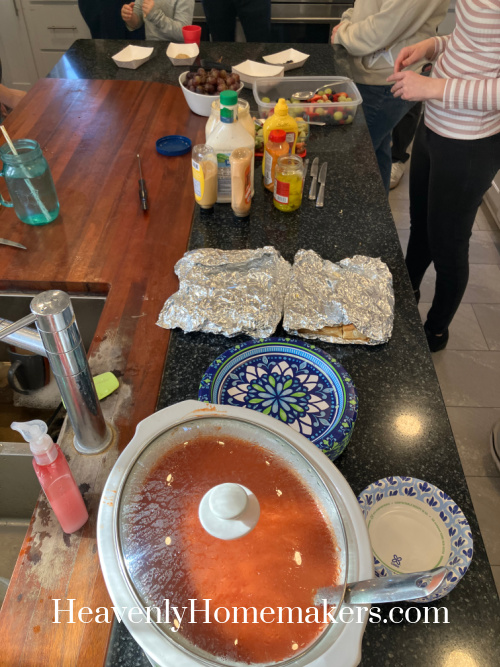
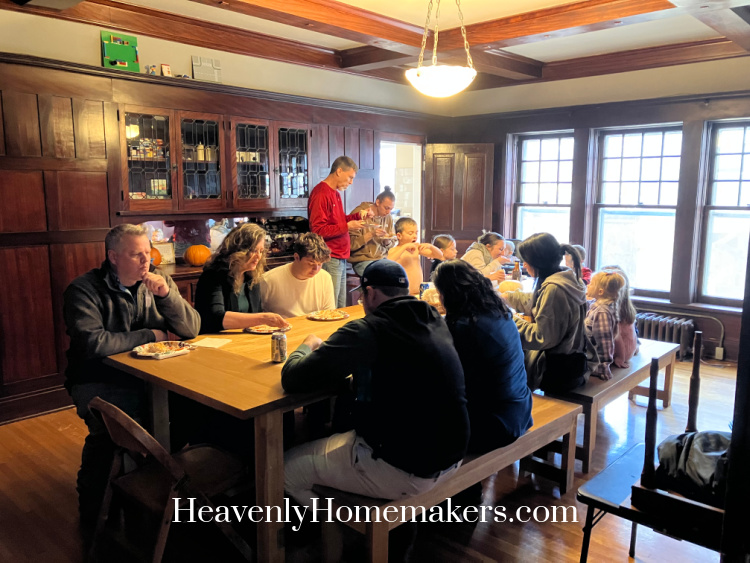
There were 25 of us gathered that day, with so much joy in our conversation and fellowship.


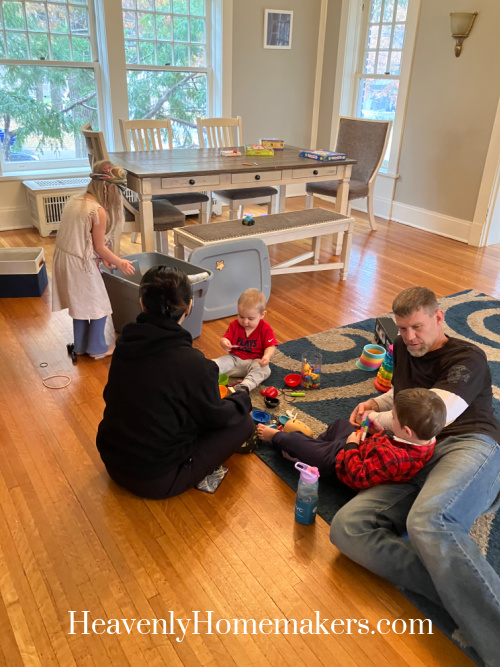
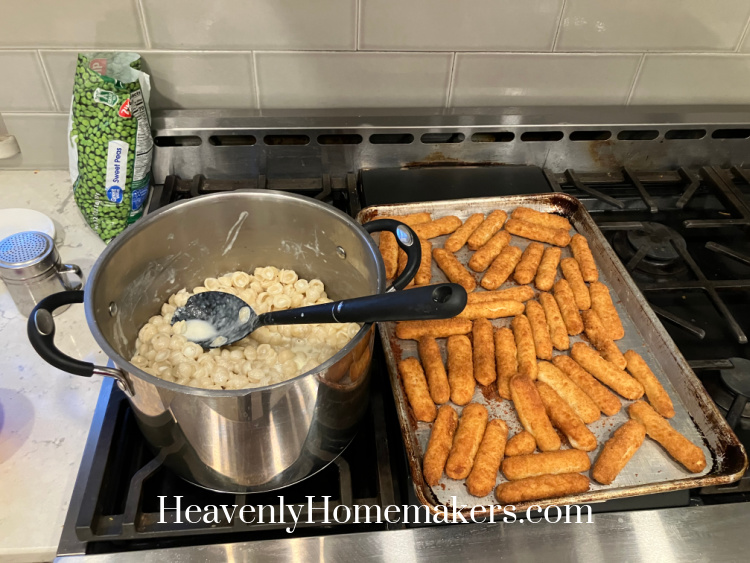
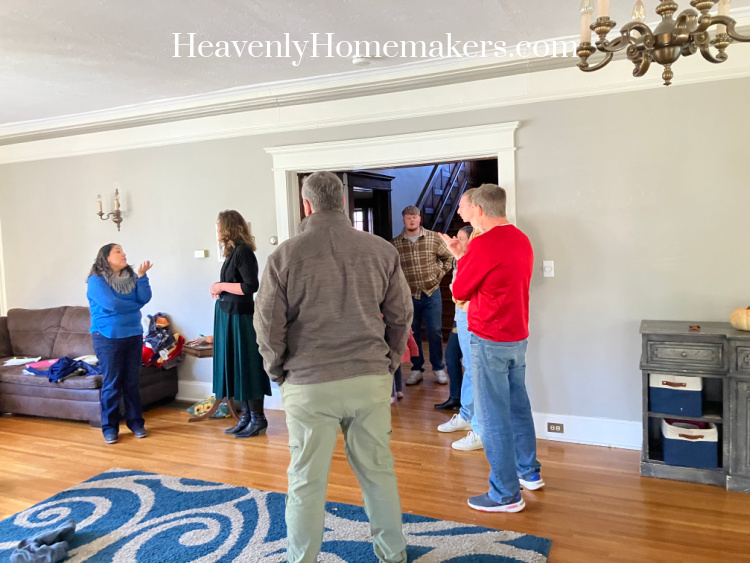
Matt and I sent the kids downstairs to watch a movie with Elias, Malorie, and Malachi during the afternoon while we enjoyed time with three other couples during our Community Group. For dinner that night, I put a box of Taquitos into the oven, warmed up White Queso, and served up Grapes. Easy and fun!

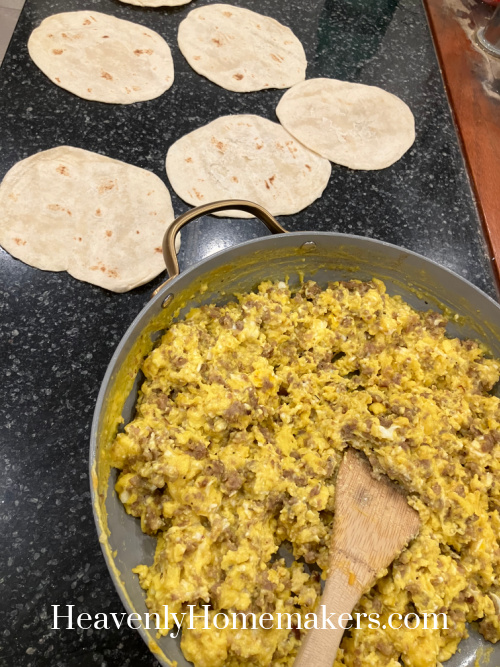
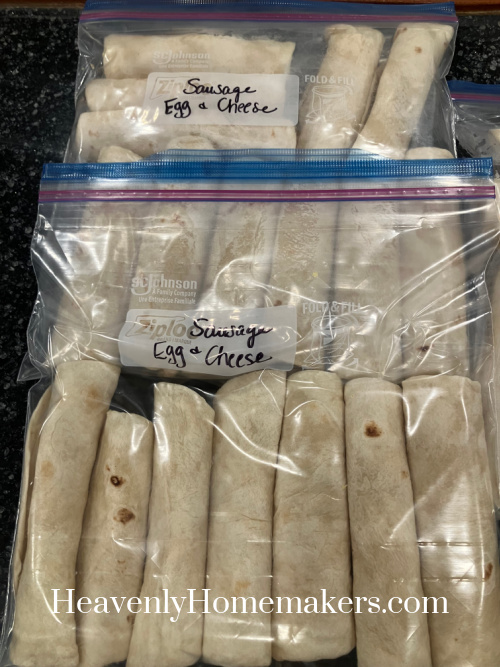
In an effort to get ahead for our launch into a new school semester after a long break, I made a big batch of Breakfast Burritos.
On Monday morning, Emma came to help with the non-school kids, Auggie had ABA therapy, and guess what I got to do? I ducked out for the entire day for some time of Recovery. First stop: a massage. I’ve been holding onto this certificate from my sweet daughters since August.

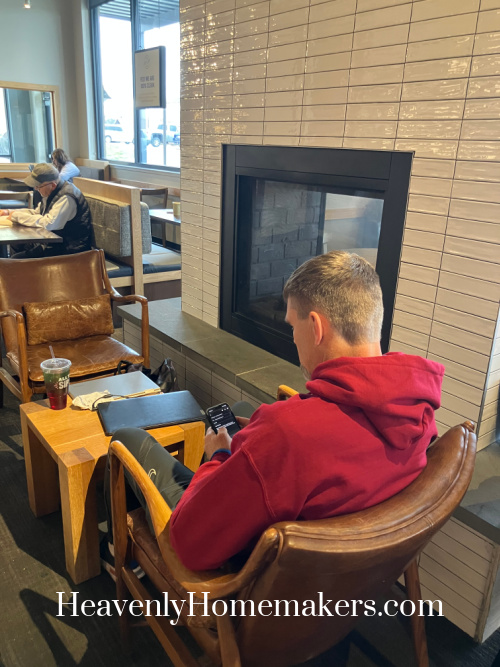
My friend Terra is amazing if you happen to be in Lincoln and want a healing massage. I was so relaxed after this that I wasn’t sure it was safe for me to drive, ha. But, drive I did – all the way to Panera where I sipped (well, a ton of water at first to get the most out of my massage and then…) coffee. I had my laptop and spent two blissful hours writing.
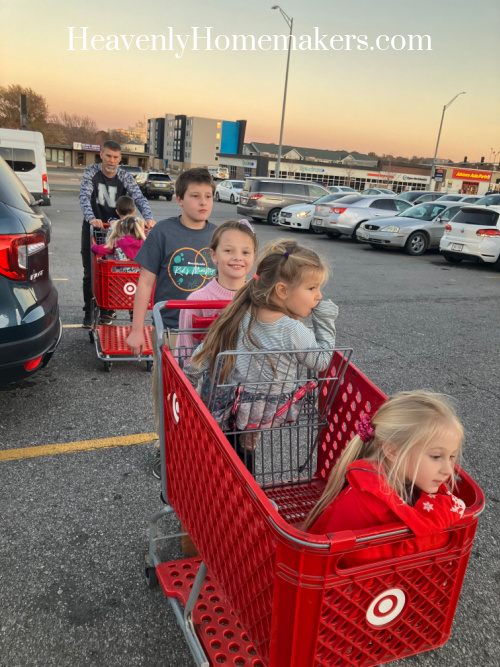
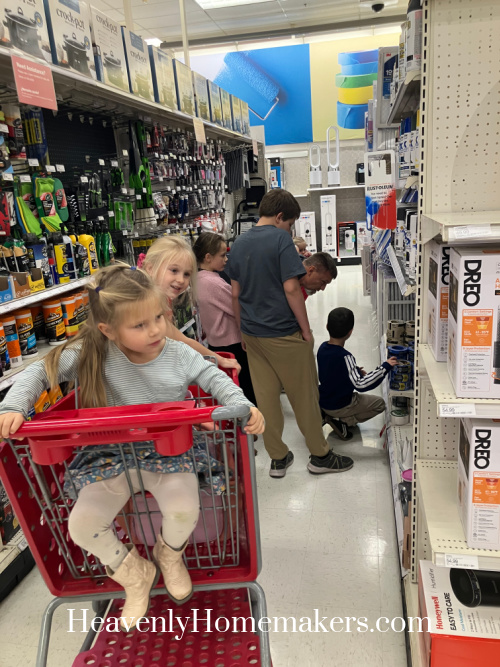
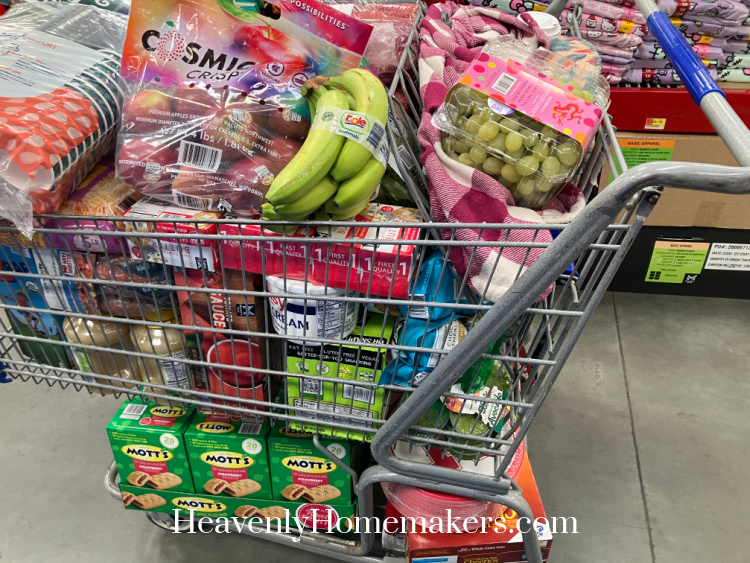
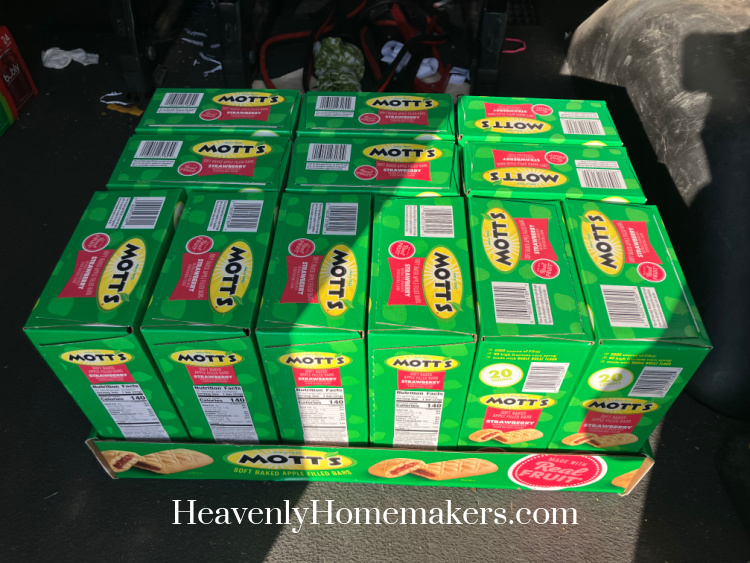
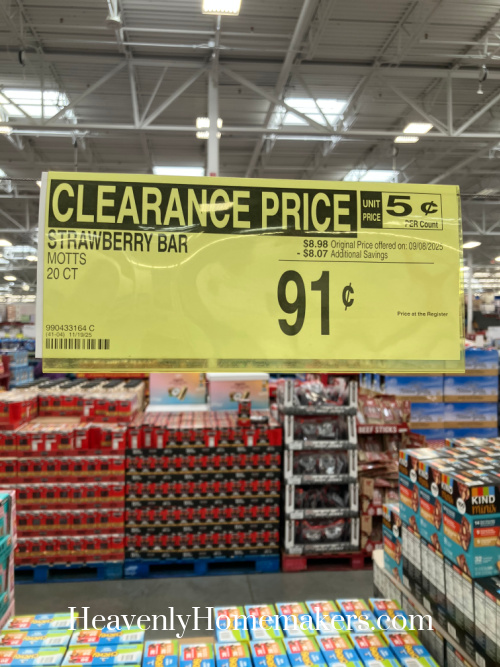
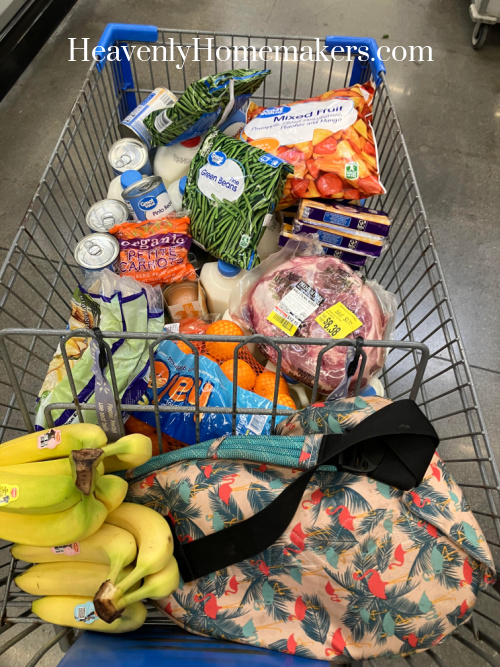
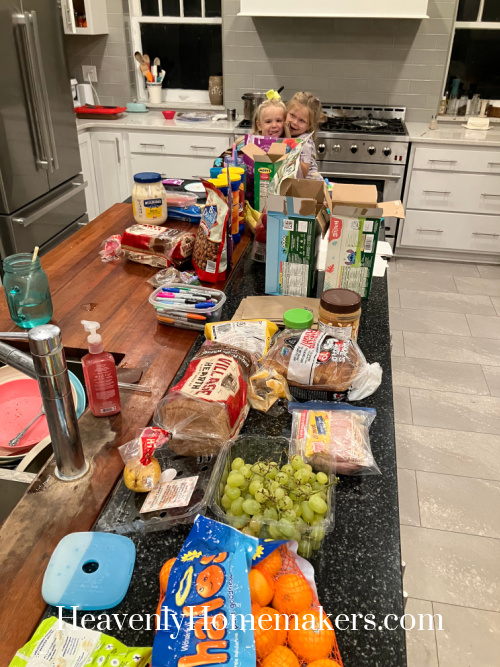
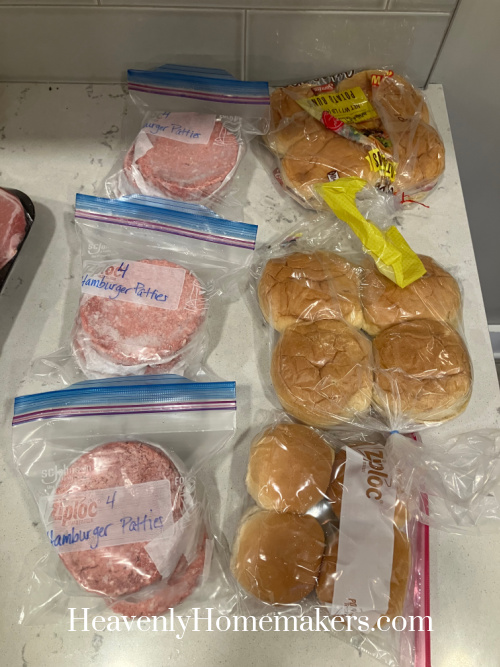
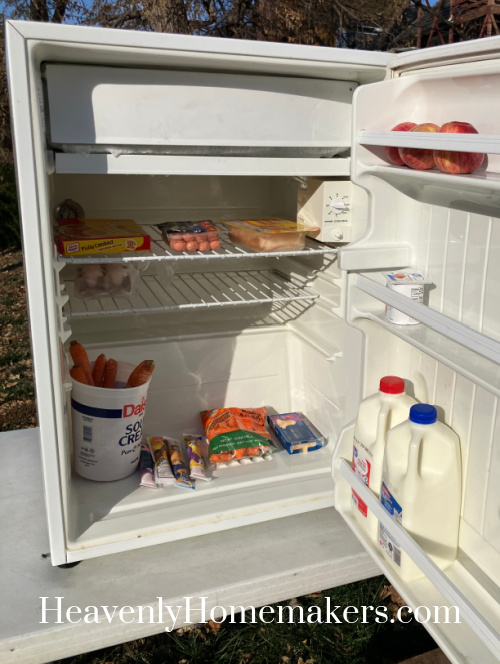
I ended my time away from home with a run into Costco to get a couple of things. This is what “a couple of things” looks like for our household…

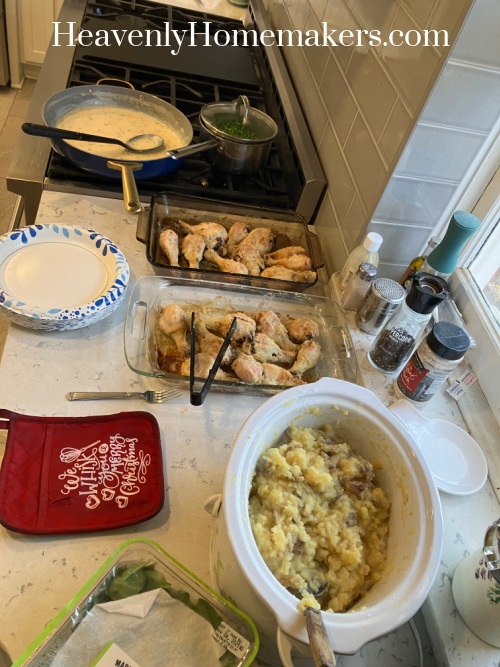
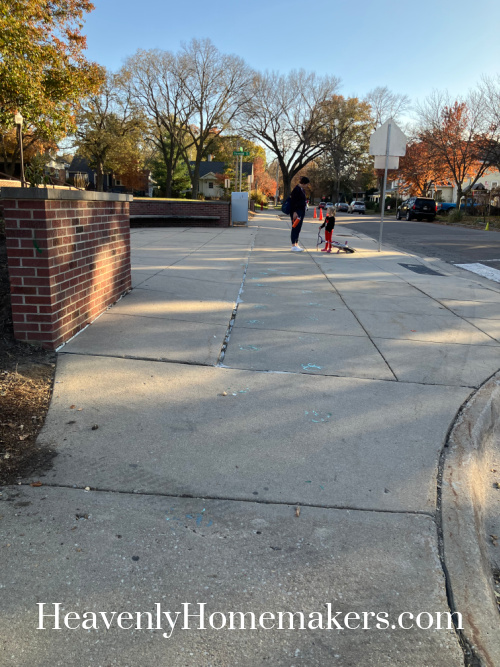
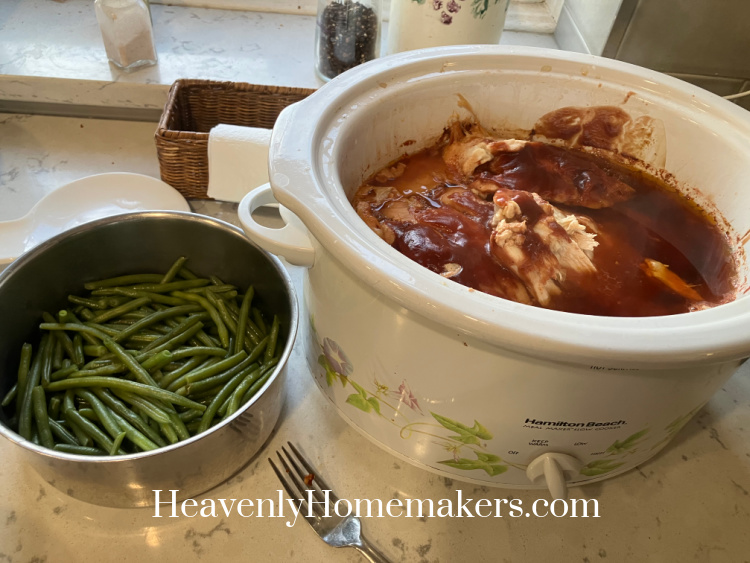
Back at home, Matt and I took Auggie in the stroller for a walk to pick up the school kids. Mayhem and meltdowns began immediately, then ABA therapy, then dinner. I’d thrown BBQ Sauce on Chicken in the crock pot early that morning, then I made Green Beans and Buttered Rolls to go with it.
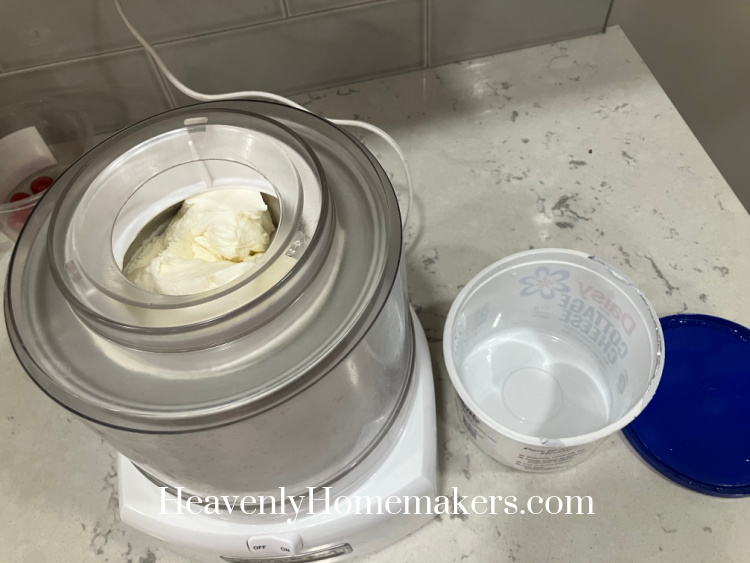
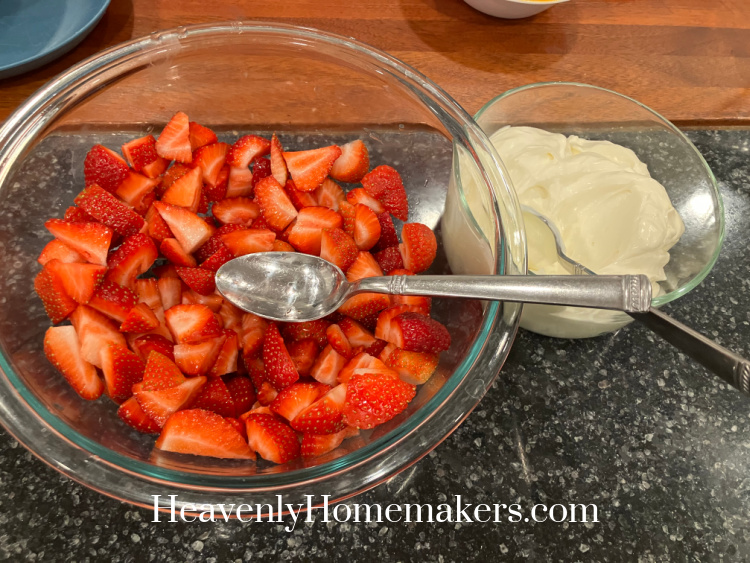
As the kids were finishing their meal, I decided to make Cheesecake Parfait to go with the Strawberries I’d picked up at Costco. We went through one two-pound round of strawberries very quickly and I got my blender back out and made another batch of parfait. Four pounds of strawberries later, I’d say this was a huge hit with everyone that night!
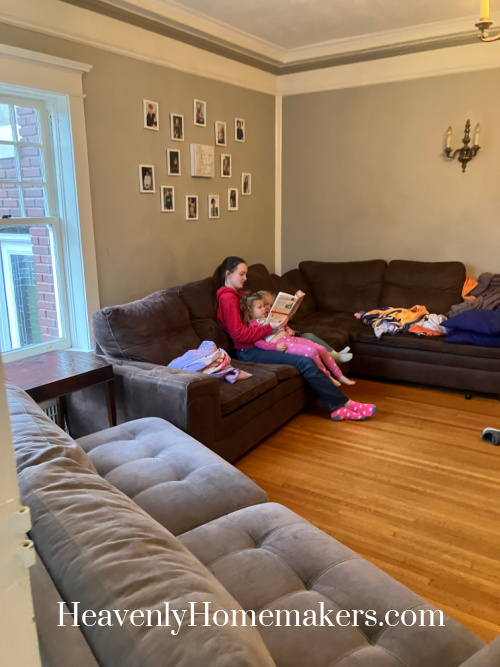
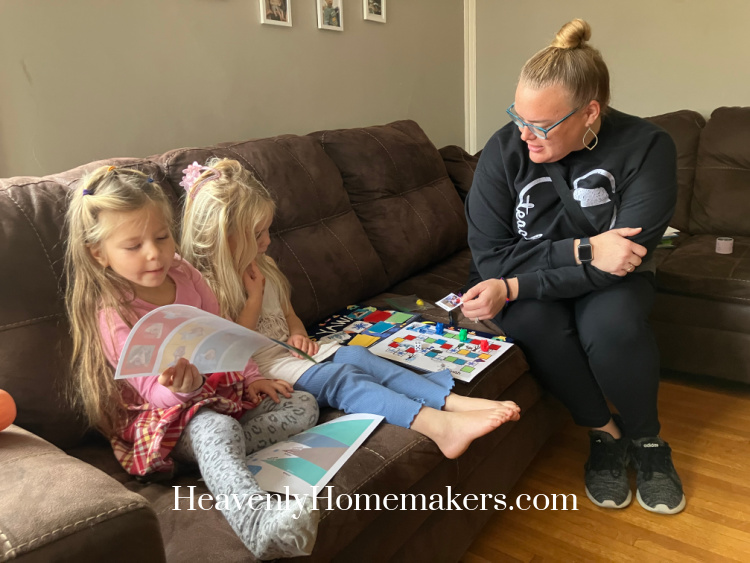
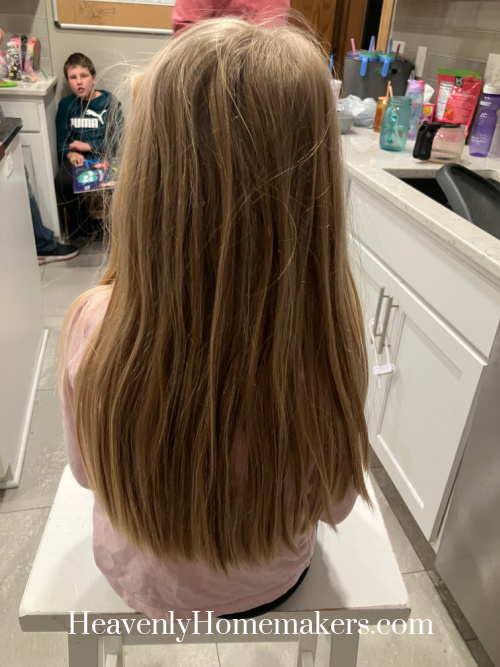
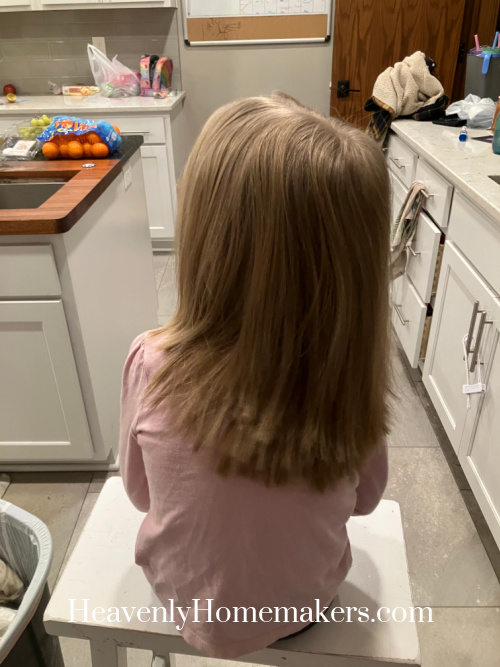
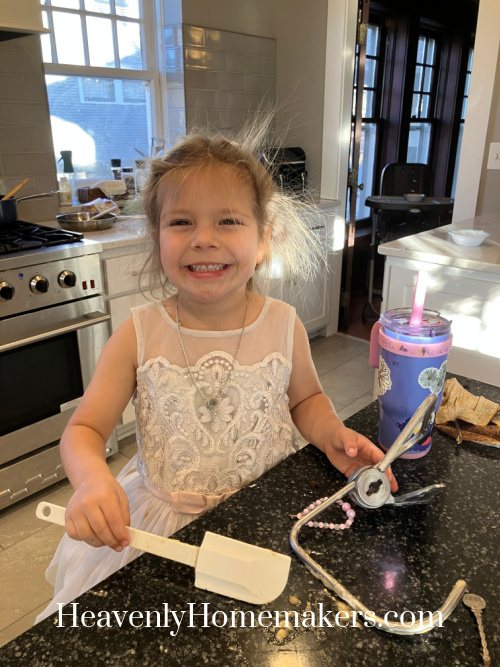
On Tuesday morning, Little Sweetheart came over to spend the day. We did some hair styling then played in the container of hair ties – which are very, very fun to throw all over the place.

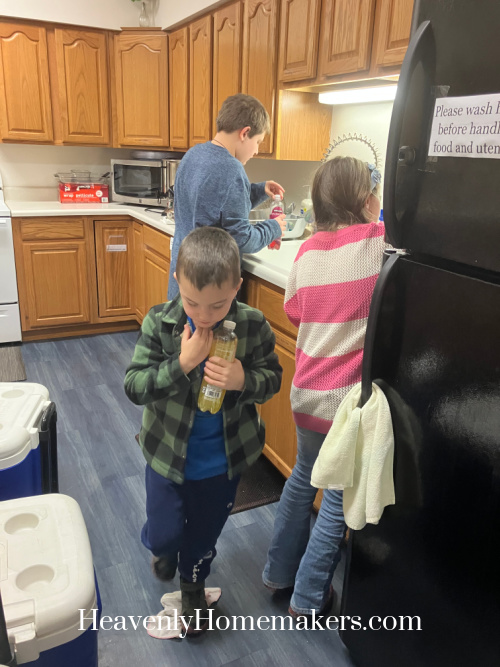
That afternoon, I took Brayden, Kiya, and Keith to serve at our weekly Food Distribution. They all did well this week, and it was great to see over 100 people go through the food line.
Back at home, Matt finished the dinner I’d started: Leftover BBQ Chicken turned into Meat and Cheese Melts with leftover Veggies.
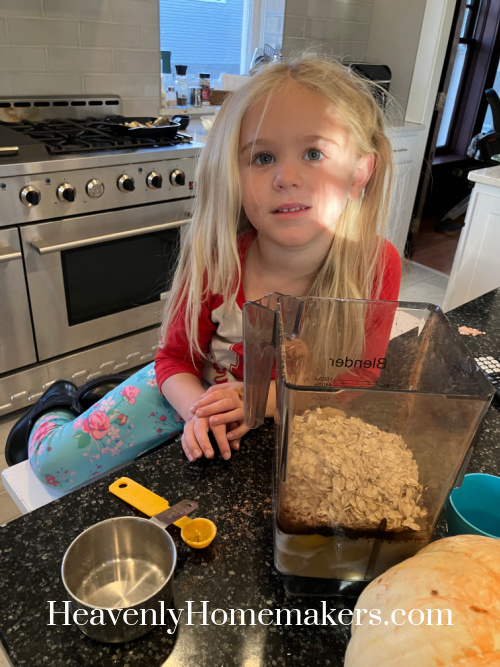
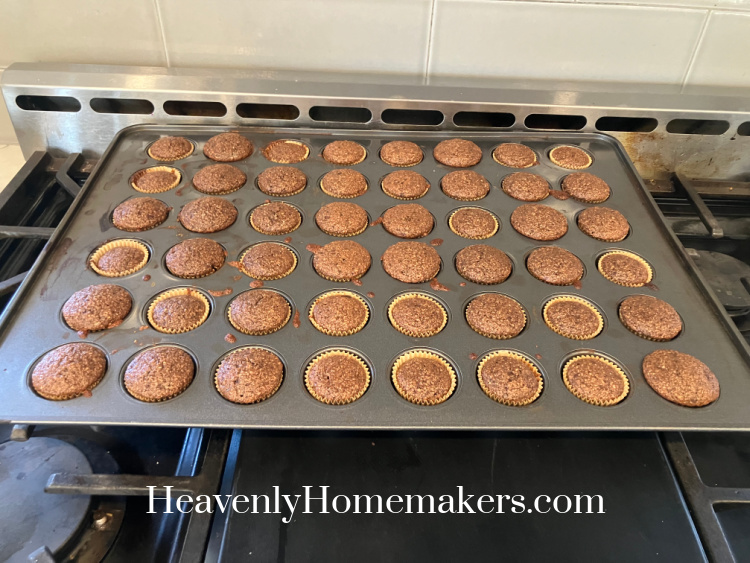
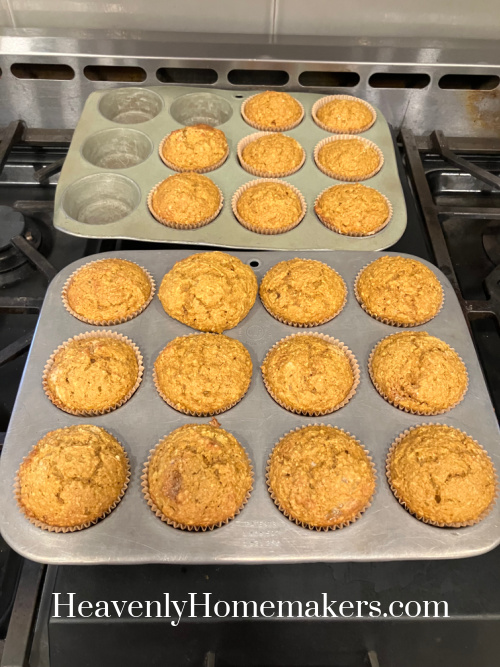
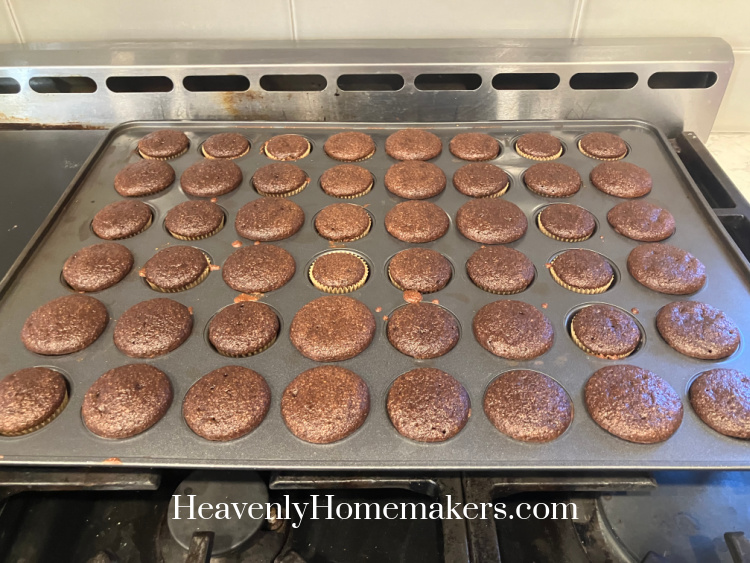
On Wednesday morning, I baked a batch of Chocolate Banana Blender Muffins.
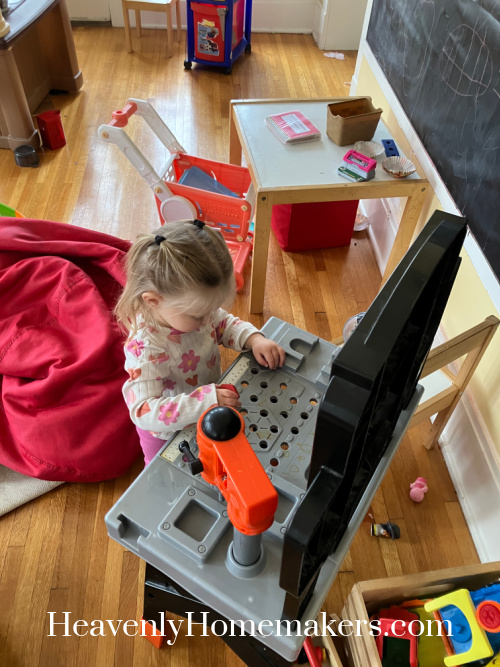
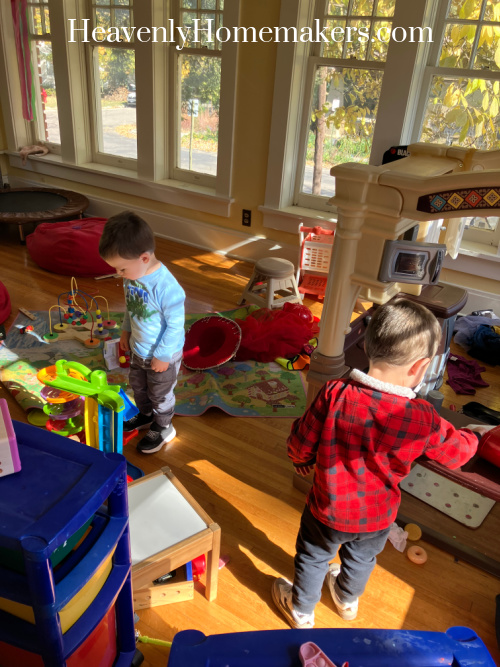
Arrow came and spent the morning, making a batch of his own muffins in our play kitchen.
![]()
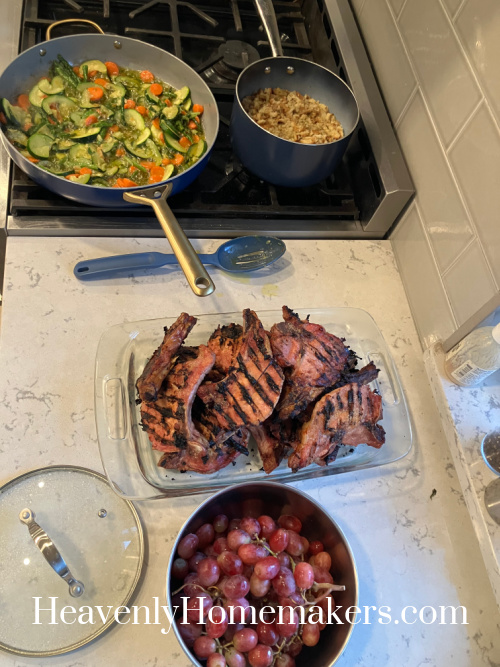
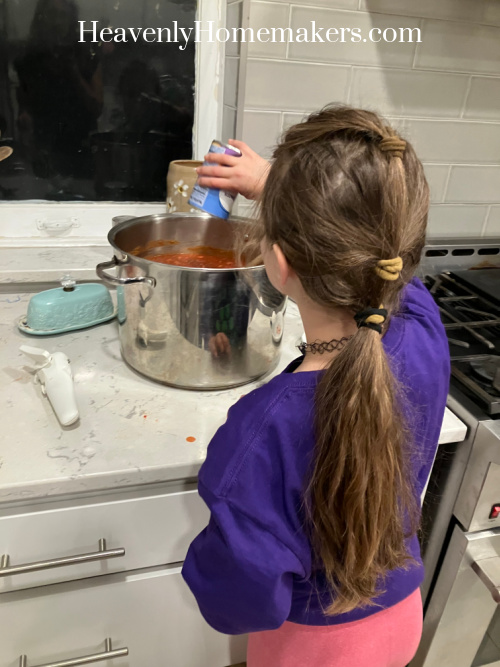
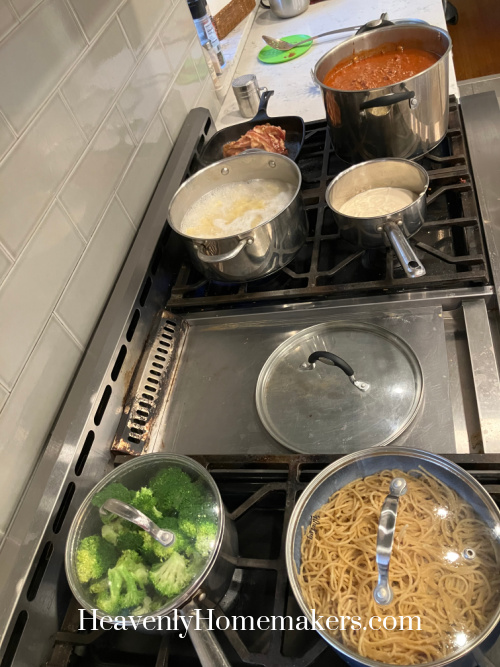
Somewhere in there, Josie helped me make Party Potatoes to slow cook for our dinner that night.

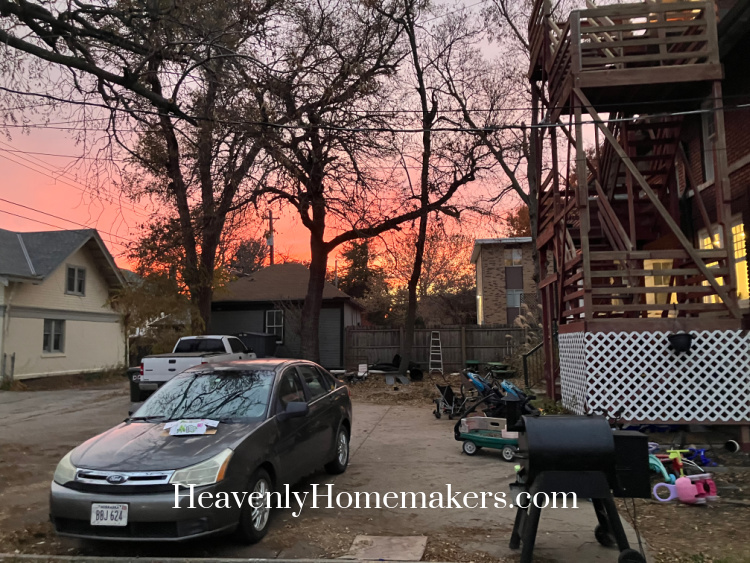
It was gorgeous outside, so I grilled Steak and Pork Ribs out on our smoker. IN JANUARY. What a treat!

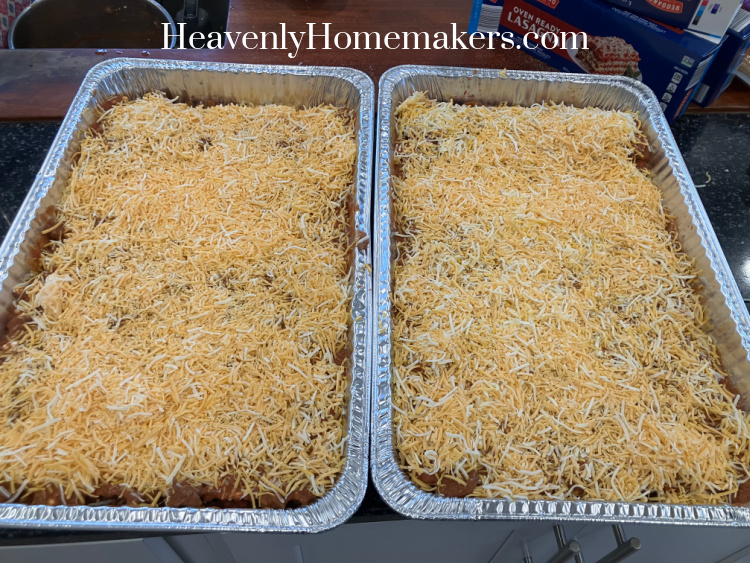
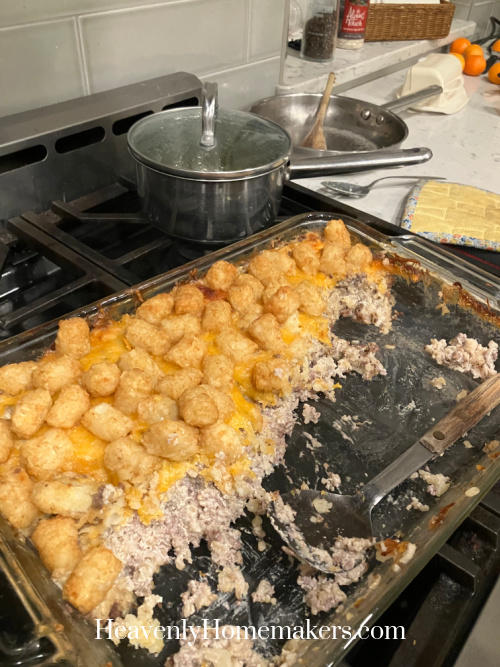
Before bed that night, Brayden and Auggie helped me put together a large Cheeseburger Casserole for our Thursday night dinner.

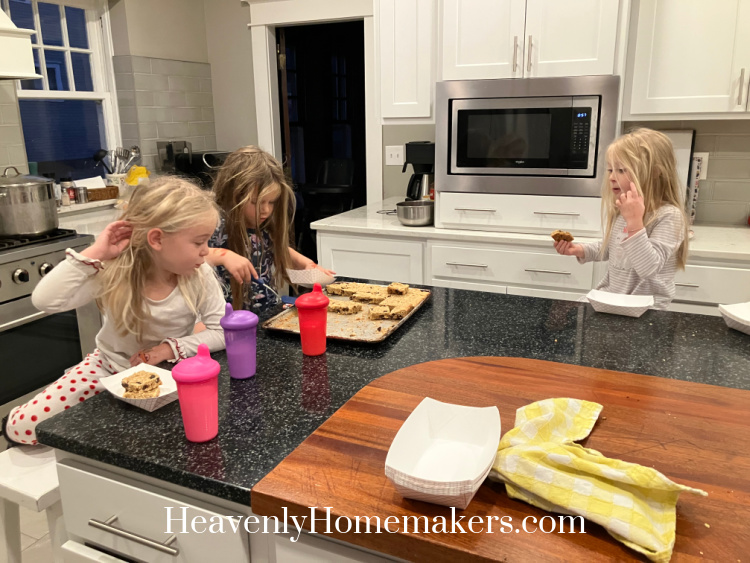
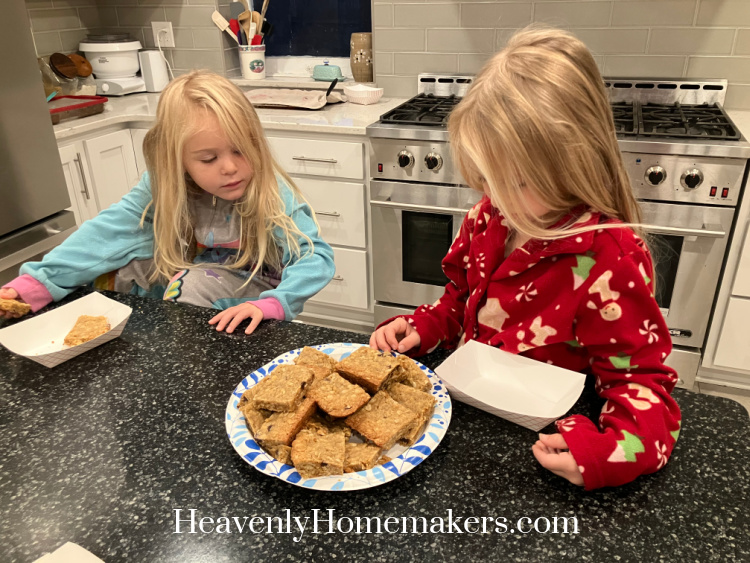
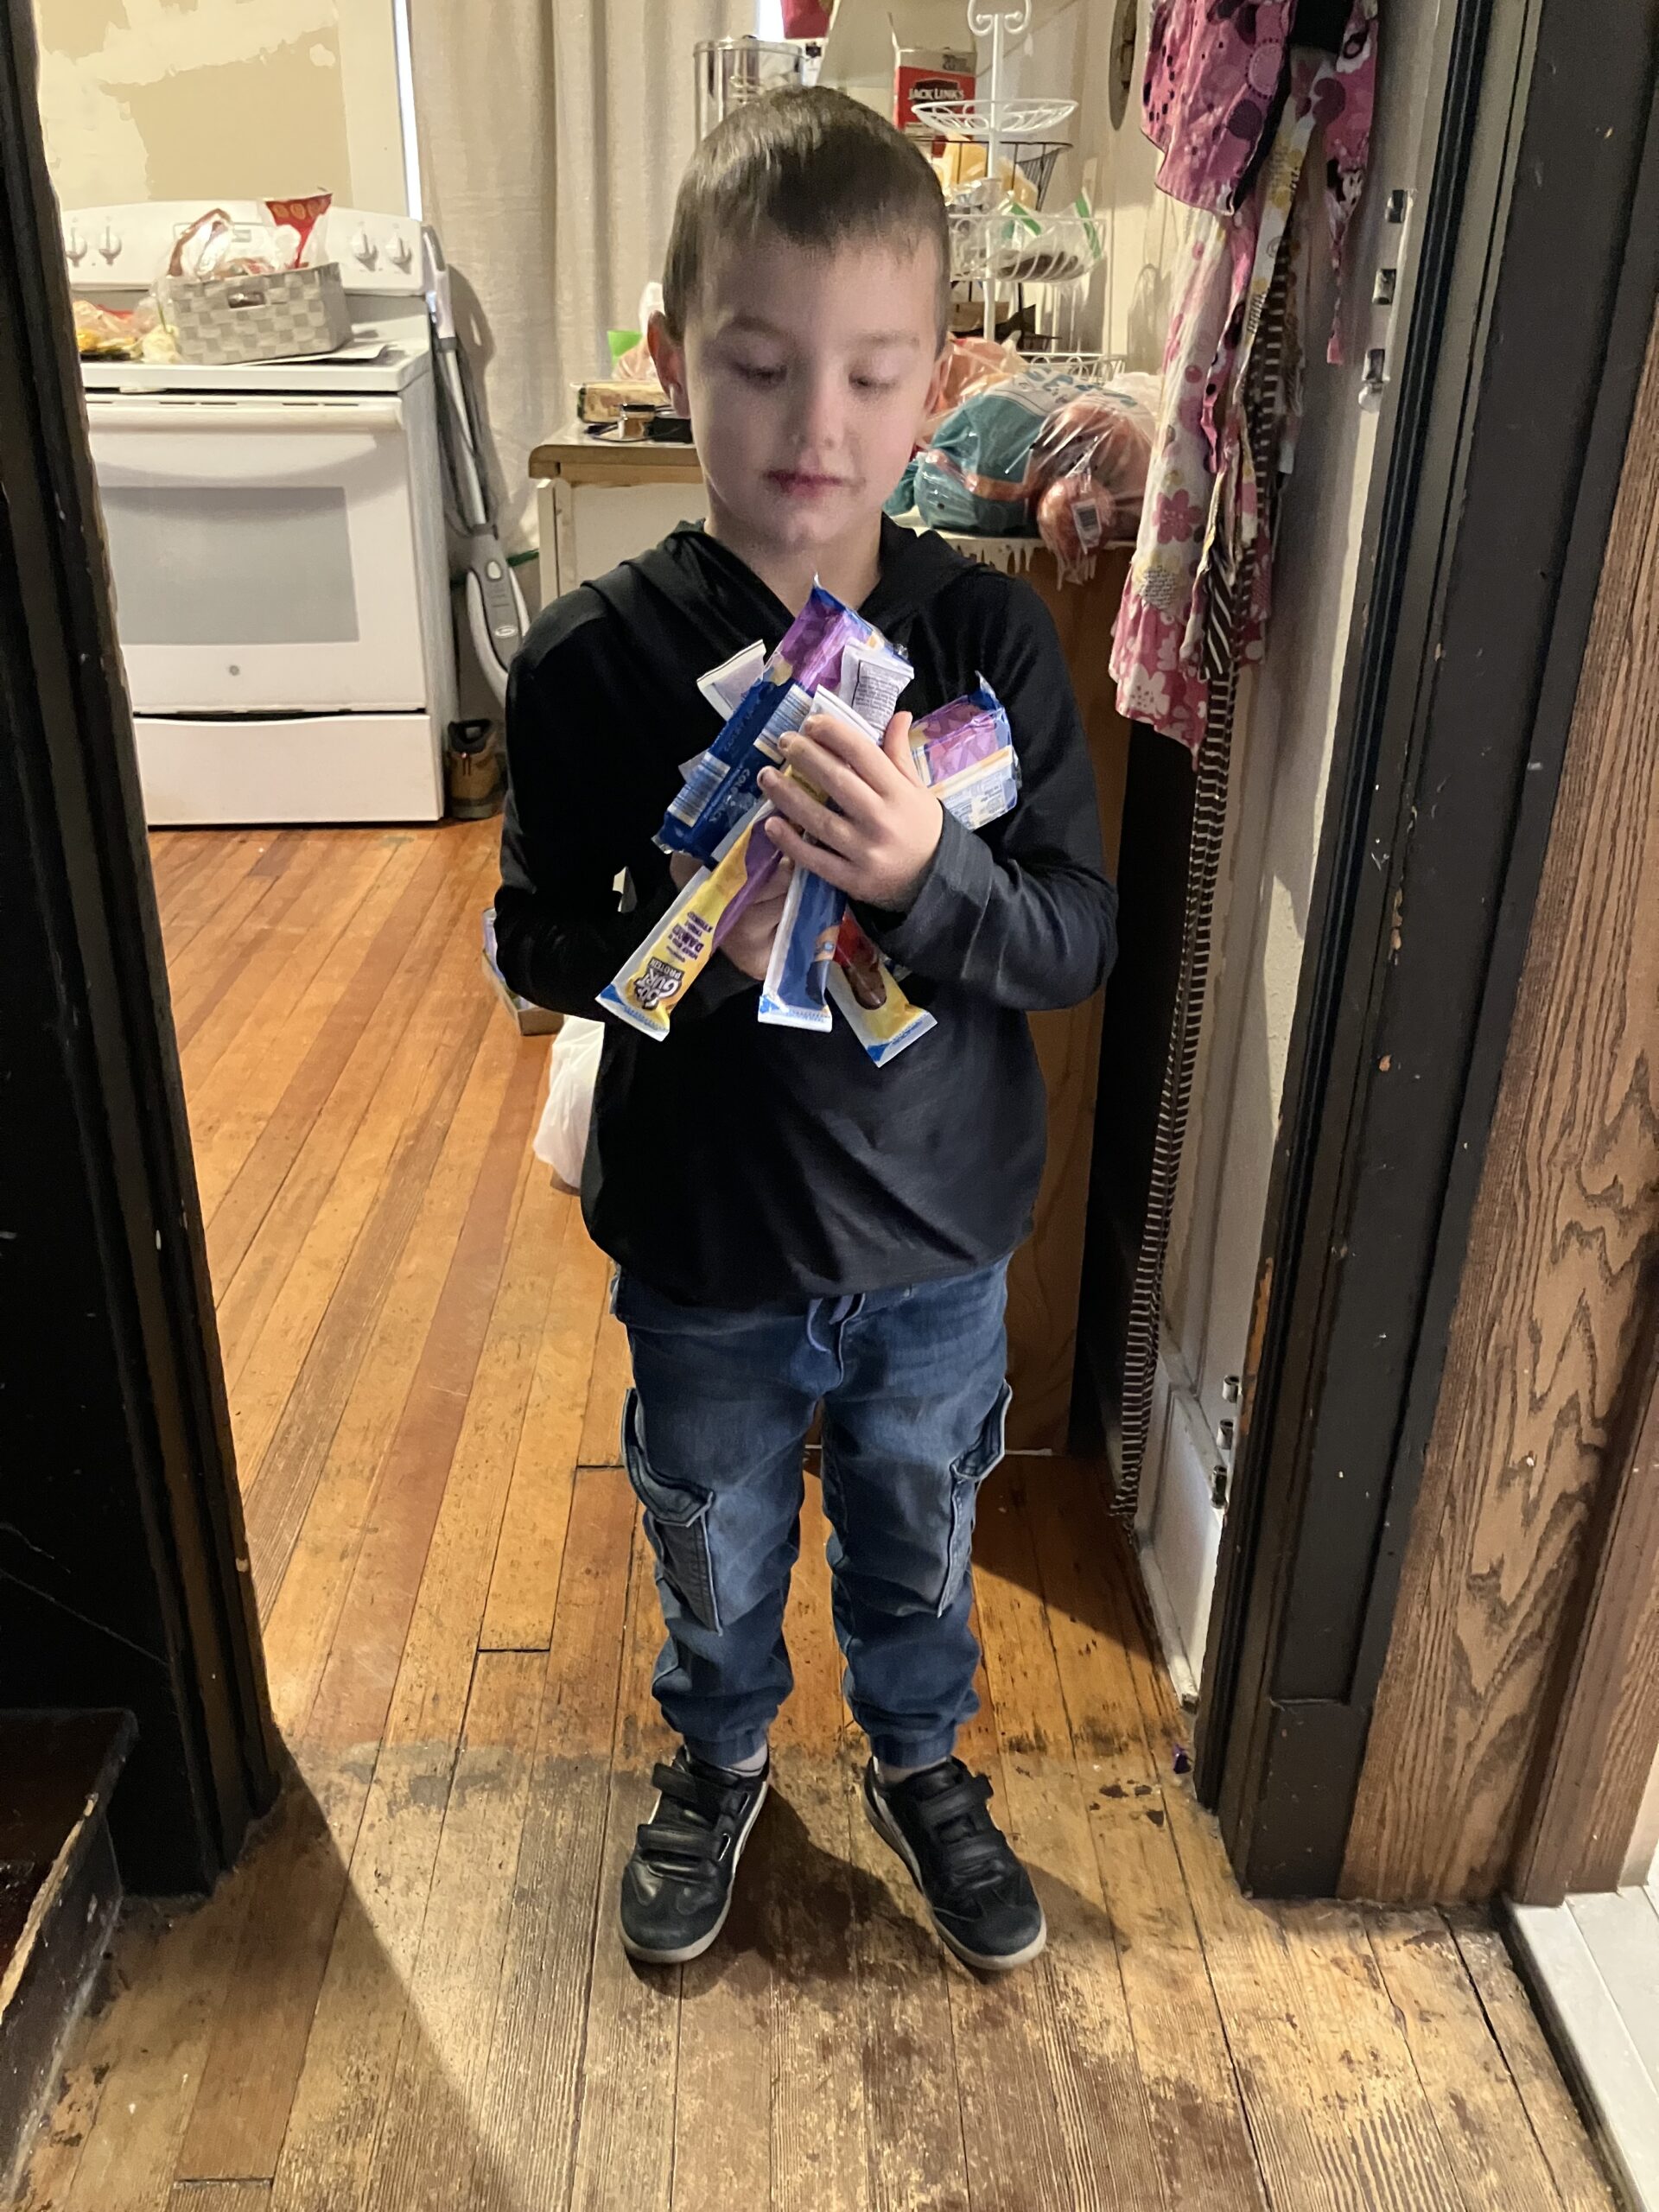
On Thursday morning, after we got the kids off to school and settled Auggie in with his ABA therapy, I made a new extra large batch of Granola Bars to have on hand.
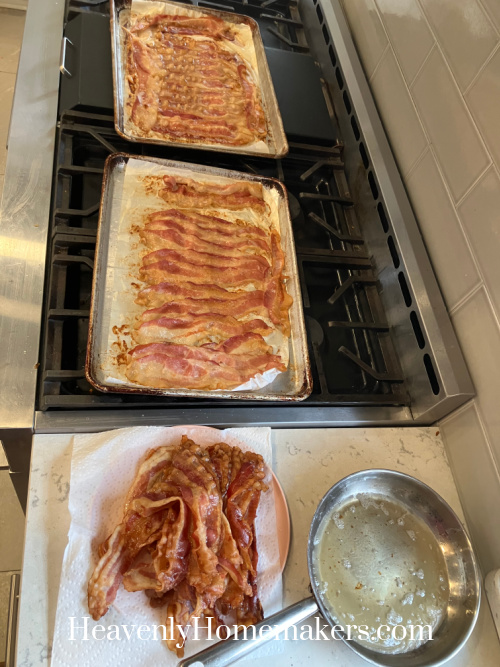
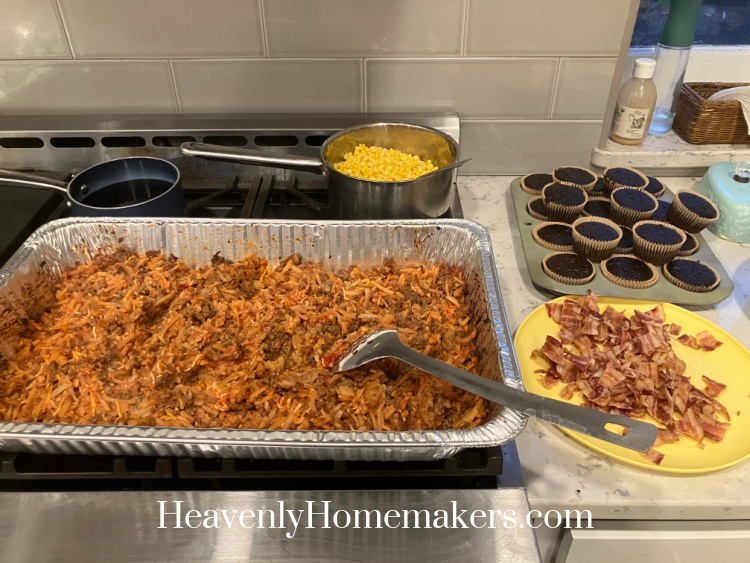
All throughout the morning, I baked many pans of Bacon. I had plans to use it with our casserole that night for dinner, for a breakfast-for-dinner on Friday, and just to have bacon on hand for anyone who wanted bacon during the next few days. The grown-ups in our house like it when I have cooked bacon on hand. I also save the bacon grease to use when I make Green Beans.

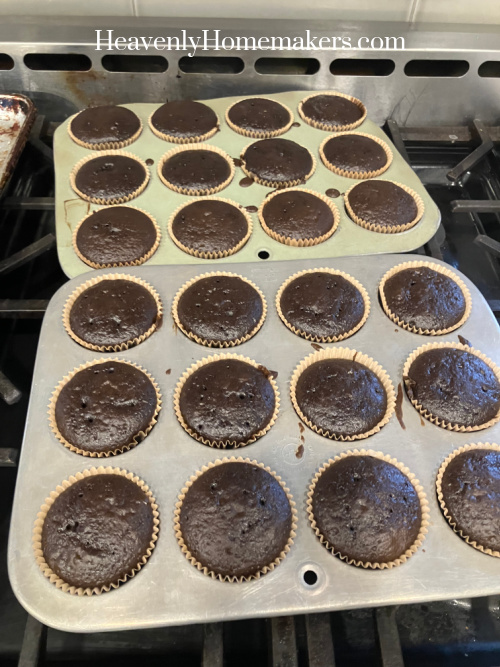
On my last round of bacon, I put two pans of Spinach Cupcakes into the oven to bake for a snack that night. I felt very relieved after all of this time in the kitchen because now I had a lot of good food items made ahead for upcoming needs!
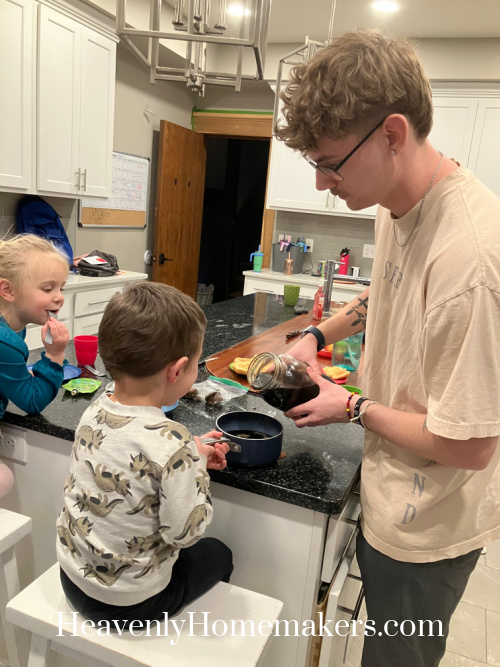
When Malachi got home from work, Auggie helped him warm up and make a cup of coffee. There’s no way Malachi could have done this without the help of his three-year-old brother.
We enjoyed our Cheeseburger Casserole that night with Bacon for those who wanted to add it, Buttered Corn, and Spinach Cupcakes.
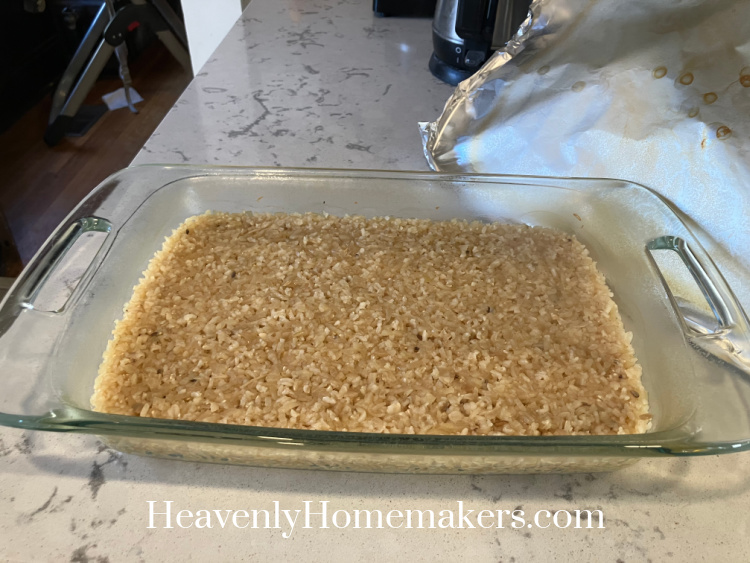
Keith took a break from his ABA therapy that night to make rice with Elias. I love how our younger kids love to be a part of life with their older brothers. And I love how the older kids include their younger siblings in their tasks.

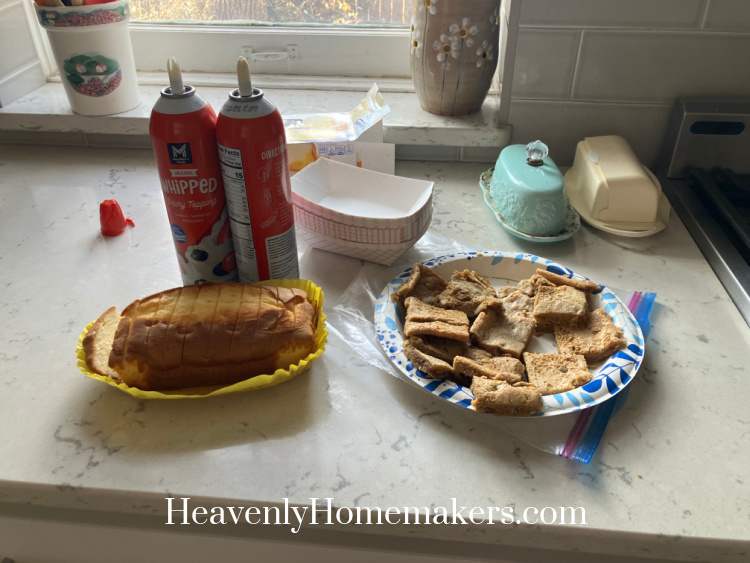
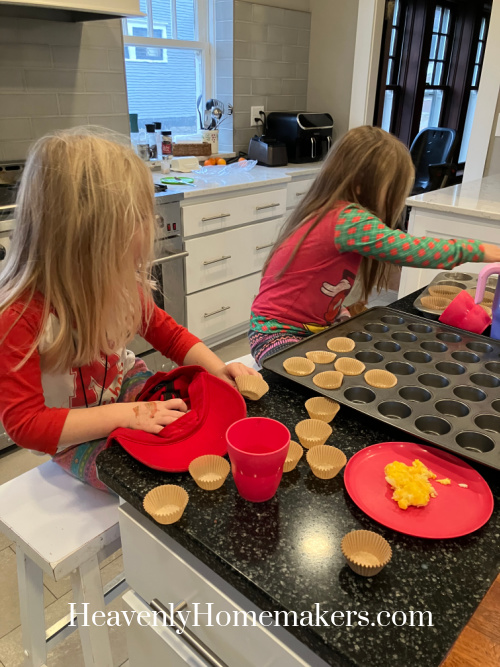
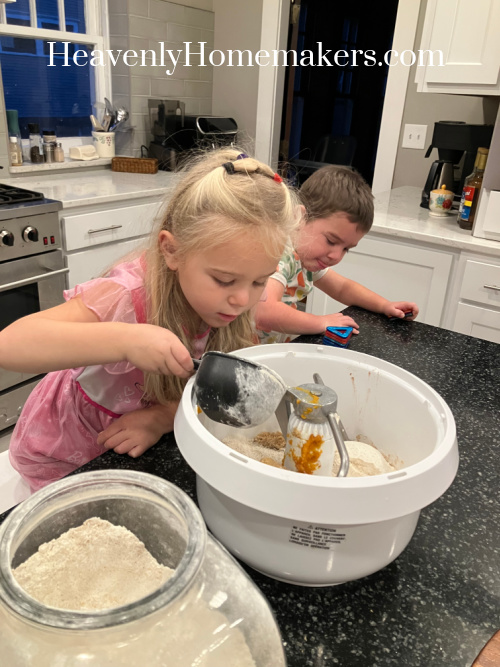
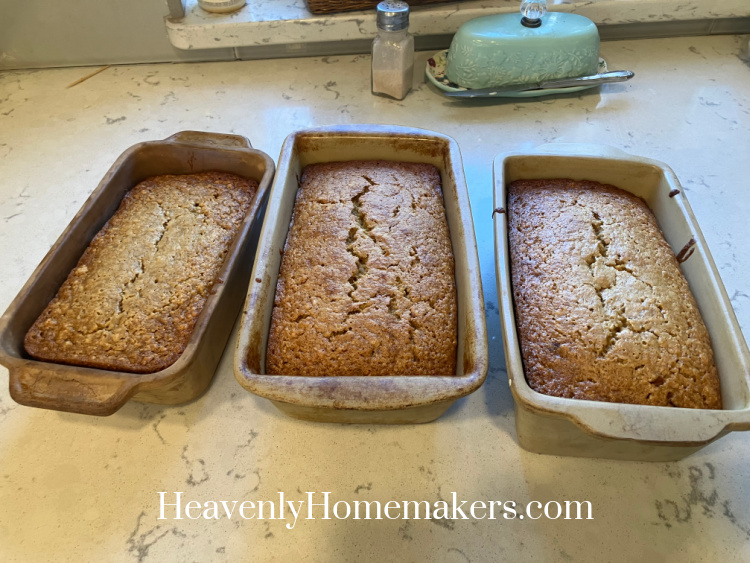
On Friday morning, Daddy took Acacia to Speech Therapy. But first, this Helper of the Day helped me make Banana Bread with all of the bananas I’d been holding onto in the freezer.
We quickly ate our way through one loaf of Banana Bread, but I froze the other two loaves for later.
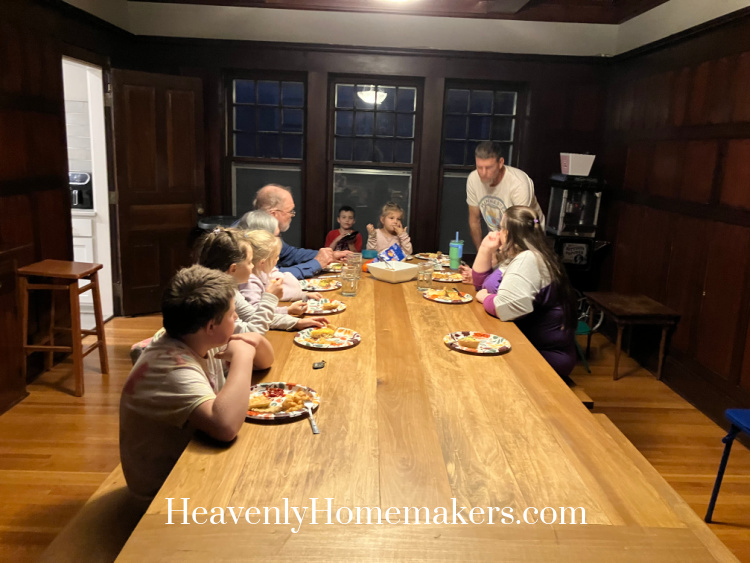
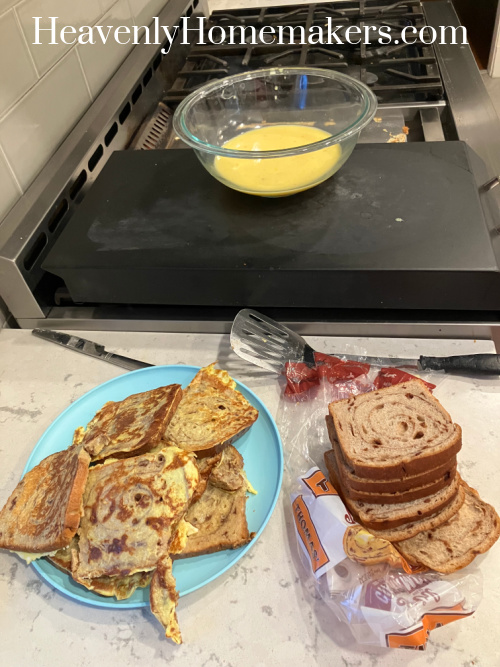
Dinner that night was a HUGE hit with everyone. I made a mountain of French Toast, 20+ Sausage Patties, and warmed up a large amount of Bacon from what I’d baked the day before. We got out Applesauce and Blueberries and feasted on dinner for breakfast. Everyone ate so well that we ran out of food before all of the adults got home from work to eat. Wow.

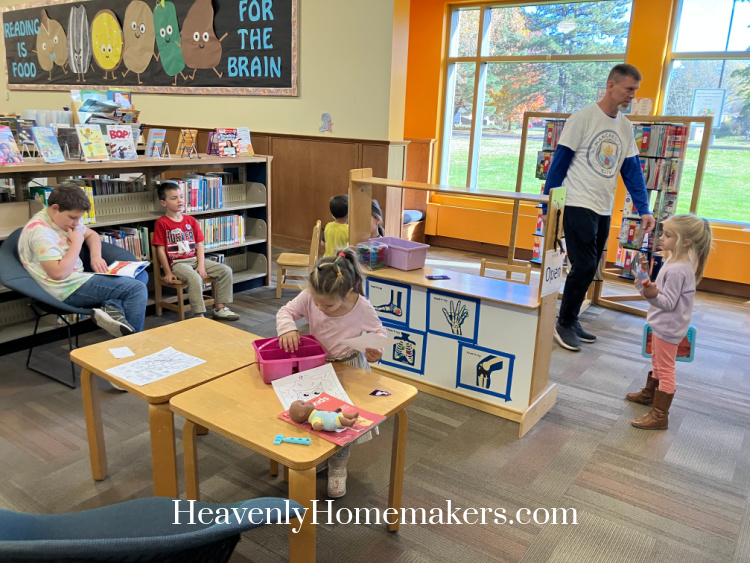
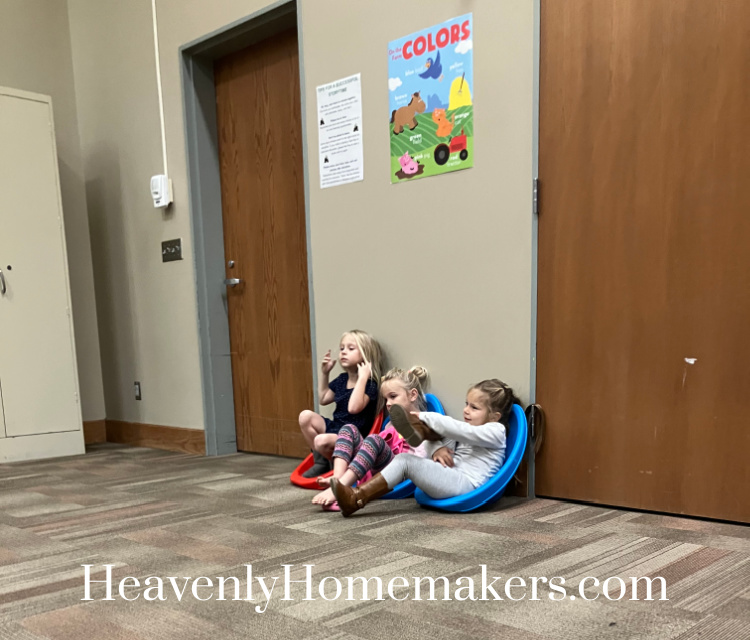
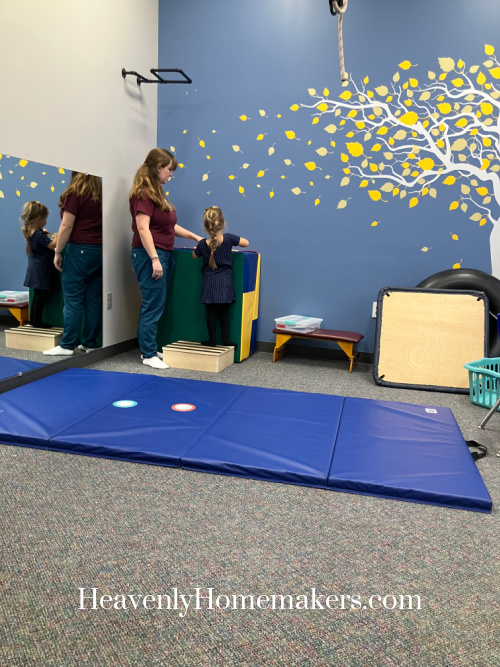
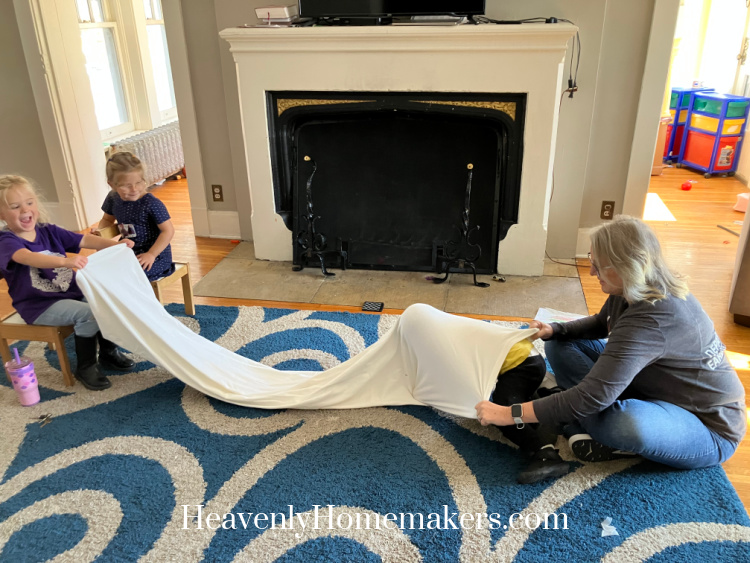
On Saturday morning, we took the kids to our favorite Sensory-Friendly Library Storytime. There’d been a break from this during the holidays, so we were very excited to go back! The theme for the day was SNOW, so we got to enjoy snowflakes made of felt, books and songs about snow, and then…

…we got to have a snowball fight!
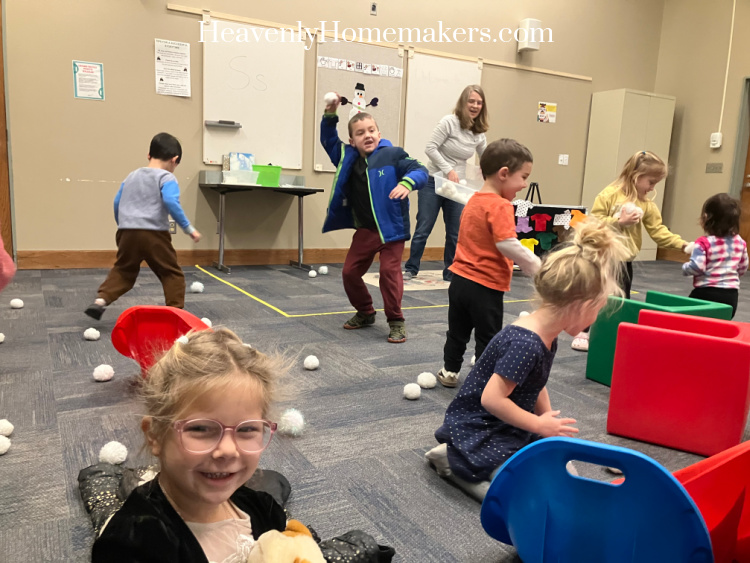
Ms. Diane is incredible at putting this weekly program together!

Matt helped me load up the kids in the library parking lot, then he left in a different vehicle to drive to Heartlands to support our friends during their mom’s funeral service. I was on my own at home with all seven kids for a couple of hours, which is rare! We planned that we would let them watch a movie to help me survive the time. It all went well, and everyone did ok overall!
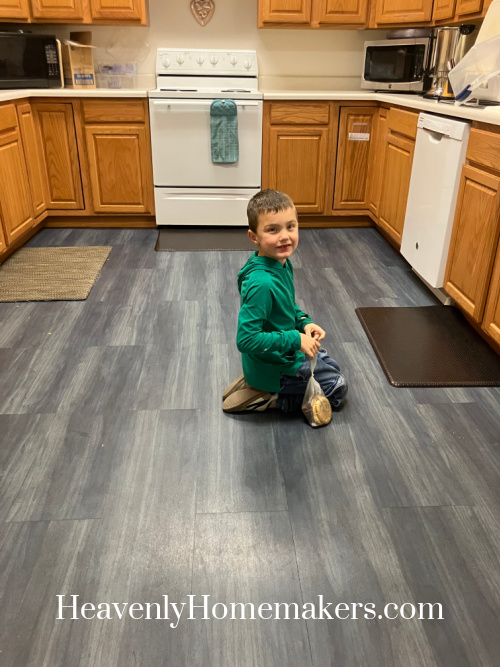
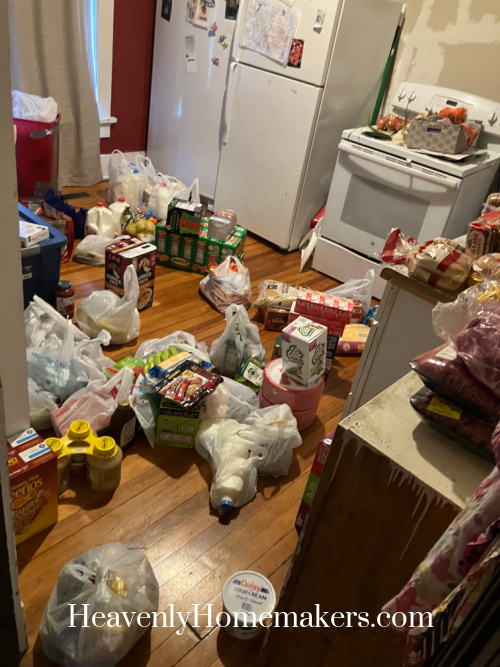
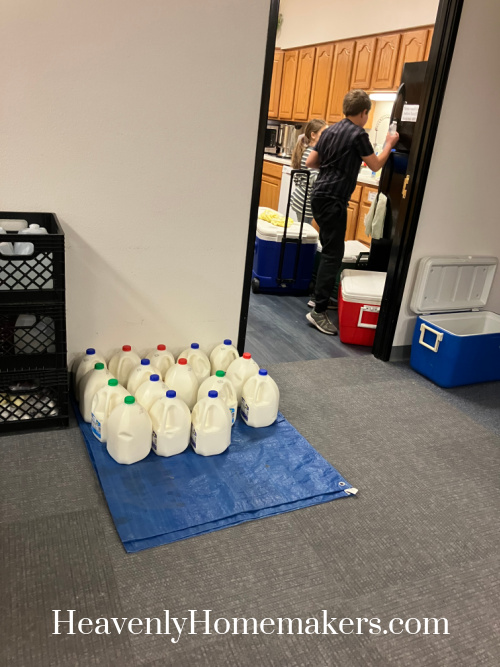
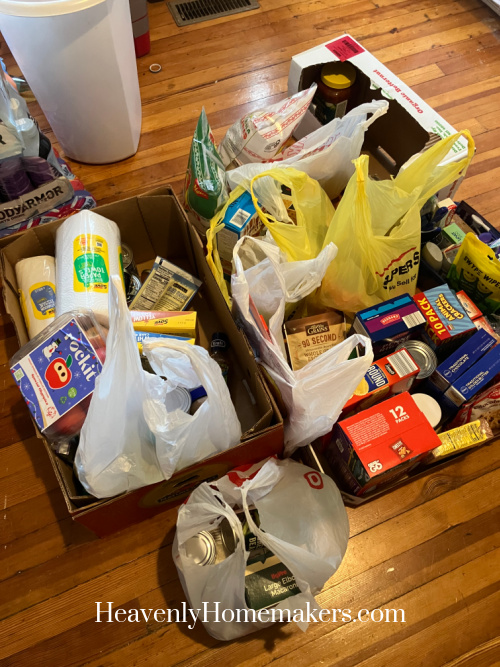
Part way through the movie, our friend Paula showed up with a car full of groceries for us to put into our Little Free Pantry. Their church group has been awesome to take part in this ministry with us! We paused our movie so that all seven kids could help bring in food.

It overtook our pantry floor – a great problem to have! So many people will be blessed by this food!
I needed to turn off my computer at this point, so I’ll continue sharing about our Saturday next week!