I realized that there are many items I buy at Costco to pack in school lunches for my kids. These are great money savers, so I wanted to share!
Does it actually save money to pack a lunch?
Last year, if you recall, I did a price breakdown on many of the lunches I pack for my kids to see if it actually saves money to send lunch in a lunchbox vs. buying lunch at school. (It does, in fact, save money.)
But more than that, I found that if my kids eat school lunch, they don’t make good choices (I wouldn’t have either at their age!). They tend to eat the cookie first and not much else because they either run out of time because they were distracted or because they didn’t like the main dish offered. Veggies never happened at school – not because they weren’t offered but because Mom wasn’t there to make them eat them.
Packing lunches for our kids ensures that they eat better, they eat more, and at the end of the day I can talk with them about what they enjoyed and what they would like done differently next time.
What I Buy at Costco to Pack in School Lunches
We only pack sandwiches and chips for a Fun Friday lunch. The other four days of the week, we like to pack a different variety of foods they like. Some lunches are hot, some are cold, and both work very well!
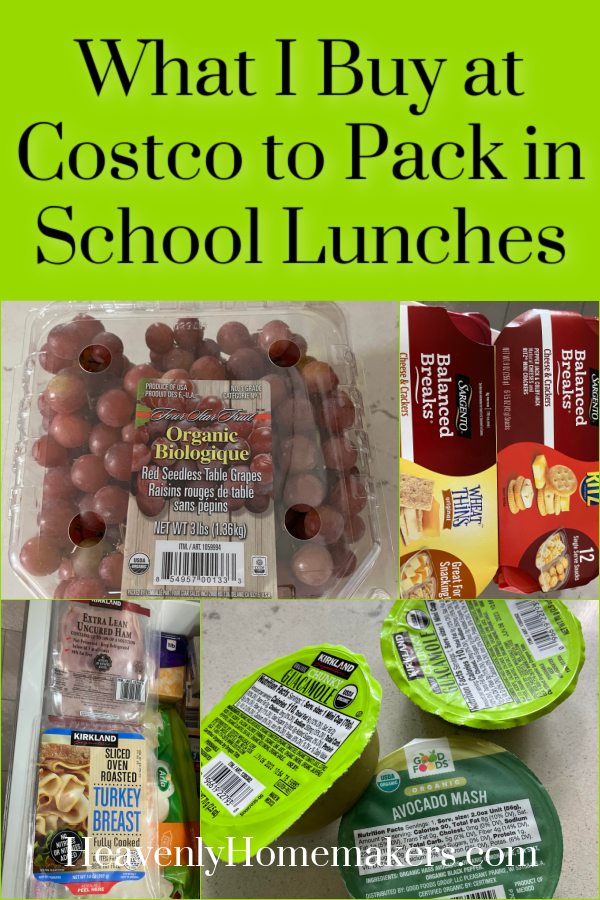
Here’s a big run down at food we get at Costco that works great as we pack school lunches!

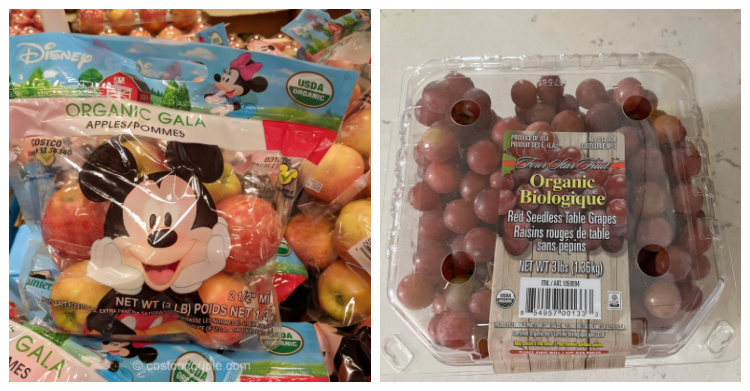
Fruits and Veggies
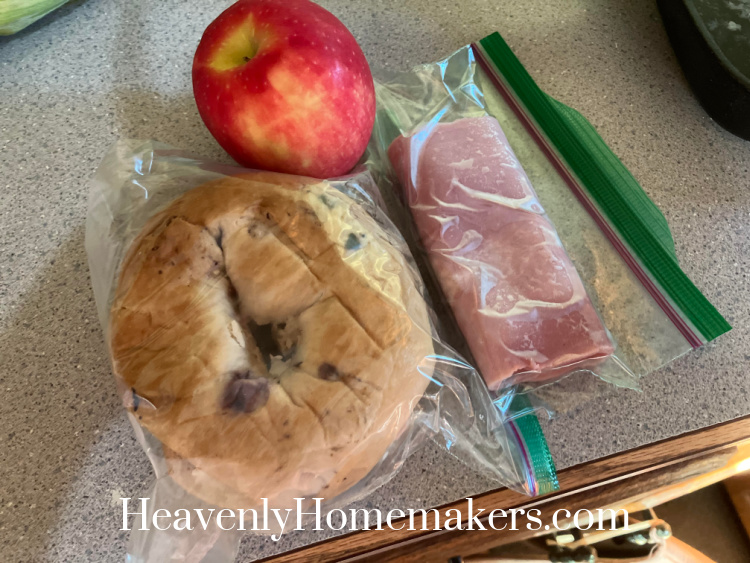
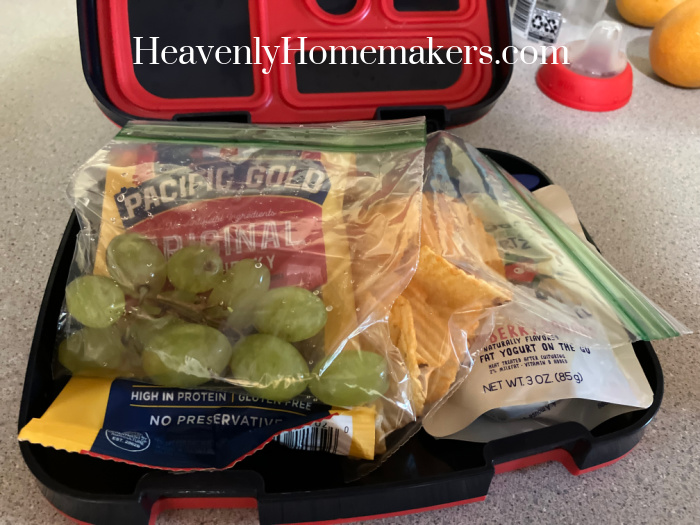
Costco’s Organic Gala apples are the perfect size for a school lunch, plus they are high quality and always priced wonderfully per pound. Their grapes make a great side dish, and I simply buy whichever variety is priced the lowest at that time. Clementines pack well and are easy to peel. I pack fresh Costco pears and bananas occasionally, but those are tricky because they tend to get squished in the lunch box. ;)
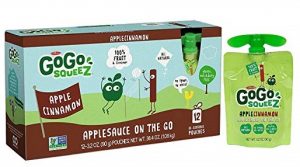
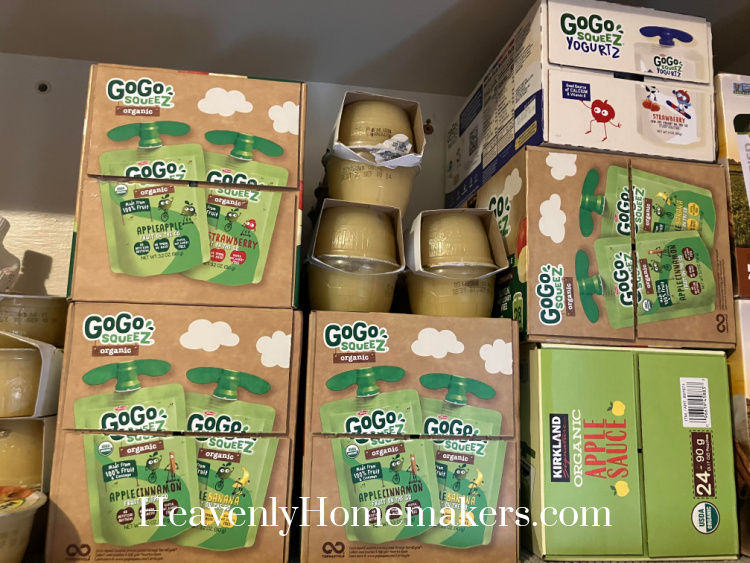
When GoGo Squeeze are on sale, I stock up! These are great to throw into a school lunch because they don’t even require a spoon. ;) I get applesauce cups also, and every once in a while I put a GoGo Squeez yogurt into a lunch (that’s usually a special treat that I include in a Fun Friday Lunch).
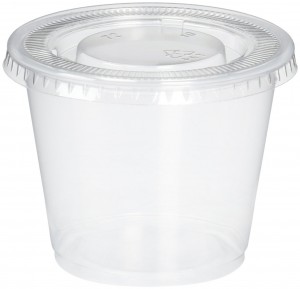
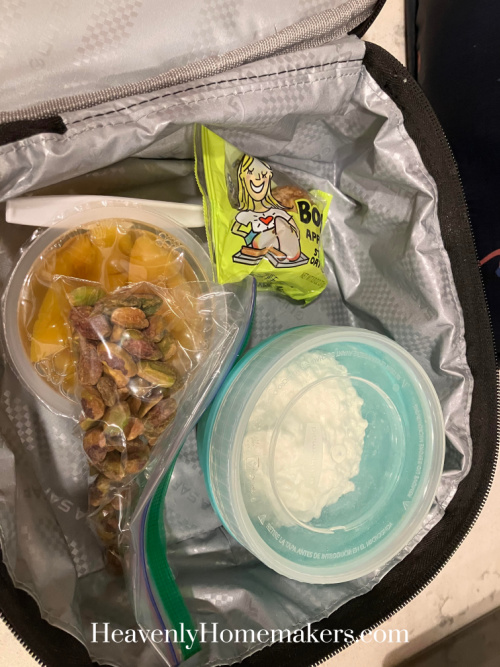
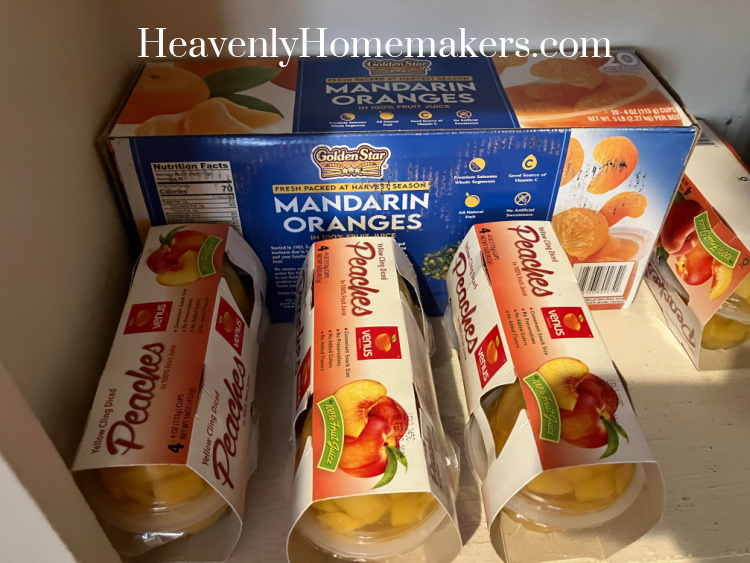
Peach Cups and Mandarin Orange Cups in 100% juice are great to send with the kids for fruit variety and because we often run low on fresh fruit at home (I buy a ton but we eat a ton, so I struggle to keep up!). Having these cups on the shelf is super convenient and great for lunch boxes. They really like Pear Cups also, but it is hit and miss on finding those.
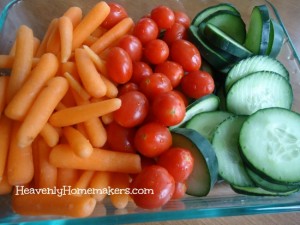
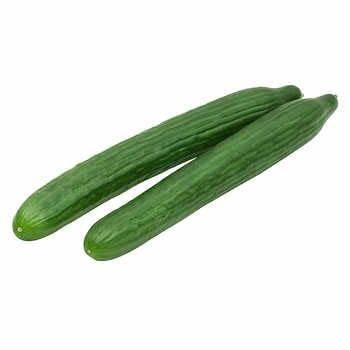
Baby carrots and cucumbers are great lunchbox options. Brayden discovered this summer that he LOVES cucumbers. :) Kiya isn’t a fan of cucumbers but she does like baby carrots dipped in peanut butter. :)
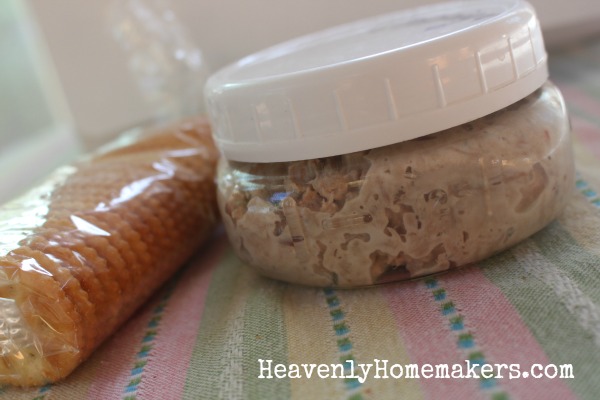
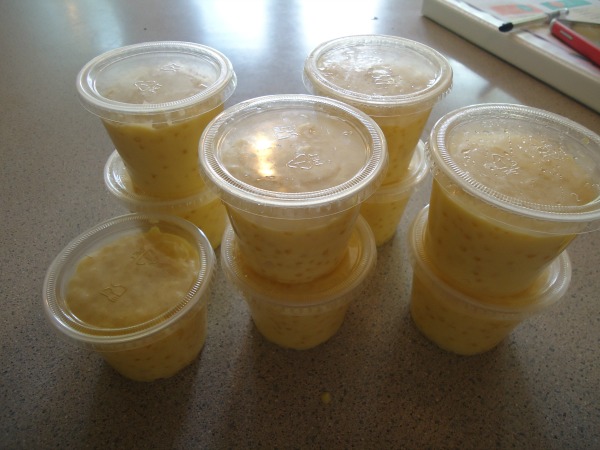
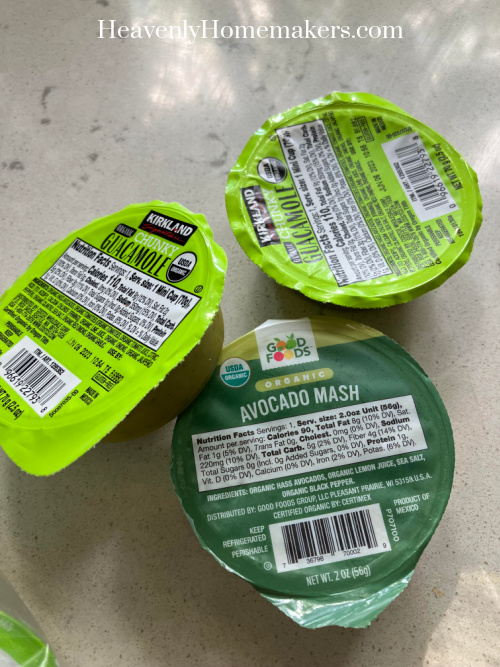
I’ve found that it’s worth it to splurge on Costco’s Avocado Cups and Guacamole Cups as they pack well and are fun to eat with tortilla chips.
And speaking of tortilla chips…
These huge bags from Costco are our favorite. They are a great price and go a long way, even for our large family.
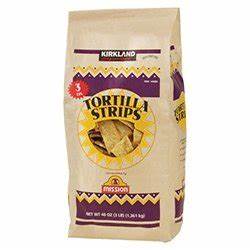
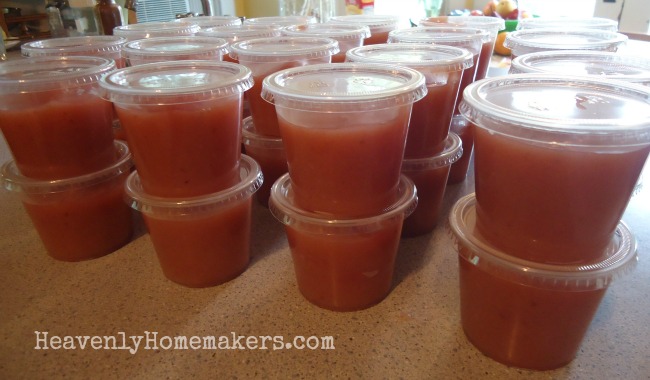
Often I’ll pack a little baggie of these chips to go with any of these dips I’ve made and put into small containers:
- Simple Bean and Cheese Salsa Dip
- Cream Cheese Salsa Dip
- Bacon Ranch Chip Dip
- French Onion Dip
- Bacon Tomato Dip
- Black Bean Salsa
- Healthier Cheese Dip
- Nacho Cheese Pretzel Dip
- Easy Guacomole
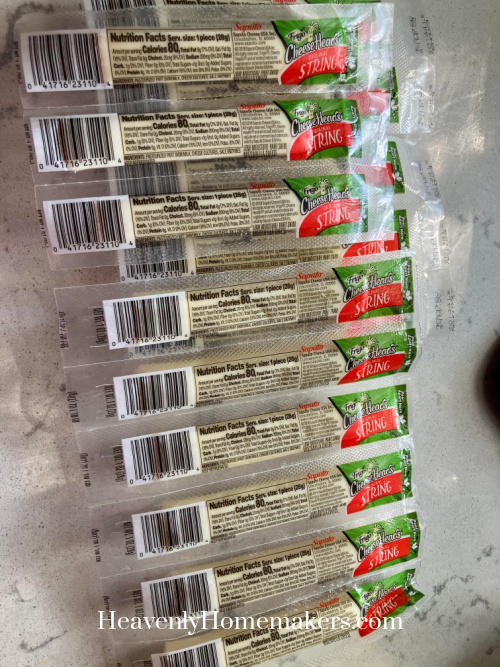
From the cheese aisle
Big packs of cheese sticks come in handy as something easy to throw into a lunch box to help fill the kids’ bellies. Plus I like to get big packs of sliced Colby jack cheese to use on Friday’s sandwiches or to enjoy with crackers.
Lunchmeat
These Kirkland brand varieties of ham and turkey are our favorite. We don’t just use them on sandwiches for our lunchboxes. Often we’ll roll them up and put them into a bag to eat as-is.


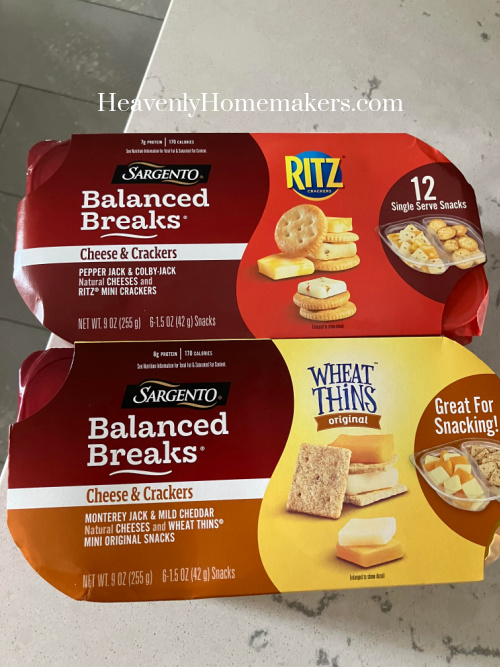
These Cheese and Cracker 12-Packs are a bit of a splurge, but I like to keep them on hand anyway because they are a great lunchbox item that I can fall back on if I don’t have much time to put together anything else. And yep, even though they are a convenience item, the overall cost is still lower than paying for a school lunch.
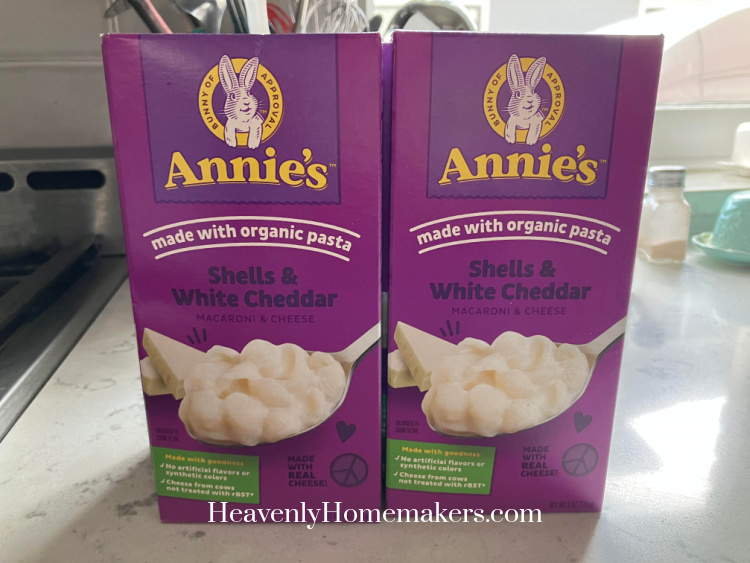
Mac and Cheese
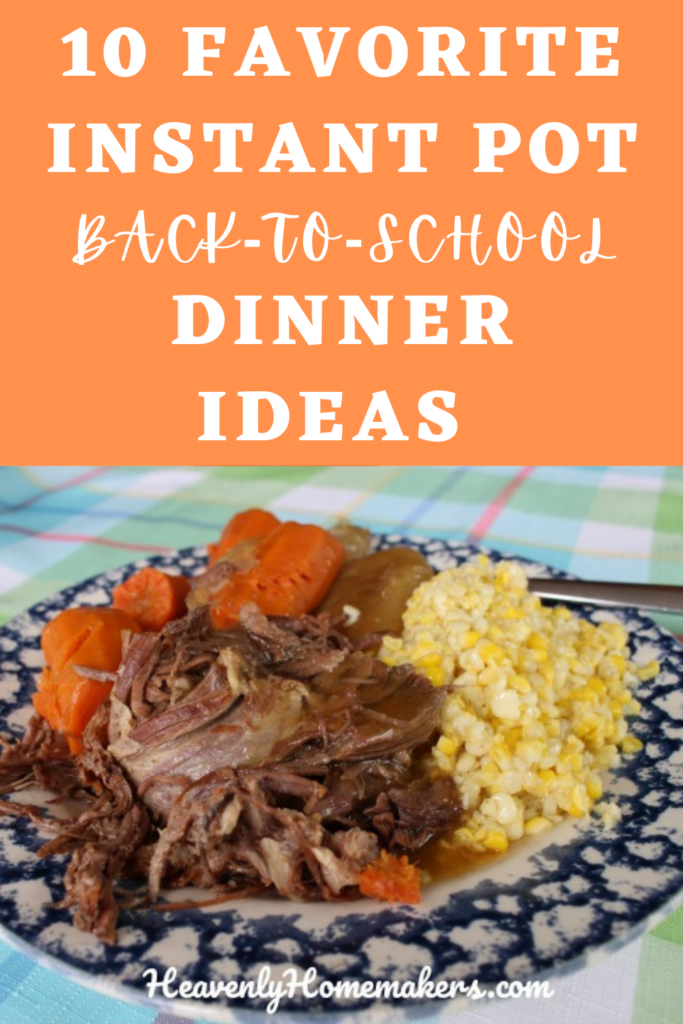
For a hot lunch option, I buy cases of mac and cheese at Costco. Typically, if I’m making mac and cheese for lunch for the littles, I’ll make extra to warm up and put in a thermos the next day for the elementary-aged kids. It’s perfect! (See how I send hot lunches to school here.)
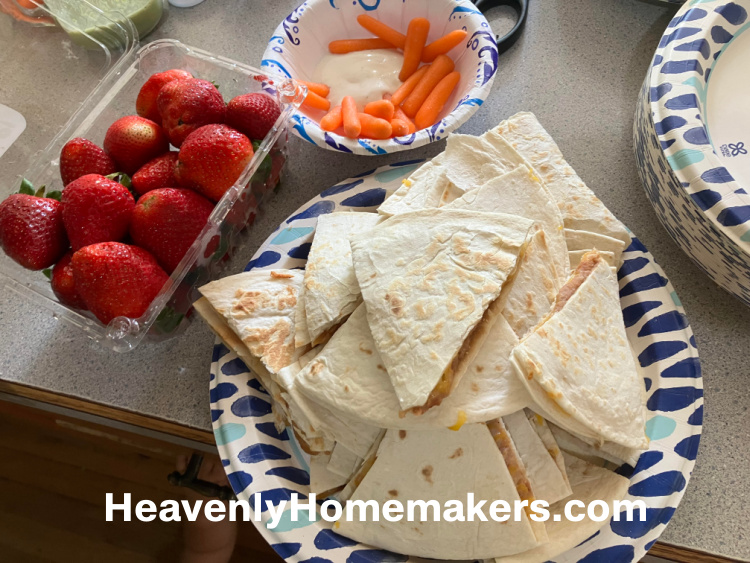
Costco Frozen Pizza
Remember how I figured out that buying Costco Frozen Pizza is a great frugal meal option? They are also a great school lunchbox option! I’ll bake one, let it cool, cut it, and baggie it up to throw into the kids’ lunchboxes. So easy and they love it!

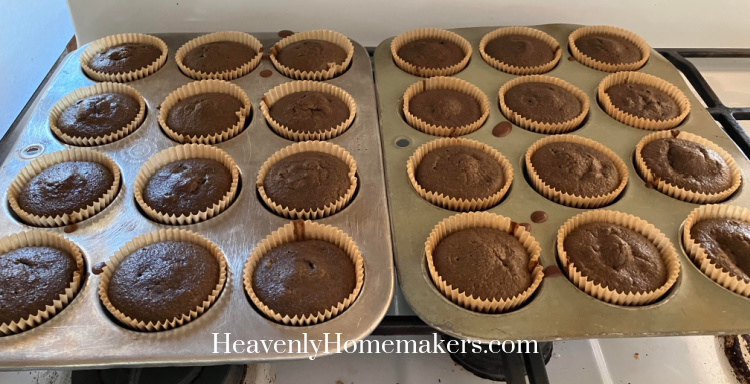
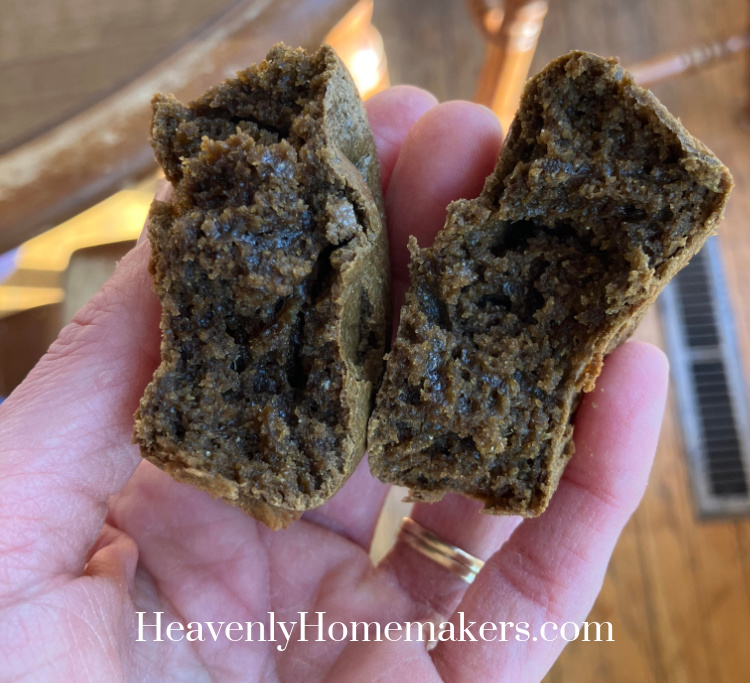
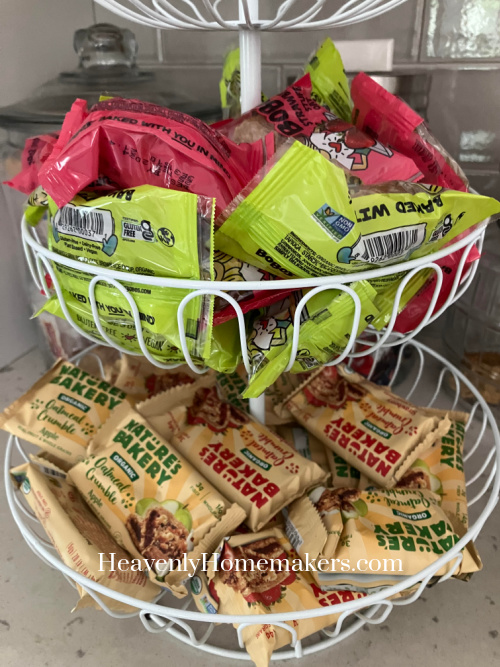
Packaged Treats
It costs less to bake homemade muffins (40+ recipes here) and other baked goods (huge list of recipes here) to send in a school lunch. But Costco offers big boxes of pre-made treats like this that are nice to add to a lunch box. We like their 100% fruit strips, Nature’s Bakery brand items, and Bobo’s muffins.
What do you like to buy at Costco to pack in school lunches?