Here’s another super easy snack recipe to help us along in the Getting Ahead {Snacks} Challenge. These were a huge hit at our house – and so easy that I can definitely make these frequently!
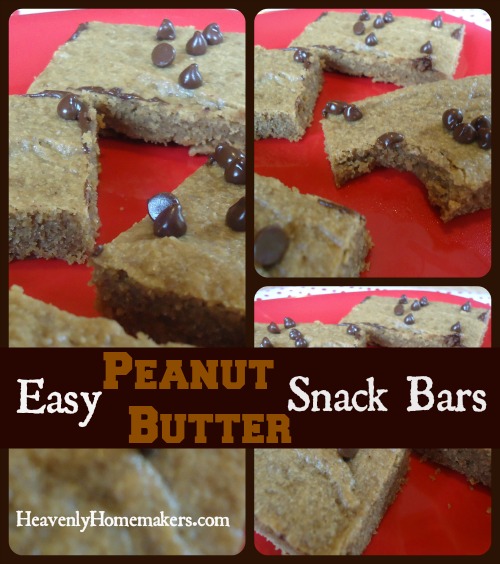
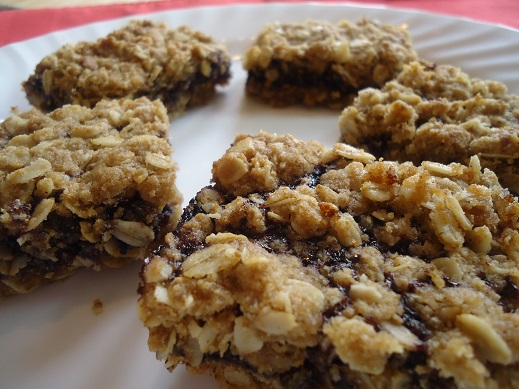
Easy Peanut Butter Snack Bars
Easy Peanut Butter Snack Bars
Author: Laura
Serves: 20
Ingredients
- 1 cup natural peanut butter (I use homemade creamy peanut butter)
- ½ cup butter
- ⅔ cup sucanat or brown sugar
- 3 eggs
- 1 teaspoon vanilla extract
- ½ teaspoon sea salt
- 1 cup whole grain flour
- ¼ cup chocolate chips (optional)
Instructions
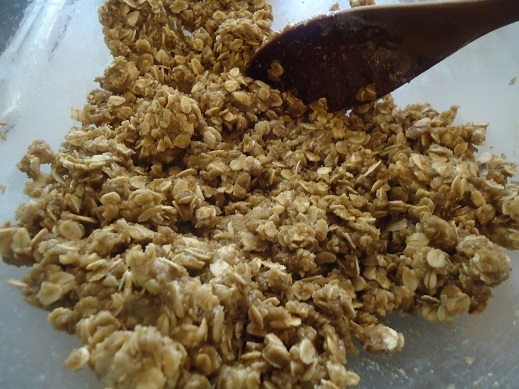
- In a small saucepan, melt together peanut butter and butter.
- Pour mixture into a medium-sized bowl and stir in sucanat until creamy.
- Add eggs, vanilla, and salt, stirring well.
- Mix in flour until well combined.
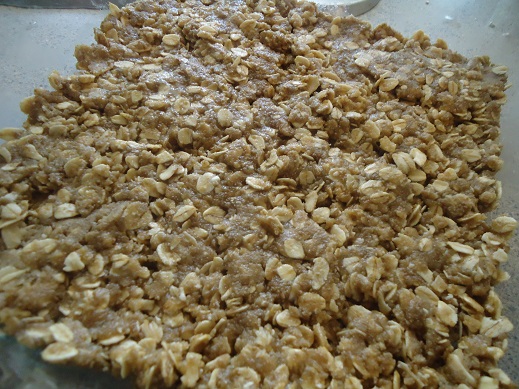
- Spread mixture into a 9x13 inch baking dish.
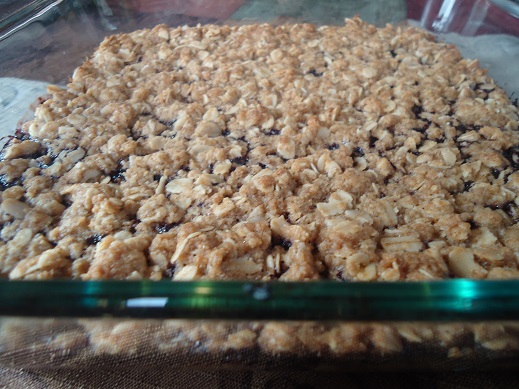
- Bake in a 350° oven for about 25 minutes.
- Remove from oven and sprinkle chocolate chips on top if desired.
- Cut into about 20 bars.
To freeze: Allow bars to cool completely. Wrap them individually to keep the bars moist. Place wrapped bars in a freezer bag and freeze for up to 3 months. Thaw for at least one hour before serving.
These make for great grab-and-go snacks!