Heavenly Homemakers

Encouraging women in homemaking, healthy eating and parenting

  • Home
    • About
    • FAQs
  • Recipes
    • Bread and Breakfast
    • Condiments
    • Dairy
    • Main Dishes
    • Side Dishes and Snacks
    • Desserts
    • Gluten Free
    • Instant Pot
    • Crock Pot
    • Heavenly Homemaker’s Weekly Menus
  • Homemaking
    • Real Food Sources
  • Store
  • Contact
    • Advertise
    • Disclosure
    • Privacy Policy
  • Simple Meals
  • Club Members!

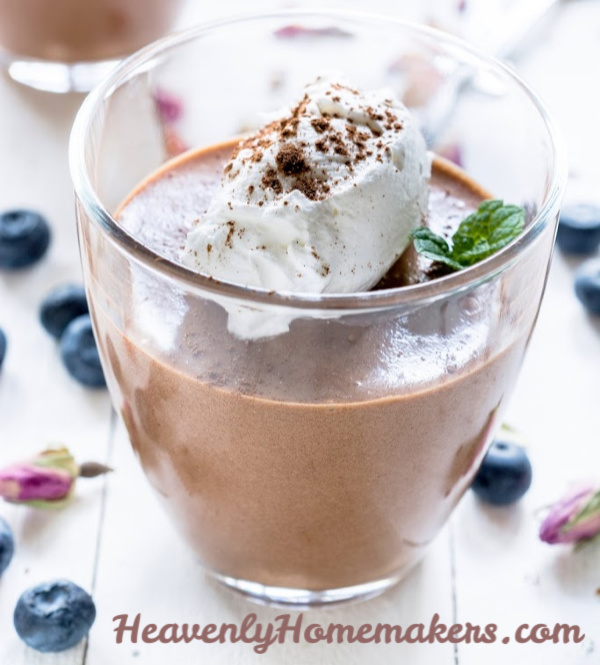
Homemade Chocolate Pudding Recipe

July 28, 2019 by Laura 4 Comments

This post may contain affiliate links. For more information, please see our disclosure policy.

Apparently, it is the week for pudding! We’ve shared our Homemade Vanilla Pudding recipe, a great idea for a Pudding Parfait in a Jar, and today our Homemade Chocolate Pudding Recipe!

Just like our Homemade Vanilla Pudding recipe, this one is tried and true and worth another share. We wanted to highlight it again as another school year is approaching (I know, I don’t want to talk about it either!). This is a great recipe for an after school snack or to pack in a lunch.

How should you pack it in a lunch, you ask? Well now, check out this fun idea for How to Make Your Own Pudding Cups!
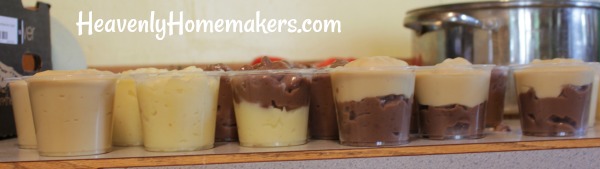
And get our other homemade pudding recipes here so that you can mix and match!

  • Vanilla Pudding
  • Butterscotch Pudding
  • Tapioca Pudding
  • Peanut Butter Pudding

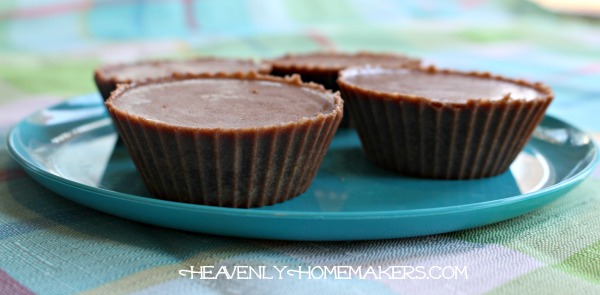
Homemade Chocolate Pudding RecipeYum

Homemade Chocolate Pudding Recipe
 
Save Print
Author: Laura
Serves: 4-6
Ingredients
  • 2½ cups milk
  • 3 egg yolks
  • ¼-1/2 cup real maple syrup
  • ¼ cup unsweetened cocoa powder
  • 4 Tablespoons arrowroot powder or cornstarch
  • ¼ teaspoon sea salt
  • 1 teaspoon vanilla
Instructions
  1. In a medium saucepan, whisk together milk, egg yolks, maple syrup, cocoa powder, arrowroot powder, and salt.
  2. Cook over medium heat, whisking/stirring CONSTANTLY until pudding begins to thicken.
  3. Stir over the heat for about 15 more seconds.
  4. Remove immediately from the heat, and continue to stir until pudding is creamy.
  5. Add vanilla and continue to stir until mixed.
  6. Pour into serving dishes and serve warm, or chill for two hours and serve cold.
3.5.3229

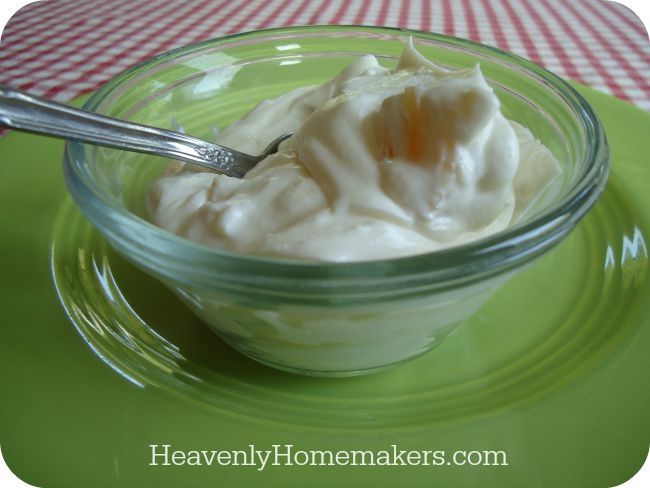
Need some Homemade Whipped Cream to eat on top of your Homemade Chocolate Pudding? YES, you really do! It’s super easy to make and well worth the small amount of effort so that you can enjoy the additional treat of whipped cream on top of your homemade pudding! Get our Homemade Whipped Cream recipe here.

 

Heavenly Homemaker's Club Members: Access your homepage and all your fantastic resources here! Not a member yet? Please join us!

Simple Layered Pudding in a Jar

July 23, 2019 by Laura Leave a Comment

This post may contain affiliate links. For more information, please see our disclosure policy.

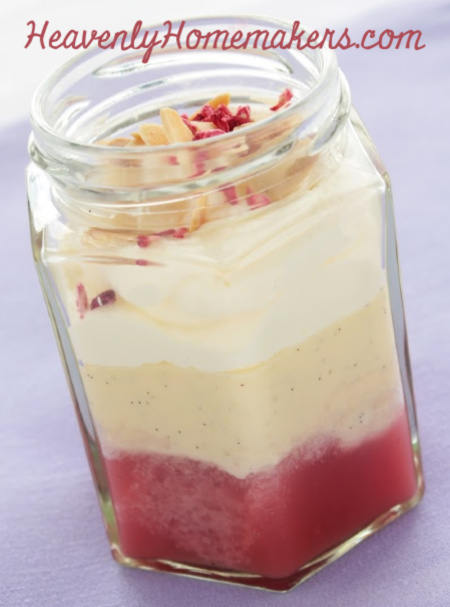
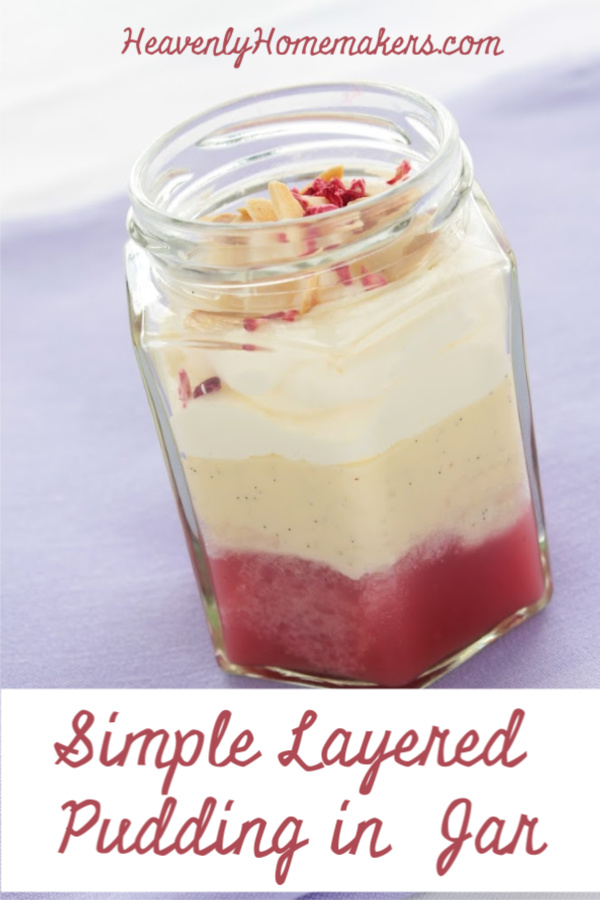
Did you see our Homemade Vanilla Pudding Recipe? Now you’re going to need this Simple Layered Pudding in a Jar idea to go with it!

This idea is so fantastic because you can mix and match and make a treat exactly to your liking.

Take it to go!

This idea is beautiful enough to make for special gatherings, parties, and showers. But it’s also practical enough that you can make several jars ahead and take them on the go with you. Pack them for lunches. Carry them for snacks. Make everyone around you jealous that while you are eating a gorgeous and delicious Layered Pudding in a Jar treat, they are stuck with…well, anything but a Layered Pudding in a Jar treat.

Hmm, perhaps you should carry around extras to share with those around you. :)

Simple Layered Pudding in a JarYum

Simple Layered Pudding in a Jar
 
Save Print
Author: Laura
Serves: 6
Ingredients
  • 1 batch of homemade vanilla pudding*
  • 1 batch of homemade fruit syrup**
  • Whipped cream***
  • Slivered almonds or other nuts that you prefer (optional)
Instructions
  1. Make pudding, fruit syrup, and whipped cream as directed in each of the links below.
  2. Layer each in a jar according to your preference.
  3. Top with whipped cream and nuts if you like!
  4. Cover and store in the fridge to eat as needed.
3.5.3229

Ready for the recipe links?

*Homemade Vanilla Pudding

**Homemade Fruit Syrups:

  • Apple Butter
  • Peach Syrup
  • Easy Raspberry Syrup
  • Blueberry Syrup (sub strawberries if you want!)

***Homemade Whipped Cream

Don’t want to mess with making homemade fruit syrup?

Simply toss in sliced fresh fruit.

The sky is the limit to how you can create your Layered Pudding Parfaits. It should come as no surprise that strawberry is my favorite syrup to make and add to my pudding. But since I don’t want/need the added sugar needed to create a fruit syrup, I usually just add the strawberries as-is!

Enjoy and have fun!

Want more Food-in-a-Jar Ideas?

You’ll love these!

Need to know where to get great jars?

This post shares all!

Heavenly Homemaker's Club Members: Access your homepage and all your fantastic resources here! Not a member yet? Please join us!

Homemade Vanilla Pudding Recipe

July 21, 2019 by Laura 7 Comments

This post may contain affiliate links. For more information, please see our disclosure policy.

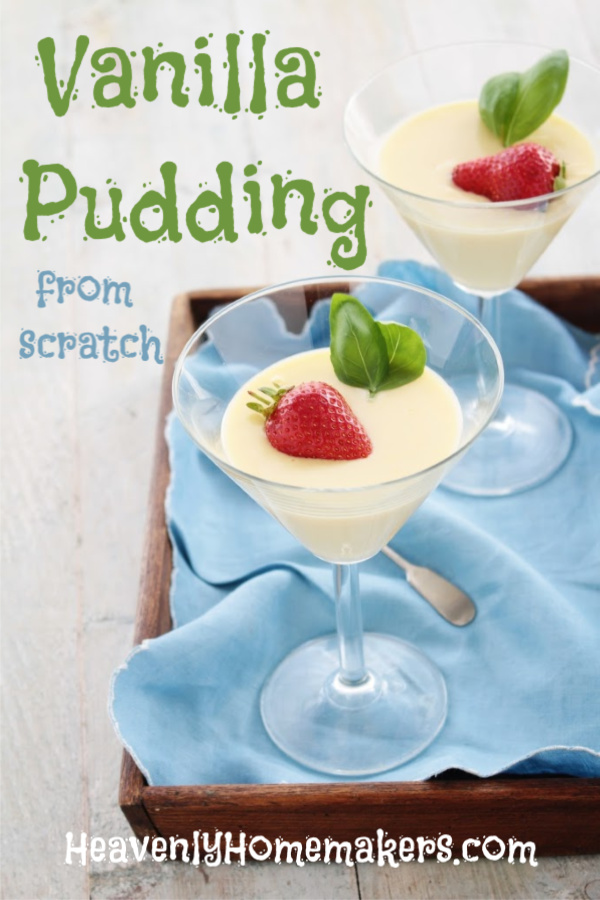
Want a Vanilla Pudding Recipe that you can make from scratch? But you’re afraid it will be too difficult? Check this out!

We shared this recipe years ago here at Heavenly Homemakers. But as delicious and simple as it is, I felt it was worth another share. A tried and true recipe like this one that we’ve made at our house for years and years is worth a repeat!

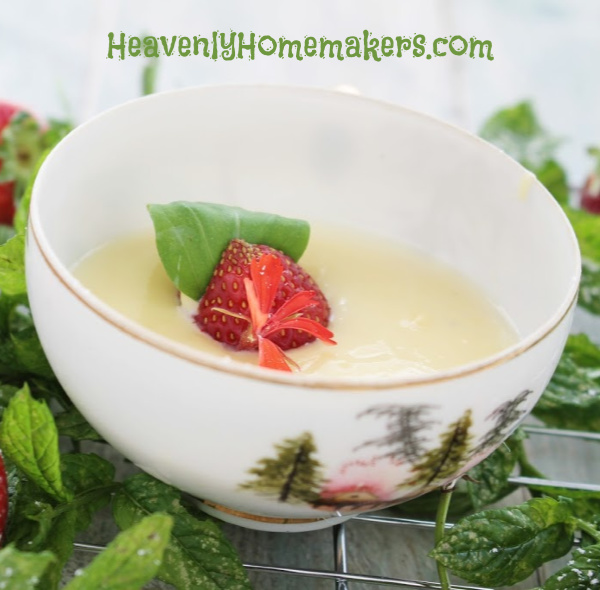
Homemade Vanilla Pudding is fantastic comfort food, and with its eggs and milk, it also offers nourishment. Eat it warm right off the stove, or let it chill so you can eat it cold.

Want to take it to go?

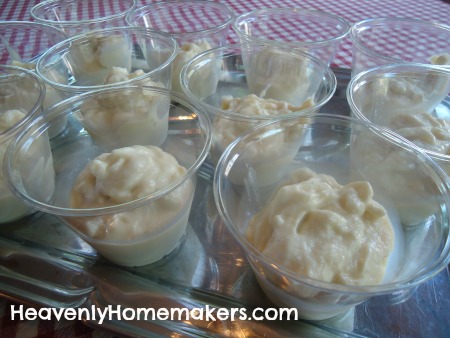
Check out our fun post that describes How to Make Your Own Pudding Cups!

Homemade Vanilla Pudding RecipeYum

4.0 from 2 reviews
Homemade Vanilla Pudding Recipe
 
Save Print
Author: Laura
Serves: 4-6
Ingredients
  • 2½ cups milk
  • 3 egg yolks
  • ¼-1/2 cup real maple syrup
  • 4 Tablespoons arrowroot powder or cornstarch
  • ¼ teaspoon sea salt
  • 1 teaspoon vanilla
Instructions
  1. In a medium saucepan, whisk together milk, egg yolks, maple syrup, arrowroot powder, and salt.
  2. Cook over medium heat, whisking/stirring CONSTANTLY until pudding begins to thicken.
  3. Stir over the heat for about 15 more seconds.
  4. Remove immediately from the heat, and continue to stir until pudding is creamy.
  5. Add vanilla and continue to stir until mixed.
  6. Pour into serving dishes and serve warm, or chill for two hours and serve cold.
3.5.3229

UPDATE:

I’ve started to add the entire egg to my pudding instead of separating the yolk from the white. The trick is to whisk the eggs and milk together VERY THOROUGHLY before adding the other ingredients and cooking it. Once the mixture is smooth, then cook and stir it on the stove.

Want your pudding more or less sweet? Adjust the amount of maple syrup in the recipe to your family’s preference!

It goes without saying that topping your Homemade Vanilla Pudding with fresh fruit it an additional wonderful and nourishing idea.

Want more homemade pudding recipes?

  • Butterscotch Pudding
  • Chocolate Pudding
  • Tapioca Pudding
  • Peanut Butter Pudding

I’ll be updating our Chocolate Pudding Recipe next. And stay tuned for an awesome Pudding Parfait in a Jar idea coming soon too!

Heavenly Homemaker's Club Members: Access your homepage and all your fantastic resources here! Not a member yet? Please join us!

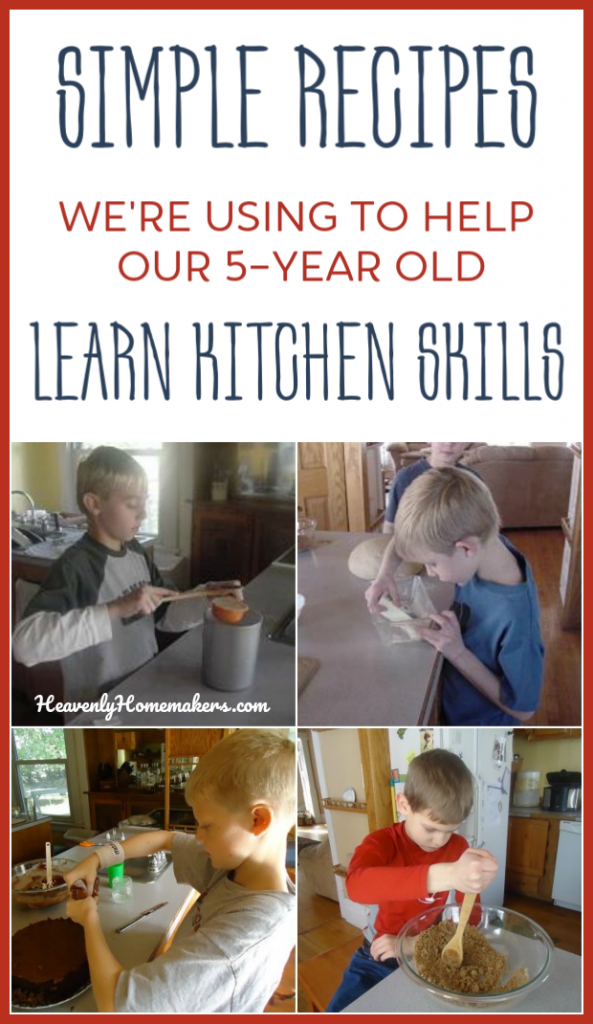
Simple Recipes We’re Using to Help Our 5-Year Old Learn Kitchen Skills

July 11, 2019 by Laura 2 Comments

This post may contain affiliate links. For more information, please see our disclosure policy.

We’re starting over at our house! Just like we did with our “first set of kids” we are teaching our new 5-year old Bonus Boy how to cook. Here are the favorite simple recipes we are using to help him learn kitchen skills!

Hopefully, you won’t get too tired of hearing me encourage you to teach your kids to cook. :) Obviously, it’s more important that you teach them to love the Lord and love people. Focus on that first.

But also, eating is something we must all do every day of our lives. Your kids need to know how to prepare simple foods (or complicated foods, if you are my 19-year old). It’s a much-needed skill, and guess what?

After putting in hours of effort, making lots of messes, and having a blessed mixture of frustration and fun with my oldest four kids – they can all cook. It is fantastic. The work involved was entirely worth it. And when all is said and done, we made a lot of awesome memories (and Monkey Bread).

Sometimes now, they feed me. Often they feed themselves. They will someday feed their wives and children. This is beautiful!

Now, we’re starting all over again. This little one moved in with us when he was four. He has become the 5th Coppinger Boy! If I have the audacity to make food without him, he can’t possibly understand why. “But I wanted to help you!” Well, who am I to argue with that?

He cracks eggs, makes messes, helps measure ingredients, makes messes, stirs carefully, makes messes – well, he’s also learning how to use a broom and dustpan. ;)

Teaching Kids to Cook is MessyYum

So what? I like a clean kitchen, but now that I have teen and adult kids who can cook, I realize more than ever that the messes from when they were little are just part of the teaching process. If I expect a mess from the little one in training, then I’m less frustrated when a mess inevitably happens. If we happen to crack, pour, and stir correctly so as to avoid a mess, well, that’s a bonus.

Ready for some kid-friendly recipes?

Simple Recipes to Help Kids Learn Kitchen Skills

Here are some of our favorite simple recipes we are using right now to help teach our 5-year old basic kitchen skills. He helps measure, pour, and stir. As we work, I talk through everything we are doing so that he learns the vocabulary of cooking and the reasons we do what we do.

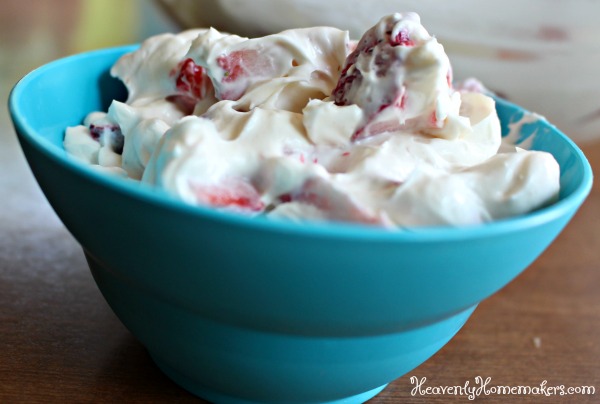
  • Simple Strawberry Fluff Salad
  • Simple Cookie Dough Treats
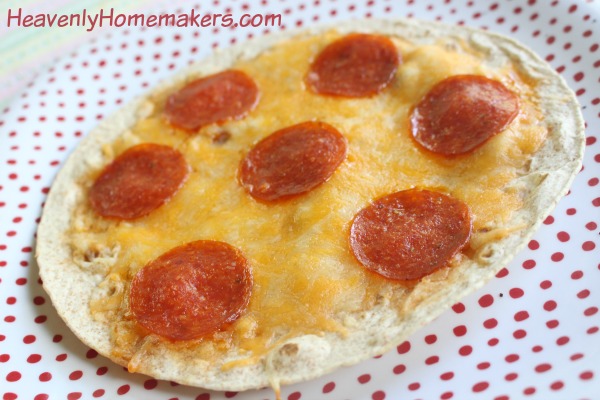
  • Grilled Pizza Tortillas
  • The EASIEST Frozen Yogurt Bites
  • No-Bake Chocolate Fudge Cookie Bites
  • No-Bake Snickerdoodle Bites
  • No-Bake Peanut Butter Cookie Bites
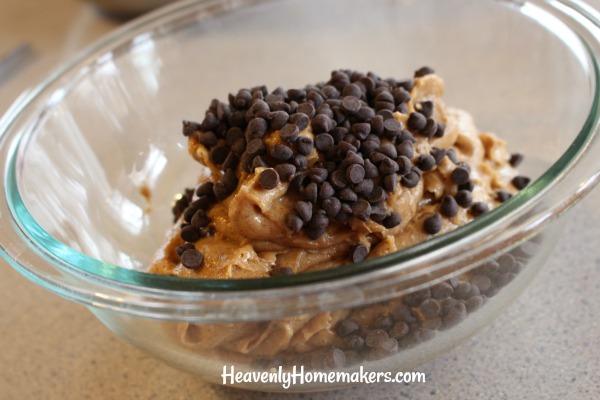
  • No-Bake Chocolate Chip Cookie Dough Bites
  • Any of these Mixes
  • Any of these Popsicles, Milkshakes, or Smoothies

In addition, he helps:

  • Crack eggs for Scrambled Cheese Eggs (he cracks it, then hands it to me to open it into a bowl).
  • Put frozen fruit and mixed greens into the blender for Smoothies.
  • Do whatever he can with whatever I’m making because he really wants to be a part of all of it! So if possible, I always try to find him a job while I’m cooking or baking.

Looking for more help and recipes as you pull your kids into the kitchen with you?

  • Grab our new and improved Teaching Your Kids to Cook eBook!
  • Here’s our Kids in the Kitchen discounted eBook collection.
  • This Kids Cook Real Food eCourse is fantastic! It is well worth the investment for all that it offers to your family!
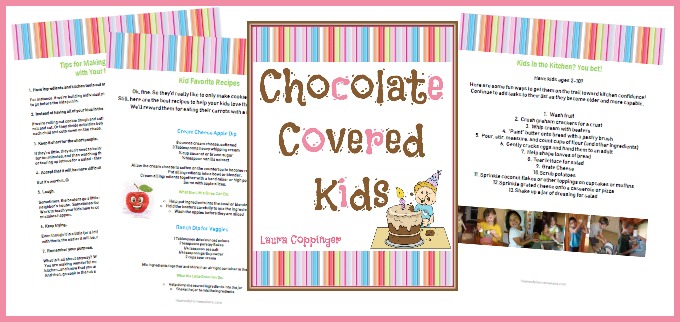
  • Our Chocolate Covered Kids Cookbook and Resource Pack is filled with helpful tips, instructions, and of course, recipes!

If you really want to go all in and teach your kids to cook this summer, I encourage you to invest in Katie Kimball’s Kids Cook Real Food eCourse. I used this course with Malachi and plan to use it with Bonus Boy too. It is FANTASTIC!!! Get the details here. And pick up her awesome FREEBIE —>

What are your favorite foods to make with your kids?

Heavenly Homemaker's Club Members: Access your homepage and all your fantastic resources here! Not a member yet? Please join us!

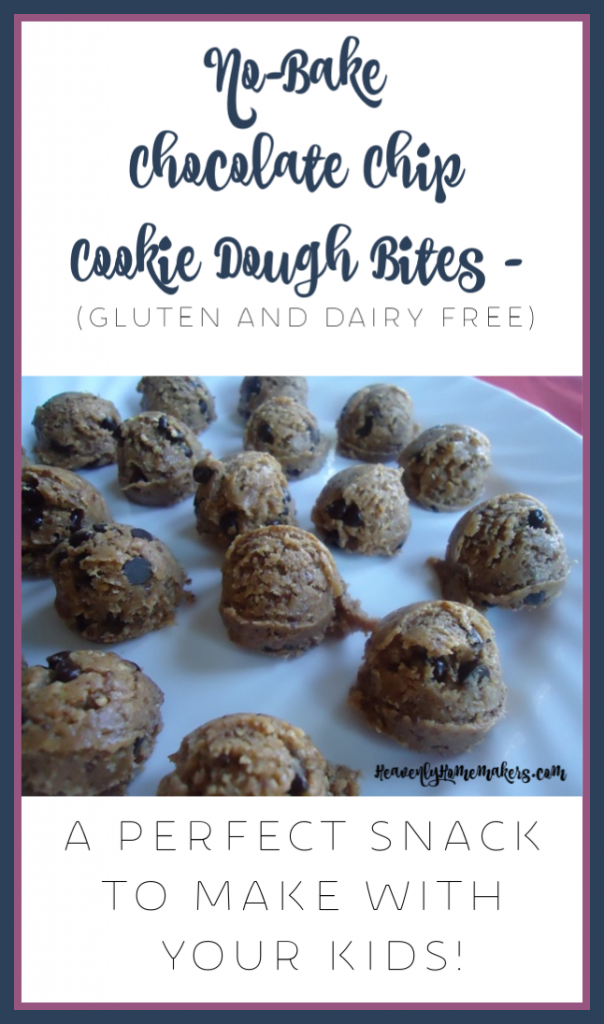
No-Bake Chocolate Chip Cookie Dough Bites – (Gluten and Dairy Free)

July 7, 2019 by Laura 2 Comments

This post may contain affiliate links. For more information, please see our disclosure policy.

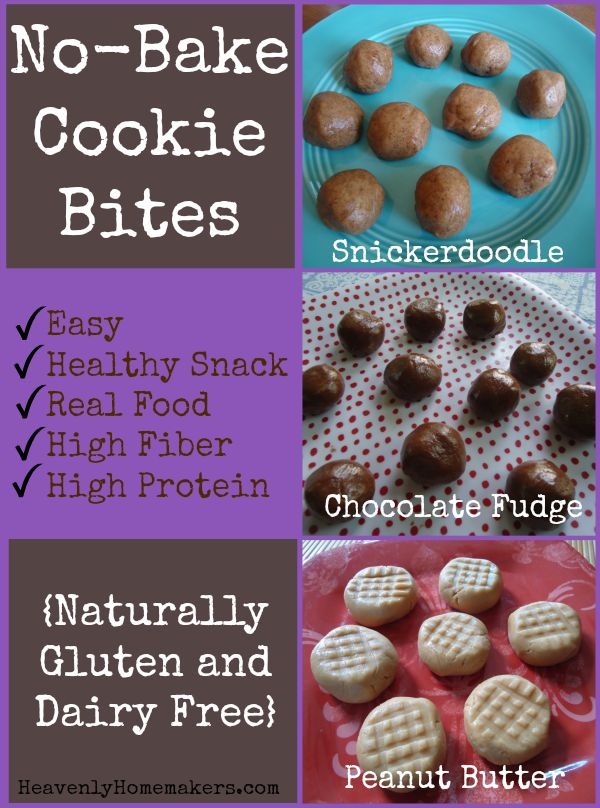
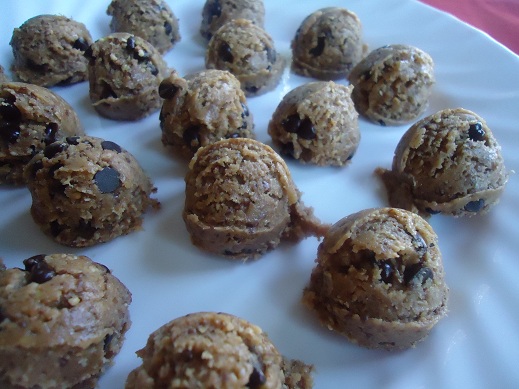
You might notice that this No-Bake Chocolate Chip Cookie Dough Bites recipe looks identical to our No-Bake Chocolate Chip Cookie Dough Bars recipe. This one is a fun one to make with your kids!

Yep. You figured it out. Same recipe. One shaped into bars. One shaped into balls. We are so creative, are we not?

Speaking of creative, we’ve got three other simple varieties of this recipe here. Just a few ingredient variations will give you one of these!


Grab the No-Bake Cookie Dough Bite recipes here:

  • No-Bake Chocolate Fudge Cookie Bites
  • No-Bake Snickerdoodle Bites
  • No-Bake Peanut Butter Cookie Bites

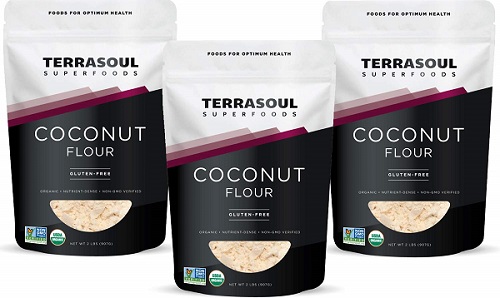
Need Coconut Flour?

I found a great price here!

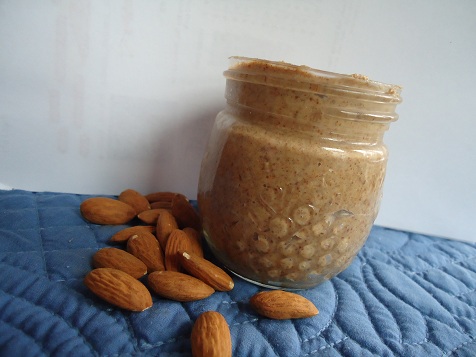
Need Almond Butter?

It’s hard to find a good price on this! Aldi has been my best option, if and when I can make it there to shop. (I live an hour away from the closest Aldi, boo!) Try to find one without added sugar. Or better yet, if you can find a good price on almonds, make Homemade Almond Butter!

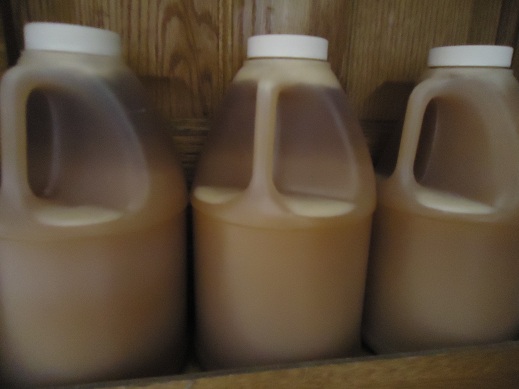
Need Honey?

I much prefer and recommend buying local honey! Otherwise, I recommend buying a big jug from Azure Standard if that is an option for you.

Need Chocolate Chips?

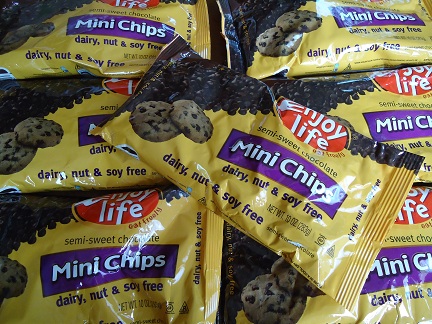
My very favorite chips are these Enjoy Life Mini Chocolate Chips! They are usually more expensive in the summer as they don’t ship well in the heat. So watch for them to go down in price in the fall and winter months, then stock up!

Need Vanilla Extract?

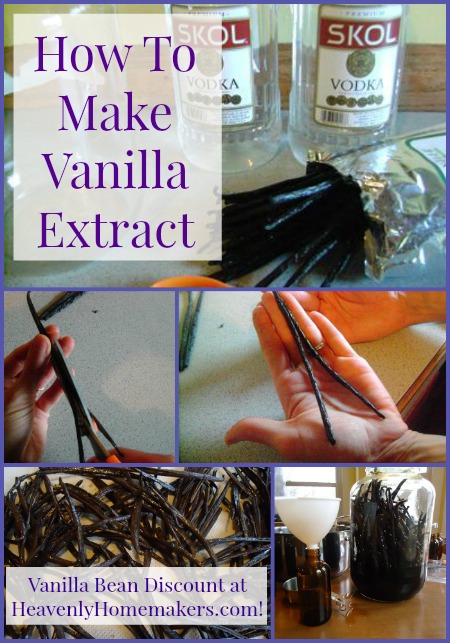
Oh how I love making it myself! Unfortunately, the price of vanilla beans has gone up over the years. Boo. Still, I think it’s best to make it ourselves if we can! Learn how here!

And now, grab your kids and let them help you make these awesome little treats!

No-Bake Chocolate Chip Cookie Dough BitesYum

No-Bake Chocolate Chip Cookie Dough Bites - 5 Ingredients
 
Save Print
Author: Laura
Serves: 12-15
Ingredients
  • 1 cup natural creamy almond butter
  • ¼ cup honey
  • 1 teaspoon vanilla extract
  • ½ cup coconut flour
  • ¼ cup mini chocolate chips
Instructions
  1. Mix the ingredients together in a bowl until well combined.
  2. Roll the mixture into teaspoon-sized (or whatever sized) balls.
  3. Refrigerate for about 30 minutes before serving.
3.5.3229

We like using a cookie scoop like this one to make these Cookie Dough Bites.

Looking for more help as you pull your kids into the kitchen with you?

  • Grab our new and improved Teaching Your Kids to Cook eBook!
  • Here’s our Kids in the Kitchen discounted eBook collection.
  • This Kids Cook Real Food eCourse is fantastic! It is well worth the investment for all that it offers to your family!
  • Our Chocolate Covered Kids Cookbook and Resource Pack is filled with helpful tips, instructions, and of course, recipes!

If you really want to go all in and teach your kids to cook this summer, I encourage you to invest in Katie Kimball’s Kids Cook Real Food eCourse. I used this course with Malachi and plan to use it with Bonus Boy too. It is FANTASTIC!!! Get the details here. And pick up her awesome FREEBIE —>


Heavenly Homemaker's Club Members: Access your homepage and all your fantastic resources here! Not a member yet? Please join us!

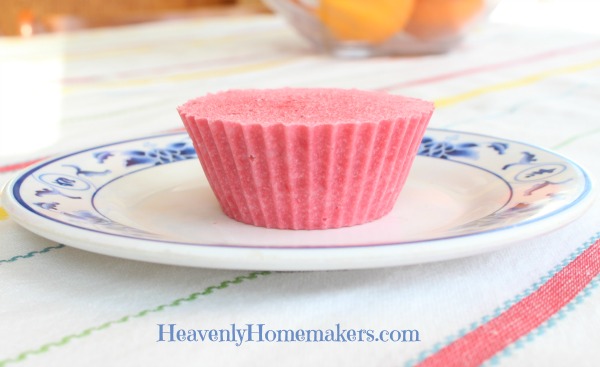
The Easiest Frozen Yogurt Cups

July 2, 2019 by Laura 4 Comments

This post may contain affiliate links. For more information, please see our disclosure policy.

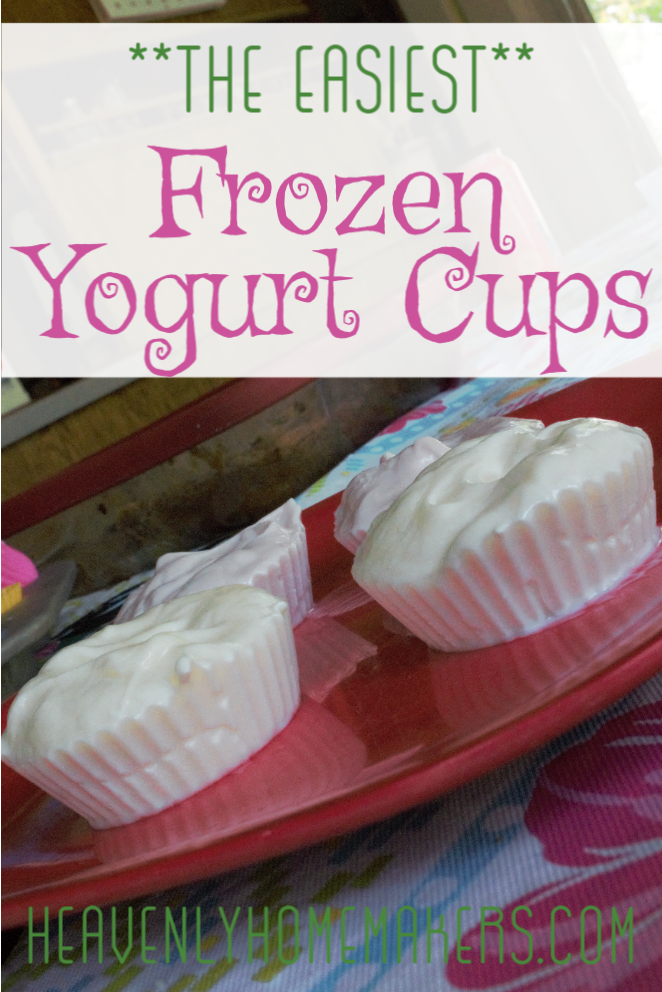
When I say that these are the Easiest Frozen Yogurt Cups, I truly do mean that they are the easiest!

The “recipe” I’m about to share with you is going to entirely amaze you. Where has this been all of our lives? Why have we never thought of this before? We should have been making these for years!!

This is the time where you gently interrupt and say, “Laura, I figured this one out a long time ago. You are the only one who didn’t know. Bless your heart.”

Heh.

Well, either way, let’s all talk about making these Frozen Yogurt Cups right now. It’s the easiest thing in the world. And the result is super fun and refreshing on a hot day!

The job of making these Frozen Yogurt Cups has been turned over to our 5-year old. He’s thrilled to be our biggest kitchen helper, and we love that he is starting to learn basic cooking skills!

Of course, in the case of these Frozen Yogurt Cups, there is no cooking involved. This is perfect for a 5-year old!

I do need to interrupt myself now and say that I have actually made a variety of these Frozen Yogurt Cups before. But now I’ve discovered a cheater way to make them, which is why the 5-year old has found himself a kitchen job, and why I am left wondering why I never thought of this before now.

What’s the cheater way to make these Frozen Yogurt Cups?

Well, as you know, I’ve started buying a few cheater foods at the grocery store. Why? Well, now that our family is doing foster care and have started over raising Littles, all while keeping up with the Bigs, and navigating all the meetings and such involved with foster care – my time in the kitchen is more limited than before. And that’s saying something.

So yeah. Sometimes I buy ready-to-serve yogurt. It’s sweeter than what I could or would make myself if I always made or bought it plain and added our own good ingredients. But I’m pretty happy with the pre-made Whole Milk Yogurts I’ve found. So for now, we settle for this yogurt compromise.

~~~~~~~~~~~~~~~~~~~~~~~~~~~~~~~~~~~~~~~~~~~~~~~~~~~~~~~~~~~~~~~~~~

——> Need some re-assurance that compromising on perfect foods is just fine and dandy? Read my post called Beyond the Free Range Chicken. Be encouraged! Be free! Buy the yogurt. (Or not. Because we’re all in a different place and God will lead us each in how to feed our families.) <——-

~~~~~~~~~~~~~~~~~~~~~~~~~~~~~~~~~~~~~~~~~~~~~~~~~~~~~~~~~~~~~~~~~~~~~

Meanwhile, in the land of store-bought yogurt and 5-year old chefs, may we now present to you the lovely idea you are going to thoroughly enjoy this summer!

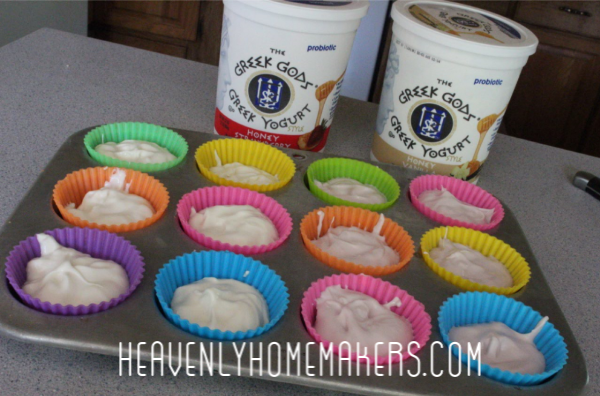
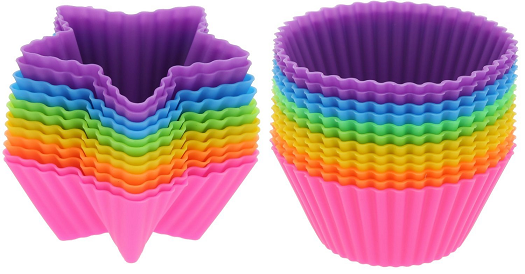
First, if you don’t already have them, I highly recommend that you invest in these lovely silicone muffin cups. With these jewels, you can make this Frozen Yogurt Cup “recipe” and many more. I love them and don’t know how I got by without them!

Other Recipes to use with your Silicone Cups:

Simple No-Bake Cookie Cups


Simple Strawberry Cheesecake Cups

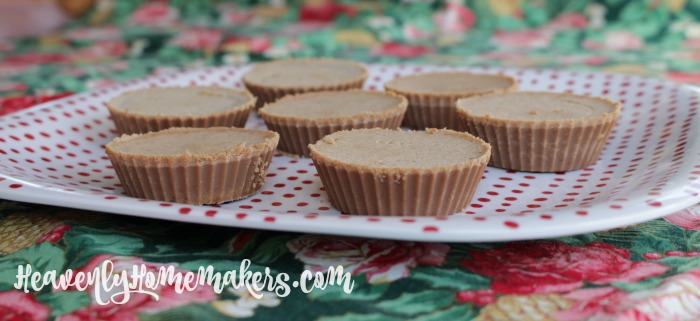
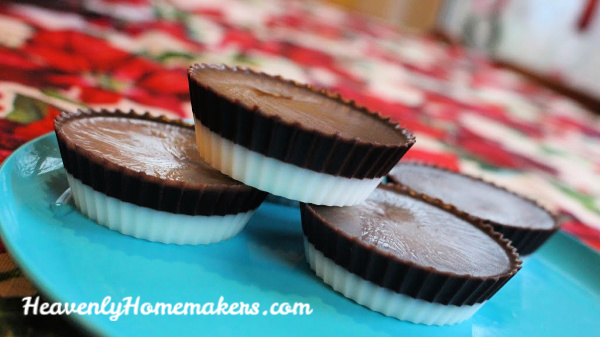
Honey Sweetened Chocolate Peanut Butter Cups

Healthy Peppermint Patties

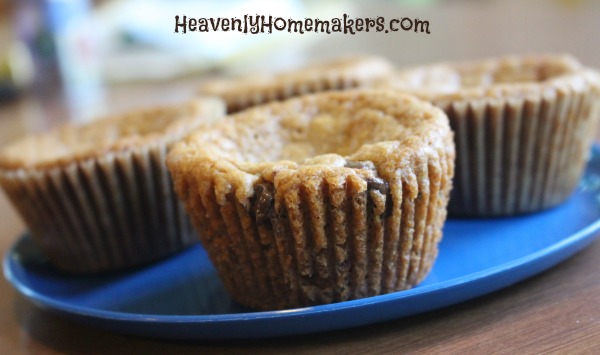
The BEST Chocolate Chip Cookie Cups


There you go. Just in case you didn’t believe me when I told you that I use my Silicone Cups very frequently!

Now, where were we? Ah yes…

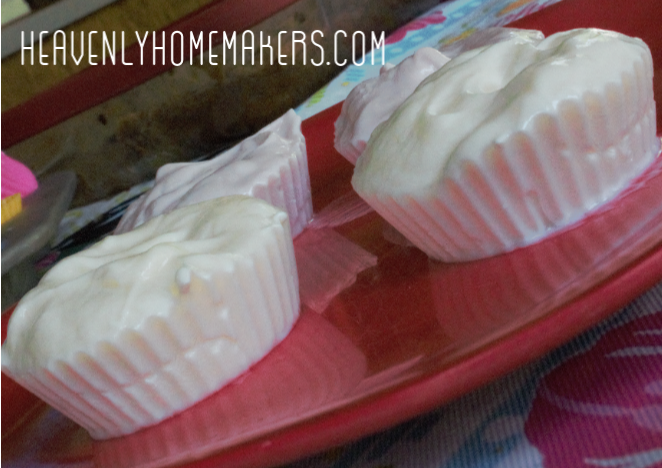
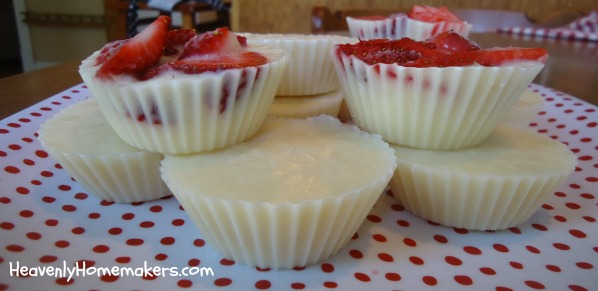
The Easiest Frozen Yogurt CupsYum

While this is hardly a recipe, I’ll write it in recipe form, just for fun and ease. Hand this one to your kids and let them enjoy making this awesome treat!

The Easiest Frozen Yogurt Cups!
 
Save Print
Author: Laura
Ingredients
  • Your favorite yogurt
  • Muffin Cups or Silicone Muffin Cups
Instructions
  1. Spoon 3-4 Tablespoons of yogurt into muffin cups.
  2. Freeze for about 2 hours or until frozen solid.
  3. Store in a freezer bag or freezer-safe container.
3.5.3229

P.S. Want to help your kids learn to cook? Great!

Need some resources to help you know where to start?

We have this great eCookbook package that is a huge help!

[wp_eStore_fancy1 id=33]

Better yet,  I highly recommend this incredible Kids Cook Real Food eCourse! We used it with Malachi and it was a lifesaver!

Heavenly Homemaker's Club Members: Access your homepage and all your fantastic resources here! Not a member yet? Please join us!

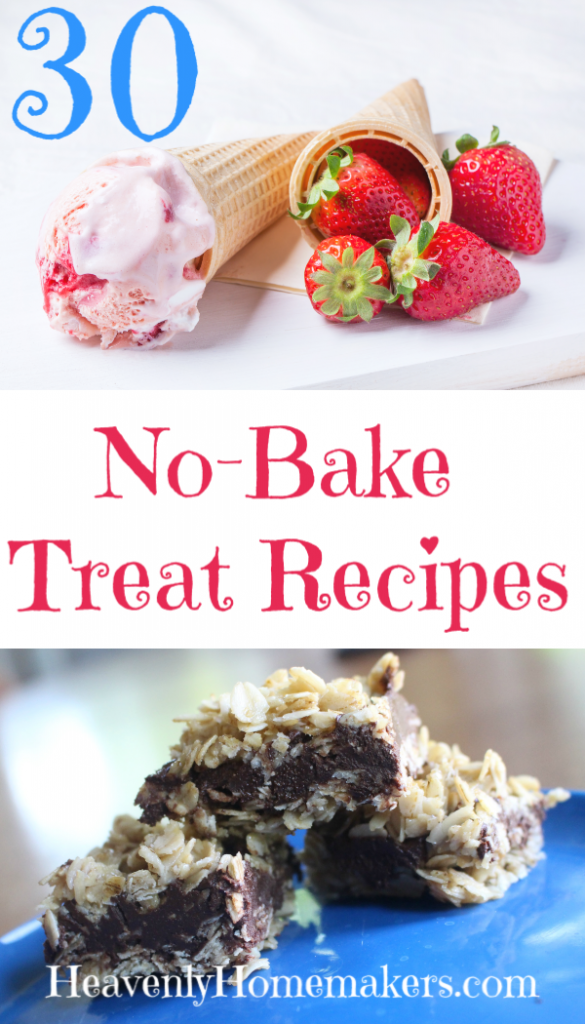
30 No-Bake Treat Recipes

June 27, 2019 by Laura Leave a Comment

This post may contain affiliate links. For more information, please see our disclosure policy.

Avoiding the oven this summer? Me too! To help us out, here are some awesome No-Bake Treat Recipes for us to make!

Allow me to highlight some of my favorites for you. As you can imagine, I had a hard time narrowing it down. Ah, the difficulty of choosing ones favorite treats…

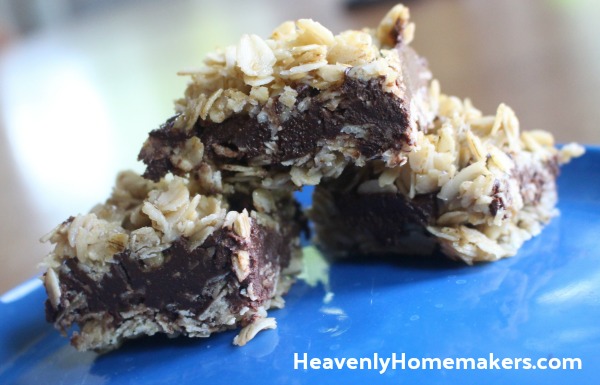
As far as “cookie bars” go, this Easy No-Bake Chocolate Peanut Butter Oatmeal Bars recipe is my current favorite. Can you blame me?

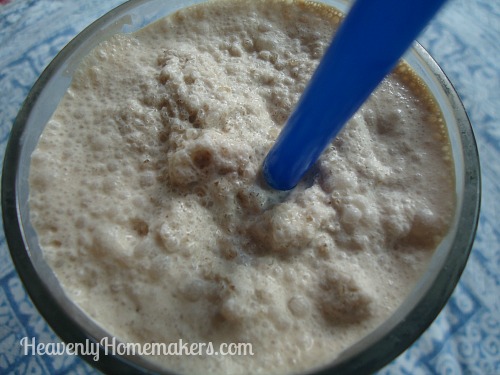
As for drinks, you already know that this Chocolate Frappe is my very favorite in the summer.

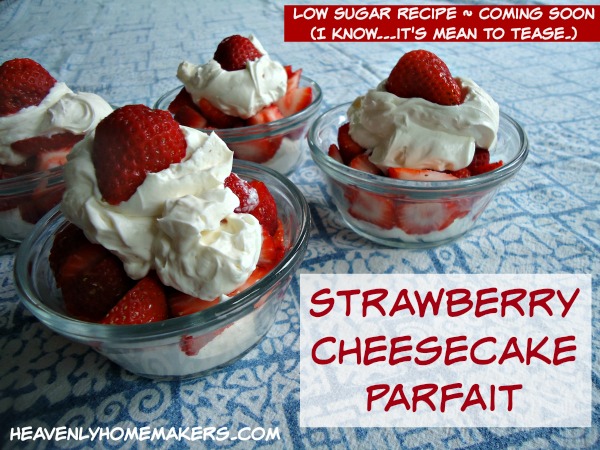
When strawberries are in season, I feast on these Strawberry Cheesecake Parfaits. It’s like heaven in a bowl.

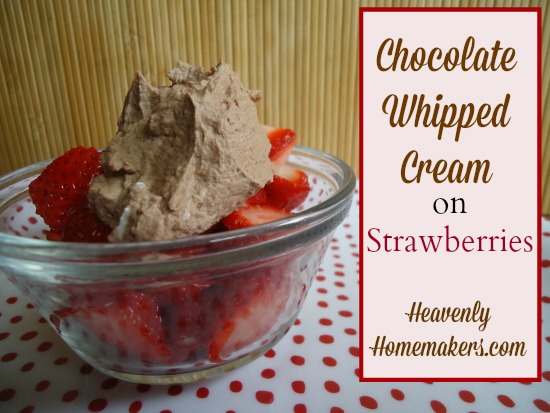
Or I mix things up a bit and make Chocolate Whipped Cream to put on my strawberries.

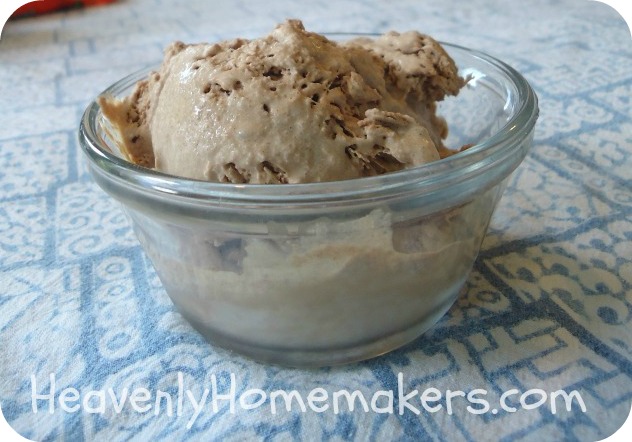
I super love that I have figured out how to make No-Churn Ice Cream varieties! These recipes only take 5 minutes to prepare, and they are so good! See #26-#29 below for all the recipes, but here’s the Low Sugar Chocolate Ice Cream recipe to get you started!

These Peanut Butter Honey Rice Krispie Treats are so very simple, and I love the sweetness with the crunch!

Last but not least (because I have an entire list of No-Bake Treat Recipes below!), I must highlight my two favorite “jello salad” knock-offs. Spoiler: There is no jello involved in the making of these recipes. Simple real food ingredients, plus delicious fresh fruit make these awesome salad treats!

Here’s my Pineapple Fluff Salad…

And my Strawberry Fluff Salad…

Ready for the entire huge list? Here you go!

30 No-Bake Treat RecipesYum

  1. Easy No-Bake Chocolate Peanut Butter Oatmeal Bars
  2. Simple No-Bake Granola Bar Bites
  3. Honey Sweetened No-Bake Cookies
  4. Chewy Granola Bars
  5. Chocolate Frappe
  6. Coconut Fudge Bars
  7. Stevia Sweetened Fat Bombs or Honey Sweetened Fat Bombs
  8. Frozen Yogurt Cups
  9. Honey Peanut Bars
  10. Mudballs
  11. Nectarine Cream Cups
  12. No-Bake Chocolate Fudge Bites
  13. No-Bake Peanut Butter Cookie Bites
  14. No-Bake Snickerdoodle Bites
  15. Pineapple Fluff Salad
  16. Raspberry Lemon Cream Cups
  17. Strawberry Cheesecake Parfait
  18. Chocolate Strawberry Cheesecake Parfait
  19. Americana Cheesecake Parfait
  20. Chocolate Whipped Cream for Coffee or Fruit
  21. Strawberry Milkshake
  22. Strawberry Peach Slushie
  23. Pineapple Mango Smoothies
  24. No-Bake Chocolate Peanut Butter Cheesecake
  25. Peanut Butter Honey Rice Krispie Treats
  26. Low Sugar Vanilla Ice Cream
  27. Low Sugar Chocolate Ice Cream
  28. Low Sugar Strawberry Ice Cream
  29. Low Sugar Peanut Butter Ice Cream
  30. Strawberry Fluff Salad

Have fun making these great No-Bake Treat!

Heavenly Homemaker's Club Members: Access your homepage and all your fantastic resources here! Not a member yet? Please join us!

Easy Recipes for the Grill

June 23, 2019 by Laura Leave a Comment

This post may contain affiliate links. For more information, please see our disclosure policy.

Need some easy recipes for the grill? Keep your summer food simple, and make it taste great too! Here are some great recipes for you!

We fire up our grill multiple times per week during the summer! I love how easy the grill makes lunch and dinner, all without heating up the house.

TIP: To put a super simple, healthy meal on the table during the summer:

  1. Cook your meat on the grill
  2. Toss a salad
  3. Slice fresh fruit
  4. Serve and enjoy

There is nothing easier and nothing more nutritious or delicious! The side-dish possibilities are endless during the summer since the garden fresh produce is plentiful!

Ready for our favorite summer recipes?

11 Easy Recipes for the GrillYum

  1. Simple Grilled Tortilla Pizza
  2. Simple Grilled Salmon
  3. The Perfect Grilled Chicken
  4. Grilled Barbeque Chicken Legs
  5. Pizza Boats in the Grill
  6. Simple Make-Ahead Parmesan Burgers
  7. Simple Lemon Garlic Chicken Legs
  8. Simple Cheese Stuffed Burgers
  9. Cheddar Ranch Burgers
  10. Cheeseburger Zucchini Boats
  11. Easy Bacon and Potato Foil Packets

I can’t stress how easy and delicious this Perfect Grilled Chicken is! Simply throw on some sauce and grill. SO GOOD! So simple!

Great Sauce and Dressing Ideas to Marinate The Simplest and Best Grilled Chicken

bbq_sauce

These are our favorite sauces to marinate our chicken in prior to grilling. But just about any of your favorite sauces will work!

  • Italian Salad Dressing
  • BBQ Sauce
  • Teriyaki Sauce
  • Easy BBQ Chicken Marinade

How to Make Perfect Grilled Chicken

Here’s my best and favorite tip for making perfect grilled chicken!

  1. Use boneless chicken thighs instead of breasts. This makes all the difference.
  2. Marinate the thighs in something delicious before grilling (suggestions above)
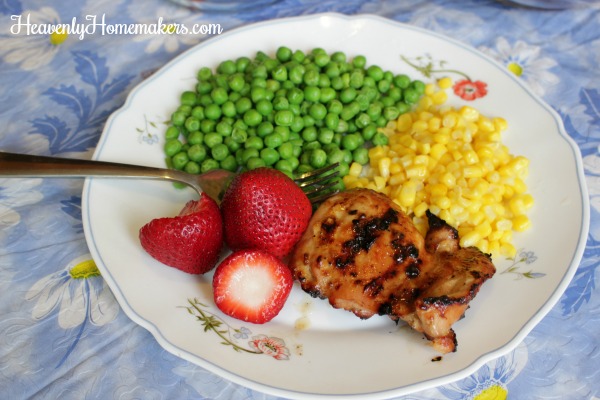
  3. As you can see from the picture below, I blackened the chicken more than I meant to – and the meat still turned out juicy and flavorful! This is because chicken thighs have more fat than chicken breasts so they are much harder to ruin.
  4. We usually cook boneless thighs for 10-15 minutes on each side, turning it from time to time.

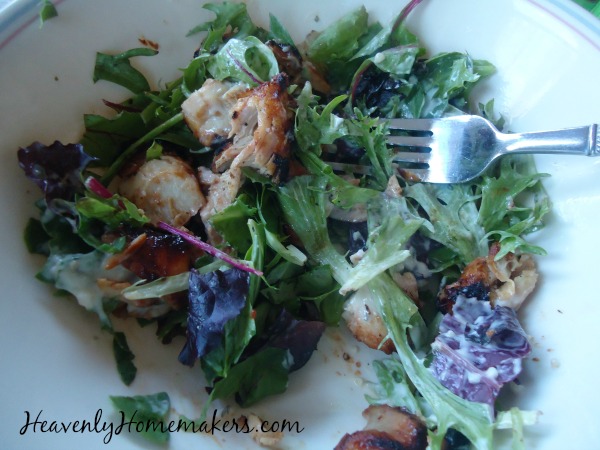
TIP: Chop your leftover Grilled Chicken into a fantastic Chef Salad for lunch!

Yum, grilled chicken in a tossed salad makes an awesome meal!

Here are our favorite Homemade Salad Dressing Recipes:

  • French Dressing
  • Italian Salad Dressing
  • Ranch Salad Dressing
  • Spicy Ranch Dressing
  • Thousand Island Salad Dressing

What to serve with your grilled food:

Need some side dish ideas? Here are our favorites…

  • 16 Simple Summer Dips
  • A tossed salad
  • A steamed vegetable (such as green beans, peas, broccoli, cauliflower)
  • A roasted vegetable
  • Cream Cheese Corn
  • Honey’d carrots
  • Baked beans
  • Simple Strawberry Fluff (with real food ingredients, of course!)
  • Pineapple Fluff

Oh how I love summer food! What are your favorite foods to grill?

Heavenly Homemaker's Club Members: Access your homepage and all your fantastic resources here! Not a member yet? Please join us!

Easy Recipes for Fourth of July

June 20, 2019 by Laura Leave a Comment

This post may contain affiliate links. For more information, please see our disclosure policy.

I shared this post two years ago, and wanted to re-share as we all get ready for this fun holiday! Here are our favorite easy recipes for Fourth of July! Plus some tips for keeping your holiday prep simple!

Yum

The thing about making special food for any holiday is that too often the cooking and the clean up take away from our holiday fun. Here’s what I suggest you do this Fourth of July and every special day:

  • Choose simple recipes.
  • Make everything you can ahead of time so you can enjoy the day.
  • Stick with basic sides like watermelon and other fresh fruit, corn on the cob, and tossed salad (all easy to prep!).
  • Get your family involved in helping with prep and clean up.
  • Embrace the paper plate. (Do whatever you want with this piece of advice. Most of the time I avoid disposables, but to everything there is a season. So if I really want to enjoy my people and not stand at the sink rinsing a bunch of dishes, I pull out the paper products.)

watermelon

Now let’s talk about the simple recipes. Of course we will choose simple recipes. We love Simple. This is how we survive each day and also how we make holidays special. We keep it simple. We stick with basics. We go with what we know everyone likes. The beauty of all of this is that our food tastes amazing even without extra effort! (Real food is cool like that. It tastes great because it’s real and it can’t help but taste wonderful!)

13 of my favorite simple recipes for the Fourth of July!

Along with the typical grilled burgers and hot dogs, there are so many simple recipes for fun treats and side dishes that are perfect to enjoy on this special day. All of these recipes allow me to make them ahead of time and serve at mealtime. They taste amazing and are festive too!

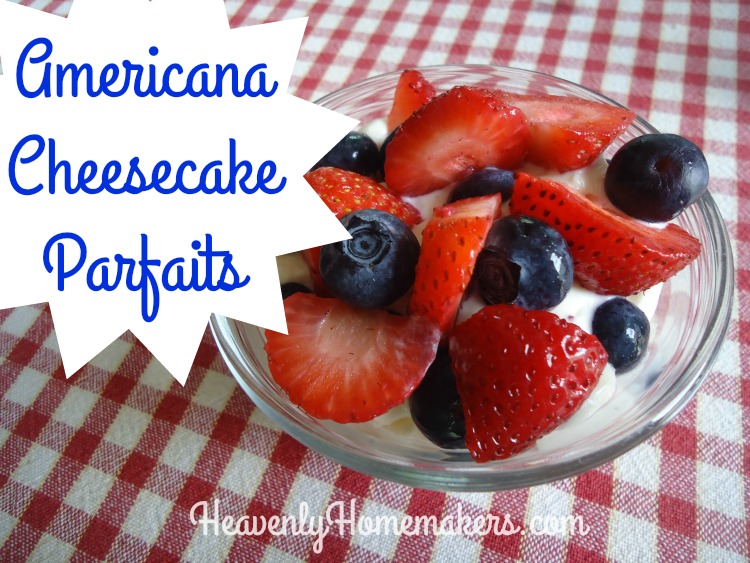
1. Americana Cheesecake Parfaits

The cheesecake part of this recipe (white) whips together in just a few seconds. Add strawberries (red) and blueberries (blue) and you’ve got a beautiful and super delicious treat for the 4th!

Americana Cheesecake Parfaits

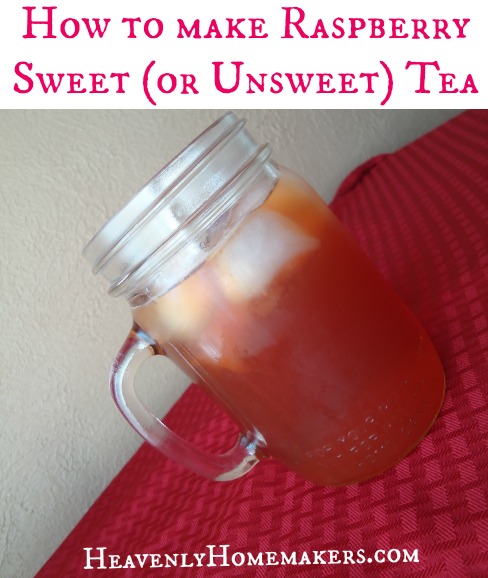
2. Raspberry Sweet or Unsweet Tea

Making fruit teas like this is super simple, and this Raspberry Tea turns a pretty shade of red. I’m thinking we could throw some frozen blueberries into the glass to make it a perfect Fourth of July drink. You might also want to try Peach Sweet (or Unsweet) Tea or Mango Sweet (or Unsweet) Tea so that you can set out a variety of good choices.

How to Make Raspberry Sweet or Unsweet Tea

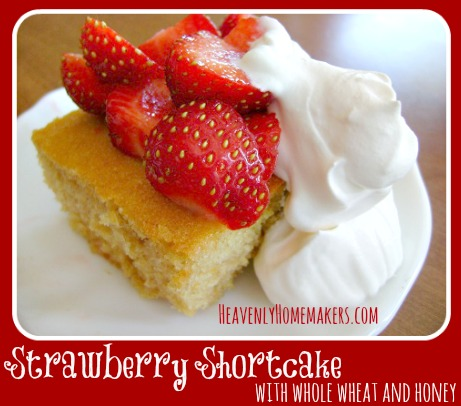
3. Strawberry-Blueberry Shortcake

Strawberries and Blueberries appear to be the real food MVP of the Fourth of July. Raspberries too. Make this simple Shortcake Recipe, then set out blue and red berries along with whipped cream.

Strawberry Shortcake with Whole Wheat and Honey

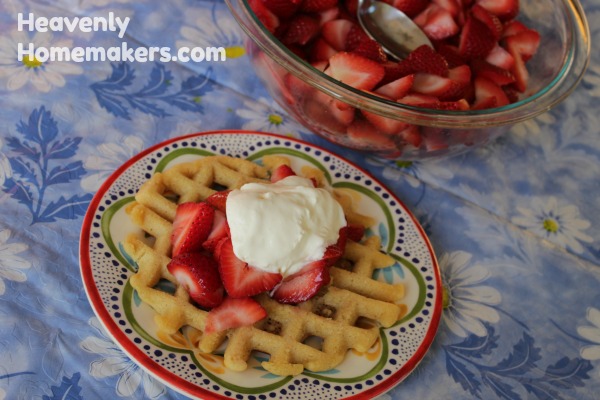
4. Strawberry-Blueberry Shortcake Waffles

This is the same idea, but you can make your shortcake in the waffle iron for a pretty and fun twist on this favorite dessert. Might as well serve it for breakfast, because why not?

shortcake waffle4

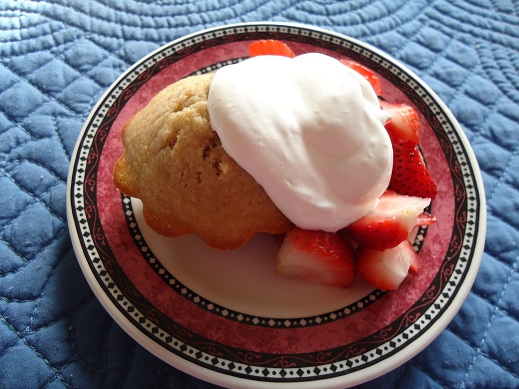
5. Strawberry-Blueberry Shortcake Muffins

Okay fine. One more Shortcake variation and then I’ll move on. Sometimes it’s fun to make your shortcake batter in muffin tins and serve them as individual cakes with fruit and whipped cream on the side!

strawberry_shortcake_muffins_2

6. Very Berry Brownie Cups

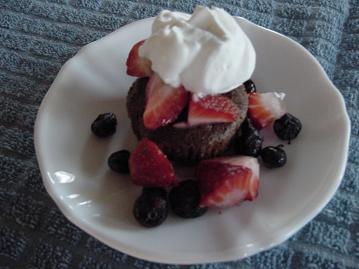
Phew, this recipe has been on my site since before I had an actual camera. But the recipe is as good as ever and fun for people to build their own brownie cup!

verberrybrowniesm.JPG

7. Pineapple Cream Dessert

Orange you glad I didn’t say strawberries and blueberries again? This recipe is so refreshing on a hot summer day that it makes its way onto this list even though it’s not red, white, or blue. (But far be it for me to say that you can’t add strawberries and blueberries as a garnish.)

pineapple dessert 3

8. No Flour Monster Bars

This recipe makes the list because everyone loves them. Also, they are easy to make ahead of time and set out for grab-and-go snacking. If you want, you could stir in some red, white, and blue M&M’s, but you never heard that from me. Food coloring is bad. Avoid it at all costs. ;)

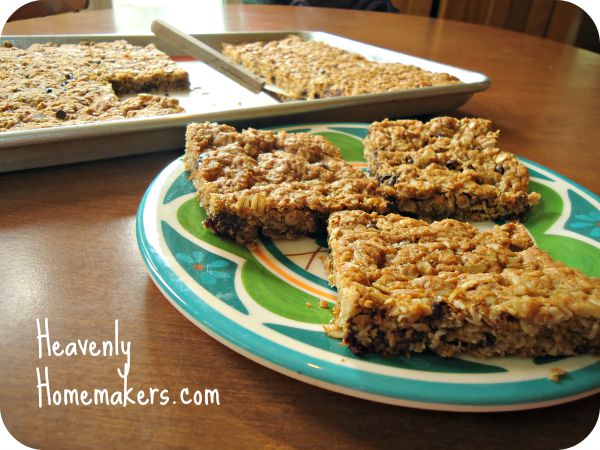
Real Food Monster Cookie Bars

9. Cream Cheese Fruit Dip

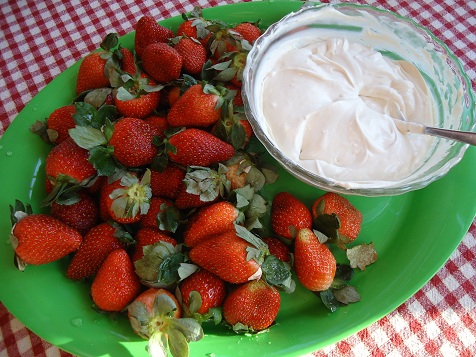
Here I go again with the red and blue berries. Serve them with this simple dip and it will be a big hit!

strawberry_dip_2

10. Flourless Peanut Butter Cookies

See if you can find some 4th of Julyish mini-muffin paper liners. Make these super simple cookies with stars in the middle!

Flourless Peanut Butter Chocolate Star Cookies

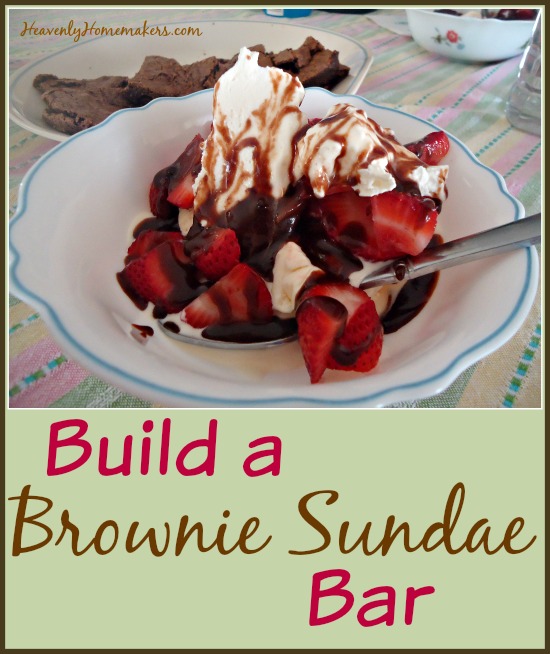
11. Brownie Sundae Bar

This is super fun if you’re feeding a crowd, so everyone can build their brownie sundae however they like!

Build a Brownie Sundae Bar

12. Grilled Chicken

There is NOTHING better than this chicken on the grill. Click over to read how easy this is and read how to keep your chicken from drying out on the grill. This is a hit every time we make it!

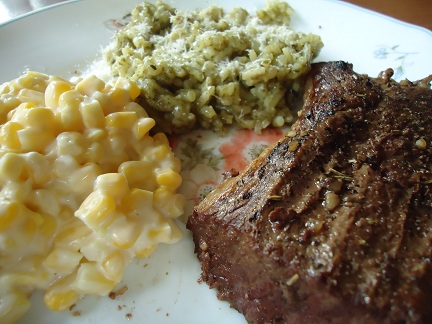
13. Cream Cheese Corn

I’m not sure there is a side dish more perfect than this one for the 4th of July. Wow is it delicious! And it’s easy, and includes only 4 ingredients!

Creating this list has made me want to make every single one of these recipes for the 4th! I think I just might.

What are your Fourth of July plans? What are your favorite foods to make for the 4th?

Heavenly Homemaker's Club Members: Access your homepage and all your fantastic resources here! Not a member yet? Please join us!

Simple Seasoned Potato Wedges

June 9, 2019 by Laura Leave a Comment

This post may contain affiliate links. For more information, please see our disclosure policy.

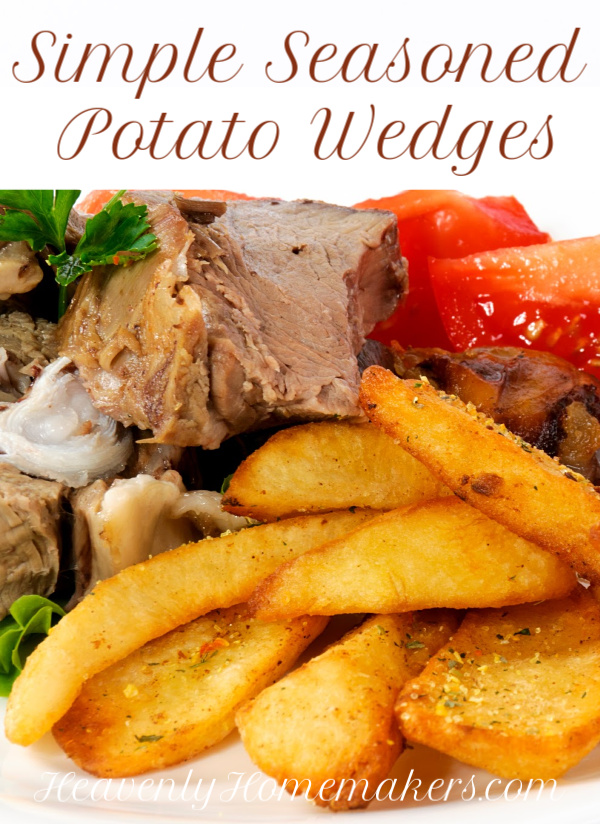
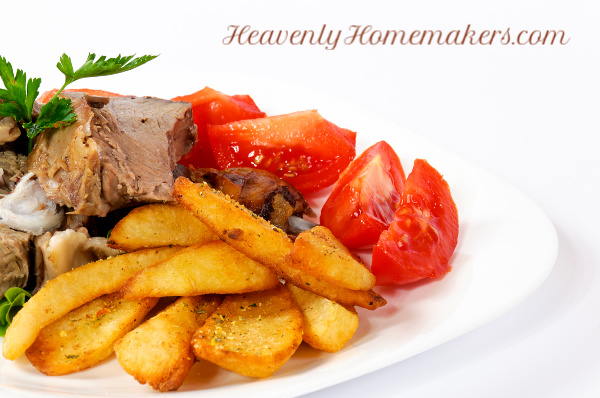
If these Simple Seasoned Potato Wedges are healthy to eat, they must be free of fat and flavor, right? Otherwise they couldn’t possibly be healthy, right? Wrong. It’s time to pull out the fryer, my friends.

I love that when made with good oils, fried food can be healthy. I mean, fried food tastes sooo good!

(Let’s be real. Don’t tell me you prefer fresh broccoli over fresh French fries. Okay then.)

No doubt, we need balance, and plenty of fresh green veggies too. But how sad to think we have to avoid chicken strips and French fries simply because they are fried.

Obviously, not all fried food is created equally – and many fried foods are unhealthy for our bodies. But the only thing that makes them unhealthy is the oil that they’re fried in. IF you fry your food in Coconut Oil or Palm Shortening/Oil – oils that can withstand high frying temperatures without compromising their health quality – you can enjoy fried food without guilt.

And I do mean enjoy. C’mon now, fresh French fries?? There’s almost nothing better.

If you don’t have a fryer, you can brush these Simple Seasoned Potato Wedges with oil and bake them in the oven, as they are super tasty that way too! I have and use this fryer, given to me by my men for Christmas several years ago. But either cooking method works great!

Make as many or as few as you would like, generally about one potato per person.

Simple Seasoned Potato WedgesYum

Simple Seasoned Potato Wedges
 
Save Print
Author: Laura
Ingredients
  • Yukon gold potatoes (any potato variety works, but these taste much better!)
  • Refined coconut oil or palm shortening
  • Seasoned salt
Instructions
  1. Wash and cut potatoes into 8-10 wedges each.
  2. Fry in hot oil for 6-10 minutes or until wedges are as crispy as you prefer.
  3. Remove from oil and sprinkle liberally with seasoned salt.
  4. OVEN METHOD:
  5. Melt coconut oil or palm shortening (about 1 Tablespoon per potato).
  6. Cut potatoes into wedges and spread them out in a single layer on a cookie sheet.
  7. Brush melted oil over each wedge.
  8. Sprinkle liberally with seasoned salt.
  9. Bake in a 425 degree oven for about 25 minutes or until potatoes are golden brown and crispy
3.5.3229

Grab our Seasoned Salt recipe here. Otherwise, you can purchase some like this.
Not sure where to find healthy oils to use in frying? Here are some quick links:

  • Organic Refined Coconut Oil (flavorless)
  • Healthy Traditions Organic Palm Shortening or Spectrum Organic Palm Shortening

Want some tasty recipes to serve alongside your Potato Wedges?

  • Simple Grilled Salmon
  • Simple Sloppy Joes
  • The Perfect Grilled Chicken
  • Simple Crunchy Ranch Chicken Strips
  • Simple Oven Fried Chicken
  • Simple Honey Mustard Chicken Legs
  • Simple Crock Pot BBQ Spareribs
  • Simple Sweet and Sour Baked Chicken Legs
  • Simple Chicken Cheeseballs with a Kick
  • Make-Ahead Parmesan Burgers
  • Cheese-Stuffed Burgers
  • Cheddar Ranch Burgers

‘Fess up! What are your favorite fried foods?

Some of these links are my affiliate links.

Heavenly Homemaker's Club Members: Access your homepage and all your fantastic resources here! Not a member yet? Please join us!
« Previous Page
Next Page »

Join Our Community!

 Facebook Twitter E-mail Instagram Pinterest

Popular Posts

~ Will All of the Real Moms Please Stand Up?
~ Easy! Stir-and-Pour Whole Wheat Bread
~ How to Make Gatorade
~ 31 Real Food Breakfast Ideas
~ Dear Teenage Girls...
~ When Mom Takes a Step Back
~ The Inexpensive Health Insurance We Love!
~ Let's Talk Real Food Grocery Budgets

Check out our latest posts!

  • Big Family Food and Fun: August 9-15, 2026
  • Big Family Food and Fun: August 2-8, 2026
  • Big Family Food and Fun: July 26-August 1, 2026
  • Big Family Food and Fun: July 19-25, 2026
  • Easy Baked Spanish Rice Recipe
Home  ~  Simple Meals  ~  Club Membership  ~  Shop  ~  Privacy Policy  ~  Disclosure  ~ Contact

Copyright © 2026 · Beautiful Pro Theme on Genesis Framework · WordPress · Log in