Apples, apples everywhere! Here are the best apple recipes around!
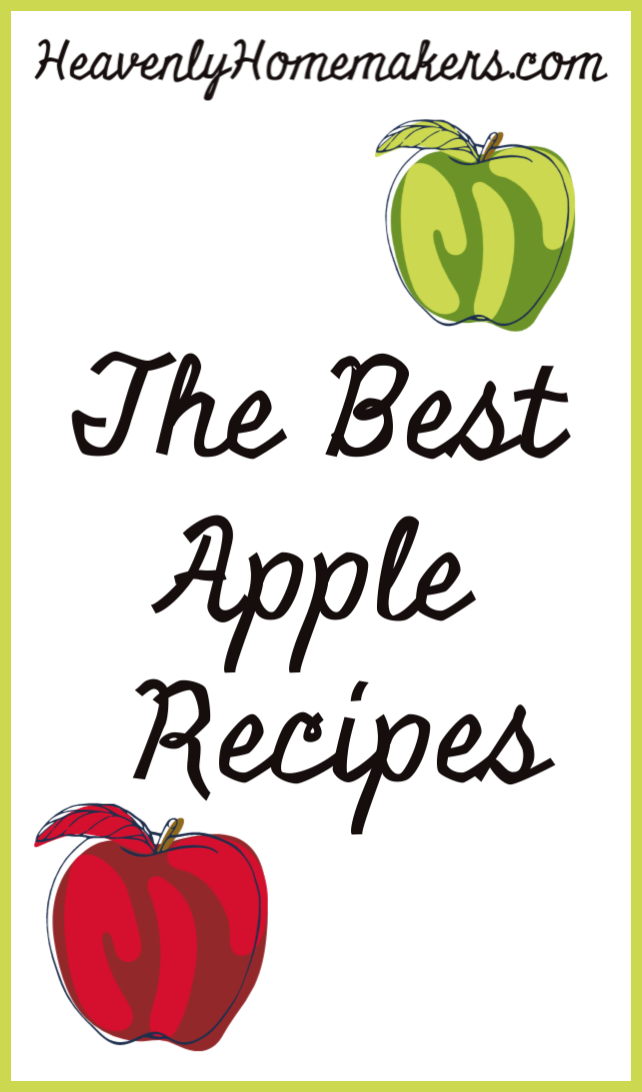
The Best Apple Recipes
Take a peek at what you’ll be able to make with these recipes:
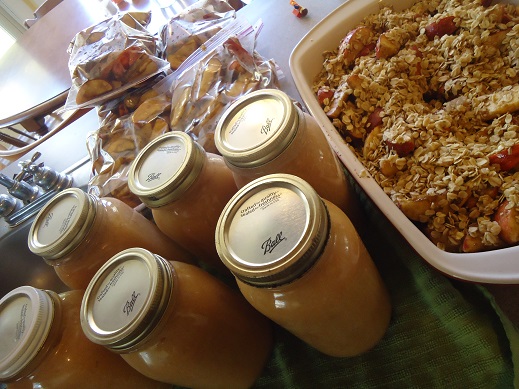
Applesauce
First let’s talk about making Applesauce.
Through the years, I’ve learned to make the process easier and easier. This is a good thing because I usually make a lot of applesauce every year!
I make the applesauce using this method, then just dump the cooked apples into my Blendtec and blended until smooth. It actually makes the applesauce creamy, and it takes so little time and very little effort on my part. (By the way, you can read about my cute little applesauce cups here.)
Apple Treat Recipes
Now let’s look at some of the other great ways to use apples this fall! Here’s our Favorite Apple Recipes list at a quick glance. But I’ll describe some of them in detail below.
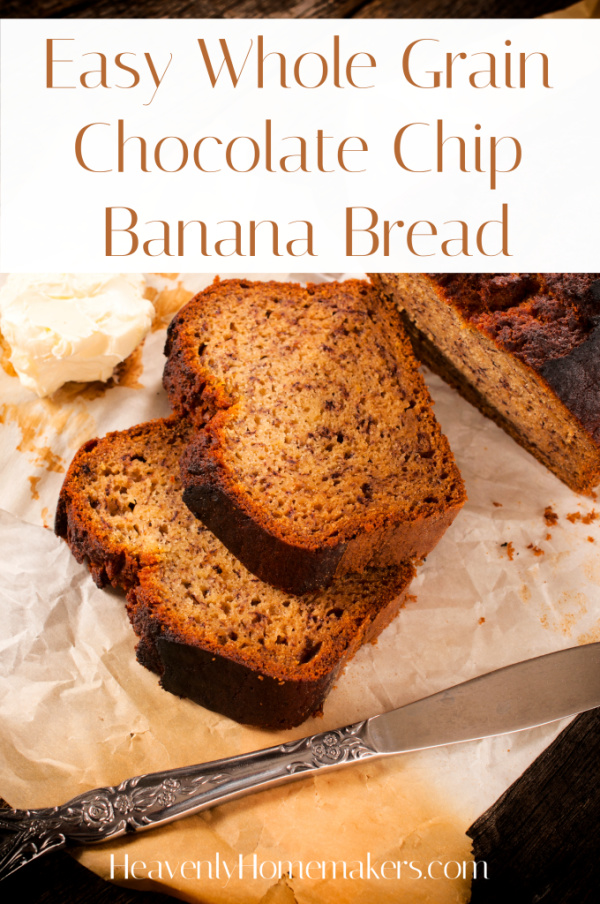
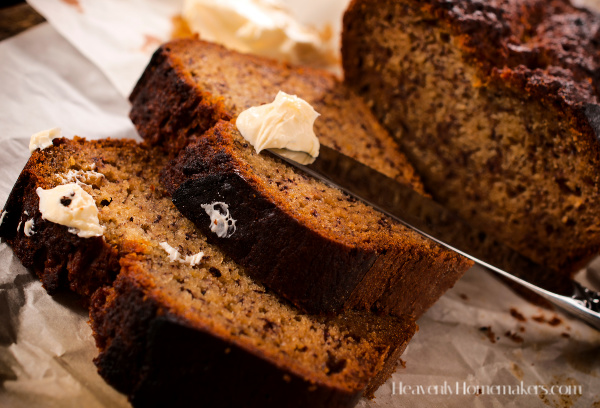
- Applesauce Bread
- Mini Apple Pies
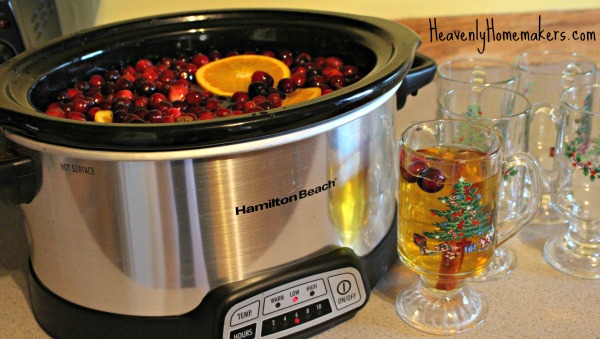
- Crock Pot Apple Cider
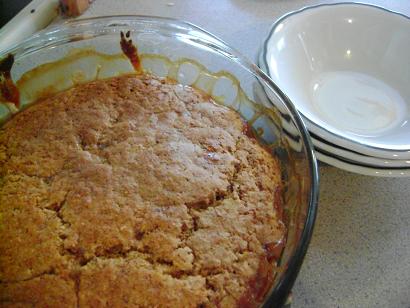
- Apple Crisp
- Apple Pie Filling
- Cinnamon Apple Toast
- Baked Apple Pancake
- Salted Caramel Apple Crisp
- Cream Cheese Fruit Dip (to go with your apples)
- Apple Fruit Leather
- Build a Fruit Salad Bar
- Apple Butter
- Apple Nachos
~~~~~~~~~~~~~~~~~~~~~~~~~~~~~~~~~~~~~~~~~~~~~~~~~~~~~~~~~~~~
This one is a family favorite, but also a wonderful treat to make and share with others!
You’ll love how easy this is and how great it makes your house smell!
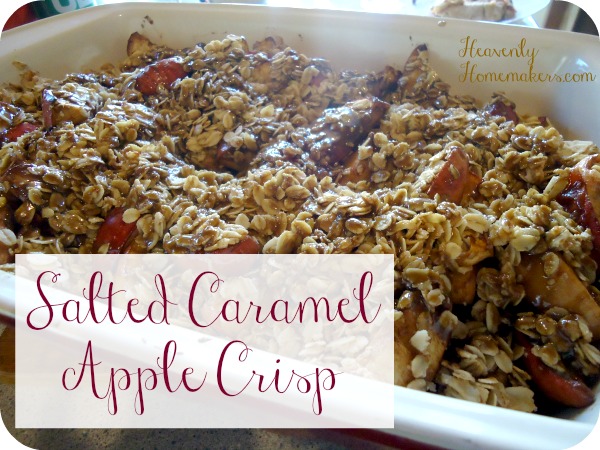
Stick with our basic Apple Crisp recipe, or take it a notch above with Salted Caramel Apple Crisp.
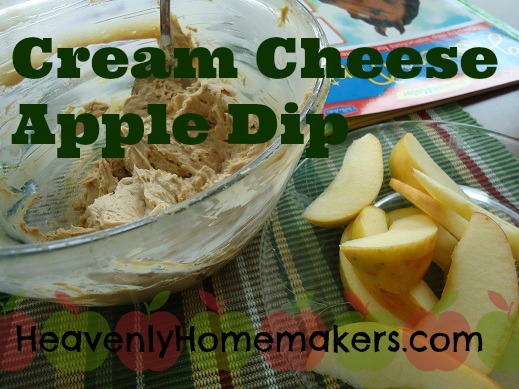
Some of the college kids I’ve fed Cream Cheese Fruit Dip to have declared it to be the best thing they’ve ever eaten. Who am I to argue? We go through a lot of apples when I make this dip!
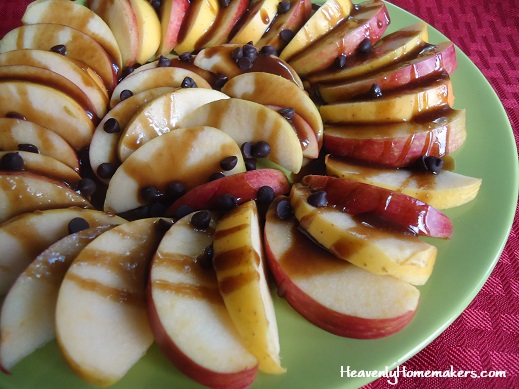
These Apple Nachos are kind of an awesome snack. kind of.
What a fun time of year fall is, with all the apples and spices and everything nice. What are your favorite ways to enjoy apples?