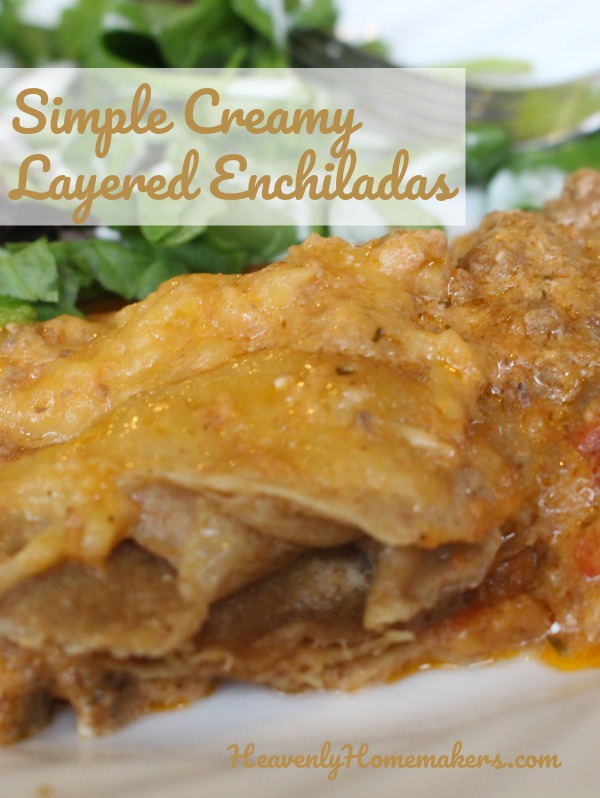
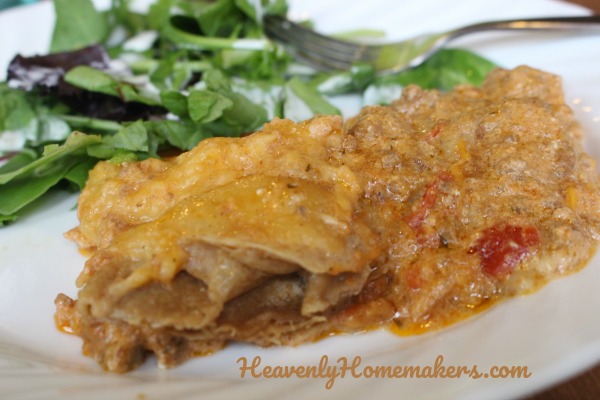
How simple are these Creamy Layered Enchiladas? Well, I was able to throw them together in just five minutes before running out to church on a recent Sunday morning. So I’d say they’re pretty simple!
This recipe is simple in and of itself, but if you happen to have hamburger already cooked and waiting to be used, then you really can throw the rest of this together in just five minutes. (Or use pre-cooked chicken if you prefer!)
There are two great options for cooking this casserole: Crock Pot or Oven.
I use the Crock Pot on days I don’t want to heat up the house with the oven or on Sundays when I want to have our meal ready and waiting when we get home from church. I use the oven when I have these enchiladas made up ahead of time in a casserole dish. Then all I have to do is slide it into the oven and let it bake while I get other work done!
Simple Creamy Layered Enchiladas
- 1 pound ground beef
- sea salt to taste
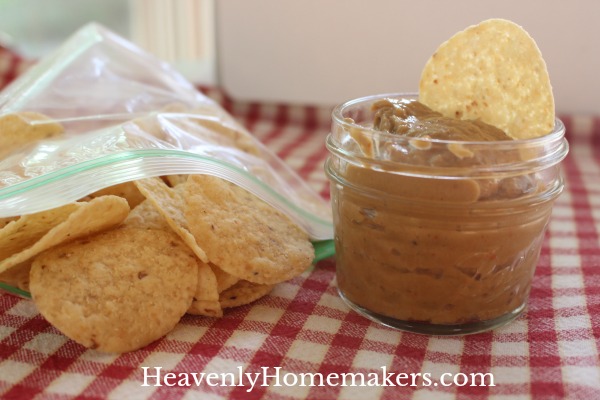
- 2 cups salsa
- 1½ cups sour cream
- 2 cups shredded cheddar cheese, divided
- 8 whole wheat flour tortillas (or corn tortillas)
- Brown meat. Stir in salt, salsa, sour cream, and ½ cup of cheese.
- Lay 4 tortillas in the bottom of a 9x13 inch baking dish.
- Spread half of meat mixture over tortillas.
- Layer again with the 4 remaining tortillas.
- Spread remaining meat mixture over tortillas.
- Top with 1½ cups cheese.
- Bake uncovered at 350° for 20-25 minutes.
- OR Layer ingredients into a crock pot. Cook on Low for 6-7 hours or on Hi for 4 hours.
Want more Simple Recipes?
- Simple Baked Salmon and Asparagus
- Simple Crock Pot Chicken Soup with a Kick
- Simple Skillet Taco Pasta
- Last-Minute Lentil Chili
- Simple Sweet and Sour Baked Chicken Legs
- 20-Minute Taco Soup
- Simple Cheesy Baked Chicken
- Simple Creamy Chicken Stew in the Crock Pot
- Simple Italian Beef and Broccoli Skillet
- Simple Bacon Ranch Chicken
- Simple Hawaiian Crock Pot Chicken
- Simple Taco Rice Dinner
- Simple Last Minute Nacho Plate
- Simple Chicken Cheeseballs with a Kick
- Simple Beanie Weanies
- Simple Crock Pot BBQ Spareribs
- Simple Pizza Chicken Bake
- Simple Italian Chicken and Green Bean Bake
- Last Minute Creamy Bacon Spaghetti
- Simple Hamburger Soup
- Simple Parmesan Broiled Fish
- Simple Overnight Saucy Crock Pot Chicken
- Simple 15-Minute Meal
- Simple Overnight Melt-in-Your-Mouth Beef Roast
- Simple 3-Cheese Crock Pot Pasta
- Simple Oven Fried Chicken
- Simple Honey Mustard Chicken Legs
- The Easiest Mashed Potatoes in the World
- Simple Garlic Butter Shrimp
- Simple Crunchy Ranch Chicken Strips
- Simple Crock Pot Shredded Ranch Chicken (for salad or tacos)
- Simple Crock Pot Pizza Casserole
- Simple Barbecue Beef Roast
- Simple Spanish Rice Bowls
- Simple Roasted Rotiserie Chicken
- Simple Green Chile Chicken
- Simple Tex-Mex Creamy Chicken
- Simple Waffle Omelets
- Simple Crock Pot Taco Pasta
- Simple Grilled Chicken
- Simple Hawaiian Beef Roast
- Simple Crock Pot Creamy Stew Meat
- Simple Cheese Stuffed Burgers
- Simple Hashbrown Casserole (For Instant Pot, Crock Pot or Oven!)
- Simple Lasagna Casserole (For Instant Pot or Crock Pot)
- Simple Chili Mac
- Simple Bacon Cheeseburger Casserole
- From Burrito Bar to Casserole (a 5-Minute Meal!)
- Simple Bacon Cheeseburger Roll
- Simple Garlic Parmesan Chicken Legs
- Super Simple Lasagna
- The Simplest White Chicken Chili
- Simple Lentil Nachos
- Simple Tuna Patties
- Simple Banana Pancakes
- Simple Crock Pot Applesauce BBQ Chicken
- Simple Hashbrown and Egg Nests
- Simple Cornbread Waffles with Chili
- Simple Veggie Fritters
- Simple Lemon Garlic Chicken Legs
- Simple Noodle Soup
- Simple Three Cheese Spaghetti
- Simple Crock Pot Salsa Shredded Beef
- Cheeseburger Hashbrown Cups or Casserole
- Easiest Beef Roast in the Instant Pot
- Simple One-Dish Chicken Florentine
Join Simple Meals!

We love how Simple Meals has been saving family time for so many, and helping people put great food on the table each night! Join us for just $1/week!
[wp_eStore_subscribe_fancy id=28]