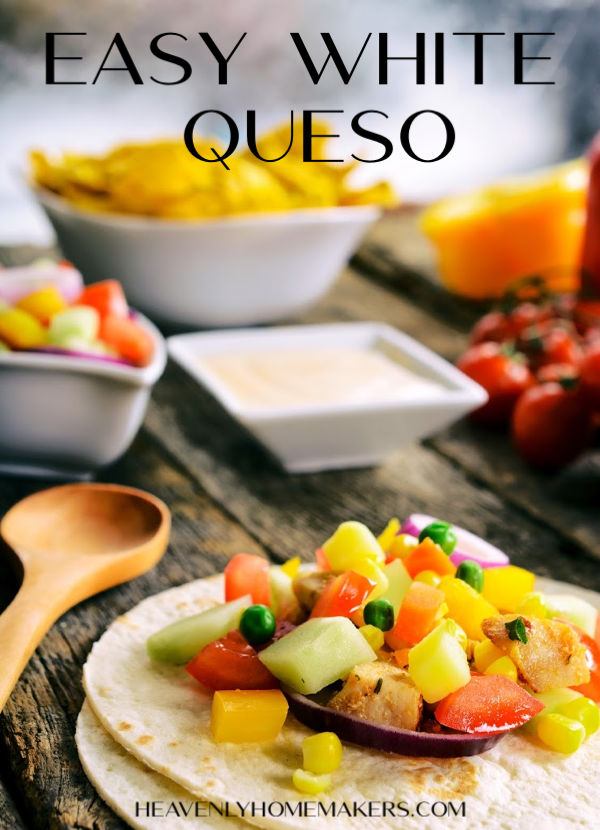
It’s my favorite splurge at any Mexican restaurant. So finally, I decided that it must be time to try making White Queso at home.
Why make White Queso at home?
Mostly, because of the deliciousness. Also, because of this:
At a birthday party several months ago, the hostess had picked up one of her birthday boy’s favorites: White Queso from our local Mexican restaurant. She set it out as a part of a delicious taco bar. Maybe I was just extra hungry that day (probably), or maybe my friend is an excellent cook (most definitely). But my taco plate that day tasted so good that I went back for more and wanted to duplicate it later at home.
So a few days later, I decided to surprise my husband and kids by picking up a large cup of White Queso to go with our taco dinner at home. Great idea, thought I. They will love it and be so surprised that Mom actually went to a restaurant to buy part of our dinner.
Were they surprised? Yes, and delighted. Was I a little bit sticker-shocked by how much it costs to buy a large, delicious cup of queso at the restaurant? Gulp.
So while it was fun and delicious, I knew I could only do something like that on a special occasion. A few months later, I was craving the White Queso and decided to try my hand at it. (Sometimes I wonder why it takes me so long to try to make something at home. Isn’t this my hobby?)
Take a few seconds to watch this fun video Malachi helped me make to show you how easy it is to make Easy White Queso at home!
Easy White Queso – See how it’s made —->
Guess what? It takes less time to make White Queso at home than it does to stand in line at a restaurant waiting for them to bring you a cup and take your money. Obviously it costs less. And while the authentically made queso at the restaurant is still better than mine, I’m so excited to be able to make and eat this regularly now instead of waiting for the very occasional splurge at a restaurant!
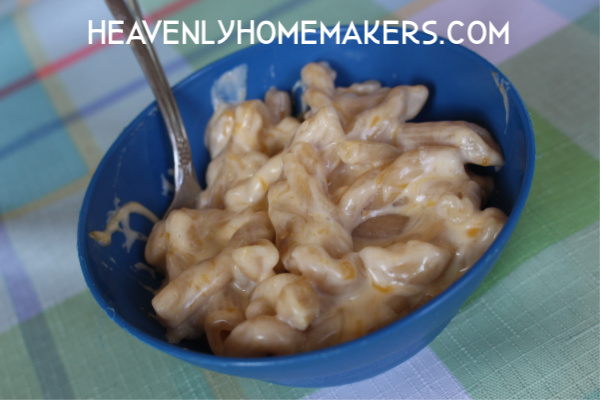
Easy White Queso
- 8-ounces cream cheese
- 16-ounces pepper jack cheese
- ¾ cup sour cream
- 1 cup half-and-half or whole milk
- 10-ounce can Rotel (diced tomatoes and green chilies)
- Place all ingredients into a medium-sized saucepan.
- Whisk over medium or low heat until mixture has melted together smoothly.
- Serve!
See how easy that is!!?
What’s your favorite restaurant splurge?