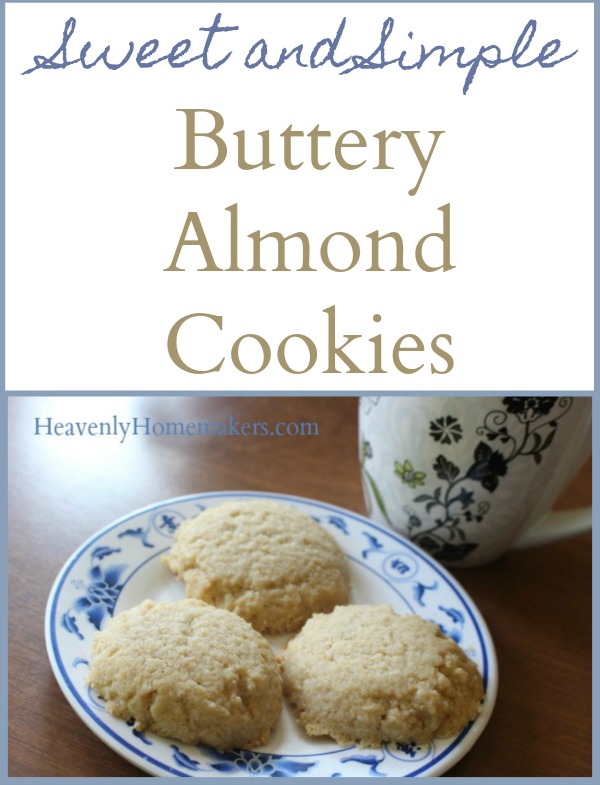
Once upon a time I decided I wanted the delicious flavor of Almond Extract in a light and buttery cookie. So I mixed up these Sweet and Simple Buttery Cookies and I subbed Almond Extract for Vanilla Extract. Just like that, we had a batch of Buttery Almond Cookies. Recipe tweaks? They can be ridiculously easy. (Just like the recipe I’m about to show you!)
Recently one of my favorite 6th grade girls was at our house visiting. She LOVES cooking (almost as much as I do), so as she tasted each item of food from our table that day, she asked about the ingredients and how I had made it. Super cute!
Later, she told her mom, “Ms. Laura’s recipes are all so simple. Most of them only have 5 or fewer ingredients!” Her mom laughed with the proclamation, because you see, her mom is the one that designed this book for me:
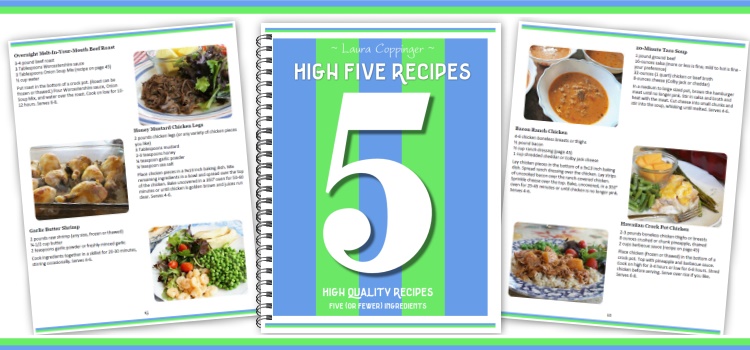
Indeed. All of Ms. Laura’s recipes are simple, and many of them do only use five or fewer ingredients. High fives all around!
You’ll find our High Five Recipes eBook here, and you’ll love it because there are 111 recipes that come together in no time. Meanwhile, we’ve got a new cookie recipe to share, and it uses only 4 little ingredients!
If you’ve tried our Sweet and Simple Butter Cookies recipe, you’ll see that this is the exact same recipe with a key flavor ingredient switched. Sub vanilla extract for almond extract and suddenly the taste of this cookie changes significantly. I can’t decide which I like better, but it doesn’t matter because they are both buttery and light, low in sugar, and delicious! How fun that one little tweak creates a brand new cookie!
Buttery Almond Cookies
- 1½ cups melted butter
- ⅓-1/2 cup sugar (raw, white, brown, or sucanat)
- 1 tablespoons almond extract
- 3 cups whole wheat flour (I use freshly ground soft white wheat)
- Cream butter and sugar together in a bowl.
- Stir in almond extract.
- Mix in flour until well combined.
- Scoop Tablespoon-sized balls of dough onto cookie sheets.
- Press the dough down with your fingers or a fork.
- Bake in a 350 degree oven for 8-12 minutes or until cookies are golden brown.
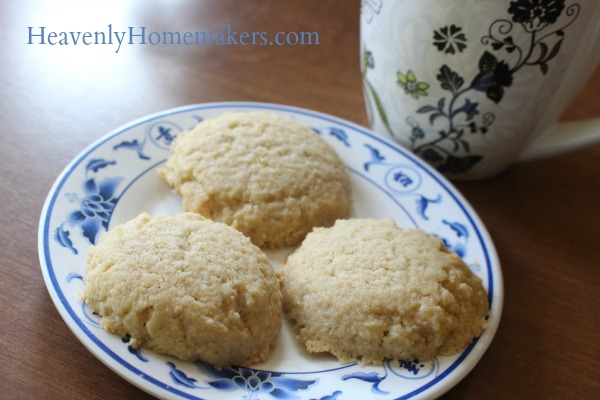
Enjoy these cookies with a cup of tea or coffee. Enjoy them with a friend. Enjoy them during quiet time with God.
Get 111 more High Five Recipes to simplify your real food kitchen!
[wp_eStore_fancy1 id=32]