I’ve already shared my Taco Pasta recipe in both Crock Pot and Stovetop varieties. Recently I created an Instant Pot Taco Pasta variety that is a must-have!
If you don’t have an Instant Pot, I do highly recommend them for the time and energy you’ll save in the kitchen! I love mine!! I have this one…do consider investing!
As you know, I love having hamburger meat cooked ahead of time to pull out and use as needed for super quick meals. You can read here about how I cook 5-7 pounds of frozen hamburger meat in 30-minutes in my Instant Pot.
So, if I have hamburger meat already prepped ahead, it is super easy to throw this Taco Pasta into my Instant Pot and have our meal ready in 10-15 minutes! I usually serve it with a salad (that everyone makes themselves directly from the container of mixed greens).
Fun fact: one of our babies wants to eat everything we eat, so naturally, he recently also wanted bites of salad we were eating. Matt gave him little bites (plain) and he gobbled it up and kept asking for more. This, with 7 teeth. Not sure how long this will last, but as long as the child eats greens, we shall feed him greens!
But back to this simple recipe:
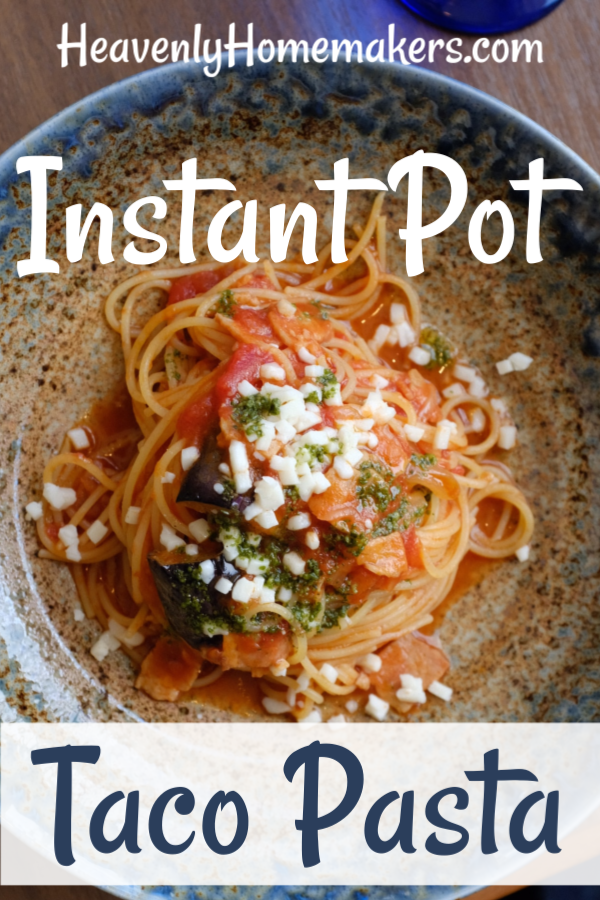
Instant Pot Taco Pasta
- 1 pound ground taco meat (cooked)
- 16-ounces whole grain pasta (uncooked)
- 32-ounces salsa
- 2 cups water
- ½ teaspoon sea salt
- 2 cups shredded cheese
- Stir cooked taco meat, uncooked pasta, salsa, water, and salt into an Instant Pot.
- Seal and cook on manual, hi pressure for 4 minutes.
- Quick release the pressure.
- Stir mixture.
- Stir in cheese and serve.
Don’t have an Instant Pot? No problem! Here are other options for you!
~~~~~~~~~~~~~~~~~~~~~~~~~~~~~~~~~~~~~~~~~~~~~~~~~~~~~~~~~~~~~~~~~~~~~~~~~~~~~~~~~~~~~

Want more Simple Real Food Recipes? We’ve got a beautiful cookbook full of them!