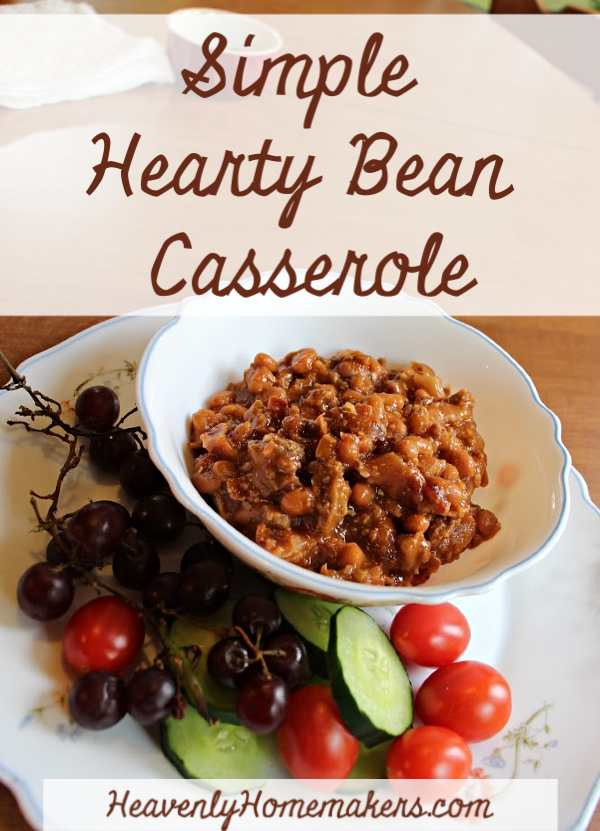
This Simple Hearty Bean Casserole is a family favorite, and if you follow these simple make-ahead tricks, you can have it on the table super quickly!
First, let’s talk about the beauty of prepping Homemade Bacon Bits ahead of time. And while we’re at it, let’s be reminded about cooking several pounds of hamburger meat ahead of time.
If you do these two things, you will have so many quick meal options at your fingertips!!
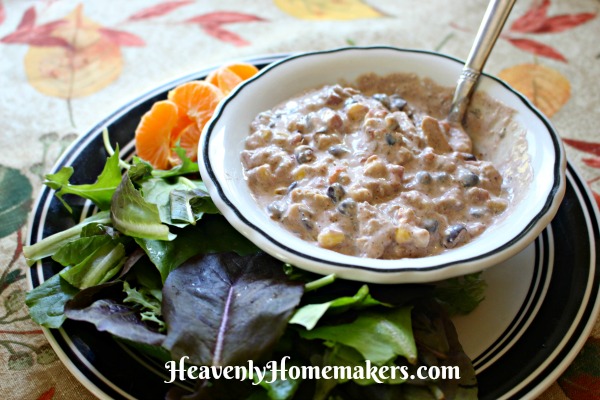
For this Simple Hearty Bean Casserole, I’ve found that if I have the bacon bits and the hamburger meat already prepped all I have to do is stir them into a couple cans of beans and we have a meal. This is so easy and good!
Yes, you can soak and make your beans from scratch. This is a great money saver! During this season in my life, I’ve found that it is incredibly helpful to have a case of Baked Beans on hand for easy meal prep. Maybe someday I’ll get back to soaking and cooking beans. ;)
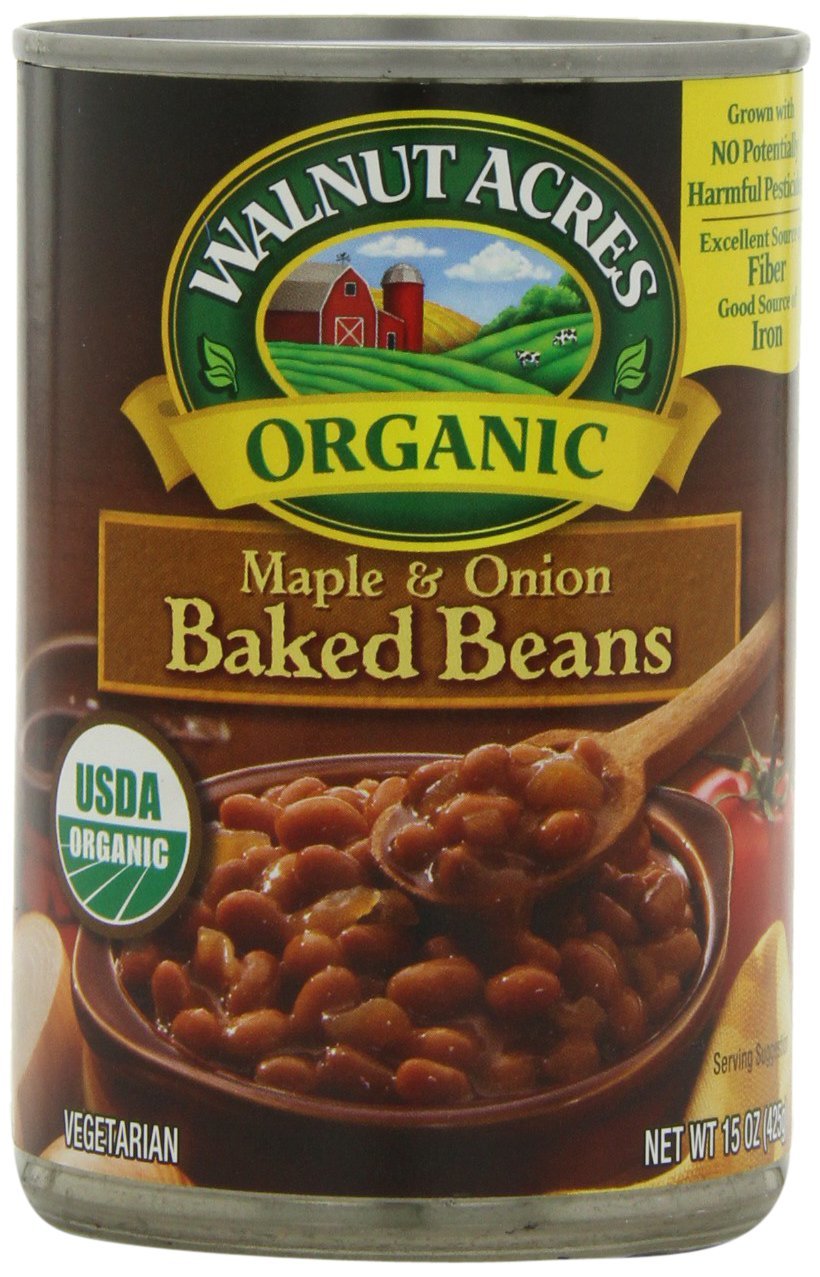
This is my favorite brand of Baked Beans.
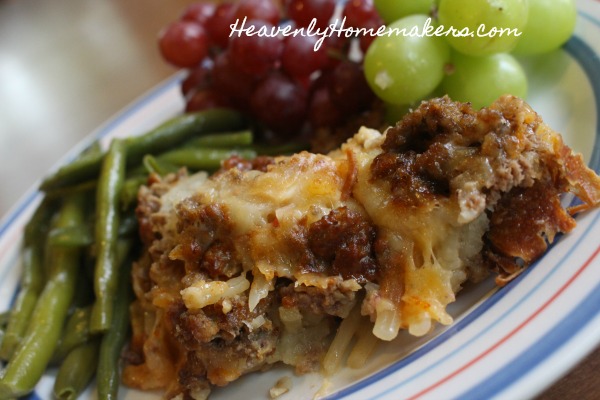
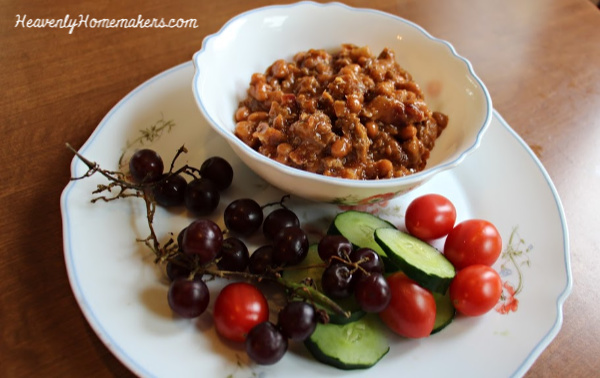
This recipe is perfect for a family who loves their protein. Beans, bacon, and hamburger all in one bowl? Yah. Add a side salad and some fresh fruit and the meal is complete!
How to make Simple Hearty Bean Casserole:
I just want you to know how easy this is, especially if you have your meat prepped ahead.
- Open two cans of beans and put them into a large cooking pot.
- Dump in some cooked bacon bits.
- Dump in some cooked hamburger meat.
- Squeeze in some ketchup.
- Shake in some dry minced onion.
- Heat until bubbly (5 minutes).
- Serve and eat!
Do you see? Do you see how easy this is and how wonderful it can be to have these foods prepped or purchased and waiting to make a great meal for your family?
Simple Hearty Bean Casserole
And now, we’ll pretend that this is an actual recipe.
- 1 pound hamburger meat
- ½ pound bacon
- 2 Tablespoons dry minced onion
- 3 Tablespoons ketchup
- 2 15-ounce cans of Baked Beans
- Cook hamburger meat, bacon, and onion together in a large pot.
- Drain excess grease if necessary.
- Stir beans and ketchup into cooked meat.
- Heat until bubbly.
- Serve and eat!
Want More Simple Recipes?
We’ve got a huge list, and it keeps growing!
- Simple Baked Salmon and Asparagus
- Simple Crock Pot Chicken Soup with a Kick
- Simple Skillet Taco Pasta
- Last-Minute Lentil Chili
- Simple Sweet and Sour Baked Chicken Legs
- 20-Minute Taco Soup
- Simple Cheesy Baked Chicken
- Simple Creamy Chicken Stew in the Crock Pot
- Simple Italian Beef and Broccoli Skillet
- Simple Bacon Ranch Chicken
- Simple Hawaiian Crock Pot Chicken
- Simple Taco Rice Dinner
- Simple Last Minute Nacho Plate
- Simple Chicken Cheeseballs with a Kick
- Simple Beanie Weanies
- Simple Crock Pot BBQ Spareribs
- Simple Pizza Chicken Bake
- Simple Italian Chicken and Green Bean Bake
- Last Minute Creamy Bacon Spaghetti
- Simple Hamburger Soup
- Simple Parmesan Broiled Fish
- Simple Overnight Saucy Crock Pot Chicken
- Simple 15-Minute Meal
- Simple Overnight Melt-in-Your-Mouth Beef Roast
- Simple 3-Cheese Crock Pot Pasta
- Simple Oven Fried Chicken
- Simple Honey Mustard Chicken Legs
- The Easiest Mashed Potatoes in the World
- Simple Garlic Butter Shrimp
- Simple Crunchy Ranch Chicken Strips
- Simple Crock Pot Shredded Ranch Chicken (for salad or tacos)
- Simple Crock Pot Pizza Casserole
- Simple Barbecue Beef Roast
- Simple Spanish Rice Bowls
- Simple Roasted Rotiserie Chicken
- Simple Green Chile Chicken
- Simple Tex-Mex Creamy Chicken
- Simple Waffle Omelets
- Simple Crock Pot Taco Pasta
- Simple Grilled Chicken
- Simple Hawaiian Beef Roast
- Simple Crock Pot Creamy Stew Meat
- Simple Cheese Stuffed Burgers
- Simple Hashbrown Casserole (For Instant Pot, Crock Pot or Oven!)
- Simple Lasagna Casserole (For Instant Pot or Crock Pot)
- Simple Chili Mac
- Simple Bacon Cheeseburger Casserole
- From Burrito Bar to Casserole (a 5-Minute Meal!)
- Simple Bacon Cheeseburger Roll
- Simple Garlic Parmesan Chicken Legs
- Super Simple Lasagna
- The Simplest White Chicken Chili
- Simple Lentil Nachos
- Simple Tuna Patties
- Simple Banana Pancakes
- Simple Crock Pot Applesauce BBQ Chicken
- Simple Hashbrown and Egg Nests
- Simple Cornbread Waffles with Chili
- Simple Veggie Fritters
- Simple Lemon Garlic Chicken Legs
- Simple Noodle Soup
- Simple Three Cheese Spaghetti
- Simple Crock Pot Salsa Shredded Beef
- Cheeseburger Hashbrown Cups or Casserole
- Easiest Beef Roast in the Instant Pot
- Simple One-Dish Chicken Florentine
- Simple Creamy Layered Enchiladas
- Simple Ham and Hashbrown Casserole
- 5-Minute Cheesy Hamburger and Potatoes
- Simple 10-Minute Instant Pot Mac and Cheese
- Simple Creamy Chicken Soup
- Simple Broccoli Bacon Chicken
- Simple Cheesy Salsa Chicken
- Simple (Mostly Real Food) Tator Tot Casserole
- Simple Cheeseburger Noodle Crock Pot Dinner
- Simple 5-Minute Shredded Chicken
- Simple Popcorn Chicken
- Simple Popcorn Chicken Tacos
- Simple Make-Ahead Parmesan Meatballs
- Simple Saucy Parmesan Meatballs
- Simple Make-Ahead Parmesan Burgers
- Simple Creamy Pasta in the Instant Pot
- Simple Cheeseburger Mac in the Instant Pot
Join Simple Meals!

We love how Simple Meals has been saving family time for so many, and helping people put great food on the table each night! Join us for just $1/week!
[wp_eStore_subscribe_fancy id=28]