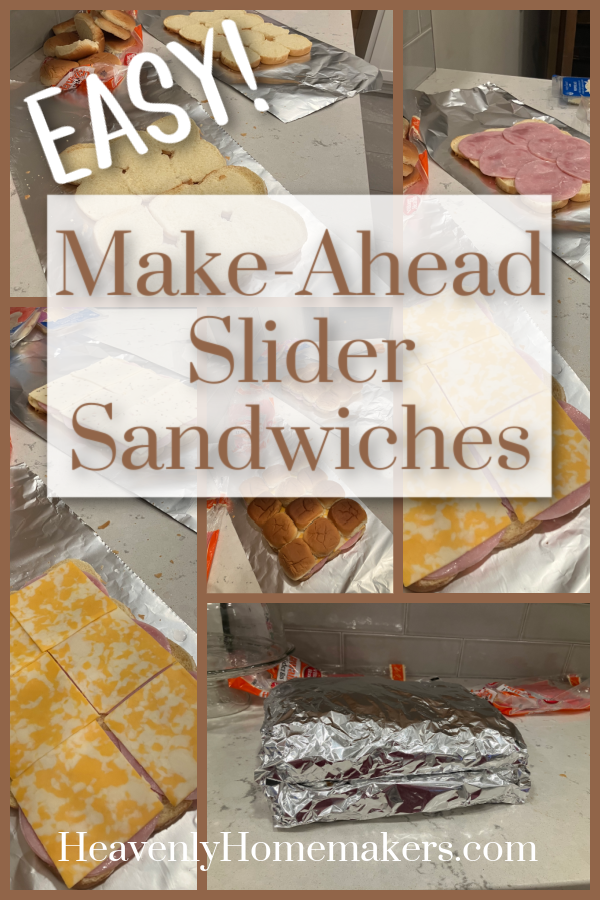
Make-Ahead Slider Sandwiches are freezable!
This has been such a sweet (well, savory, actually) discovery. Sliders are easy to make anyway, but to make them ahead and freeze them to bake and serve conveniently as needed? So great!
The most basic Sliders
I realize that there are super cool recipes out there for fancy sliders with really awesome ingredients that make people pass out in delight.
My sliders? Bread. Meat. Cheese.
That’s it. I’m feeding the masses every day (9-15 of us daily) and the multitudes on Sundays (25-45 for Sunday Lunches). My daily people are pretty picky, so simple ingredients are best. And when feeding lots of people on Sundays, I try to stay pretty basic when putting together food. Then people an embellish as they wish.
Speaking of embellishments
While I make my sliders with just meat and cheese, it’s very fun to set out all kinds of add-in or dip choices. Or favorites are:
- Pepperoncini
- Dill pickle slices
- Honey Mustard
- Ranch
- Chipotle sauce
But with our without these add-ons, I can’t tell you how many compliments I get on my sliders. It’s literally just a bun with warm lunch meat and melted cheese. And they are a hit every time. One recent Sunday Lunch, there were 25 people gathered at our house and we ate our way through 72 meat and cheese sliders.
Which leads me to the “make-ahead” part of my post.
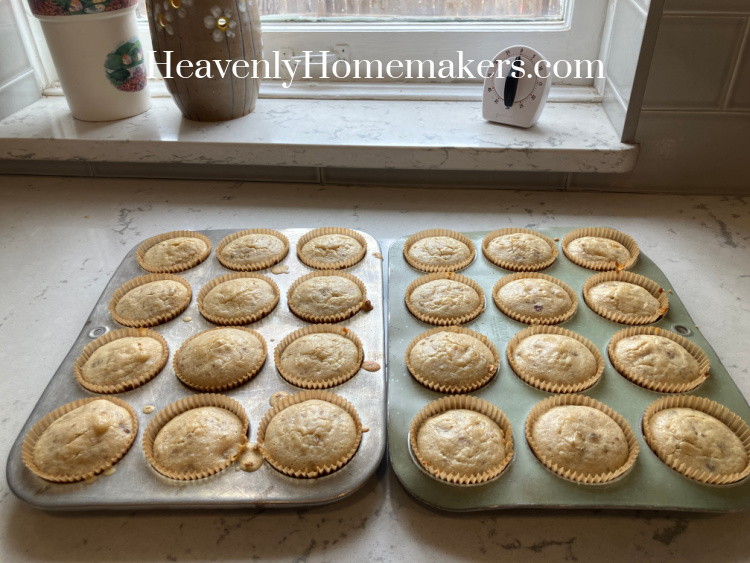
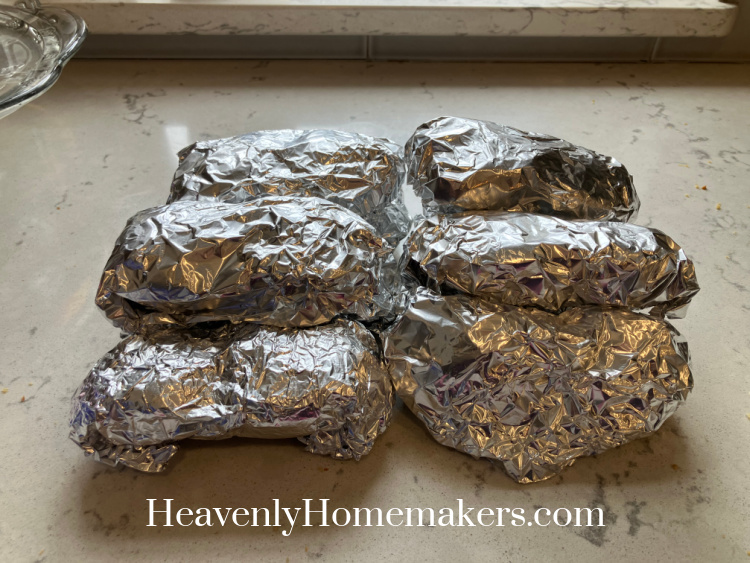
For that particular Sunday Lunch, I took just a few minutes the Wednesday before to make six 12-packs of sliders. When making them assembly-line style, and when filling them with simple meats and cheeses, it’s super easy and fast to make a lot at once.
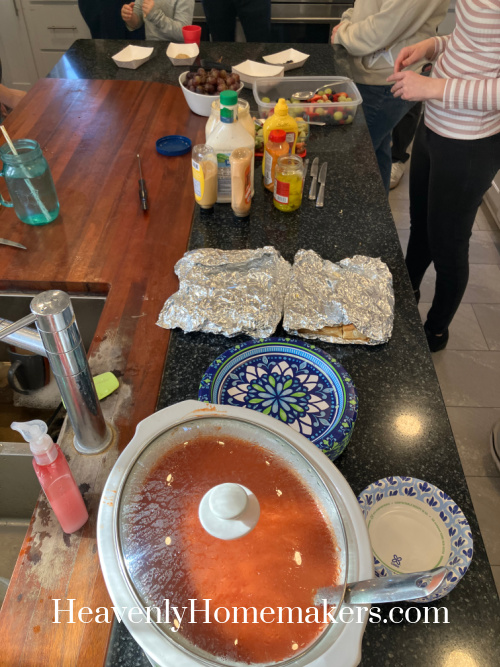
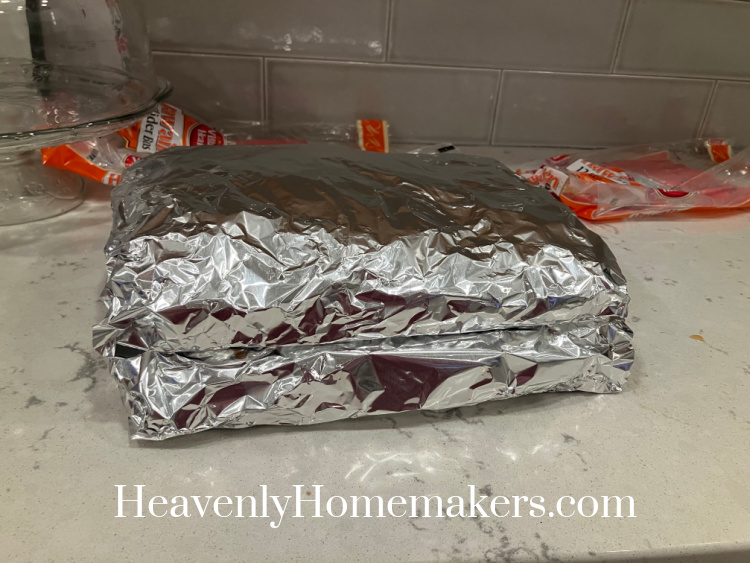
Then I wrapped and froze them to thaw Saturday and bake on Sunday. What’s extra great is that I wrapped them in foil to freeze them, and baked them directly on the oven rack in their foil. There’s nothing easier.
Then the cheese melts and the meat heats and the buns toast – these are delicious.
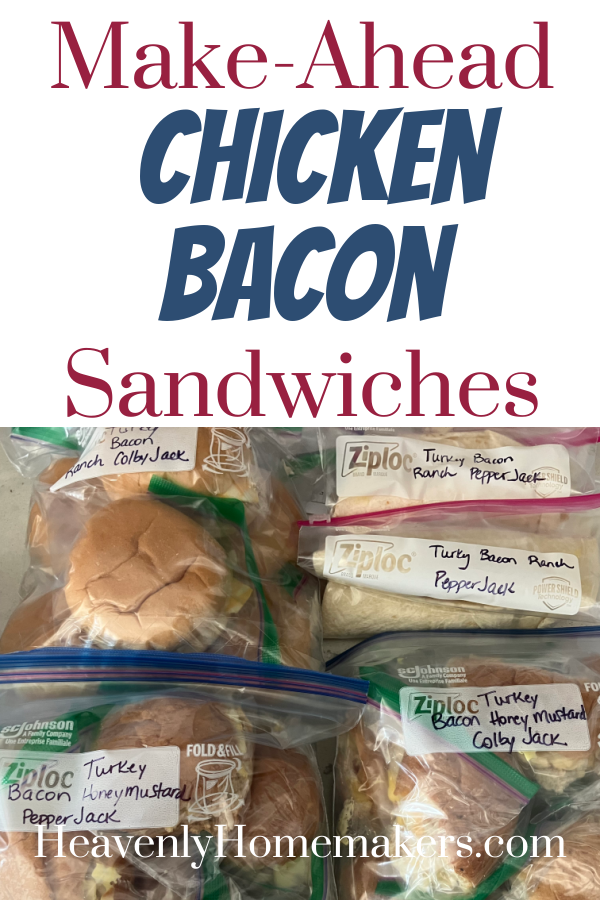
Make-Ahead Slider Sandwiches
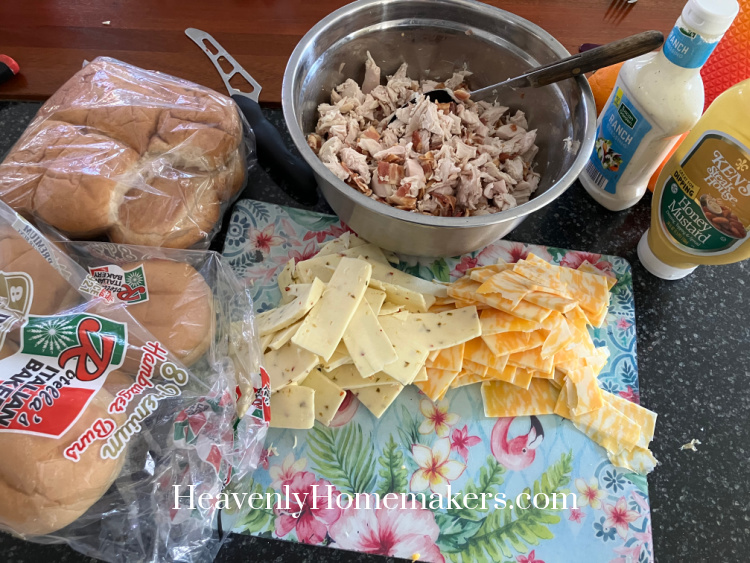
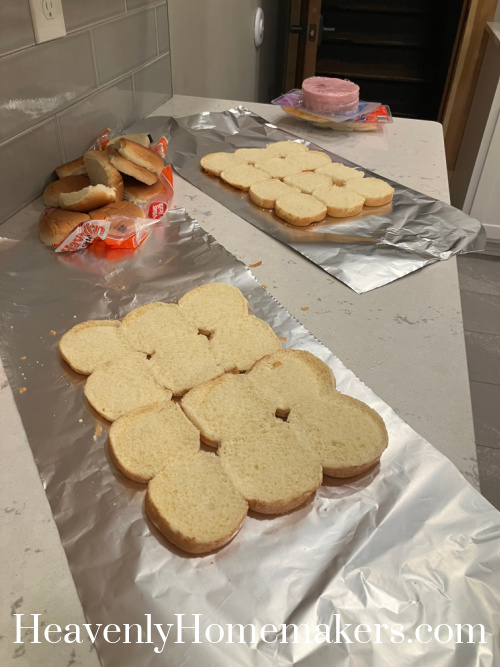
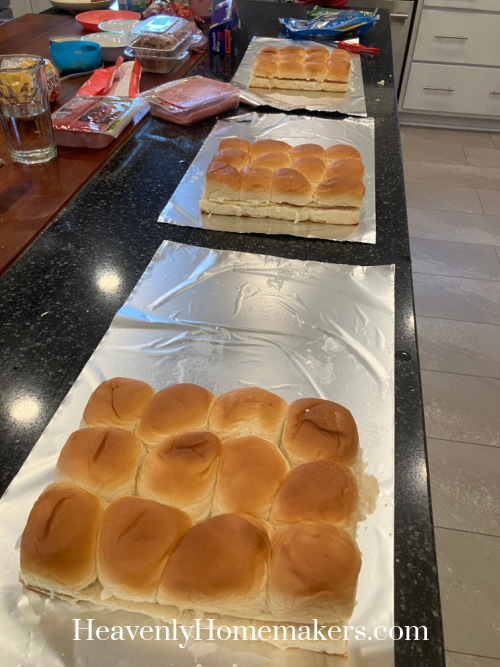
Step One: Slice a package of rolls open and place the bottom half onto a large sheet of foil.
Any rolls will work for these. Hawaiian rolls tend to be a favorite – but they can also be more expensive. I use whatever rolls I have. (We have the lovely perk of frequently bringing home free rolls from the Food Distribution site where some of the kids and I volunteer each week. I’m not picky, nor can I be because I’m not in charge of what gets donated to the site. So from this, I’ve learned that any and all rolls can be turned into Sliders.)
Step Two: Top the bottom half of the rolls with lunch meat, 2-3 slices deep. Our favorite is ham, with turkey coming in as a close second.
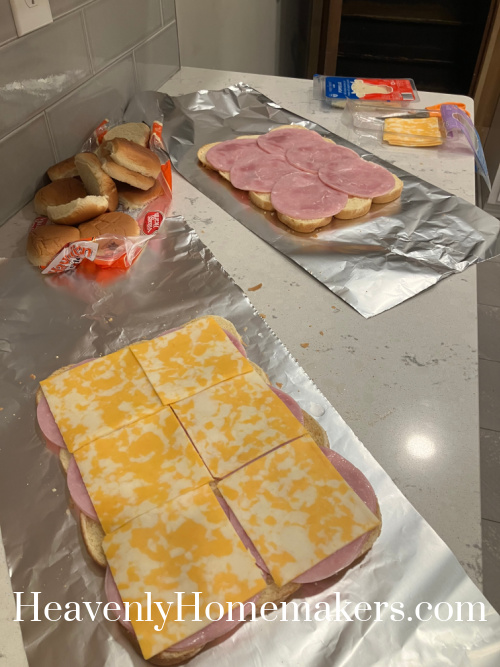
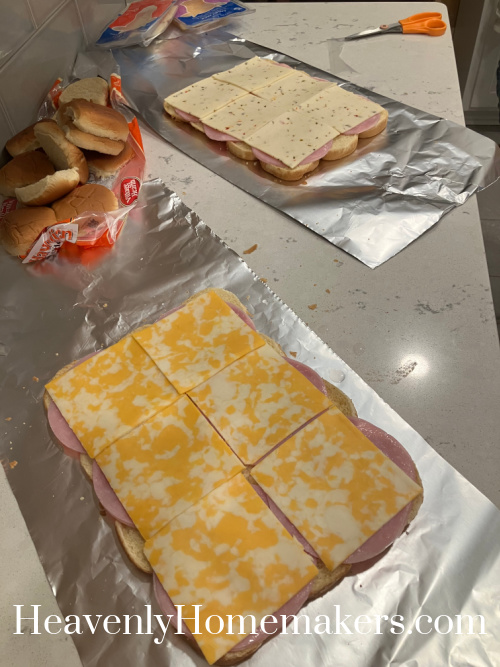
Step Three: Add sliced cheese. It’s fun to create a variety of Slider options, but our favorites are Colby jack and pepper jack cheese.
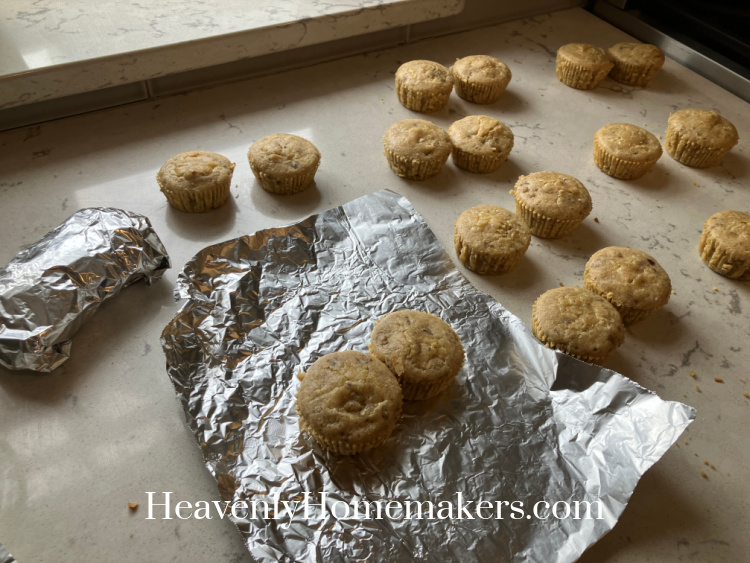
Step Four: Put the tops of the rolls in place, then wrap up the Slider Pack.
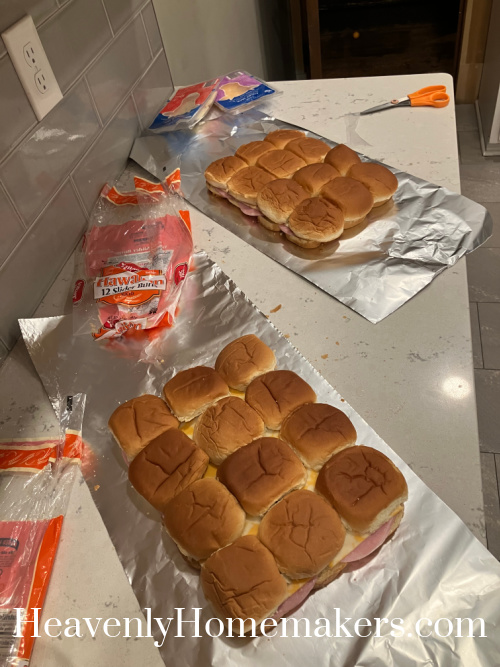
See how easy it is to do this “assembly-line” style?
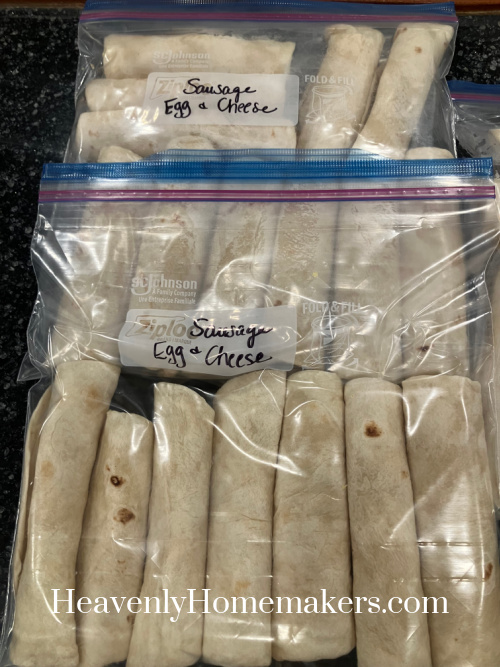
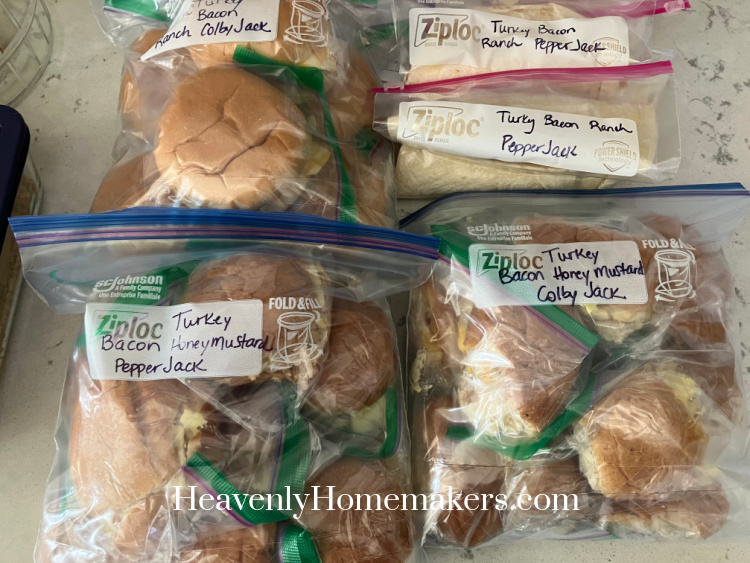
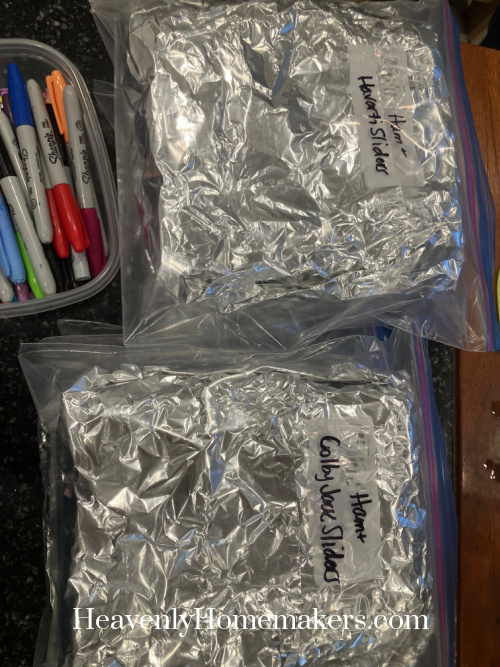
Step Five: To freeze, put the prepared packs into gallon-sized freezer bags and label.
What if?
What if you took this simple idea and prepped several bags of these sliders for the freezer? Then, they will be available for a quick meal as needed. Just thaw, put into a 350 degree oven for 15-20 minutes until the cheese is melted, cut into 12 squares, and serve.
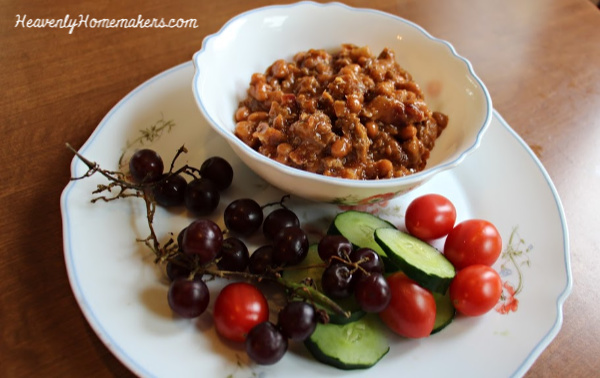
I’ve served these sliders with canned Tomato Soup, plus homemade Chili, and Taco Soup. They’d also be great as a “main dish” with a side of fruit and a veggie tray. So easy. So good. So fun.