Need to figure out how to keep your money from sneaking off? Tasha shares her not so secret secrets!
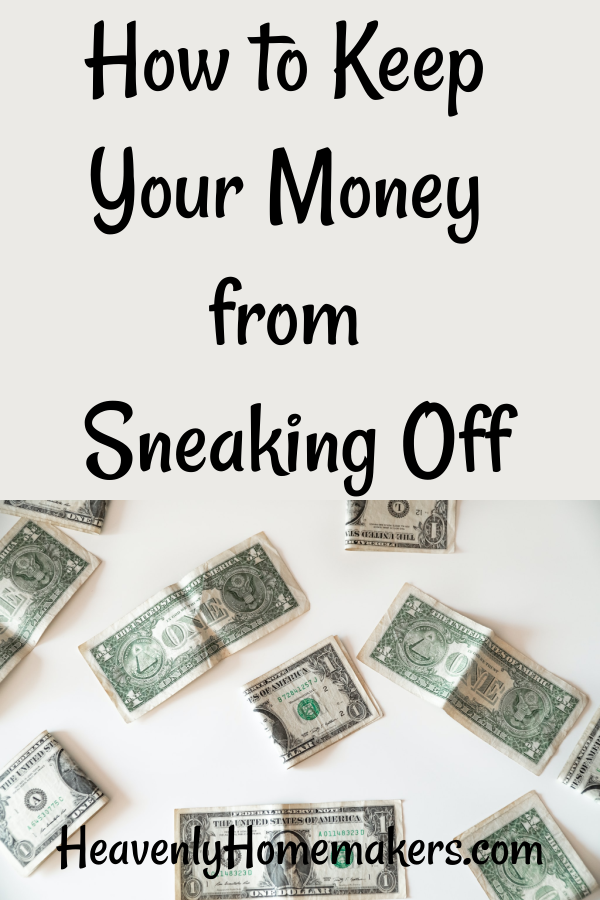
How to Keep Your Money from Sneaking Off
by Tasha Hackett
Hello! Tasha here. Do you ever have trouble with money? Ever wonder why it’s so difficult to keep it around? Dave Ramsey reminds us to tell it what to do, but lately, I find that my money is behaving like a sneaky five-year-old girl. When I ask it, “What is going on in here?” It makes this suspicious noise with a shrug that’s a mix between, “Please don’t look at me,” “I don’t know,” and, “I will lie to your face if you ask me a direct question about the granookie crumbs on the carpet.”
Therefore, I have taken a few extreme measures to ensure nobody has to steal granookie, or spend money. You know, whichever.

Keeping Your Money Step 1: Tell it what to do.
Foremost, to know if your money isn’t behaving, you first must tell it what to do. For our family, this means a budget meeting on payday. Generally, my husband and I get along during these meetings, but it’s good practice to go into all family meetings on a full stomach (no hangry words let loose), pre-planned arranged time (no springing budget meetings on each other), and no important conversations after 10 pm. Starting with prayer is a great choice, especially if these meetings are a point of conflict, or if it’s your first time even having this type of meeting!

Around here, payday is once a month. As close to payday as we can, we sit down with our nifty spiral notebook, or any old scrap of paper I find lying around, and do basic elementary school math. He logs into our bank account and I write down what’s currently available. We plan to keep $100 in the bank, and together we systematically write down every bill occurring this month and subtract from the total, estimating high for variable bills like utilities. House, investments, church tithe, Internet, monthly subscriptions, etc. Next, we tally what is coming out for our cash needs or to be transferred to other accounts. General savings, savings for Christmas, vacations, car maintenance, clothing/shoes, school, gifts, allowance, home improvement, etc… AND THEN, we look over the calendar and talk about anything extra that might be happening before next payday. Sometimes this is stressful and sad when we realize there isn’t enough and we juggle things around. Sometimes it’s amazing when I find I already have enough saved in the correct budget line for what I need! Woo-hoo! At this point, any extra pennies are sent to our future house savings fund.

Keeping Your Money Step 2: Make sure it doesn’t wander off.
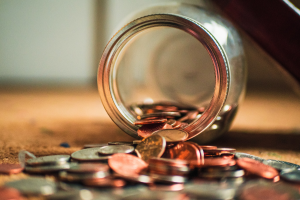
This, my friends, is the trickiest part, isn’t it? It’s one thing to write down: Groceries $400. But it’s another thing entirely when there’s a cheese sale and all the sudden you’re down to $40 in the grocery budget and you still have 12 days until payday and your family is tired of oatmeal… but hey, there’s still a jar of pickles in the fridge, and then of course, there’s all that cheese…

My solution? Go shopping on purpose. I no longer carry any money with me. Zilch. No debit card. No cash. I can’t spend it if I don’t have it. On the way to pick up the kids from Grandma’s, you pass Dollar General and remember you need glue sticks… Nope, just keep on driving, girl. Because you know what will happen if you go in for one thing, right? Yes. You know. You will come out with a cartload of other things you need… so it’s best not to go in. Unless you are going in on purpose, because you planned ahead to go in and buy everything on your list.
I keep a running list, sort of. And then I, purposefully, (on purpose) take the debit card or the cash, and go buy stuff. Surprisingly, this nifty trick has been great for my bank account. Greatly annoying when I don’t have money when I need it, but overall, the system works for me. I still overspend on food sales, but it’s cheese… so I’m not too concerned about that one. So far. I’ll let you know if we get sick on too much cheese. But I’ve also been known to come home with 40lbs of butter. For some odd reason, frozen peas sales do not speak to me with the same vigor.
Keeping Your Money Step 3: Inspect what you Expect.
If we’re still comparing money to a five-year-old, it’s all well and good to tell it what to do, and even to put it in time-out every so often. Glue-sticks can wait until they make it on the list. But if you don’t truly keep an eye on it, it still finds ways to sneak off. As best as I can, I will log in to my bank account every couple of days. It was only $6 here, $32 there, $18 there, $130 there… and unless I’m tracking it, I am not aware how much has left. Of all the budget tips, this is the one that will help you get a handle on your money the quickest. Yes, you need to budget. Yes, you need self-control. But if you need a place to start… start with tracking. Start with logging on to your account once a day and keep an eye on what’s happening. NOT to blame or point fingers at your spouse. NOT to make yourself feel bad, depressed, or anxious. But only that you may see patterns and ways to improve or habits that need adjusting.
Happy Spending!
I hope these budget refreshers were helpful to you! Maybe they’re not the most inspiring things you’ve ever heard, but c’mon, I left you with a granookie recipe last month and Laura’s got a new PRINTED cookbook on the market, so don’t ask me to top that on my very next post. With the holidays upon us, I bless you with happy spending after your joyous budget meetings. (Think I’m spreading it on too thick?)
But really, don’t make finances harder than it has to be. I found I was spending too freely… so I cut myself off. Simple. If I don’t have the card, I don’t spend. It’s working for me so far. I guess I’ll let you know next year how this goes in the long run. Are you looking forward for the time I take my kids out to dinner and after we’ve eaten I realize I have no money with me? Hmm… that story could be as juicy as the time Laura chased a taco across the Wal-Mart parking lot.
 Tasha Hackett, friend of Laura, is patiently waiting until Spring 2021 when she’ll get to hold her very first published novel (that has nothing to do with budgets, budget meetings, or Dave Ramsey. Whew!). In the meantime, she’s homeschooling her older kids, sewing ridiculously time-consuming felt Christmas stockings, and prancing about on the Nebraska prairie where she plans to build a house some day. Connect with her on Instagram @hackettacademy or for Laura @heavenlyhomaker.


 What should I bake?