This Easy Side Dishes for Summer post can be your go-to for Simple Meal inspiration!
I’ve found that meals are easier to put together in the summertime. Why? Because there are so many great fresh side dish options available. Stores and farmer’s markets offer more fresh fruits and veggies compared to cold weather months, making it super easy to set out lots of tasty side dishes without much effort.
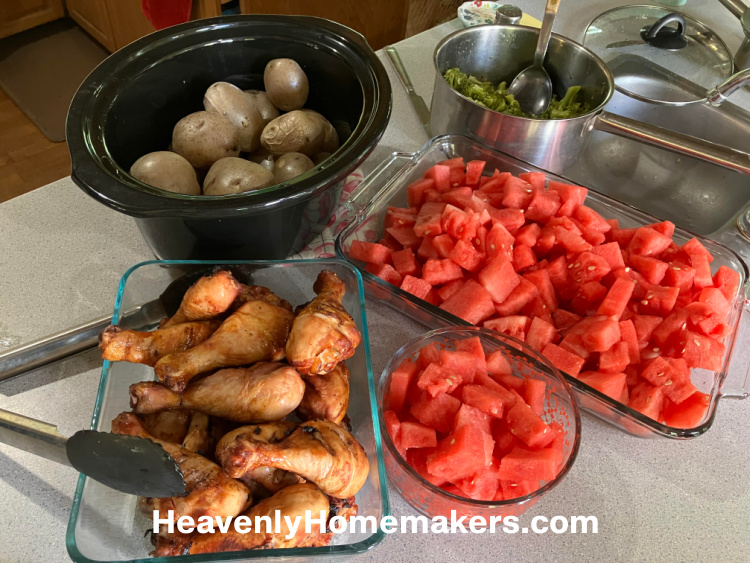
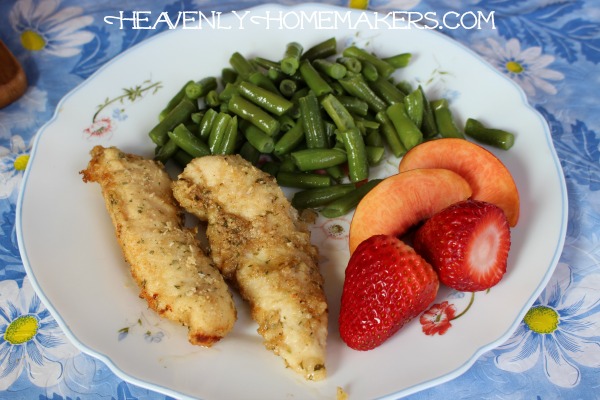
I love it when my summer meals look like this:
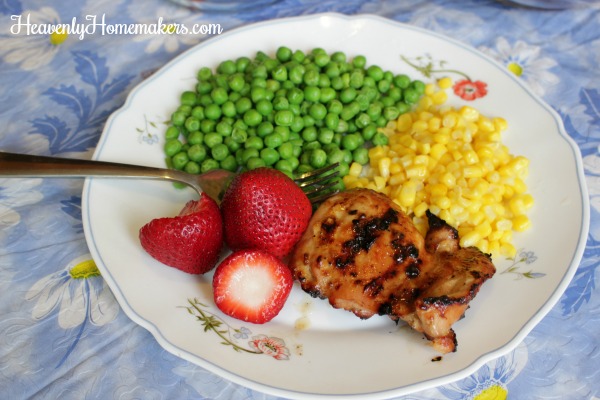
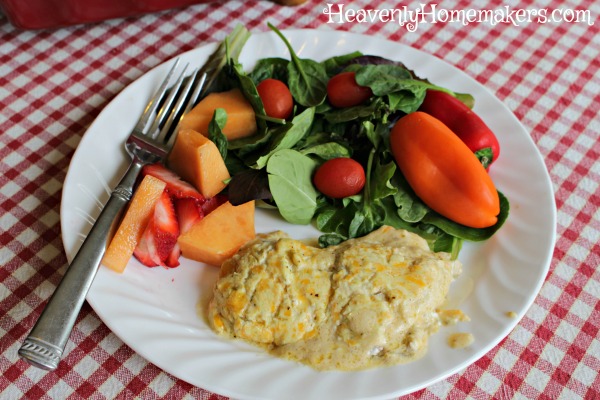
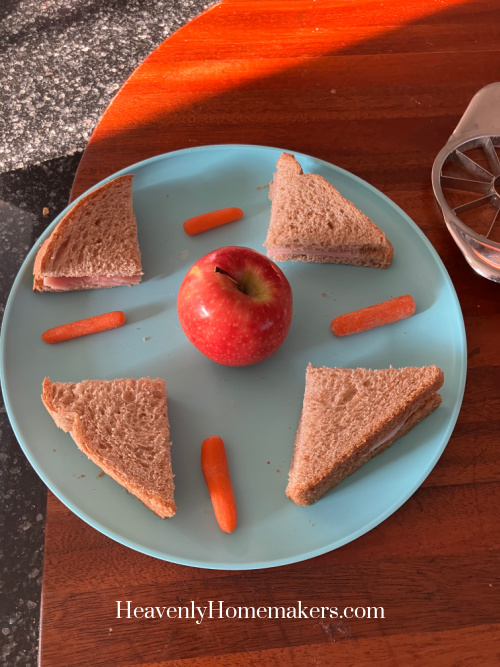
It truly is so simple to make an easy main dish like grilled chicken, then set out quick, fresh sides. Steamed garden veggies, salad, and/or watermelon – these are no brainers and so refreshing on a hot day!
The more colorful the better. Setting out options like this is great for picky eaters. Even if each kid only chooses to eat one or two of these, at least they are getting something nourishing that they like!
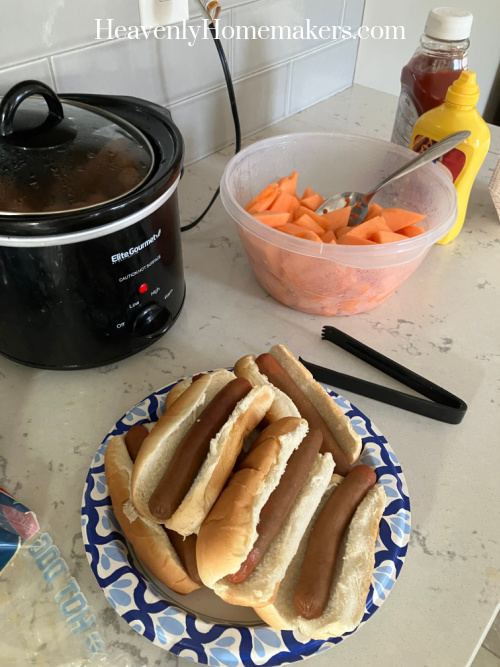
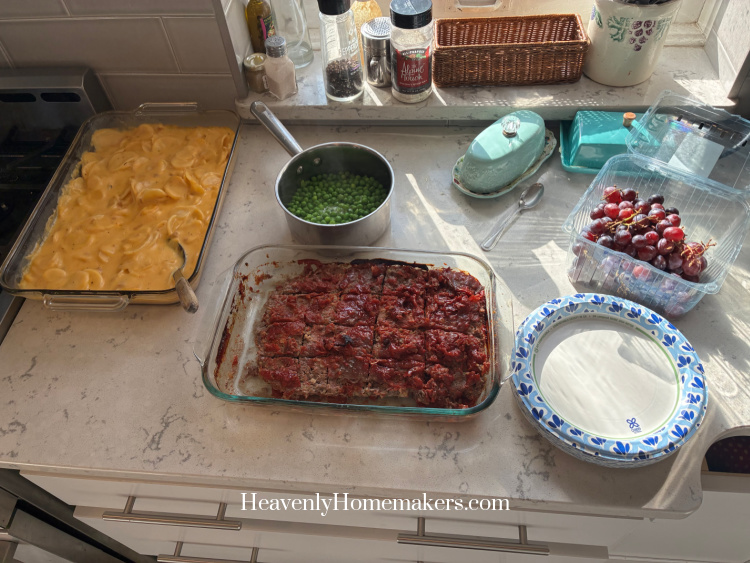
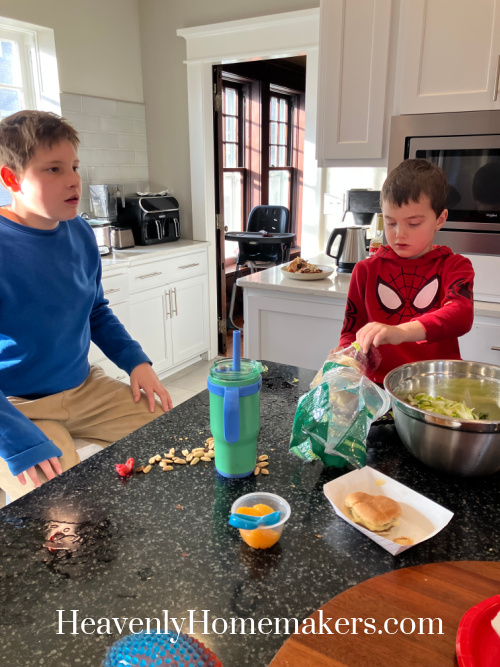
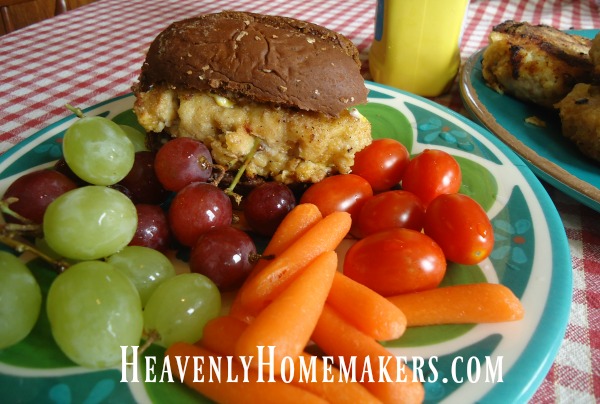
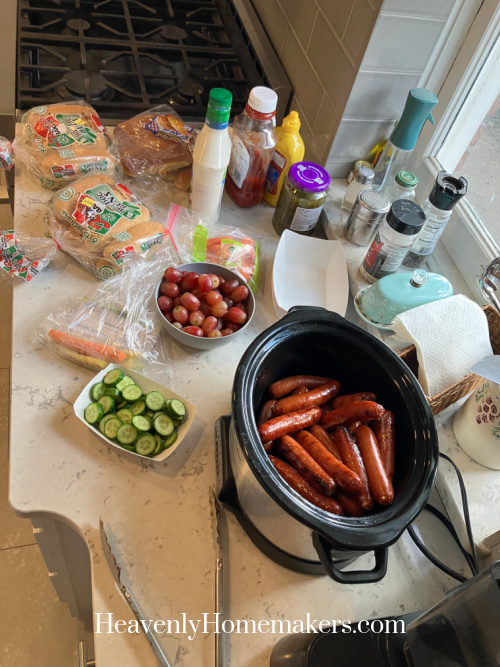
Here’s an example of a super simple meal I made recently: Grilled Brats with Grapes, Carrots, and Sliced Cucumbers on the side. So easy! And so family friendly!
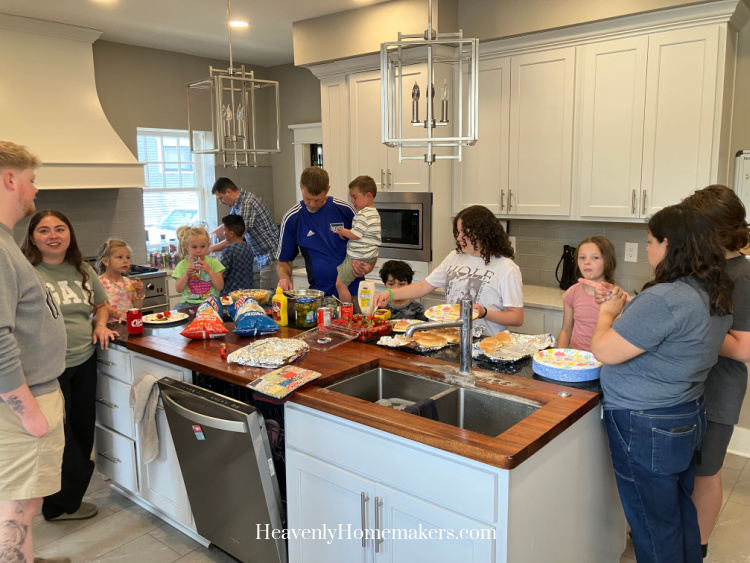
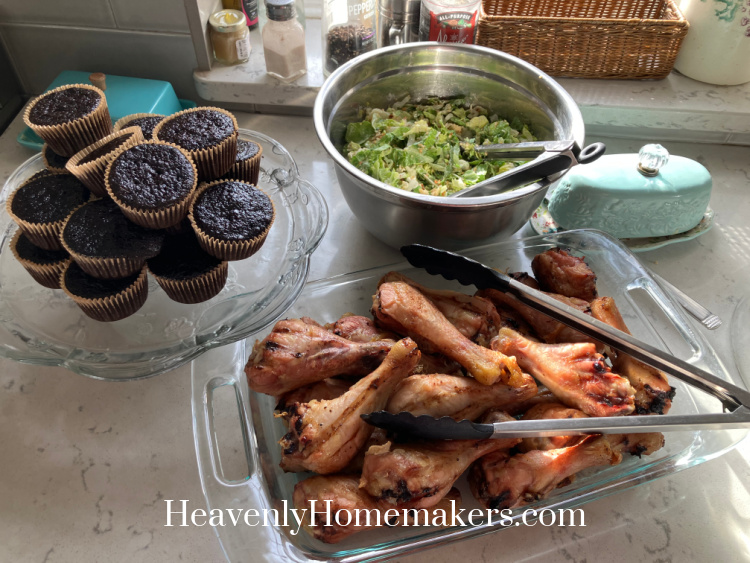
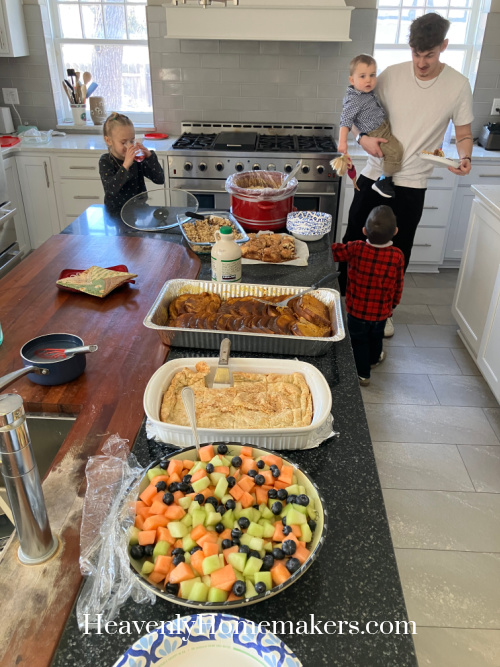
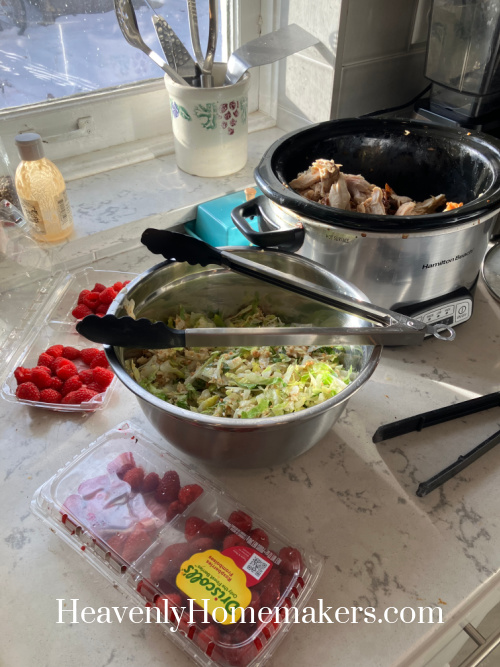
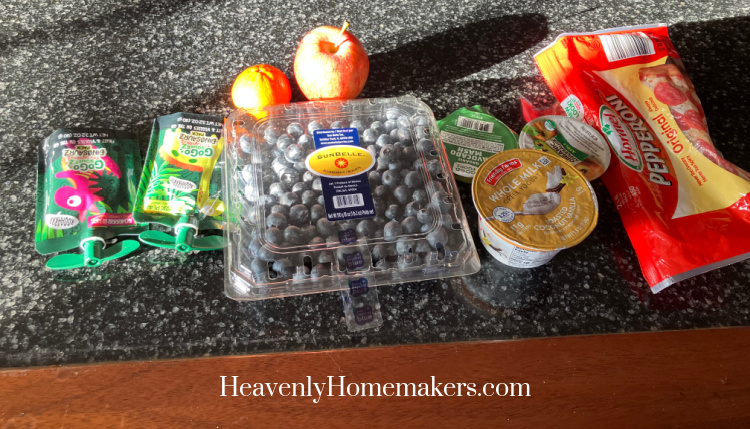
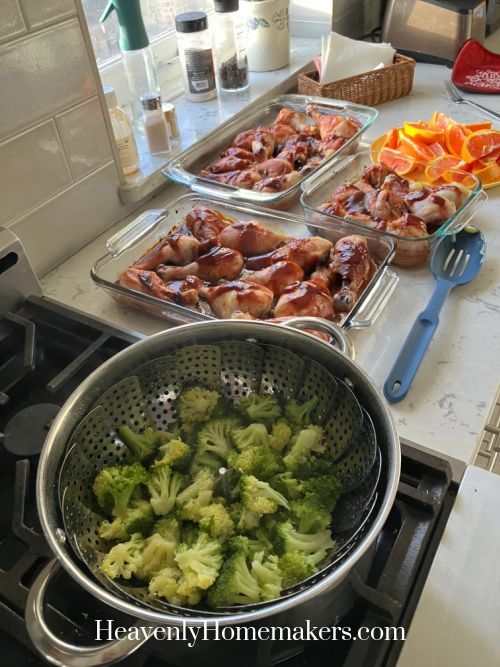
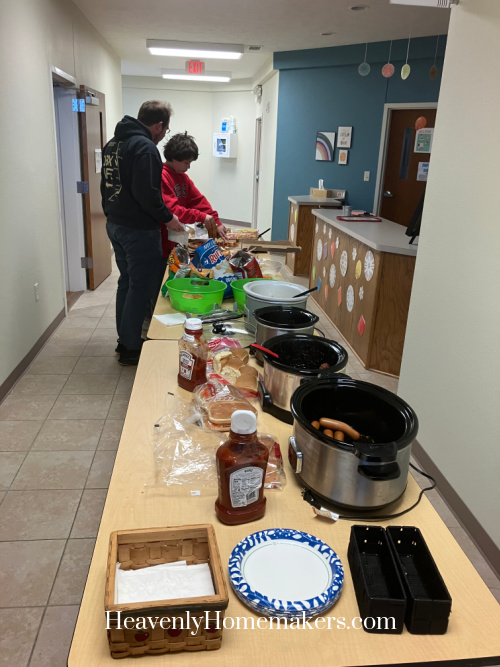
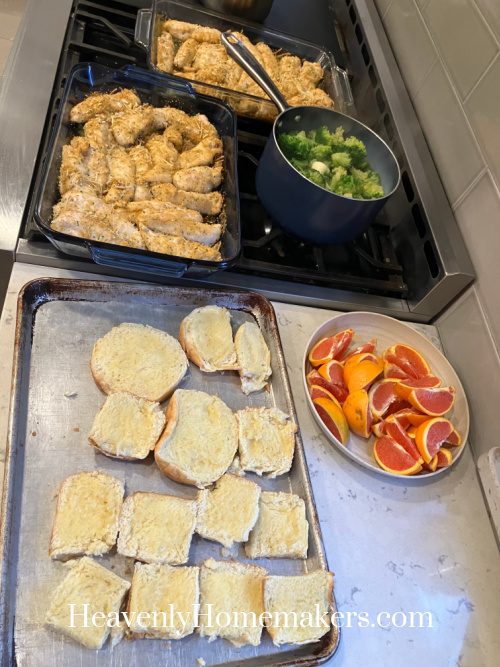
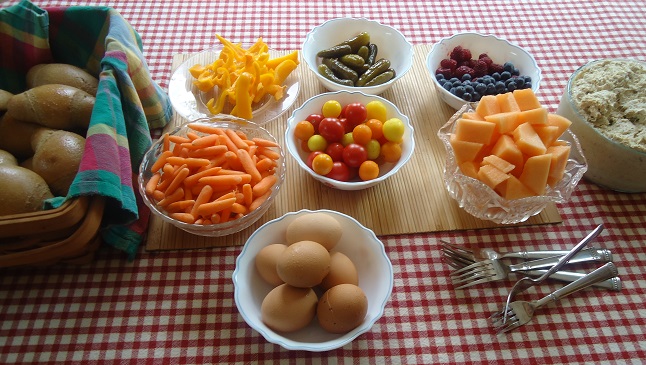
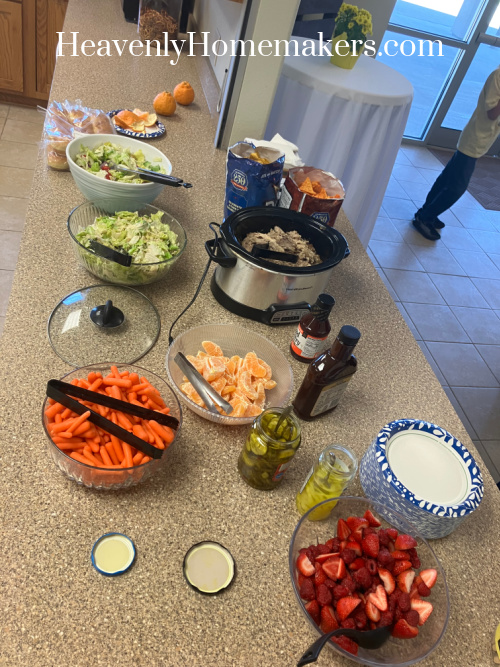
Here’s another picture that shares a great example of a simple main dish with easy sides. This was taken on a day that some of our friends gathered after church and worked together to put this meal together. Pulled Pork was the main feature with salad, chips, carrots, oranges, pickles, rolls, and berries on the side.
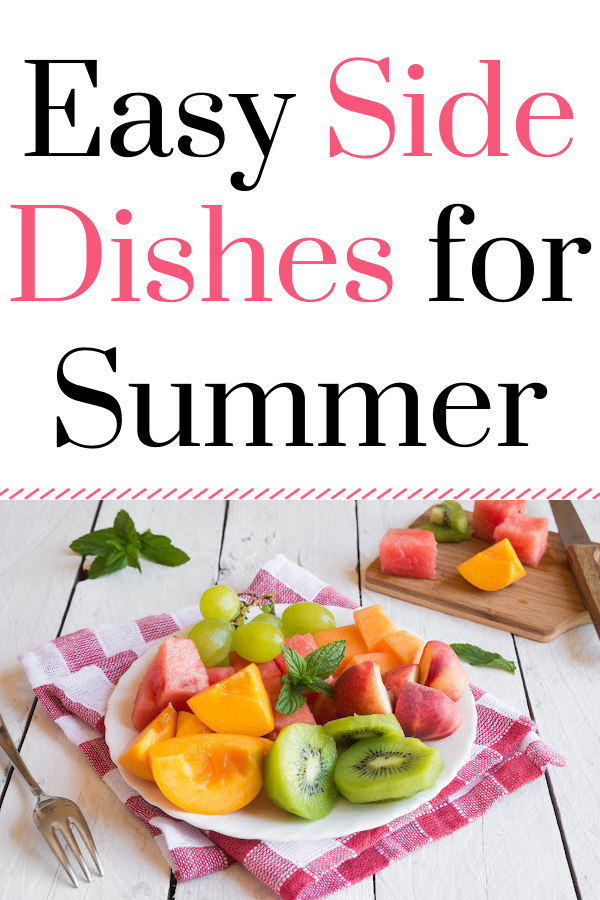
Easy Side Dishes for Summer
In case you feel stumped after a long, hot day and want some easy ideas or reminders for great sides to set out on the counter with your grilled meat or other main dish, look at these lists for inspiration!
No-Work Side Dishes
- Strawberries
- Blueberries
- Raspberries
- Grapes
- Cherries
- Chilled Canned Fruit in 100% Juice (Peaches, Pears, Pineapple, Mandarin Oranges)
- Pickles
- Olives
- Chips
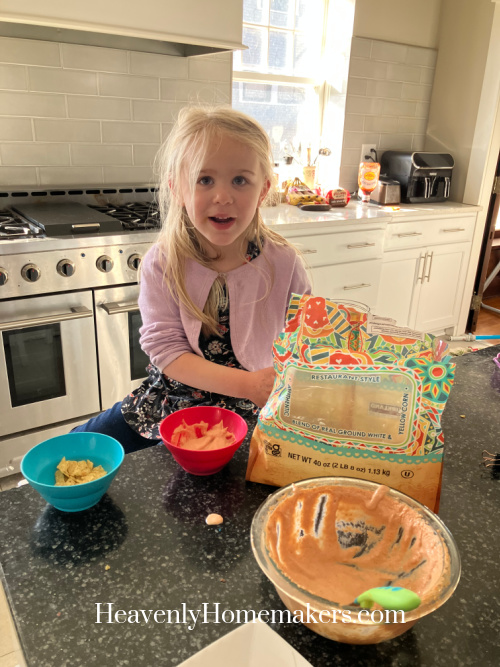
- Chips and Salsa
- Chips and Guacamole
- Sweet Peppers
- Baby Carrots
- Sugar Snap Peas
- Grape or Cherry Tomatoes
Minimal-Work Side Dishes
- Watermelon
- Cantaloupe
- Honey Dew Melon
- Fresh Pineapple
- Sliced Oranges
- Plums
- Peaches
- Kiwi
- Baked Beans
- Cream Cheese Corn
- Pineapple Fluff
- Steamed Veggies
- Corn on the Cob
- Easy Blue Raspberry Salad
- Hawaiian Fruit Salad
- Strawberry Fluff
- Hard Boiled Eggs
- Strawberry Parfait
- Sliced Cucumbers
- Cream Cheese Salsa Dip with Chips
- Veggie Stir Fry
- Black Bean Salsa
Salads
- Bacon, Egg, and Avocado Salad
- Black Bean Taco Salad
- BLT Chopped Salad
- Chicken Chef Salad
- Perfect Pasta Salad
- Simple Bacon Broccoli Salad
- Strawberry Spinach Salad with Vinaigrette
Store-Bought Sides
Consider picking these up at the store to have on hand to serve alongside grilled meat or other main dishes you prepare.
- Bagged Salad Kits (I like to keep these on hand for an easy side dish my kids can make to go with our meals!)
- Potato Salad
- Macaroni Salad
- Bag of Rolls
- Chips
What easy side dishes would you add to these lists?